This post is sponsored by Bing.
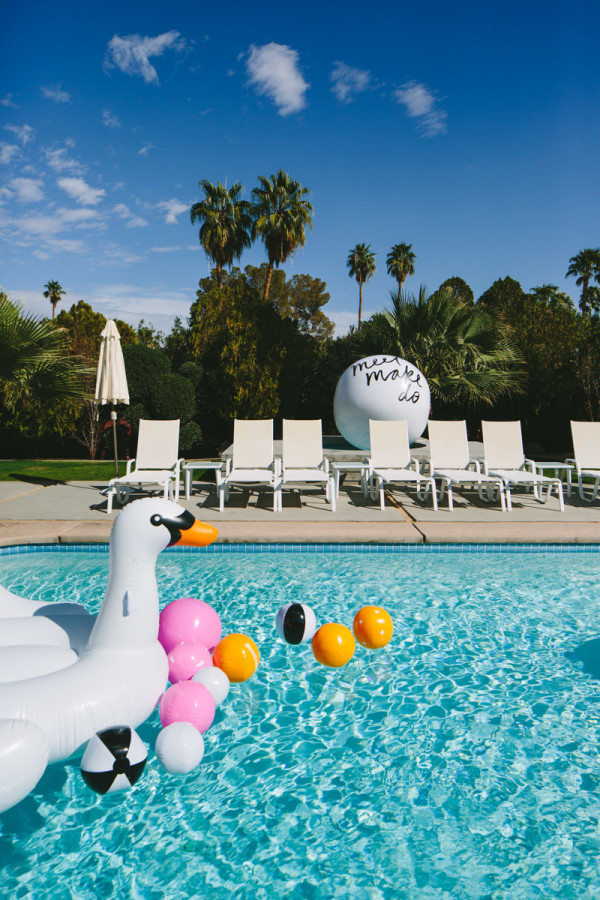
When you’re throwing an event, my rule of thumb is to have one thing that makes the guests go “WOW!” Now, that could be a really small unexpected detail, or it could be a big ol’ GIANT statement. Clearly, for Meet/Make/Do, we went with the latter. Enter giant custom monogrammed beach ball. BAM! And since we are all dreaming of summer at this point (right?!), I’m prepared to get you all excited for your summer bashes by teachin’ ya how to make one yourself!
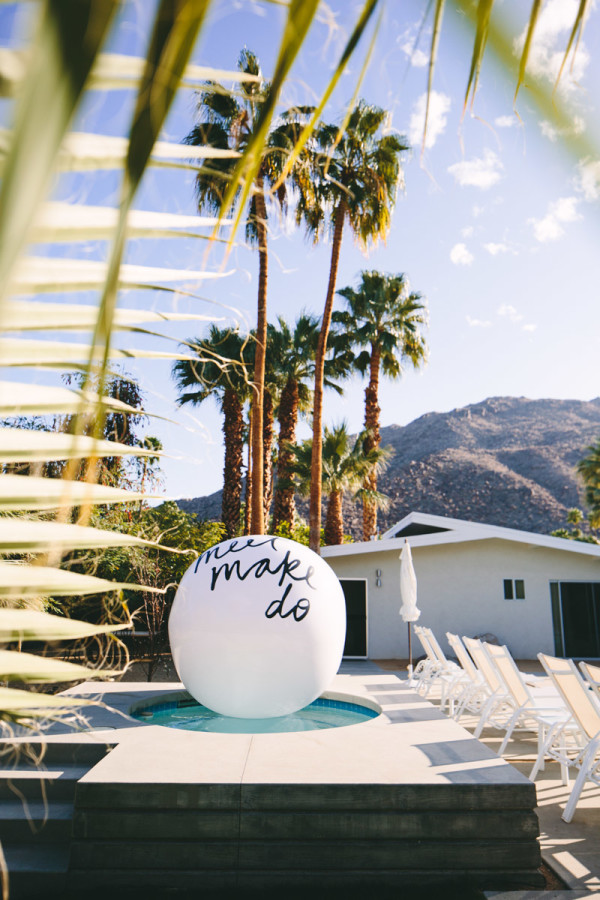
When Chelsea, Brittni and I were chatting about what we could do, I mentioned that I had remembered seeing gigantic beach balls in one of my supply-searching escapades. Yeah. We needed to find that again. Search time!
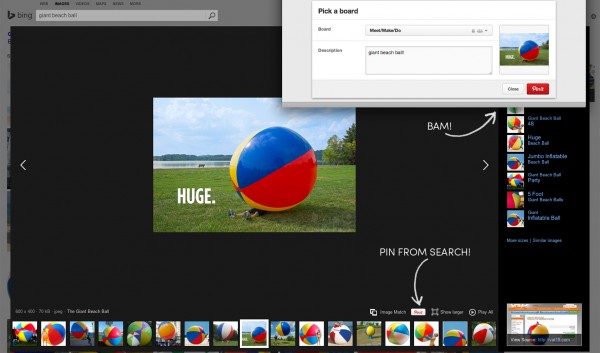
Yes! I didn’t dream it. They do exist! Pinned it right from Bing image search as proof (Pin from search is seriously the BEST feature. Time saver to the MAX!). And then I got to work…
Giant Beach Ball (Ours was 7′ but they come as big as 10 ft! WOWZA!)
Vinyl or Contact Paper (I used two and a half rolls of this contact paper to make our Meet Make Do logo.)
Pencil
X-Acto Knife + Cutting Mat
Tape
Tracing Paper + A Computer (Optional, depending on your design.)
Electric Air Pump (Unless you have the lung capacity to blow up a 7 ft. beach ball. I sure don’t.)
*It’s really helpful to have a partner in crime for this project. Since it’s large scale, it just makes life easier!
First things first, figure out what you want to write. Do you want to free hand it? Do you want to use a font or logo? If you’re freehanding, skip to the next steps below. If you’re using a font or logo, you’ll need to consider the size. We wanted our tallest letters to be about 18″ tall, and so we decided instead of printing out or template, we’d trace it right off of my large computer screen. I taped tracing paper to the screen and lightly (Please lightly! Don’t destroy your computer!) traced around the letters on several pieces of tracing paper. Then, unroll your contact paper. Tape your pieces of tracing paper to the back side of the contact paper, spelling your word(s) BACKWARDS (so it reads correctly when you cut it out!).
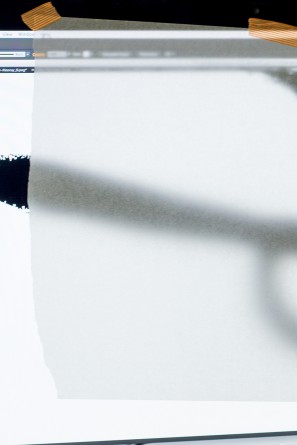
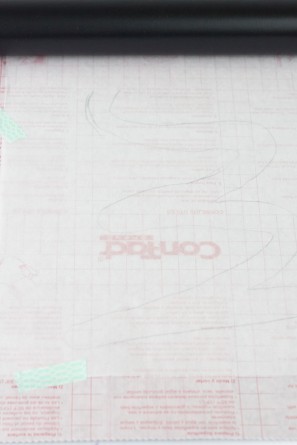
(If you’re freehanding, go ahead and draw your letters on the front of your contact paper. Just make sure to cut slightly inside your lines so you don’t have pencil lines on your finished piece.) On top of your cutting mat, use your x-acto knife to cut around your letters, through your tracing paper if applicable. (Since everything is so big, I recommend rolling the letters around a paper tube from a roll of wrapping paper until you’re ready to use them, to keep it more manageable.)
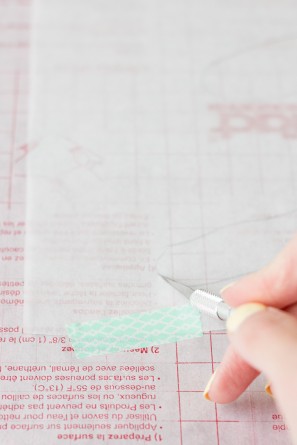
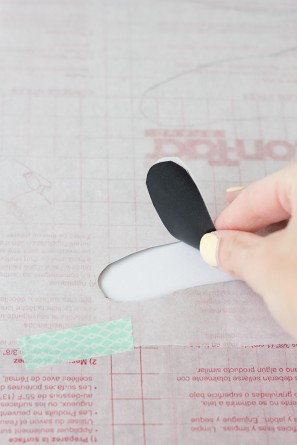
Now! When you’re ready, blow up your beach ball. We used this pump to blow ours up and it worked perfectly! Grab your partner in crime (Brittni was mine!) and it’s time to apply the vinyl. It’s easiest if you can somehow corral the beach ball. We used the hot tub to corral ours (but it wasn’t heated, otherwise it might pop.) If you can’t, you can still make it happen! Biggest tip: DO NOT remove all the contact paper backing at once. Work in small sections or you will have a big sticky mess. We started with our middle word (Make) and peeled the paper off the back of half the M to start. Brittni held the beach ball and the excess letters while I adhered everything. It’s as simple as peel and stick. Really! Just get out all the air bubbles as much as you can. After we had one letter adhered, we would peel the next and adhere that. So on and so on until….
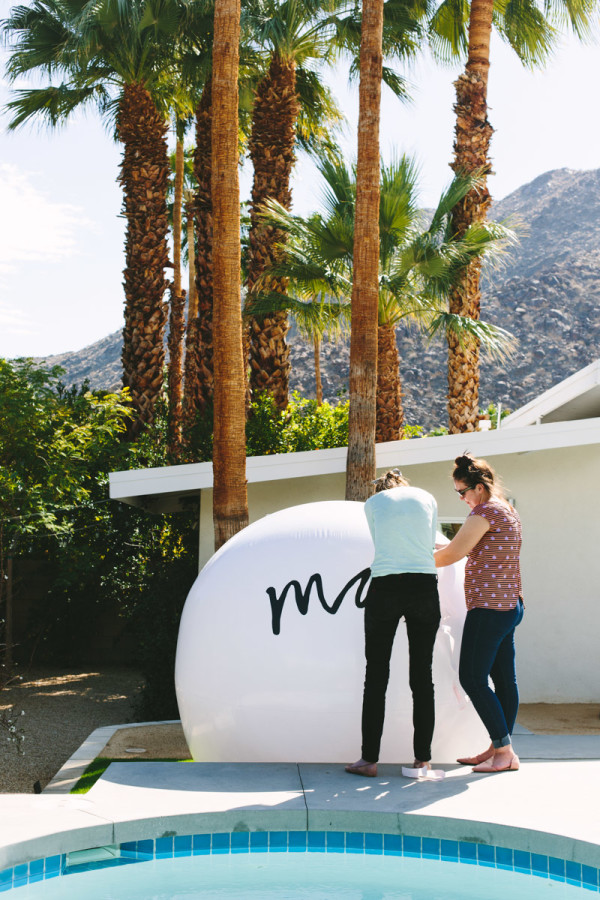
DONE!
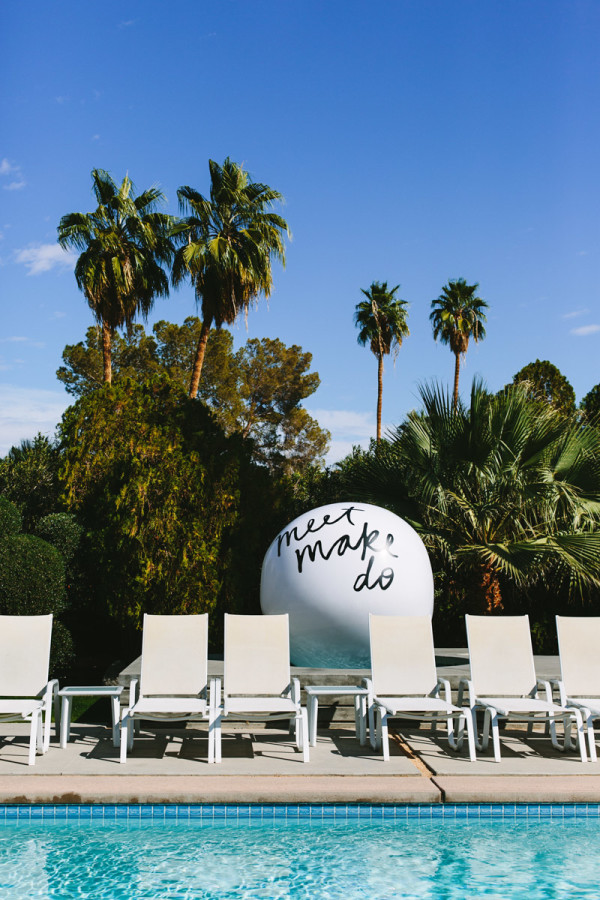
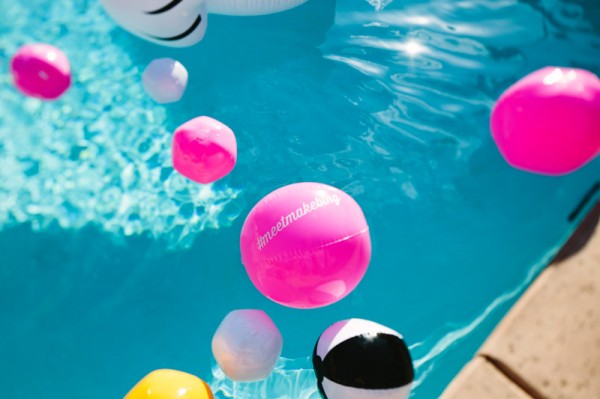
We used the same technique for some smaller beach balls. You know, in case you don’t have room for a giant beach ball. Who doesn’t!?
Gotta say, everyone was pretty wowed by this baby! And the swan helped too, of course. Ah, what a magical backyard. Can I go back there right now!? Please!?
Meet Make Do Logo by Jordan Brantley, Step-by-Step Vinyl Photos by Studio DIY, All Other Photos by Mary Costa Photography
A big ol’ thank you to Brittni for helping put this whole thing together with me! Teamwork! Now you know, if you ever need a backyard wow factor, you just need a giant custom beach ball. Birthdays, Father’s Day, Graduation Parties. I can find a million excuses, just let me know if you need one.
This post, and event, is sponsored by Bing. All content and opinions are that of my own! Thank you for supporting the sponsors that keep the Studio DIY party going! Read more about my editorial policies here.



Brittni says
You know how much I love that giant beach ball! I still can’t get over how big it was.
Eden says
Love that you posted this Kelly! I might do it for Romeo’s birthday! The kids would LOVE it!!
Kelly says
Ah! The kids would go CRAZY!! I’m going to have to crash that party if you do it… 😉
Kelly
EVERLY says
Oh. My. GOODNESS this is just AWESOME. Wish we had our own pool to justify making one of these bad boys! Also love the tip on Pinning from search. We’re already imagining the extra Pinterest damage we’ll be doing now! xo
Cath says
How durable and adhered was the contact paper once it was on the ball? Did the sides peel? I’m just thinking how much playing volleyball or whatever it could stand up to. 🙂
fnaf world says
The post you have shared here is great. I really like and appreciate your work. The points you mentioned in this article are helpful. I have to try to follow these points and also share others.
directions says
Your article is very meaningful, its content is quite interesting and impressive, I hope in the near future you will have many good and meaningful articles to bring to your readers.