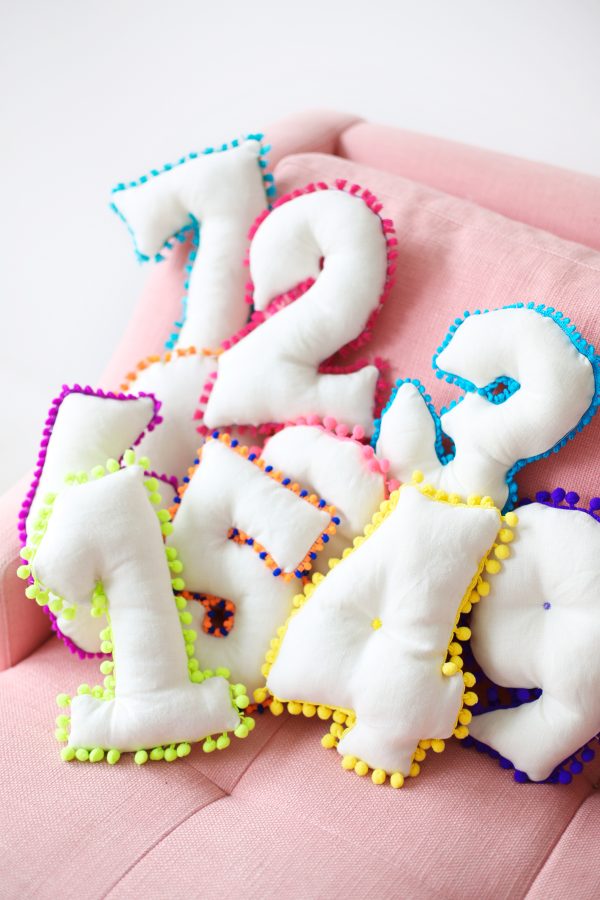
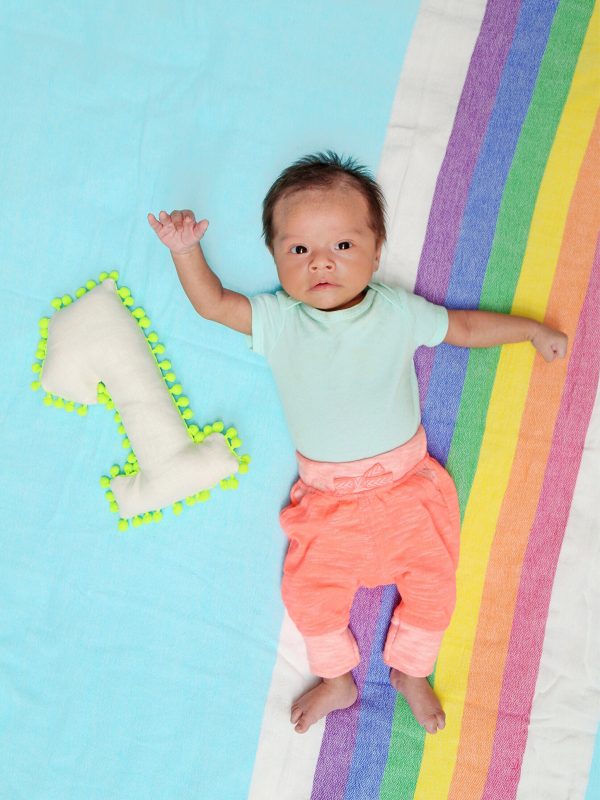
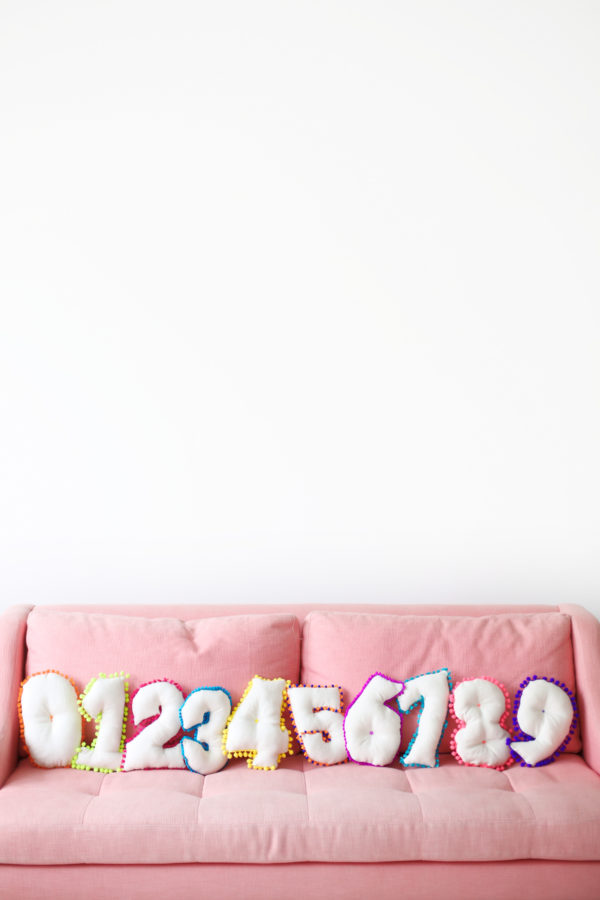
We’ve been moving this post back week by week for about a month now because it turns out, making a dozen number pillows with a newborn takes some time! Ha! I knew I wanted to make something to take Arlo’s monthly photos with so I could document his growth (And he’s already grown SO MUCH!) but I also liked the idea of it being something we could still use after the year was up. So, I came up with the idea for these DIY number pillows! I love that we can keep them in his room as decor and to help him learn his numbers with!
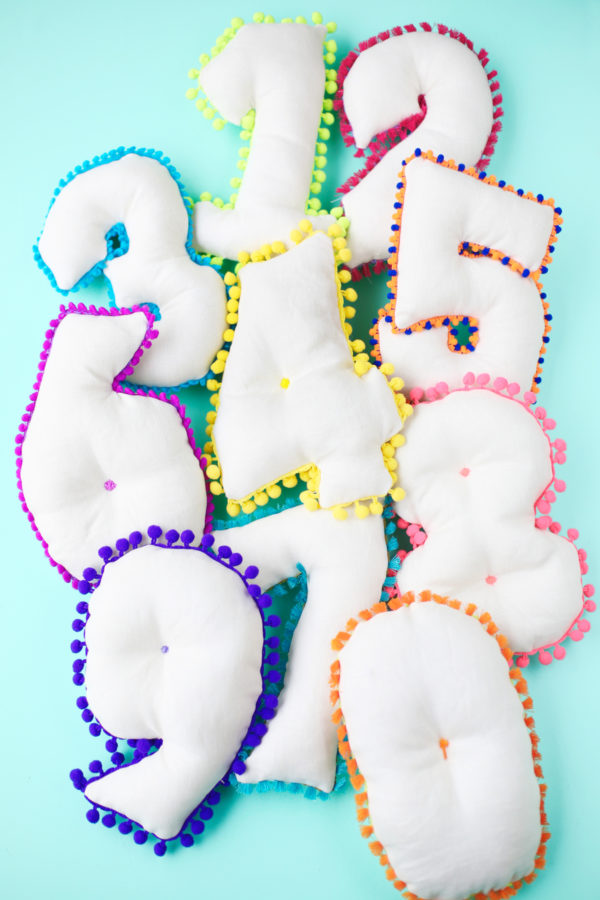
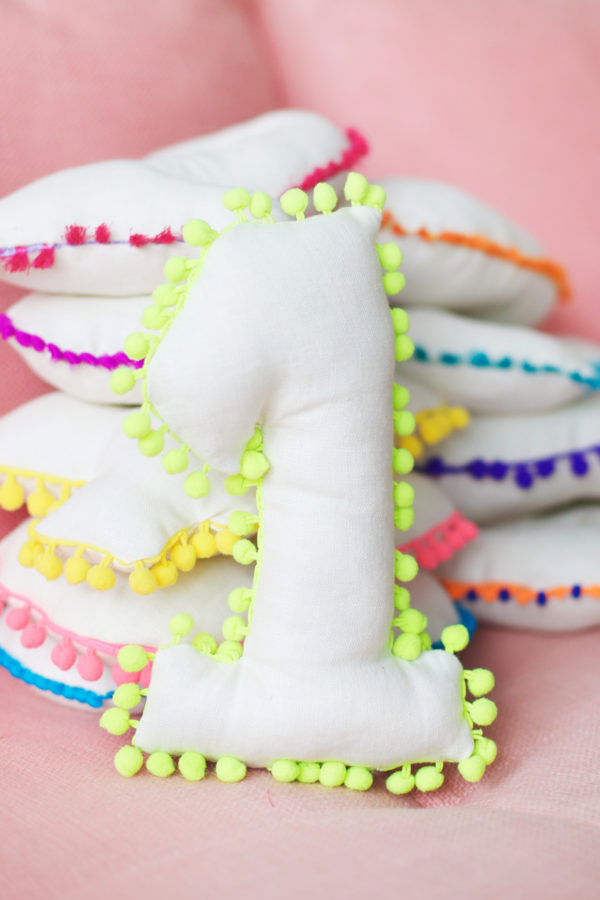
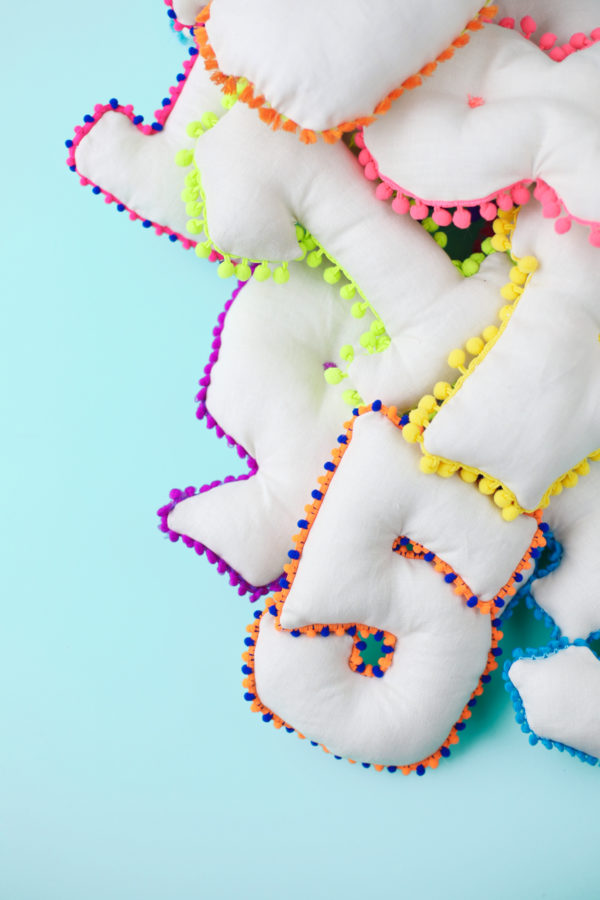
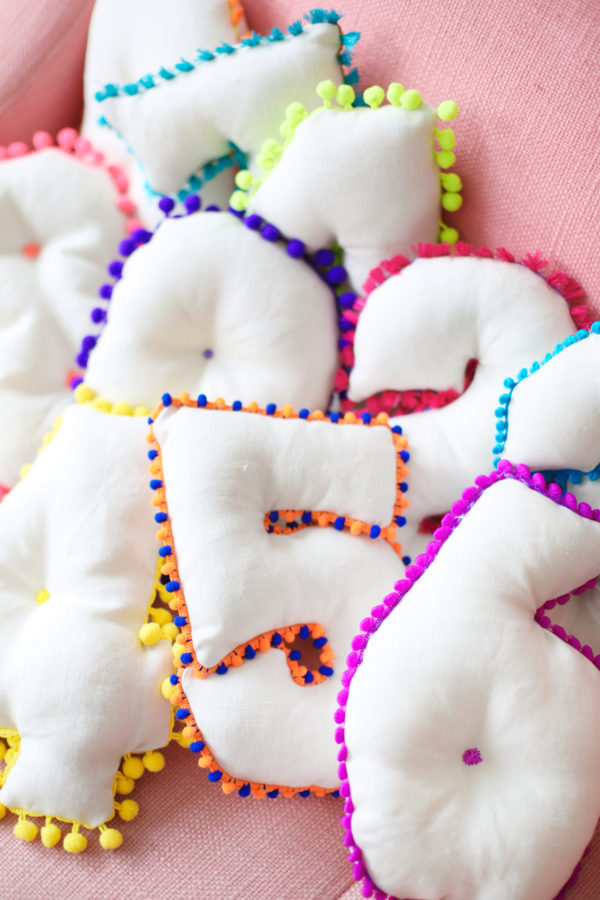
I decided to keep them a neutral fabric and add different bright/neon trim to each one as that is in-line with the style I hope his nursery will be (whenever he finally gets one!), but you could do any sort of fabric or all different ones, and trim or no trim! The trim definitely adds a few extra steps but I love how it turned out.
DIY Number Pillows
Total Time: 1 Hour Per Pillow
Supplies
Printable Number Patterns (Optional, you can make your own with a different font, too!)
Approx. 1/4 Yard Fabric per Two Pillows (If you are making a full 1-12 set, you'll need 1 3/4 Yards total)
1 Yard Trim Per Pillow, I used the following. I purchased all the pom pom trim locally and the tassel trim online. Purchasing locally is cheaper as you can just get 1 yard. If purchasing all trim online at the below sources, I'd recommend using just 1-3 trims as they come in 5 yard packs. I plan to use my excess trim for other projects!:
Neon Green Pom Pom
Pink Tassels
Turquoise Mini Pom
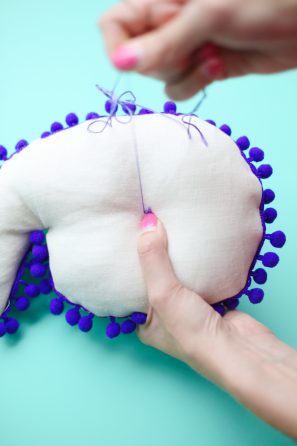
Yellow Pom Pom
Orange + Blue Mini Pom*
Purple Mini Pom
Turquoise Tassel
Neon Coral Pom Pom
Purple Pom Pom
Neon Yellow + Orange Mini Pom*
Orange Tassel
Turquoise Pom Pom
Pink + Purple Mini Pom*
Orange Pom Pom
*The multicolor pom pom trim was purchased locally in Downtown Los Angeles!
Fabric Scissors
Sewing Machine
Sewing Pins
Stuffing
Needle + Thread
Embroidery Floss (for the center of any pillow with a hole in it, i.e. 4, 6, 8, 9, 0, etc.)
Directions
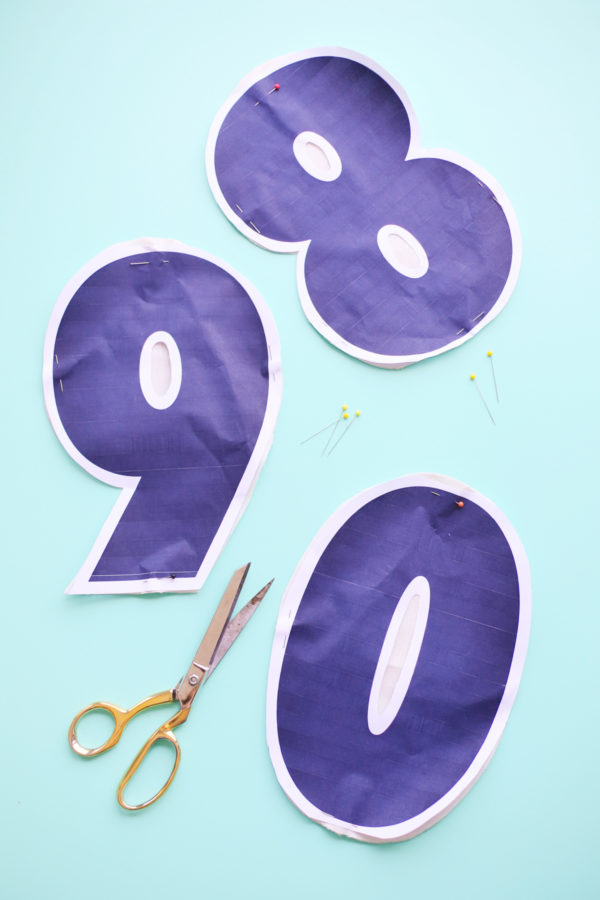
1. Print and cut out your number patterns. I wanted to print mine on 8.5 x 11" paper so I could print them at home, but I wanted my numbers to be slightly bigger, so I recommend cutting about 1/2" around the outside of the number pattern like I did.
2. Fold your fabric in half, right sides together, so it is double thickness.
3. Pin the number templates to the fabric. If you're making a full set, you'll need one of each number plus a second number one.
4. Cut out the numbers, through both layers of fabric.
Repeat the following steps for each number:
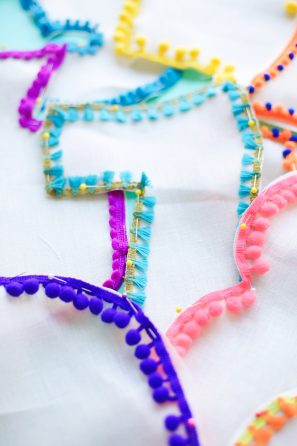
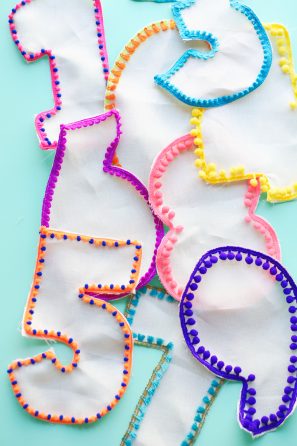
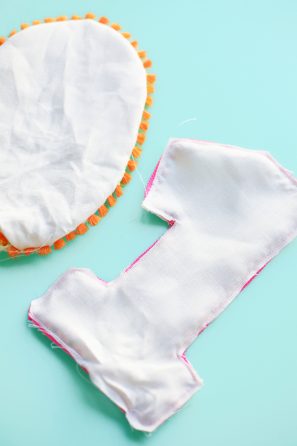
5. Unpin the layers and set one aside. With the number face up, pin the trim along the entire edge as shown. The trim should face inward.
6. Use a basting stitch on your sewing machine to stitch the trim onto the number, right along the edge. If you are using a large pom pom trim, you will need to use a zipper foot.
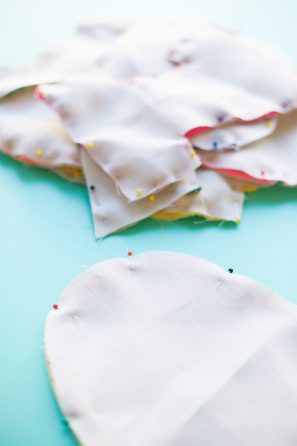
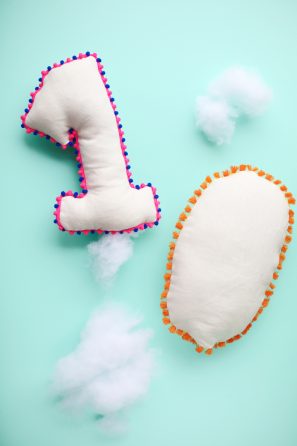
7. Pin the other number piece on top, right sides together, so the trim is sandwiched in the middle. Using a regular machine stitch, stitch through all three layers, with 1/4"-1/2" seam allowance, depending on the trim used. Leave about three inches unstitched, for turning.
8. Clip small slits into any curves on the number and then turn the number right side out.
9. Fill the number with stuffing.
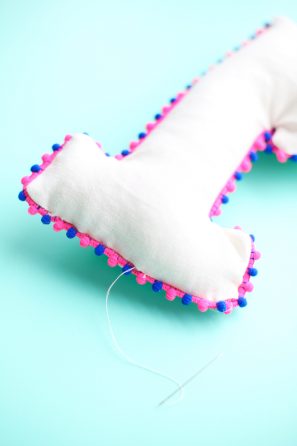
10. Using a slip stitch, hand-stitch the opening of the pillow shut.
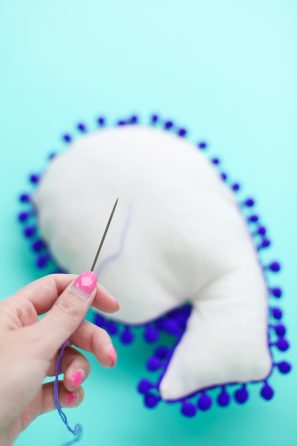
11. For any numbers that have a "hole" in them, thread a needle with embroidery floss and tie a large knot. Start in the back and stitch, right through both layers of fabric (and stuffing) in the center of where the hole would be, to the front. Then stitch back through to the back and pull tight. Repeat several times and tie a knot in the back.
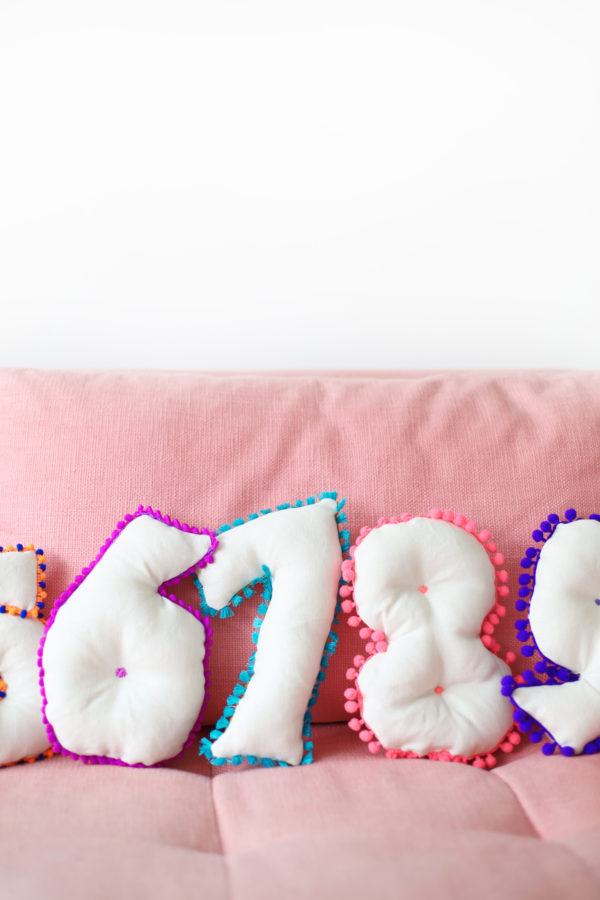
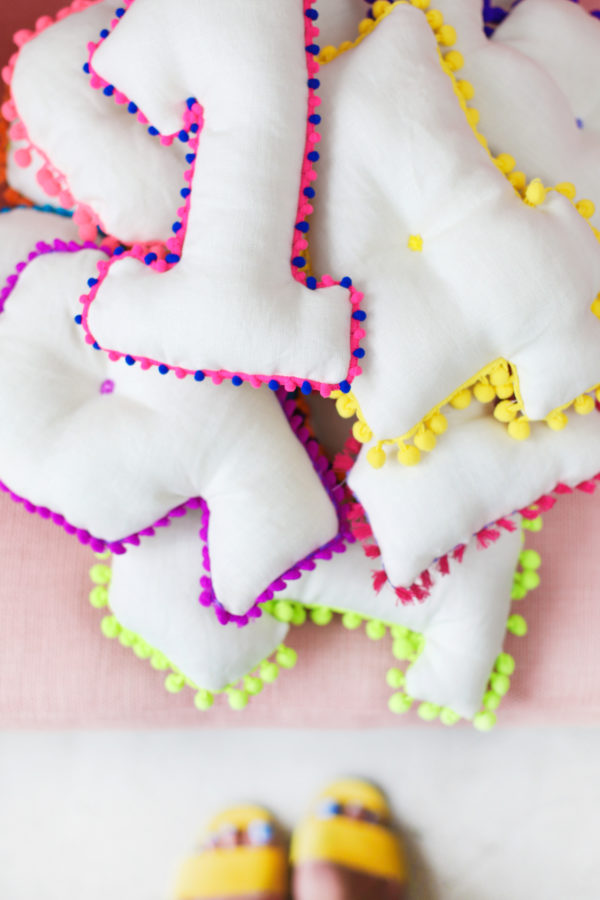
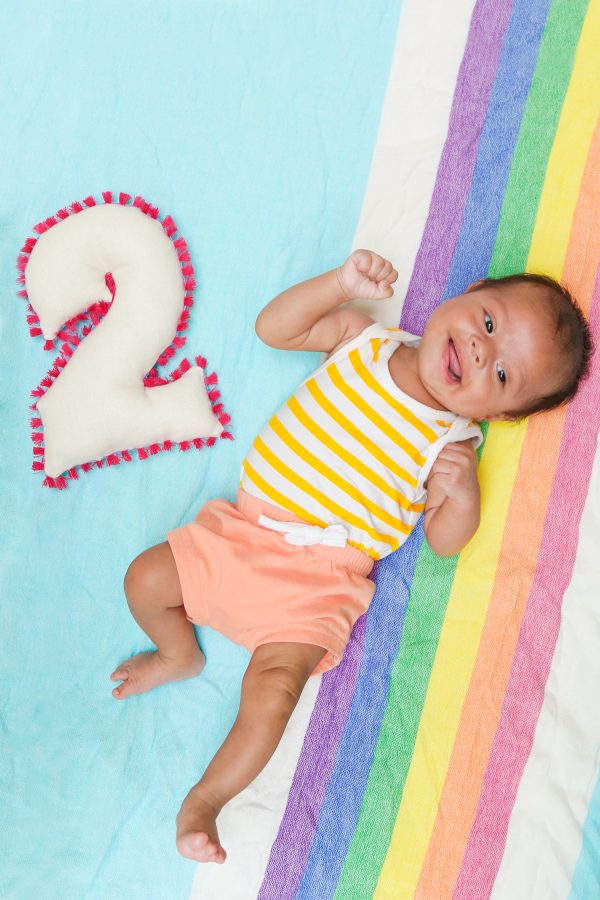
Photos by Jeff Mindell
This is the perfect project to do while you’re in the waiting period of an adoption or throughout your pregnancy! You can do one pillow at a time or bang ’em all out in one weekend. I just love them so much!!


Michelle says
They’re so cute!
https://www.makeandmess.com/
Sophie says
I love these. All the pom-poms are amazing.
Http://goldclutter.com
Emily says
Would be so cute for a nursery! No baby here yet, but fingers crossed, soon!
Anita says
Que lindos quedaron! and Arlo is the cutest!!!
olivia says
These pillows are too cute!!!! So is little Arlo!
Molly says
I love the Pom Pom trim! Where in downtown LA did you purchase? I would love to buy it locally so I can mix and match colors. Thanks!
Hena Tayeb says
these are awesome.. i love them. thanks for sharing
Ci-san says
This idea is simply great. And baby Arlo is so sweet. Trop adorable <3
Patricia L Williams says
Soooo cute!!!
Lisa says
I’m loving these so hard! So effective and yet so simple and easy! Thanks for sharing <3
AG says
What a great idea I love it!
I know that koocam.com are looking for people who do DIY, craft etc
Maybe you should check it out:)
Camille says
Can you tell me where to find the rainbow blanket? I love the pillows & the blanket juat pulls the whole theme together.
Amanda says
Wow… so cute pillows! That is some beautiful work. I will definitely make these pillows. Thanks for sharing each step briefly for making these pillow.