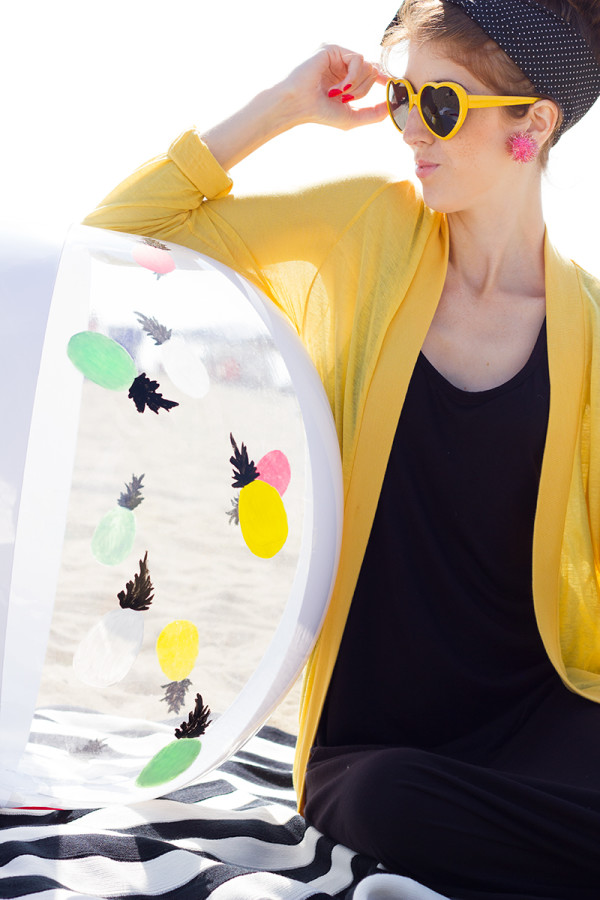
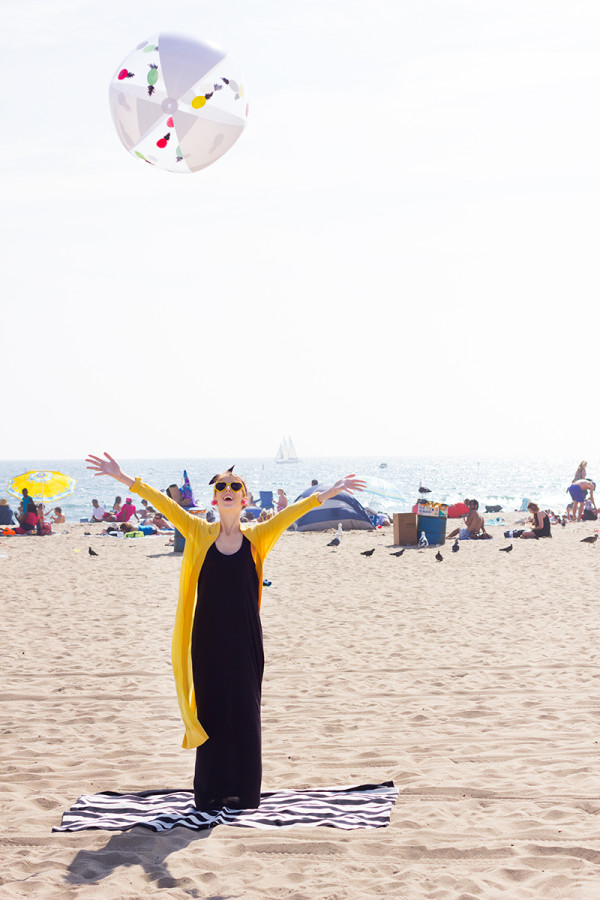
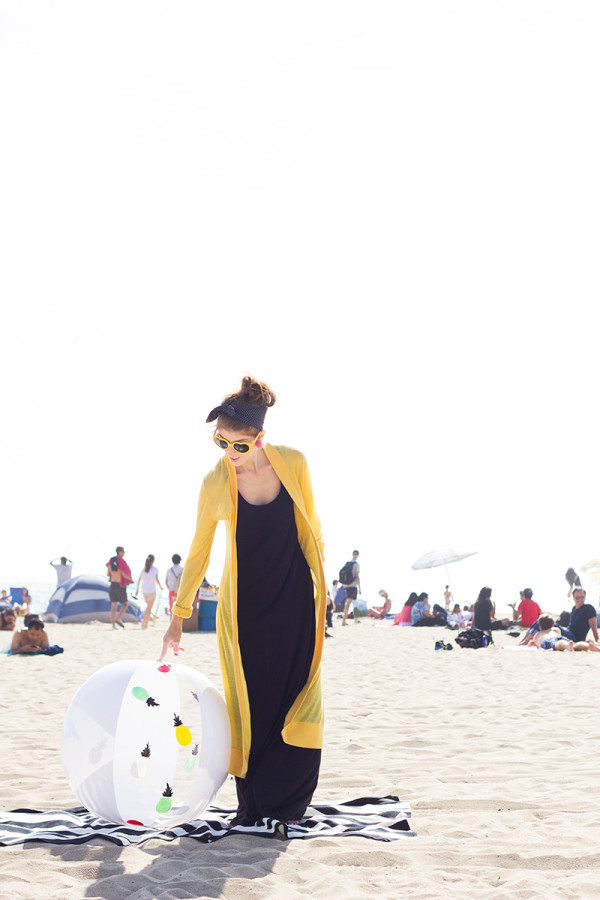
I gave a piñata a makeover, so why not give a beach ball one too!? Ok, a few beach balls. (You guys do love them, after all!) And one of them is giant. I stumbled upon beach ball heaven last month and promptly ordered a bazillion of them (including the star of yesterday’s photobooth!). Clear beach balls, if you ask me, are just begging for a little somethin’ somethin’ to jazz them up. And jazz ’em up I did! Since pineapples are the theme this week, a few of them got a pineapple makeover and one special one got it’s own stripey makeover too! I love the idea of being able to customize one of these guys to any color palette your heart desires and it would make the best pool party activity! Let’s get crackin’!
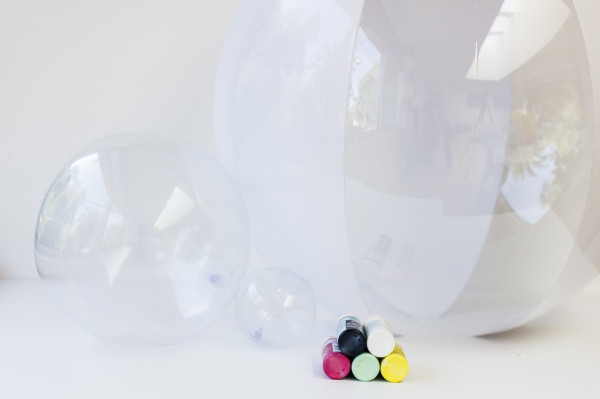
Beach Balls (I used these clear ones and a large clear + white one, now temporarily sold out it appears. But this could be done with any color + beach ball!)
Craft Paint*
Paint Brushes
Painter’s Tape (If making stripes)
*Note: The paint sticks to the beach balls really well once it’s dry. If you make a mistake though, you can easily remove the paint or clean it up with a Q-tip while it is still wet. Once dry, I tested these beach balls out in a bit of regular water (not salt or chlorinated) and they held up just fine, for those of you wondering about durability!
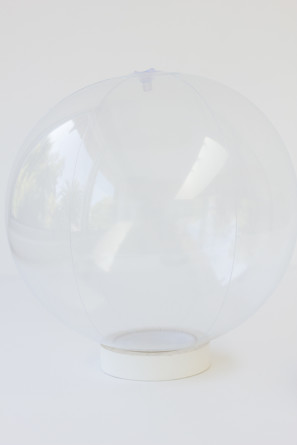
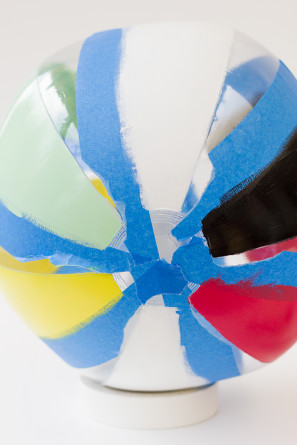
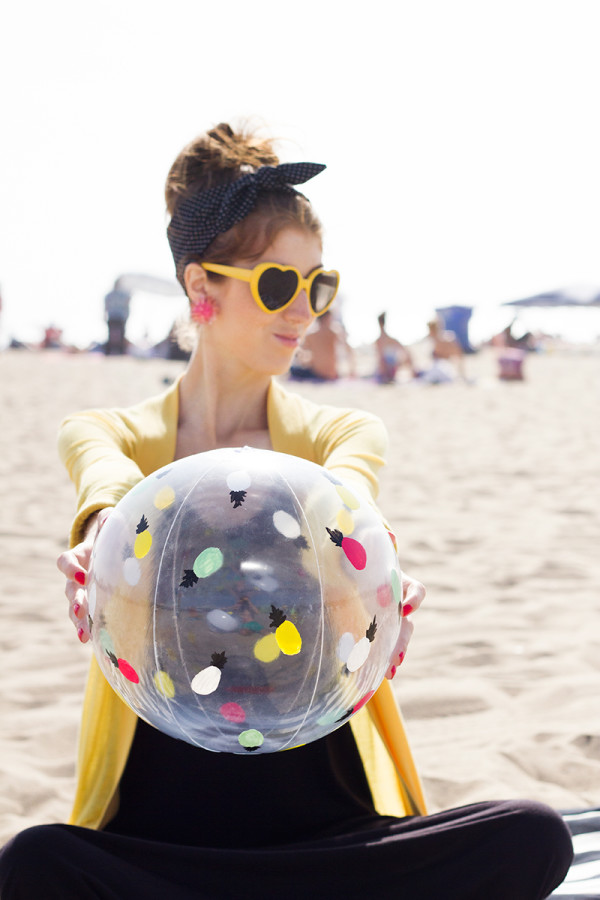
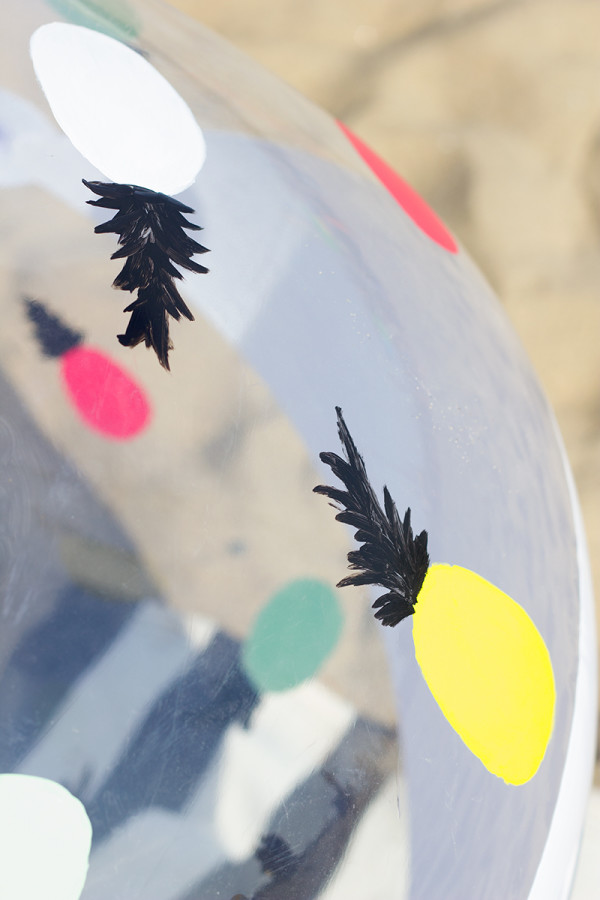
To steady my beach balls while I painted them, I set them atop a spare roll of tape. To make the pineapple beach ball, first paint oval shapes wherever desired. I painted two coats for each one, letting it dry for about 15 minutes in between each coat.
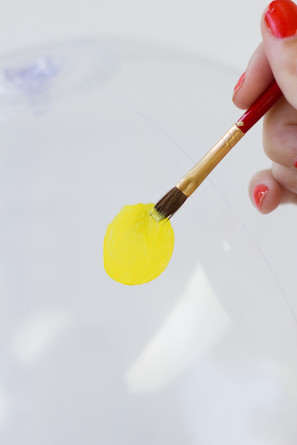
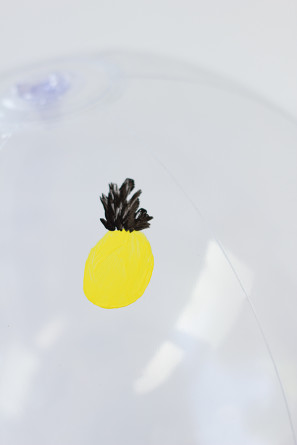
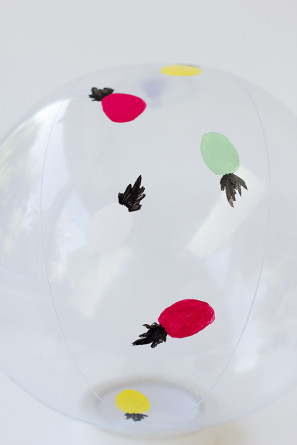
To make the leaves of the pineapple, use your paint brush to make rough lines, starting at one side of the oval, getting larger towards the middle, and then smaller again as you reach the other side. I found it easiest to paint all the ovals on one panel, then all the leaves on that panel, then repeat with each panel.
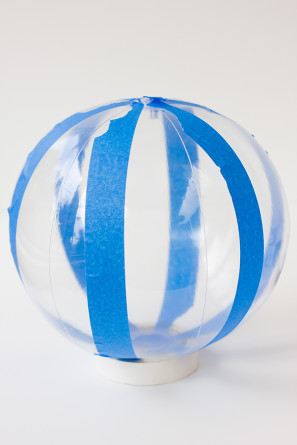
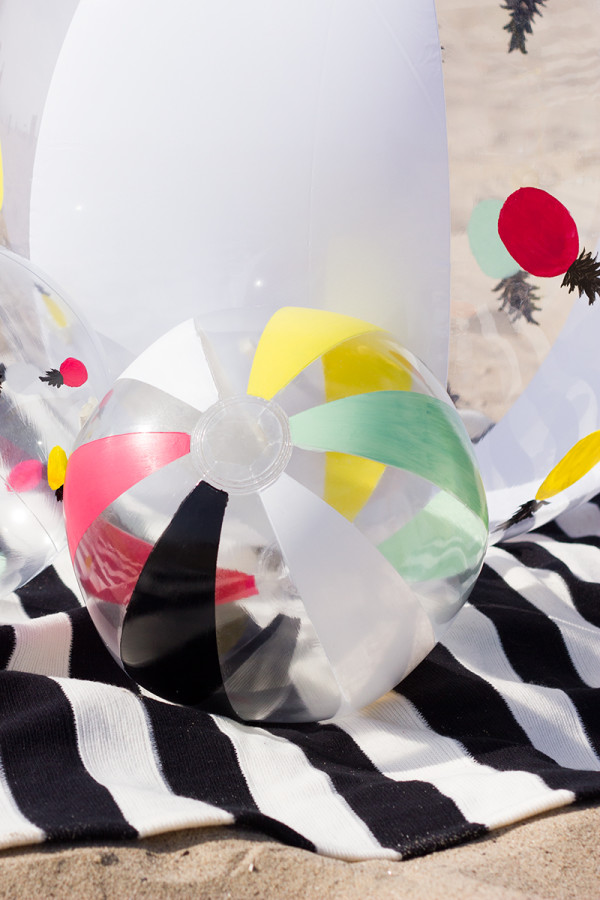
To make the striped beach ball, you’ll need to tape off your stripes as desired. I wanted to leave some clear showing through so I divided each panel of the beach ball in half with my tape. I used the lines of the panels as a guideline while painting, too. Paint each stripe your desired color and remove the tape once dry.
Tada!! Custom beach balls!
If you used mini ones, these would also make fantastic party favors, no!?
All Photos by Studio DIY
I hope you guys all have a chance to make a few of these before summertime runs out. The beach balls are so affordable and it is such a fun activity! Oh summer, I just really don’t want you to ever leave us!!!!
psst.. Brittni also recently posted a super cool beach ball DIY! Great minds, I tell ya!
For all you beach ball lovers, don’t forget about the drink stirrers and the beach ball garland too! And for DIYs all around, head here!


Brittni says
You and your pineapples! Ha! Love it Kelly. This is the perfect end of summer DIY.
STEL STYLE says
really cute diy and it’s so easy to do, I will do it!!
DIY ON MY BLOG
www.thestelstyle.com
Cathy says
Hi Kelly – Did paint hold up after deflating and reinflating? Planning set for elem school play (Wiz of Oz) and thought I’d buy giant beach ball and paint to customize. Wondering if paint peeled or cracked if deflated. Thanks!
Lee says
I have the same question as Cathy-how well did the paint stay on when deflated and which craft paint did you use?
Also, do you think spray paint would work too?