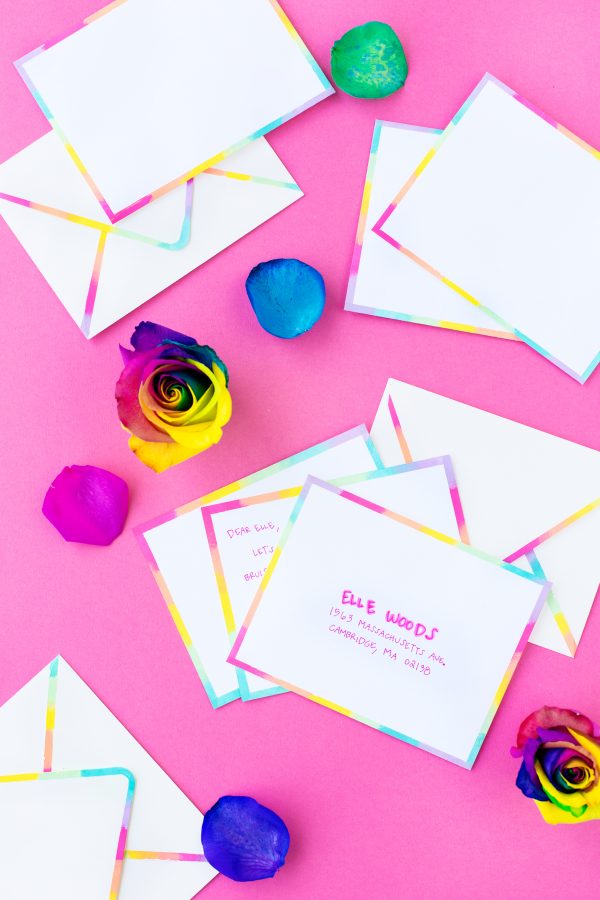
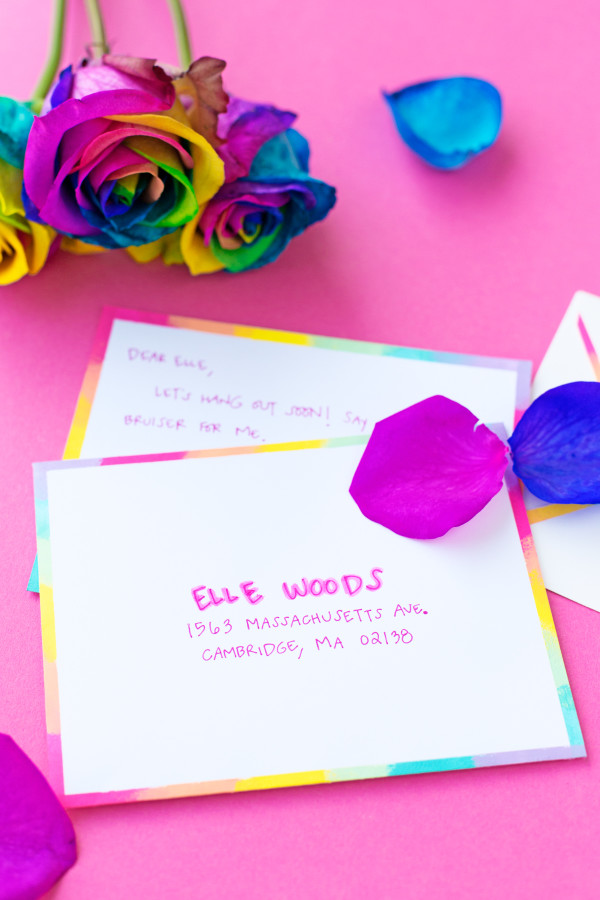
For how big of a paper nerd I am, I don’t share NEARLY enough stationery DIYs here, so we’re working to change that! Right now, I am SO madly, deeply in love with envelopes that have colored edges. I don’t know what it is… they look so crisp but also kind of cartoon-y!? We took some plain white envelopes and gave them a pretty rainbow edge makeover in honor of St. Patrick’s Day and I am DYINGGGG over how pretty they turned out!
DIY Rainbow Edge Stationery
Total Time: One Hour
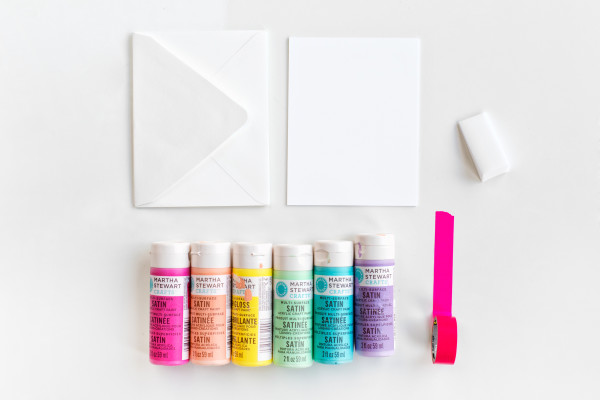
Supplies
High-Quality White Envelopes (Low quality tears too easily!)
High-Quality White Notecards
Craft Paint in Rainbow Colors
Makeup Sponges or Foam Brushes (One for each color, ideally!)
Washi Tape
T-Shirt
Directions
1. Washi tape is too sticky on it's own to place directly on the envelopes, so you have to remove some of the sticky first. Do this by tearing off a piece and sticking it to a t-shirt several times.
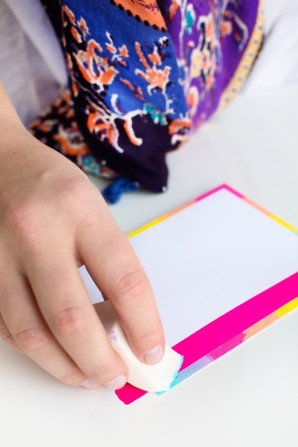
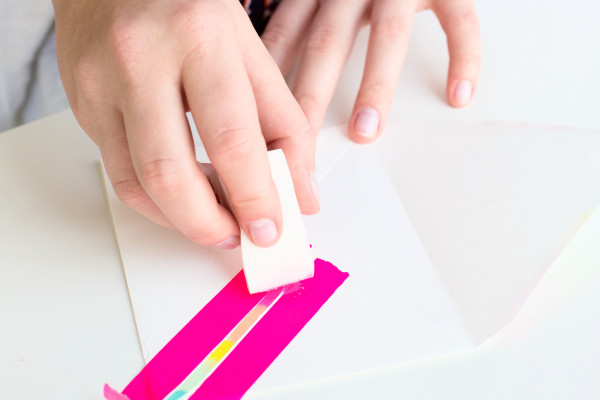
2. Lightly place the piece of tape about 1/8" from the edge of one side of the front of the envelopes.
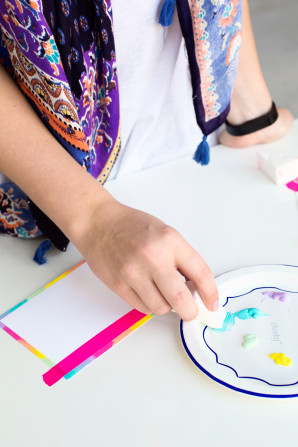
3. Dip a sponge into your first color and dab it over about a 1" section of the exposed edge. Repeat this with the other colors, overlapping each one slightly so it blends.
4. Immediately remove the tape after you finish painting one edge. Do this slowly, so as to not rip the paper.
5. Repeat on the opposite edge and let dry completely, then complete the other two sides. Let dry again.
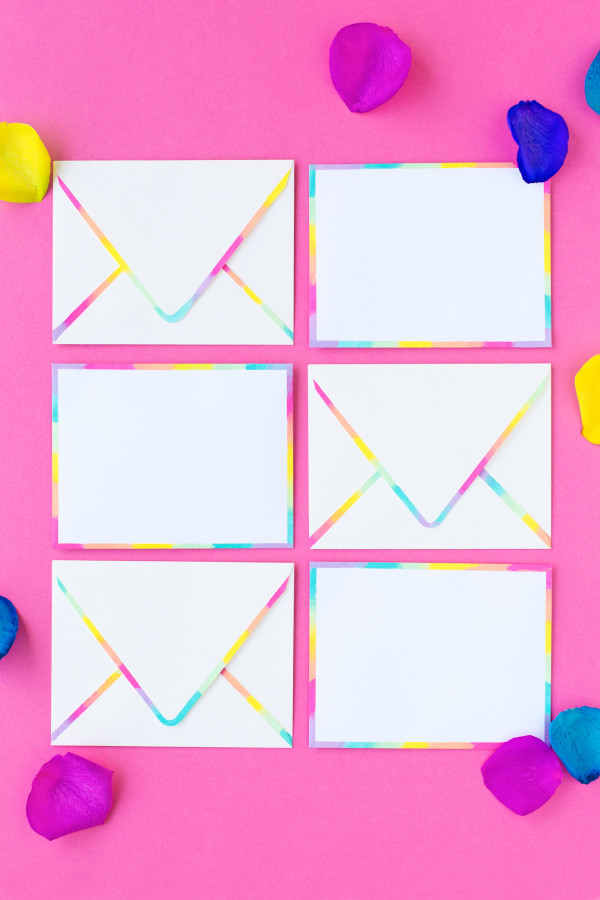
6. After the front is completely dry, it's time to do the back! Follow the same steps above for doing the flap of the envelope. Let dry.
7. Then tape two pieces of tape about 1/8" apart along the bottom diagonal lines on the back of the envelope. Sponge in-between the lines and let dry. Done!!
8. Use the same steps as the front of the envelope to do the notecards, if you want a complete set!
Photos by Jeff Mindell | Styling + Craft Production by Annie Steward | Creative Direction by Kelly Mindell
Your mail is about to get a whole lot more colorful, huh!? Excited to share the other paper-centric posts we have planned! Stay tuneeddd! And Happy St. Patrick’s Day!
p.s. Rainbow s’mores!





Michelle says
It’s so colourful, I love it!
https://www.makeandmess.com/
Gabriella says
I LOVE this! So colorful and so fun. Also adore that you used Elle Woods 😉
Karen Martinez says
These are gorgeous!!! can’t wait to see more paper DIYs 🙂
Daphne @ Be Frenchie says
What a wonderful touch of fantasy to snail mail. I would LOVE to receive such an amazing letter !
Kristina B says
LOVVVVVE!!! This totally gives the envelopes a little something extra, dontcha think? And I’m looking forward to more stationery posts! (Shocker…)
Les says
this is soooo cute!!!!
looks super easy to make but honestly, i think we need a studiodiy shop!!!!
so much stuff id buy from you guys.
just take my money!
JaneEllen says
So durned purty, thx for how-to, they really do look extra special, especially for Easter and Spring. Fun activity with kids supervised of course. Glad you shared this. If I received a decorated envelope would be first thing would open.
Happy weekend
Erin says
Oh my gosh this is so cute! I would love to try this out. I don’t have any high quality white envelopes but I do have some interestingly folded cards that open up that are great quality. Might test it out on those. Thanks so much for sharing x
Erin | beingerin.com
Ana | Little One says
Just loved the idea, amazing! I’m trying it for sure, xxx
www.littleoneoblog.wordpress.com
Annie N. says
LOVE this!! Reminds me of Lisa Frank and I just want to add this rainbow to everything (and completely annoy my husband haha!)!
Kelly says
Haha! Well I fully support this idea! 😉
Namrata Sehgal says
Wow! this is so cute. Such a great impression of colors that i can see. My envelopes will no longer be monotonous. Thanks for sharing this.