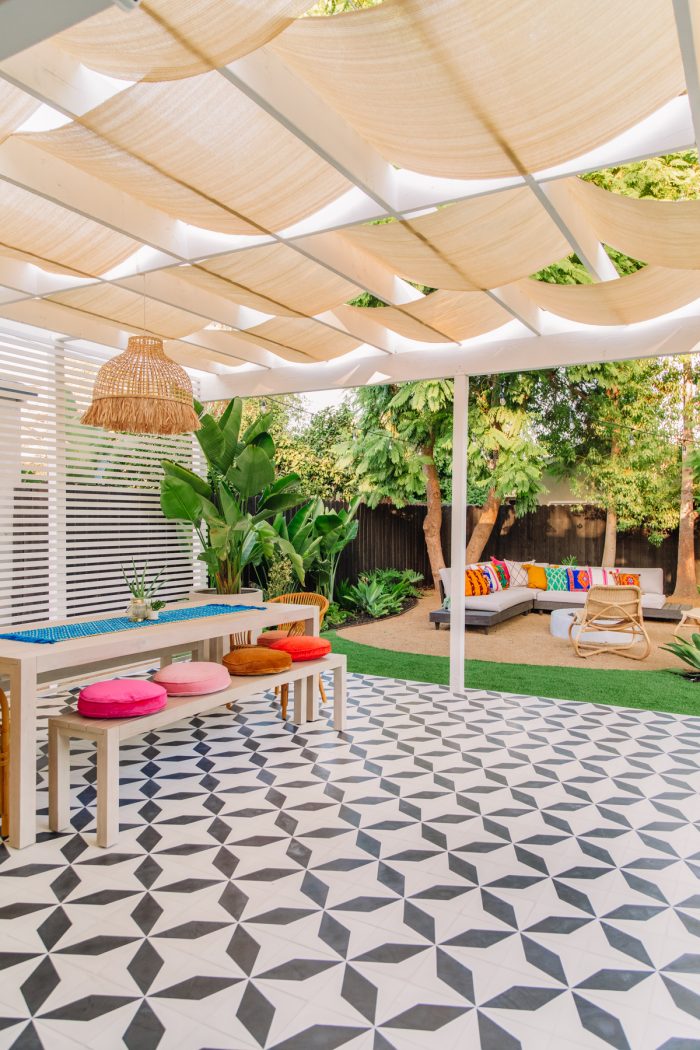
When we renovated our backyard we decided to get rid of the existing pergola structure and build a cleaner, modern structure in it’s place. We knew we wanted a pergola shade so we could use the patio comfortably during the day in the summer, but when we looked into options for a permanent or adjustable shade the costs were astronomical.
Our only options left were pre-made shade sails, which we thought would distract from the new pergola design. So we decided to make our own, out of the same UV protective sun shade fabric, that we could tailor to accent the beams of our new pergola perfectly!
It was easy to make and has proved to be quite durable. It also cost us only a tenth of what custom permanent shade options could have run us. Here’s how to make an easy shade for your patio, too!
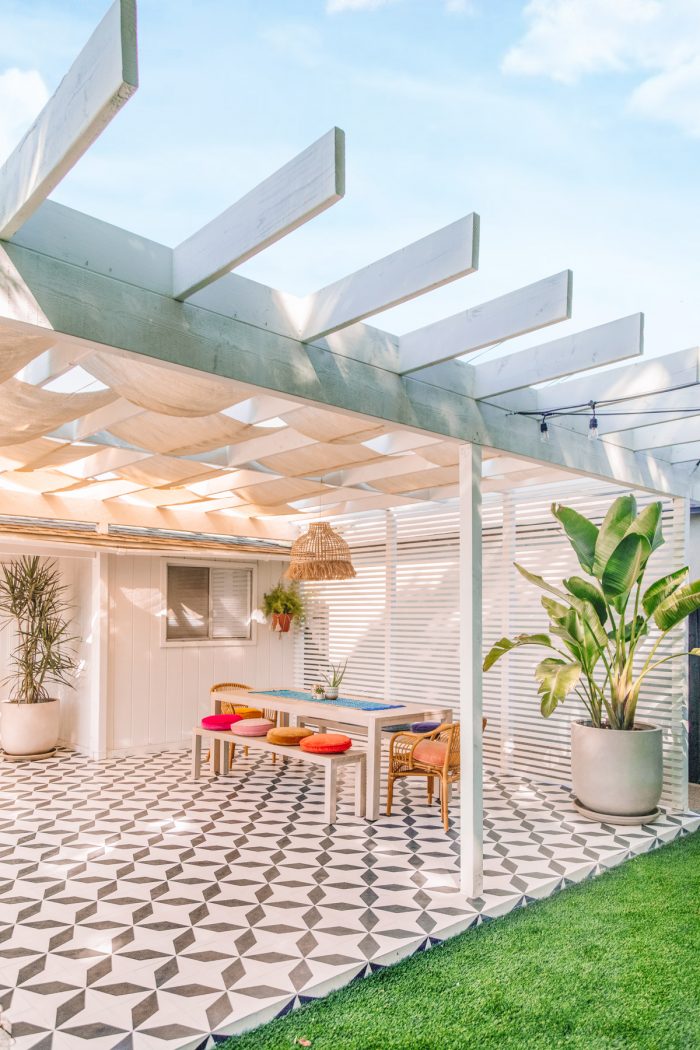
Table of contents
What material is best for a patio shade?
We used a sunblock shade cloth that offered UV protection.
It is not waterproof and won’t keep the rain out. We preferred this as that means it is breathable, so it doesn’t get weighed down in the rain, and it allows hot air to flow up and out instead of trapping it underneath. This keeps the patio both shaded and cool.
The material is both fade and stain resistant, and incredibly durable. It does not fray when cut and is lightweight, which made it easy to work with and install.
Supplies
- Sunblock Shade Cloth – The amount of rolls you’ll need depends on the size of your patio. See more info on that below!
- Screw Snaps – This comes with everything you need to install snaps on both the shades and your pergola structure.
- Drill with Phillips head bit or Screwdriver
- Scissors
How To Make A Pergola Shade
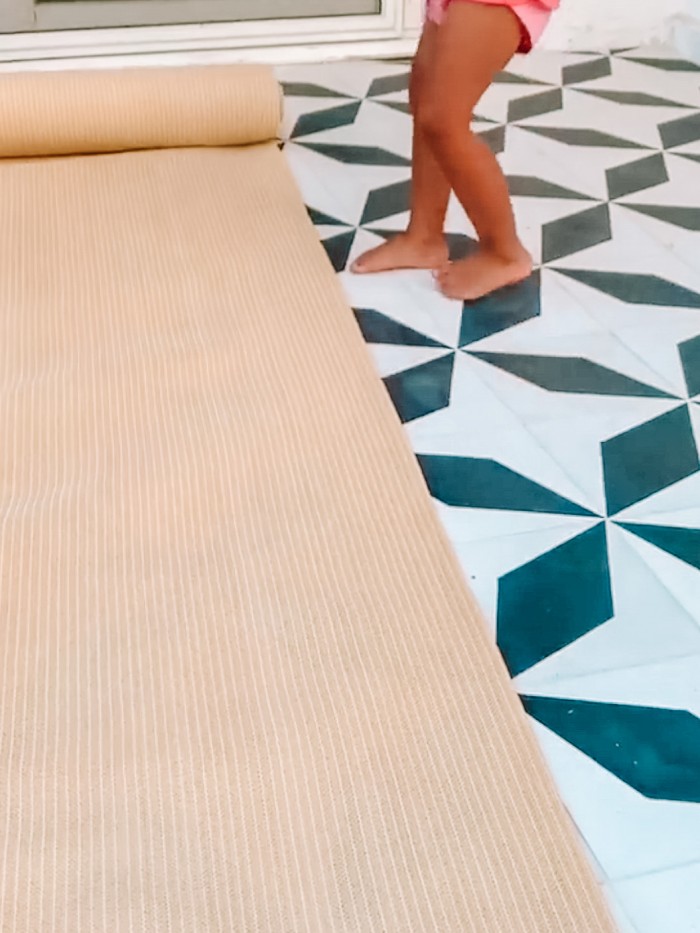
Determine the length. I made each strip approximately 1.5x the length of the pergola I was covering, to account for weaving it through the beams and allowing it to drape a little for aesthetic reasons. You can make it longer, for more of a drape, or shorter, for less.
Note: We have had no issues with the fabric fraying.
I recommend leaving it longer and trimming one edge after you do a test run on your pergola for exact size.
Determine the width. My sun shade roll came with the fabric (a total of 8′ wide) folded in half. I decided to make each strip about 42″ wide, and did this by just cutting about one inch off, down the folded side.
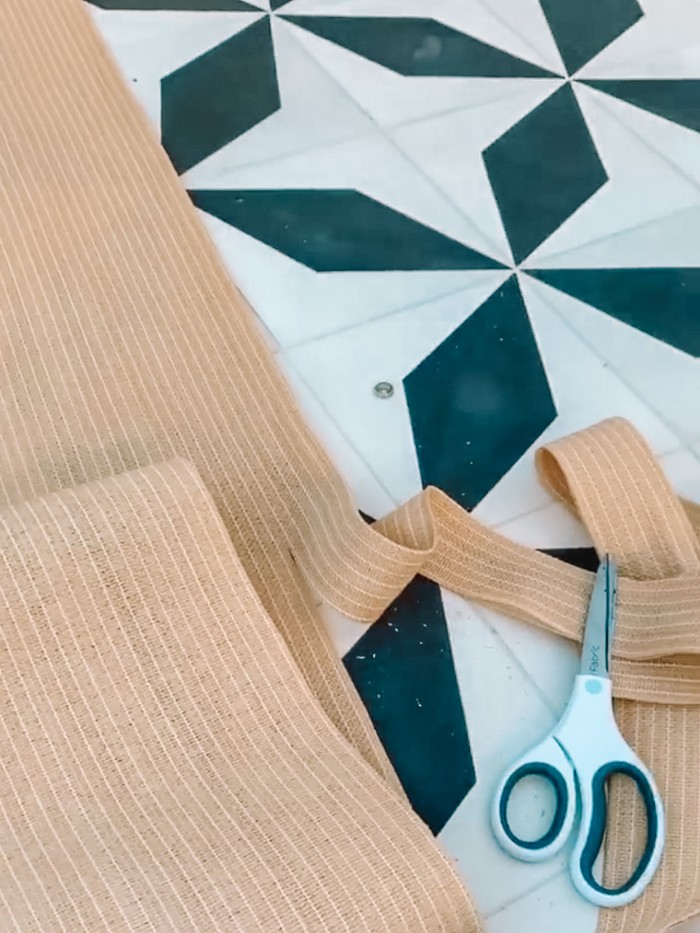
Cut each strip to the desired length and width using sharp scissors.
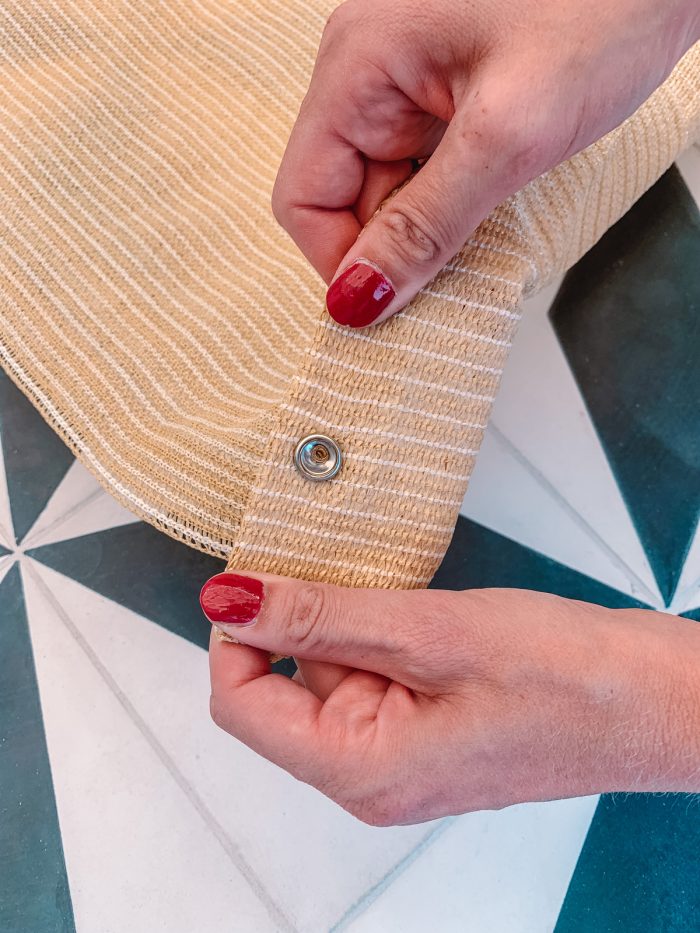
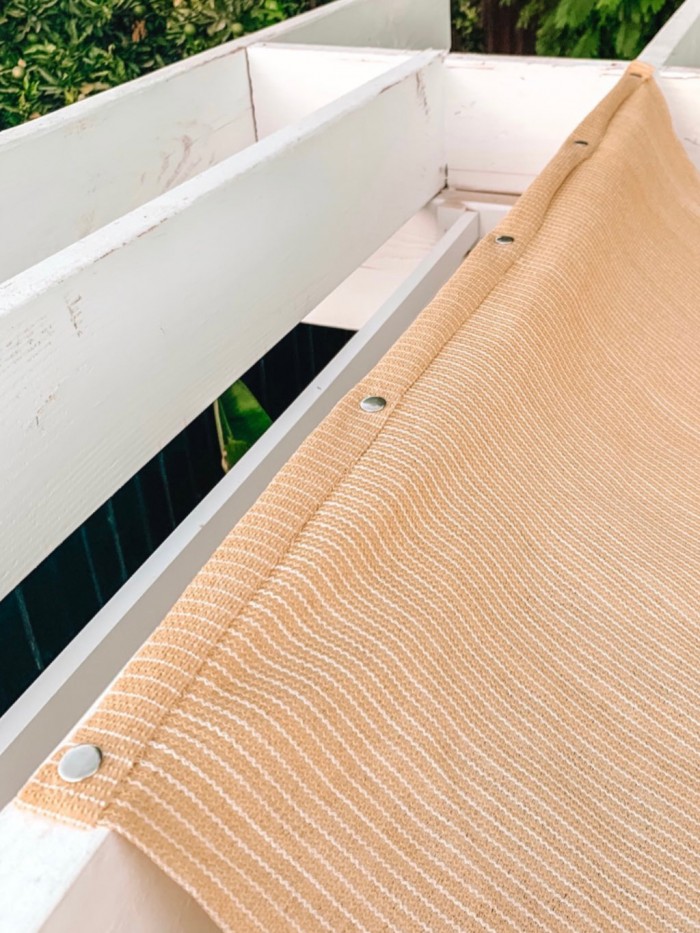
Fold over one of the short ends of one of your shades about 1.5″. This will create a more substatial end for hammering your snaps into.
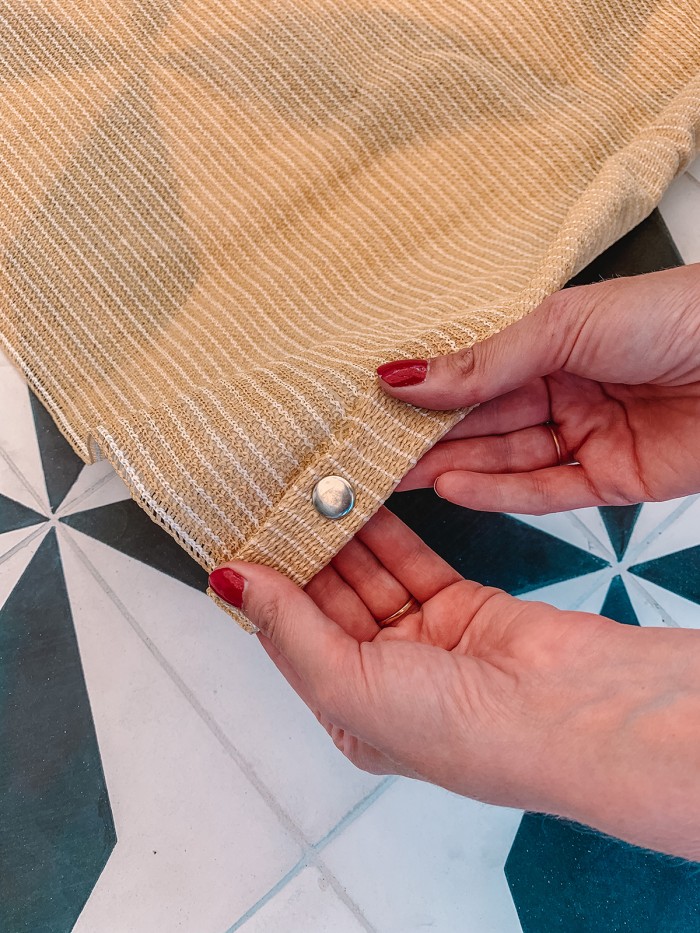
Set your snaps to one end of the strip. I added five snaps across my 42″ wide shade, adjust accordingly for the width of yours.
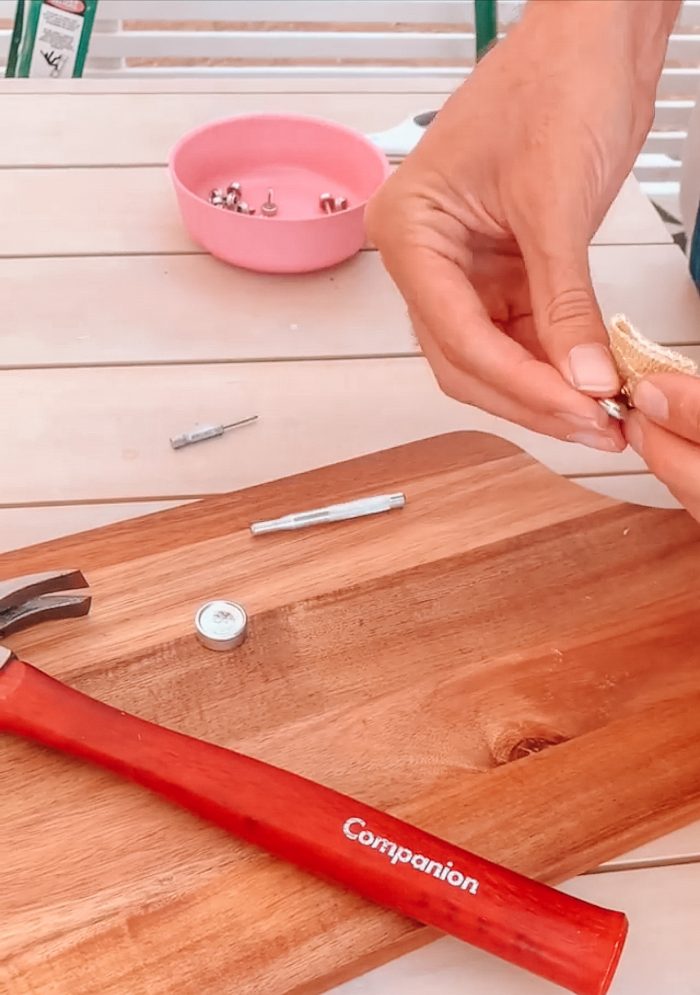
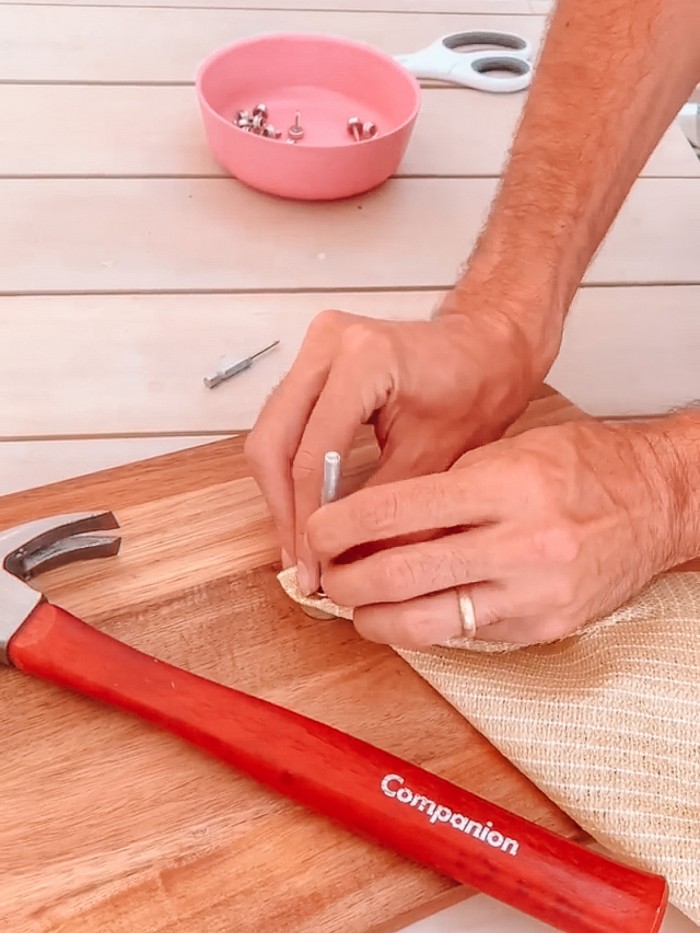
Place the cap of the snap through the folded shade material in the desired spot. Snap the socket onto the cap, on the other side of the shade. Place, the snap, cap side down, into the setting tool (called an anvil) and place the punch on top of the socket.
Hammer on top of the punch a few times. This will flatten and lock the socket in place. Repeat with all other snaps on this side.
Do a test run. Once all snaps are set on one side of your shade, I recommend doing a test run and hanging up one shade as desired on your patio. (See below for how to install your pergola.)
For us this meant weaving it through the beams of the pergola for the test run. This allowed us to determine exactly how much drape we wanted and if we needed to shorten it.
Trim accordingly, remembering to leave that extra 1.5″ to fold over.
How To Install The Pergola Shade
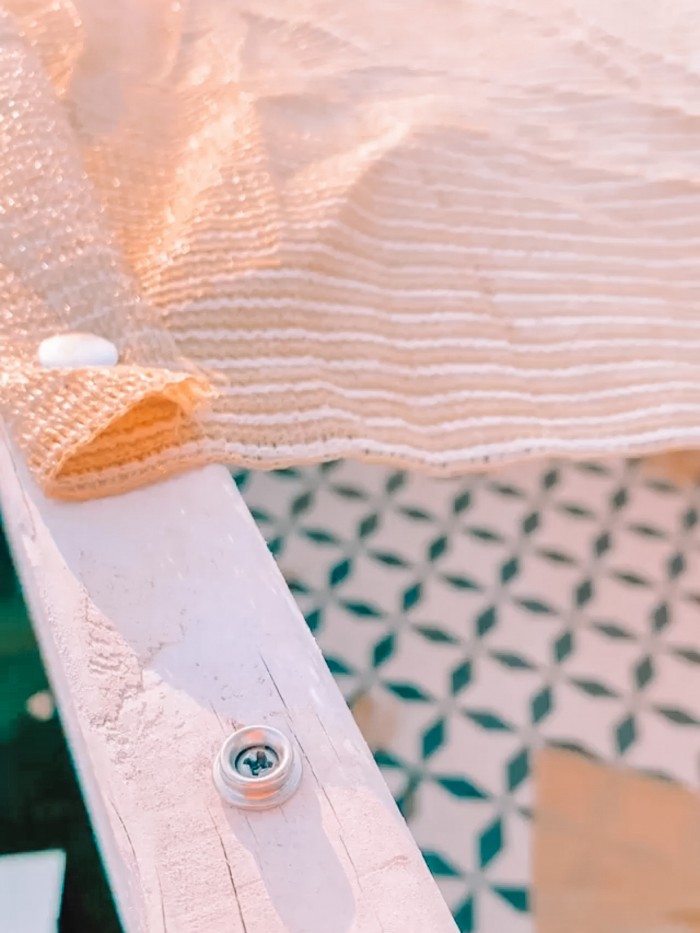
Screw the snaps into the pergola. To attach the snaps to the pergola, grab the screw-in snaps from your kit. Determine where you want the first snap to be along your wood beam and screw the piece into place on top of it using a drill with a Phillips head bit or a screwdriver.
Repeat for all other snaps, measuring accordingly so the snaps line up with the ones installed on your shade.
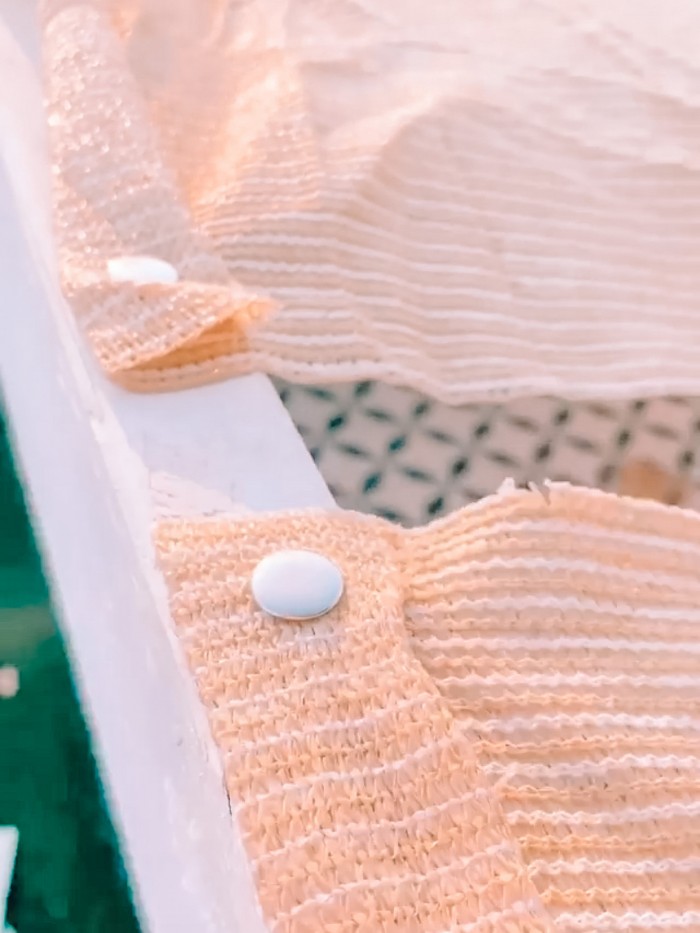
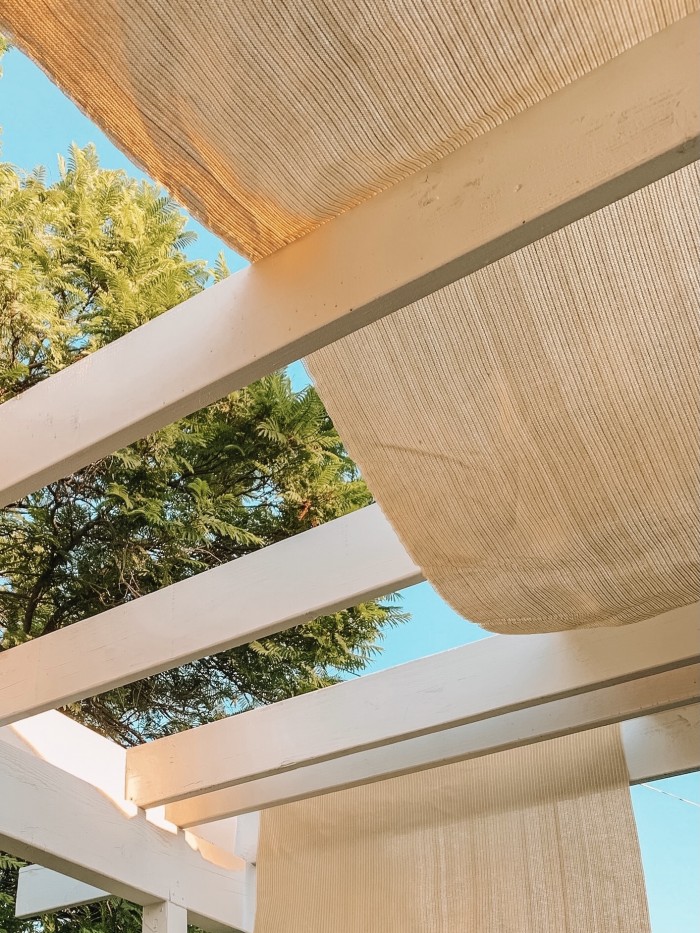
Repeat with other side of shade. Once you’ve done your test run and determined the length, repeat the fold and snap install on the other side of the shade and hang according to above instructions, weaving it over one beam and under the next.
Repeat with all other shades. For the same look as ours, alternate the over/under positioning of each shade to create the look.
Cost
Here’s a breakdown of how much this DIY patio shade cost:
- Two rolls of shade fabric – $157.98
- Screw-in Snap Kit – $14.98
We had all other supplies (drill, screwdriver and scissors) already so the total cost for this pergola shade was: $172.96
Do the shades blow around?
Since we chose to only add snaps to the first and last beam we attached the strips to, they do blow around a bit. Because the feel of the pergola is already very free flowing and organic, it never looks strange and we like the feel of it!
However, if you want your shades to stay perfectly in place, you can do one of the following:
- Add snaps to the top of each beam and to the corresponding spot on your shades so they stay perfectly draped and in place.
- Don’t leave as much give in the shades and pull them more taught so there is less material to blow around.
Is the shade removable?
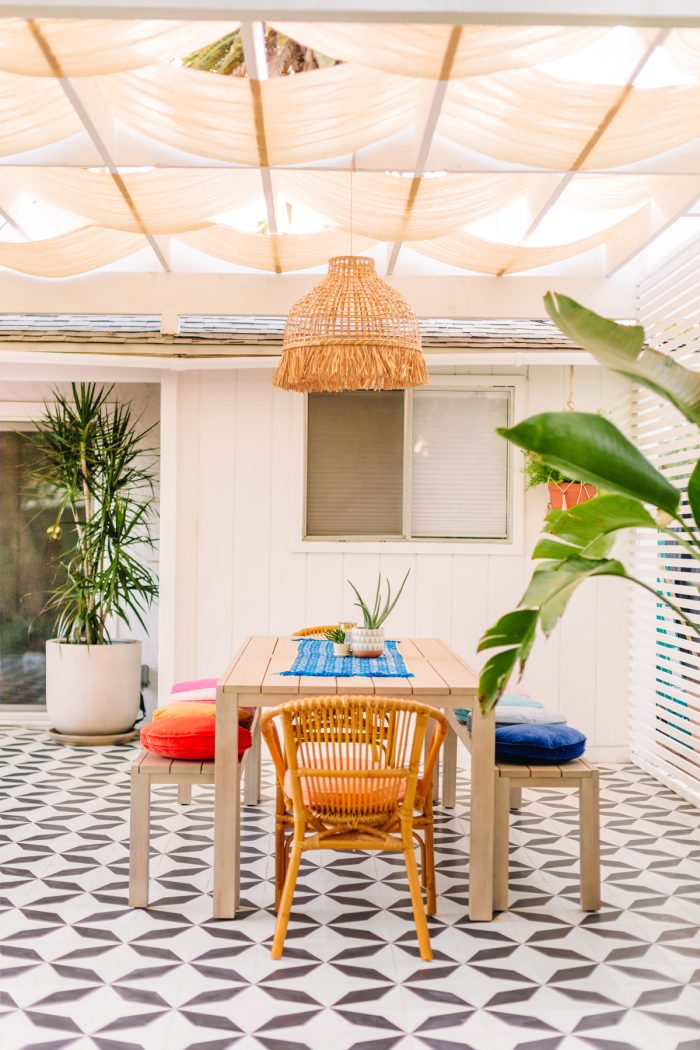
Yes, we attached our shade with snaps for this exact reason, so we could easily remove it if we needed to. You simply unsnap it and unweave it from the pergola beams. Then put it back up the same way you originally did!
How do you clean this pergola shade?
Ours has been up for 18 months and we have not felt we needed to pull them down to clean them. They still look great! There is certainly some slight wear and tear from the elements, but overall it seems that with the minor rain we do get that does a good enough job cleaning them that we don’t have to.
That said, if you do need to clean yours, simply unsnap them pull them down and wash with a hose or power washer.
Get ready to enjoy your patio this summer, even on the sunniest of days!
DIY Patio Shade
Equipment
- Drill or Screwdriver
- Scissors
Materials
- Sunshade material Amount will depend on size of patio
- Screw-in snap kit
Instructions
Making the Pergola Shade
- Determine the length. I made each strip approximately 1.5x the length of the pergola I was covering, to account for weaving it through the beams and allowing it to drape a little for aesthetic reasons. You can make it longer, for more of a drape, or shorter, for less.
- Determine the width. My sun shade roll came with the fabric (a total of 8′ wide) folded in half. I decided to make each strip about 42″ wide, and did this by just cutting about one inch off, down the folded side.
- Cut each strip to the desired length and width using sharp scissors.
- Fold over one of the short ends of one of your shades about 1.5″. This will create a more substatial end for hammering your snaps into.
- Set your snaps to one end of the strip. I added five snaps across my 42″ wide shade, adjust accordingly for the width of yours.Place the cap of the snap through the folded shade material in the desired spot. Snap the socket onto the cap, on the other side of the shade. Place, the snap, cap side down, into the setting tool (called an anvil) and place the punch on top of the socket. Hammer on top of the punch a few times. This will flatten and lock the socket in place. Repeat with all other snaps on this side.
- Do a test run. Once all snaps are set on one side of your shade, I recommend doing a test run and hanging up one shade as desired on your patio. For us this meant weaving it through the beams of the pergola for the test run. This allowed us to determine exactly how much drape we wanted and if we needed to shorten it.Trim accordingly, remembering to leave that extra 1.5″ to fold over.
Installing the Pergola Shade
- Screw the snaps into the pergola. To attach the snaps to the pergola, grab the screw-in snaps from your kit. Determine where you want the first snap to be along your wood beam and screw the piece into place on top of it using a drill with a Phillips head bit or a screwdriver.
- Repeat for all other snaps, measuring accordingly so the snaps line up with the ones installed on your shade.
- Repeat with other side of shade. Once you’ve done your test run and determined the length, repeat the fold and snap install on the other side of the shade and hang according to above instructions, weaving it over one beam and under the next.
- Repeat with all other shades. For the same look as ours, alternate the over/under positioning of each shade to create the look.
Notes
- Before cutting, measure your pergola to ensure you are cutting the appropriate width. We had to work around two beams which determined the width we could make each shade.
- I recommend leaving the first shade you make longer and trimming one edge after you do a test run on your pergola for exact size.




AP says
The snaps are a great idea! Do the shades move around so there is uneven sag in some places? Does your backyard get a lot of wind? I like what you did, but am wondering how it will hold up on my pergola which gets a lot of wind.
Kelly says
Great question, will add this to the post! They do blow around so they aren’t always perfectly even but it never feels or looks strange since they tend to blow right back a few seconds later! If you want them to stay perfectly in place, you could add additional snaps on top of each beam you weave the pieces “over” and that would hold them there!
Karl-Heinz says
I just found your site today and I think your project is just great and inspiring. Thanks also for the detailed assembly instructions. Please keep it up.
Best regards
Karl Heinz
Becca says
Hi Kelly!
Where are those circle cushions from? So cute!!
Kelly says
Hi Becca! They’re from Rachel Castle: https://www.castleandthings.com.au/search?q=penny+round+cushion
Emma Eckert says
We followed these instructions to add shade to our new pergola this summer. I have to say, I am super happy how it turned out. We live in Buffalo NY, so I was excited to use the snaps, so we can take the fabric down for the winter and just stick back up next spring. Thanks for this!
Kelly says
I’m so glad you found the instructions helpful and easy to follow. Your pergola must look beautiful with the shade fabric. I hope you enjoy many relaxing moments under it. Thanks for the feedback!
Carrie says
So Excited to try this! How much space did you leave between each shade strip?
Kelly says
Hi Carrie, I’m sure you will love it! I only left about 1/2″ between each shade because I wanted full shade coverage!
Laura says
How do these hold up in the rain? Does water build up and stretch it out at all?
Kelly says
Hi Laura, different pergola covers have different rain resistance. Waterproof shade sails and louvered roofs can block out heavy rain, but may fade or need cleaning. Fabric canopies and retractable awnings can handle light rain, but may leak or sag in heavy rain. Polycarbonate panels can protect from rain and snow, but may scratch or crack over time. I hope this helps!