Happy Earth Day, folks! On this fine holiday for appreciating our little world we live in, I wanted to address something we all know about parties. They can be wasteful. I’m not trying to fool anyone, parties often use a lot of paper, disposable plates and napkins, nevermind all that gift wrap! While there are certainly many great sources for a more eco-friendly party nowadays, I also wanted to show you guys a few easy-peasy DIYs for using leftover party supplies, and even used ones! I’ve got five DIYs here, people, so get ready for a lengthy (but awesome) post! Woohoo!
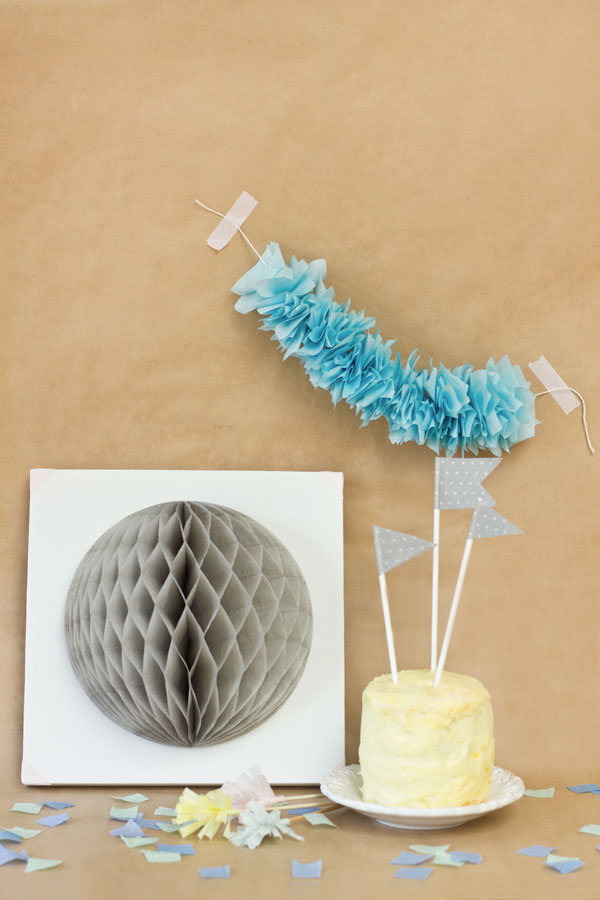
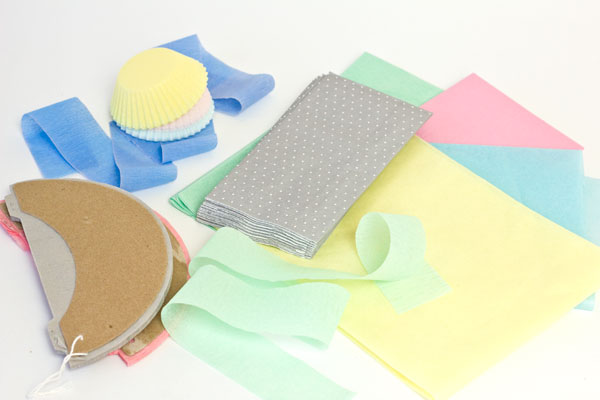
Here’s a little roundup of what you might have lying around after a party. Look familiar? Not for long!
Streamers turned Confetti!
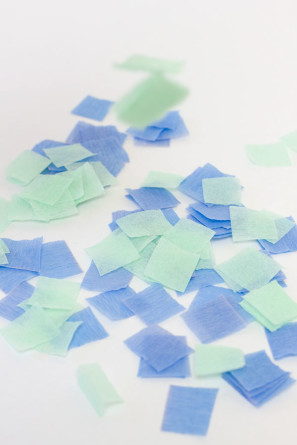
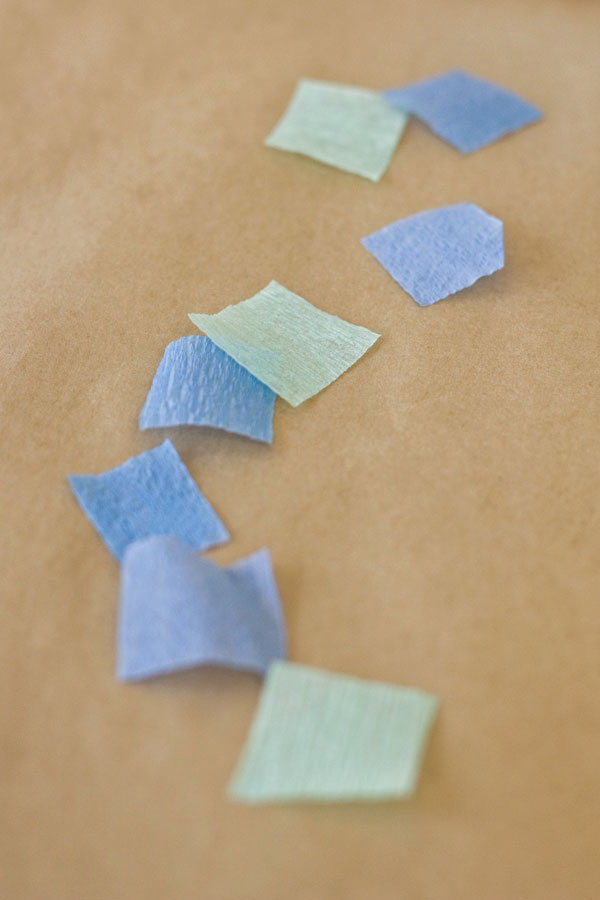
If you used streamers for your party, pull them down but don’t stuff them in the trash! You can easily make confetti with just your leftover streamers and a good pair of scissors. Separate by color and save it for your next bash!
Streamers
Scissors
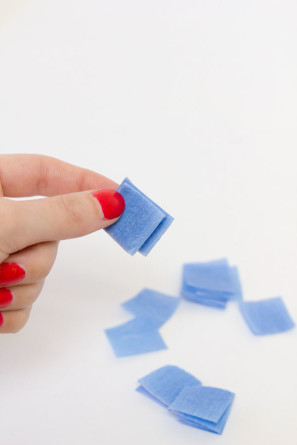
Cut streamers into sections a few feet long. Fold each section in half, and in half again and again until you have a small section, a few inches wide. Cut all the way through the folds on each end, then cut straight down the middle.
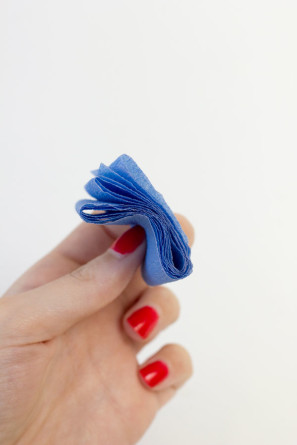
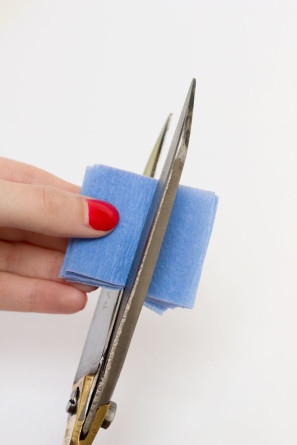
Take one section you just cut and cut it in half, the other way. Repeat with the other section. CONFETTI!
Cupcake Liners turned Drink Stirrers!
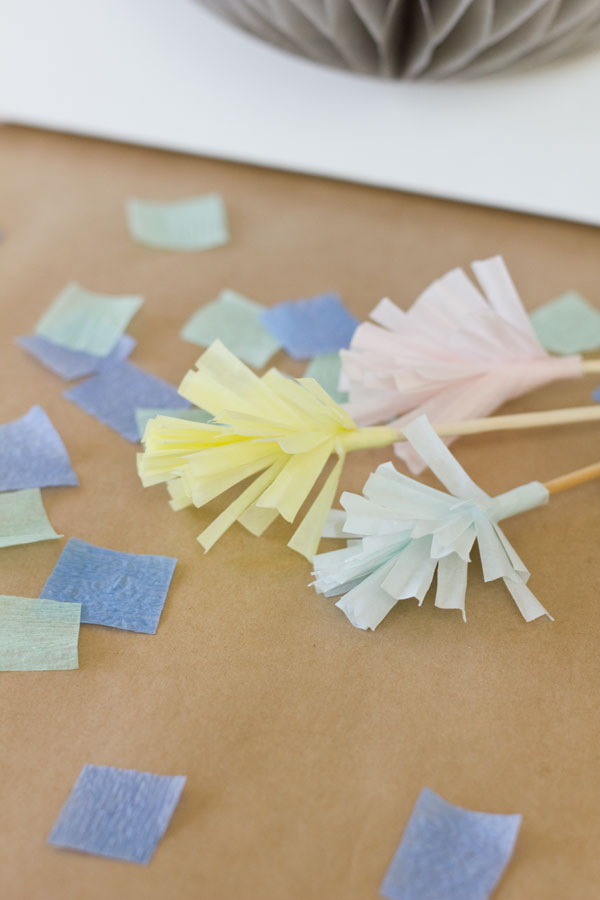
For small parties where you don’t need dozens of cupcakes, you may have some cupcake liners leftover. Turn them into quick drink stirrers to make them go farther!
Cupcake Liners
Skewers
Scissors
Glue Stick
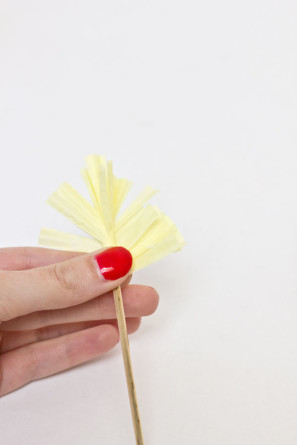
Fold each cupcake liner into quarters (in half, and in half again). Cut fringe along the circular edge, using the ridges as a guideline.
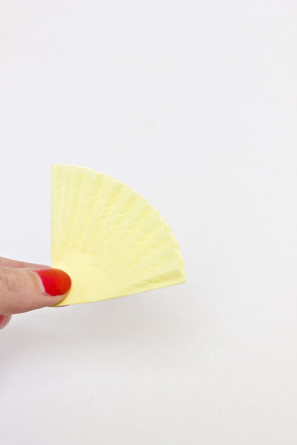
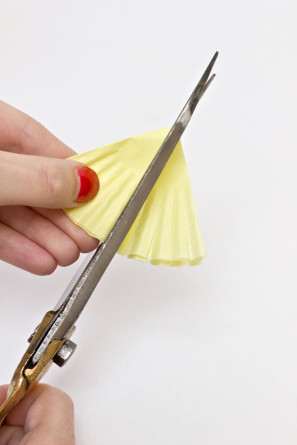
Open the now-fringed liner so it looks like a half circle, cover the un-fringed part and glue and adhere a bamboo skewer on top of the fold down the center (I used a glue stick). Re-fold over the skewer.
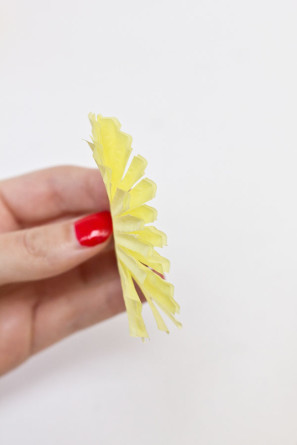
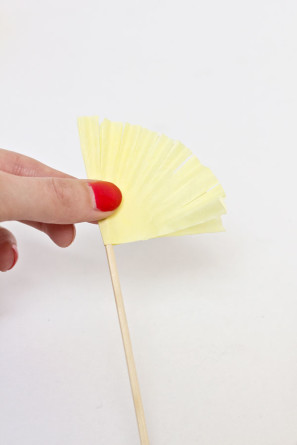
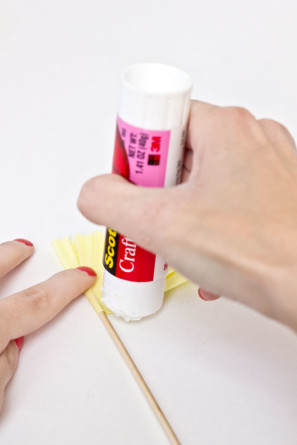
Run your glue stick along the entire bottom edge of your cupcake liner (including the fringe this time). Tightly roll up the liner around the skewer. You may need to add a bit more glue to get the edges of the end piece of fringe all sealed up.
Tissue Paper turned Garland!
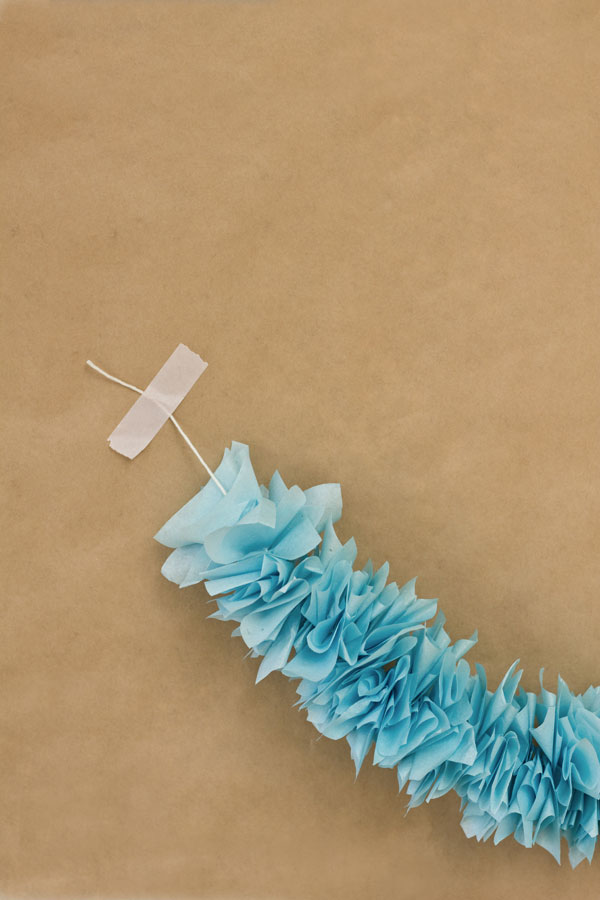
Perhaps you made paper flowers and had tissue paper leftover, or maybe everyone just gave you a gift in a gift bag stuffed with the stuff! Either way, snip your tissue into small squares and turn it into a sweet little garland. Got wrinkles? Iron it with a thin shirt or dishtowel over top.
Tissue Paper
Scissors
Twine
Needle
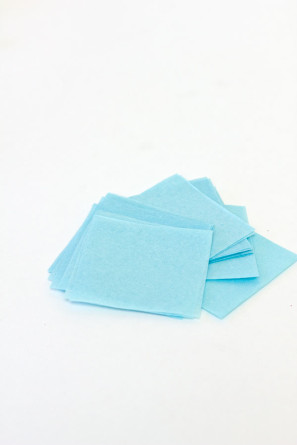
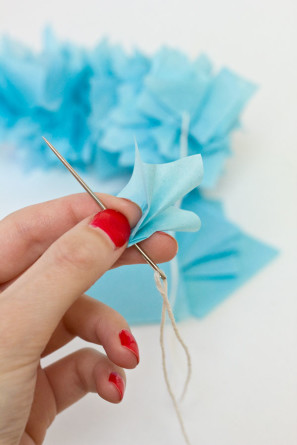
Cut your tissue into 2.5″ squares. Pinch each square in the center and thread it onto a piece of twine with a needle. Repeat and repeat until you have the length, and density, you want.
Paper Napkins turned Cake Toppers!
I kind of have a problem where I buy pretty napkins anytime I see them, just because. Whether you have the same problem, or just bought too many for your soiree, you can make ’em into cake toppers! Or, thanks to Ms. Brittni of Paper & Stitch, you can turn them into garland too! Holy cannoli. It’s a whole paper napkin party!
Paper Napkins
Lollipop Sticks
Scissors
Glue Stick
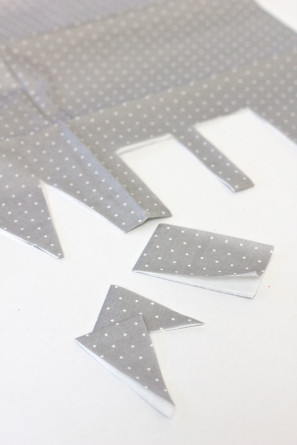
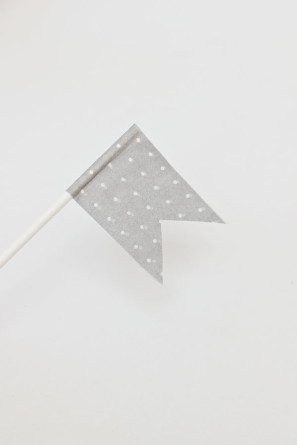
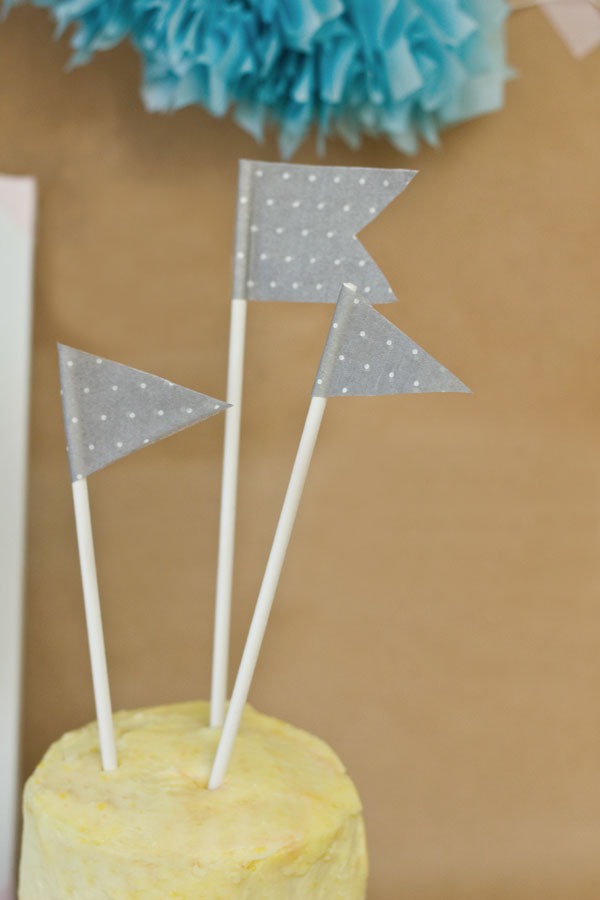
Unfold your napkins and then fold over a section, just a few inches wide. Cut out your flag shapes over the fold. Open up your folded flags and cover the entire inside, very carefully, with a glue stick. Lay a lollipop stick in the center.
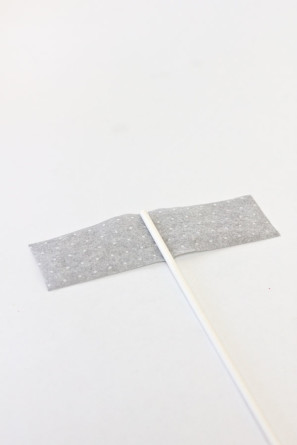
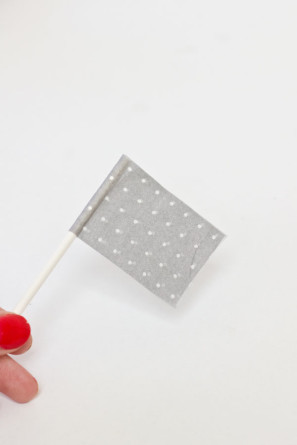
Fold over your flag and adhere the two sides together. If starting with a square initially, cut out a triangle in the end to create a flag shape.
Honeycombs turned Art!
Here come the honeycombs again! If you don’t plan on keeping these easily-reusable party staples for your next event, why not turn them into a little art piece!? Paired with a canvas, they are perfect touches for a kid’s room, and they’ll act as a little inside-out scrapbox from their party, too!
Honeycombs
Painter’s Canvas
Glue Dots
Washi Tape or Paint (Optional, for decorating)
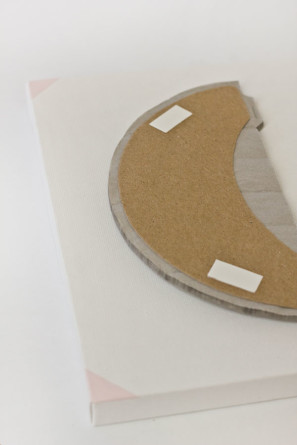
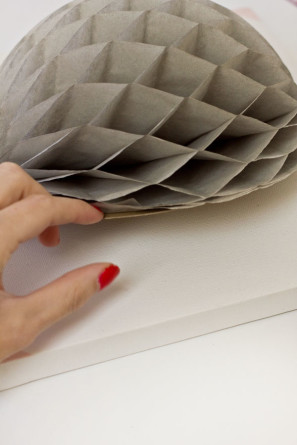
Pick up a square canvas in whatever your desired size is. If you want, add tape or paint to the corners for a little extra somethin-somethin. Using glue dots, adhere one side of your honeycomb to the canvas, then open it and adhere the other. Be sure to center it!
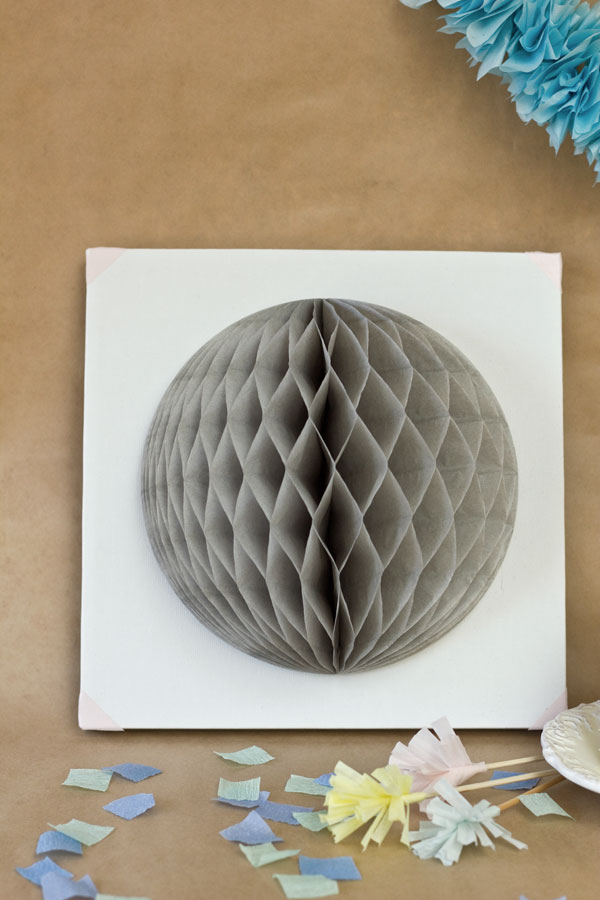
Zee end! Now you have a whole new set of party supplies to play with at your next party. And you didn’t waste a thing! WAHOO!
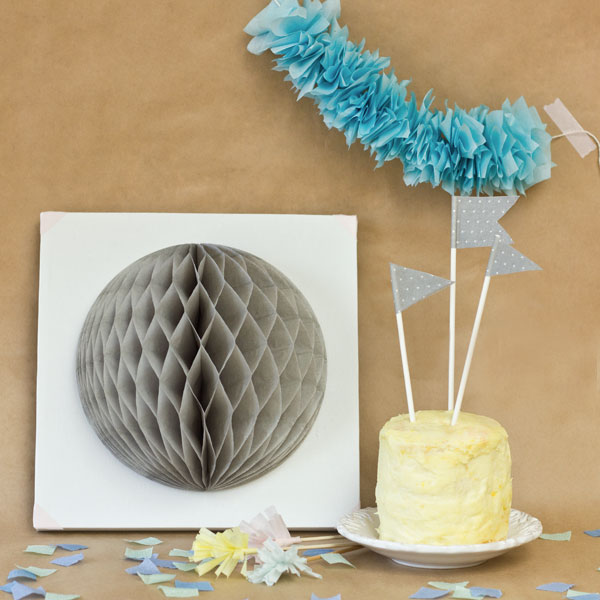
All Photos by Studio DIY
Is there anything else you’d love to know how to upcycle, post-party? Or have you ever done one a similar repurposing project yourself?
Want more upcycling awesomeness? check here and here for ideas on how to re-use cardboard for your parties! Cardboard is pretty darn cool.



Shannon at MadiganMade says
I’m in love with that honeycomb wall art! So simple, modern and easy.
Kelly says
Thanks, so glad you love it!! I love anything that involves honeycombs! 😉
Kelly
Jolleen says
Love all these ideas for repurposing party supplies! I definitely will think twice when I get rid of or buy party supplies. Great post 🙂
xoxo
Jolleen
http://simplyjolleen.com/
Brittni says
So cute. Love these ideas Kelly. And thanks for the shout out on the napkin garlands.
Rebecca - A Daily Something says
I LOVE every single one of these, Kelly. Great idea to reuse things already around the house for PARTYING. I especially love the garland and think you should make me one for the baby’s nursery (if we ever move out of the studio apt and she actually has her own room). Juuuust sayin… 😉 <3
Kelly says
You bet I will make one for ya!!
Kelly
Alix at aruffledlife says
Kelly you are so darn resourceful! I am your biggest DIY fan :)!
Kelly says
And I am yours!!!
Kelly
Melyssa says
It’s my first time on your blog, but I’m so glad I found it! These recycled party ideas are wonderful – so clever and I love the recycled/non-wasteful component of it. I’m definitely your newest follower! 🙂
xoxo
Melyssa
http://thenectarcollective.com
amy c says
These are so neat! I love reusing stuff!
Terrie says
These are great! I especially love the Honeycombs turned Art 🙂