While I’m off being a newlywed, I’ve invited some schnazy talented pals of mine to share some DIYs, recipes + more to get you ready for Thanksgiving (and beyond!). Today Chelsea of Lovely Indeed is taking over!

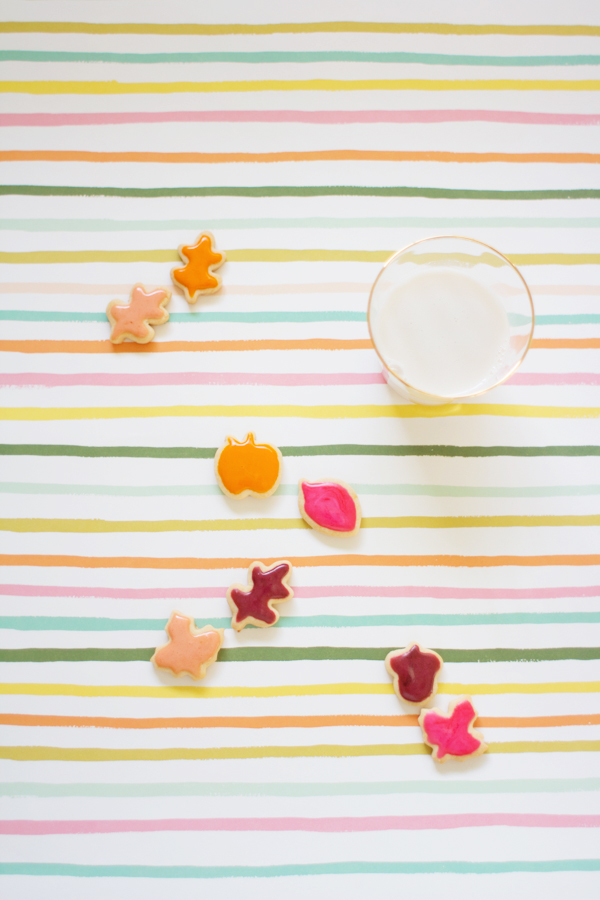
Hey gang! Chelsea here, from Lovely Indeed, and I’m beyond stoked to be helping out while Kelly & Jeff take some time to enjoy newly married life! In true Studio DIY style, I’ve got a sweet little recipe that’s not only delicious but adorable — and just perfect for the fall. We’re making teeny, tiny, bite-sized cookies in the brightest fall colors I could muster up! (We all know Kelly is the queen of color, and your standard fall tans and browns just weren’t going to cut it.) Bake up a batch of these for your pals and they’ll thank you, bite by bite.

For the Cookies:
1/3 cup Crisco
1/3 cup sugar
1 egg
1/2 cup honey
1/4 cup room temperature butter
1 tbsp vanilla
2 3/4 cup flour
1 tsp baking soda
1 tsp salt
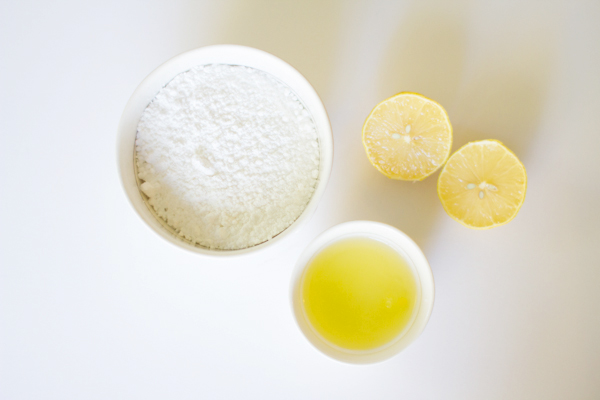
For the Icing:
1 cup powdered sugar
1 egg white
1 tbsp lemon juice
food coloring
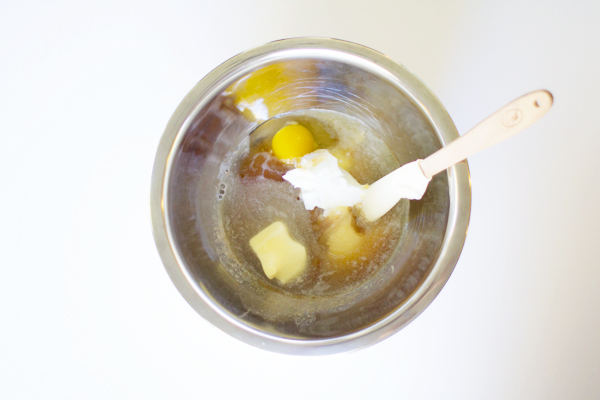
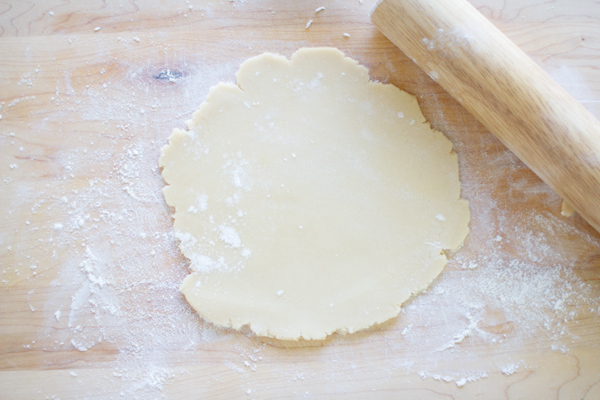
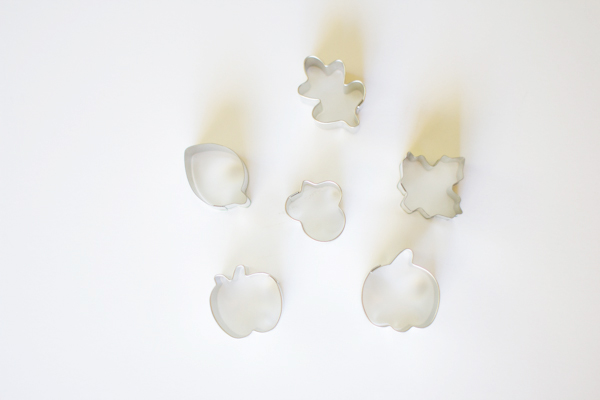
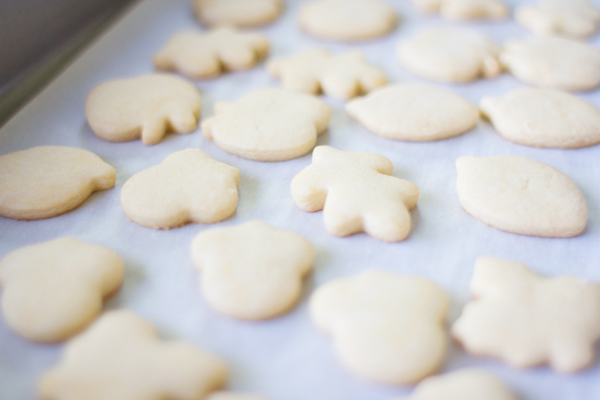
1.Mix shortening, sugar, egg, honey, butter, and vanilla thoroughly. Blend flour, soda, and salt, and stir into shortening mixture. Once well mixed, refrigerate until cool. Remove from refrigerator and knead with your hands until the dough is soft enough to roll out smoothly and without cracking. Roll onto a floured surface (dust your rolling pin with flour as well!) to about 1/4″ thick and use your cookie cutters to cut out the shapes. We used this little set from Wilton that’s got leaves, apples, acorns, and a bunch of other tiny fall shapes!
2. Put shapes on a piece of parchment paper and place on a baking sheet. Bake approximately 5 minutes at 350 degrees. Keep a close eye on them, though, as oven temperatures vary and these bake very quickly. I like to take mine out just before they begin to brown. Also note that this recipe will make about a zillion of these cookies because they’re so tiny!
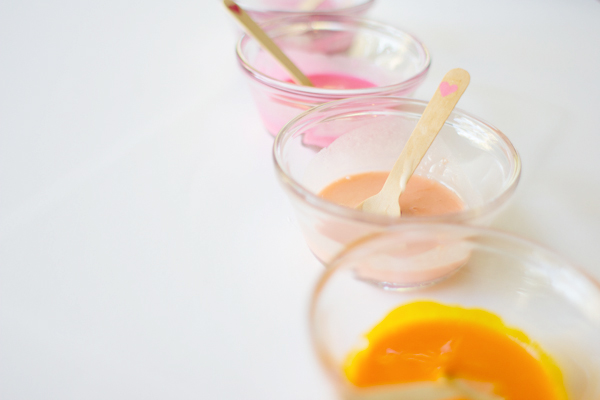
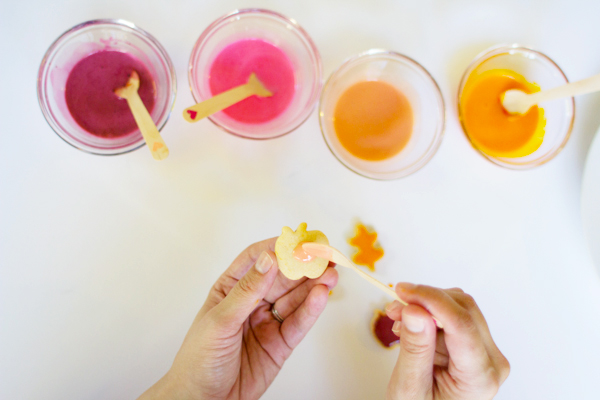
3. Allow the cookies to cool on a rack while you mix up the icing. Combine all ingredients and mix until smooth. You may need to add a tiny bit of powdered sugar if you find that your icing is too runny and runs off the sides of the cookies. Separate the icing into small bowls and mix in a bit of food coloring to each to make your fall palette. Once the cookies are cooled, use an applicator to gently apply icing to each. A popsicle stick or something similar would work well, because they’re so small!
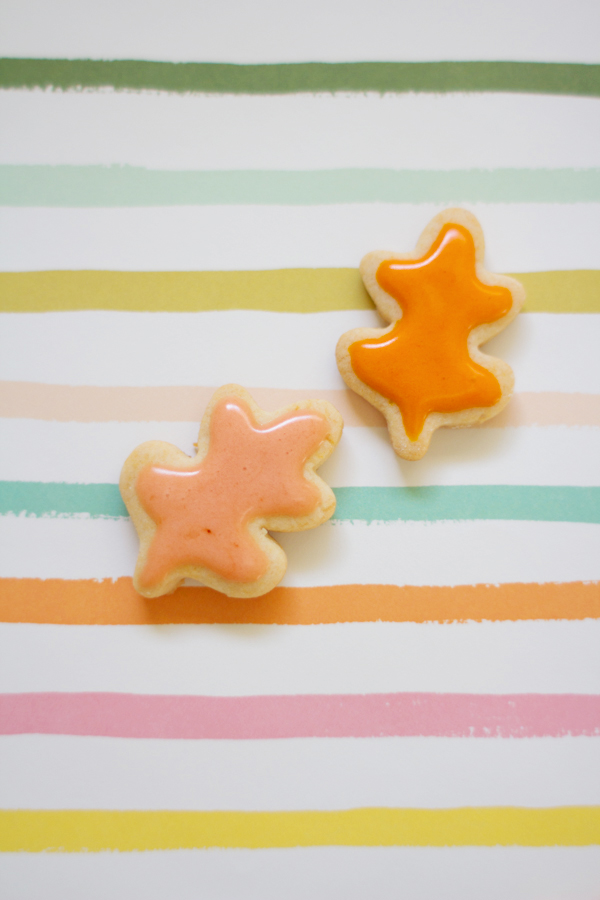
4. Let the icing set and pop ’em in your mouth! These cutie patooties are just the right level of sweetness, and they go perfectly with a glass of cold milk (or in this case, vanilla almond milk). And the best part? They’re so little you can totally rationalize eating a whole handful of them.
All Photos by Lovely Indeed
Thanks for letting me pop in and hang out today! Happy fall!
Thanks Chelsea! For more rockin’ DIYs and snippets of Chelsea’s life, head on over to Lovely Indeed!


heidi says
These are so pretty! You always have the best posts!
Monique | WritingMonique says
These look amazing and delicious!
Tiffanie says
Those are gorgeous. I have a royal icing addiction….these look so dangerous!
Angela says
There might be nothing better than a good sugar cookie- oh wait a mini sugar cookie! these are darling!
Janice says
These are really cute. 🙂 Will definitely try these out!
Aster & Oak says
These look delicious! Sugar cookies are the best!