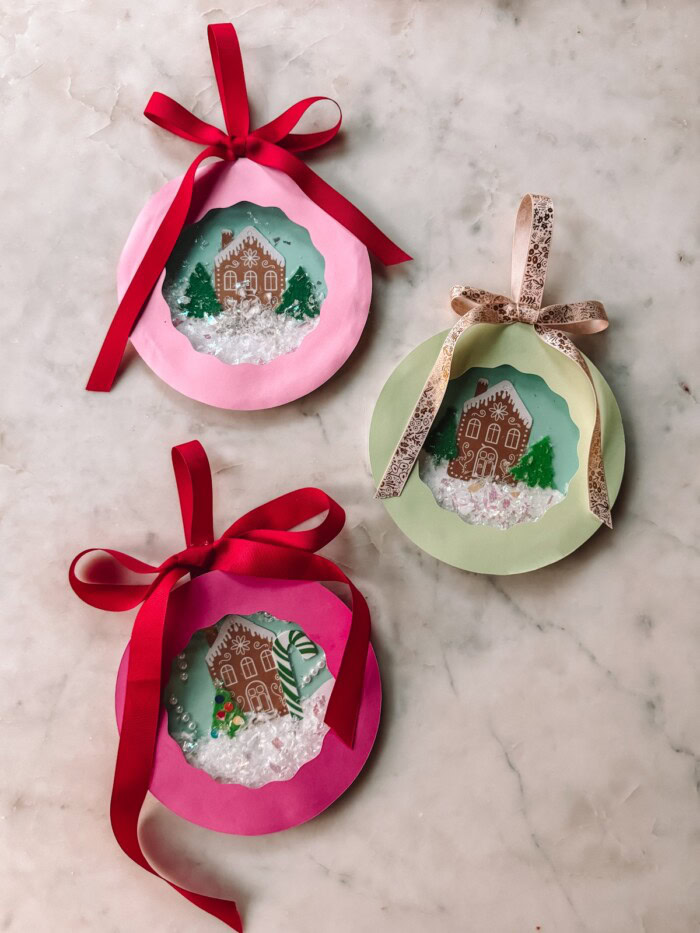
Looking for an easy winter craft to do with your kids or students? Help them make a paper plate snow globe! This craft leaves a lot of room for creativity and with real (confetti) snow inside, it’s a hit with the kid crowd!
You can easily adjust this craft for the age group you’re catering too, adding more details or simplifying it. It’s so versatile! And this snow globe craft makes a great DIY gifts for children to give grandparents, parents, siblings and more.
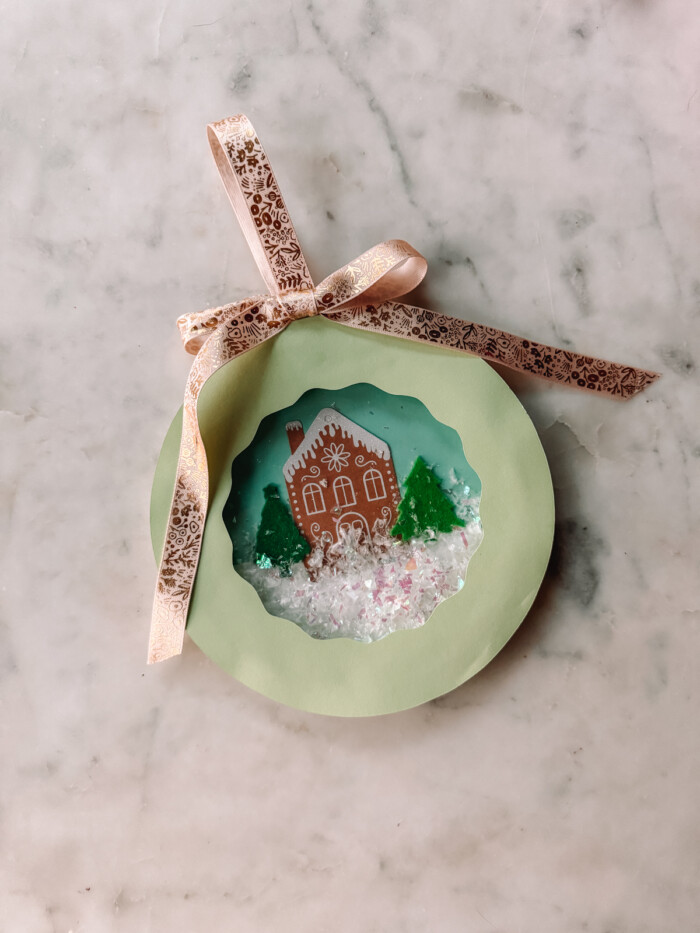
Supplies Needed
Here’s what you’ll need to make each paper plate snow globe:
- Small Paper Plate
- Cardstock in blue, white and your desired shade for the outside of your snow globe
- Gingerbread House Gift Tags (or here or plain ones here)
- Felt Trees (or here)
- Candy Cane and Peppermint Foam Stickers (or here)
- Star Stickers (or here)
- Dot Stickers (or here, these are great for ornaments on trees)
- Pearl Stickers (or here, these are fun as snow in the sky!)
- Cellophane (You can use a roll of cellophane or cellophane gift bags cut up, whatever is easiest to find!)
- Iridescent Snow (or here)
- Ribbon
- Glue Stick
- Hot Glue Gun
- Templates for paper cut outs PDF version (or PNG versions for Cricut: Inner circle and snow hill, outside circle. You can make your own, too!)
- Stapler
- Scissors (or a Cricut, if you have one!)
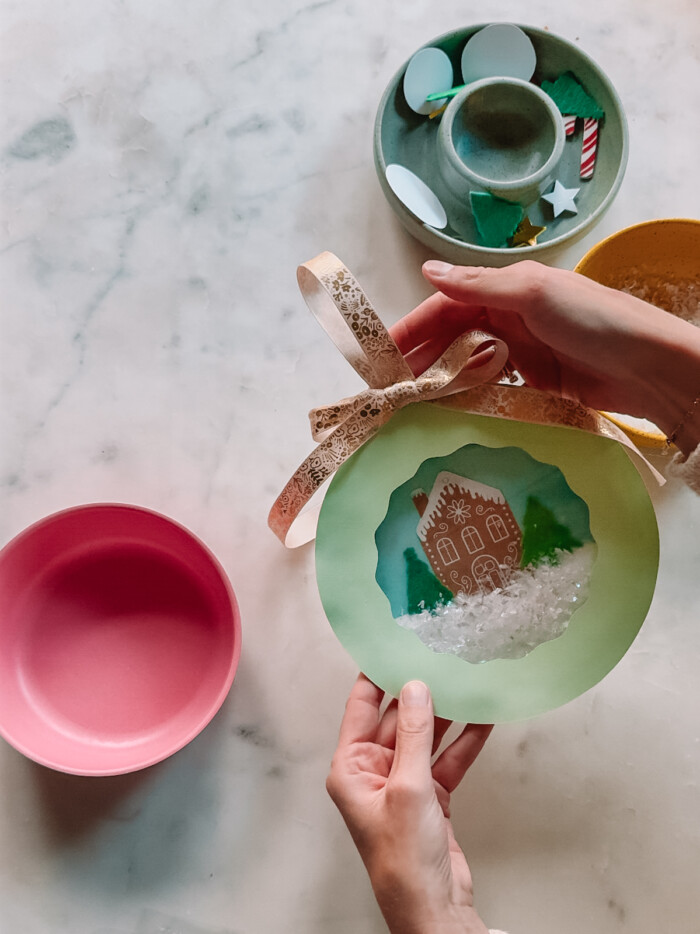
Notes:
- The plates we used were 6.8″ and a great size for this craft. If you choose a different size, you’ll have to adjust the templates accordingly or make your own!
- I do not recommend using white school glue on this craft. It warps the cardstock!
- A hot glue gun was the best option for attaching the top of the snow globe securely. This part of the project should be done only by adults for safety.
- I find that craft stores have the most affordable supplies for this project (Always check for coupons!), but have also linked options on Amazon for those of you who don’t live near one!
- Get creative with supplies you already have. Provide scraps of paper, leftover stickers, felt or foam, fabric, anything kids can be creative with can work for this project!
Step-by-Step Paper Plate Snow Globe Tutorial
Follow this steps to make your paper plate snow globes:
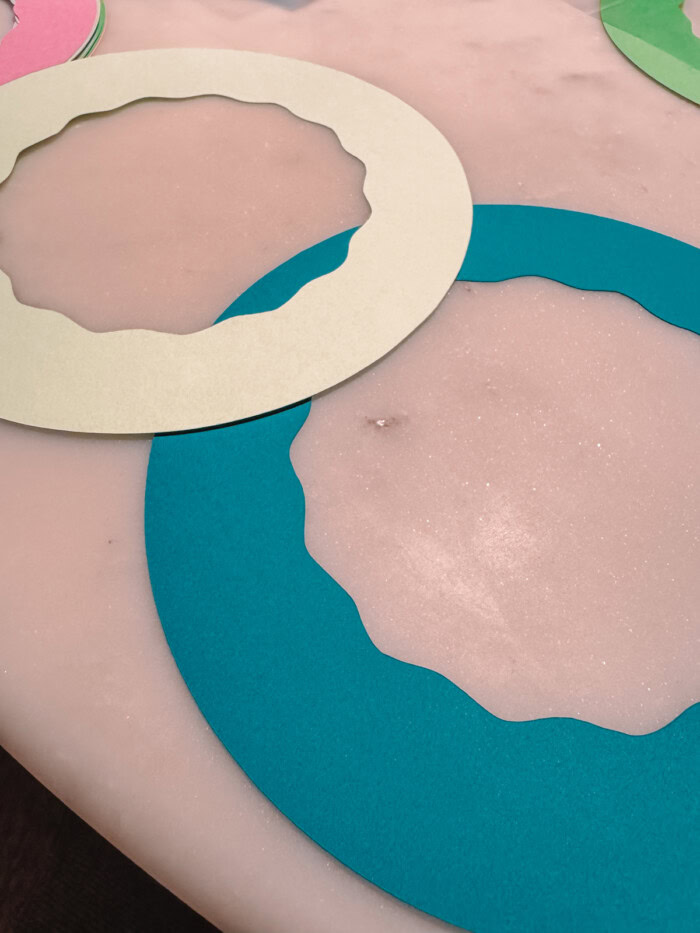
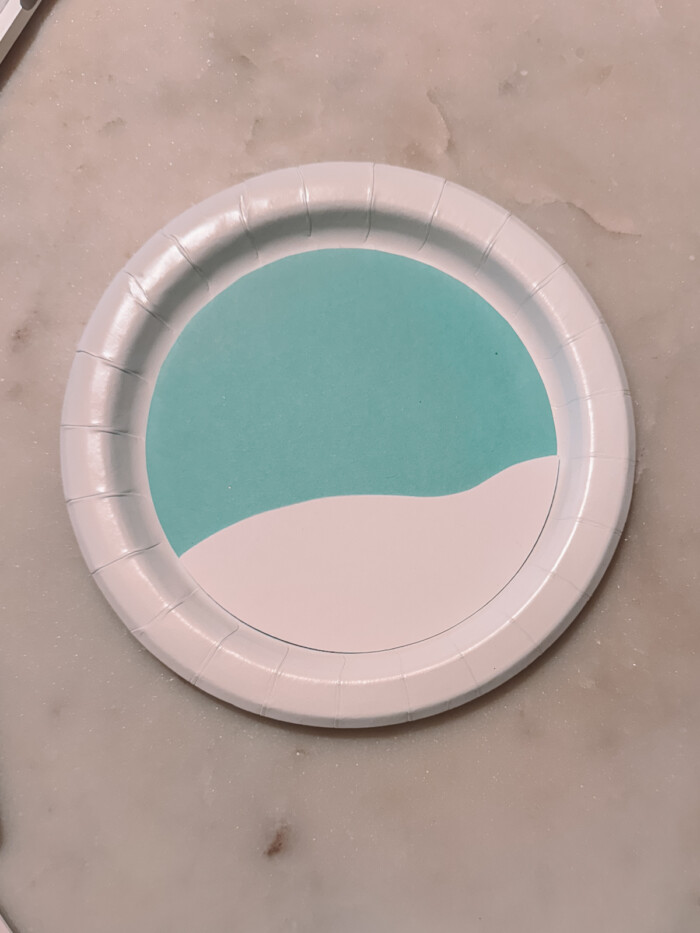
- Cut out your needed shapes from cardstock using the templates above, or create your own. I used a Cricut to cut my shapes but you can cut by hand:
- 1 blue circle that fits the inside of your plate
- 1 white snow hill shape
- 1 circle frame that fits the outside of your plate and is wide enough to cover the entire rim of the plate
- Using a glue stick. glue the snow hill to the to the blue circle.
- Glue the blue circle to the paper plate.
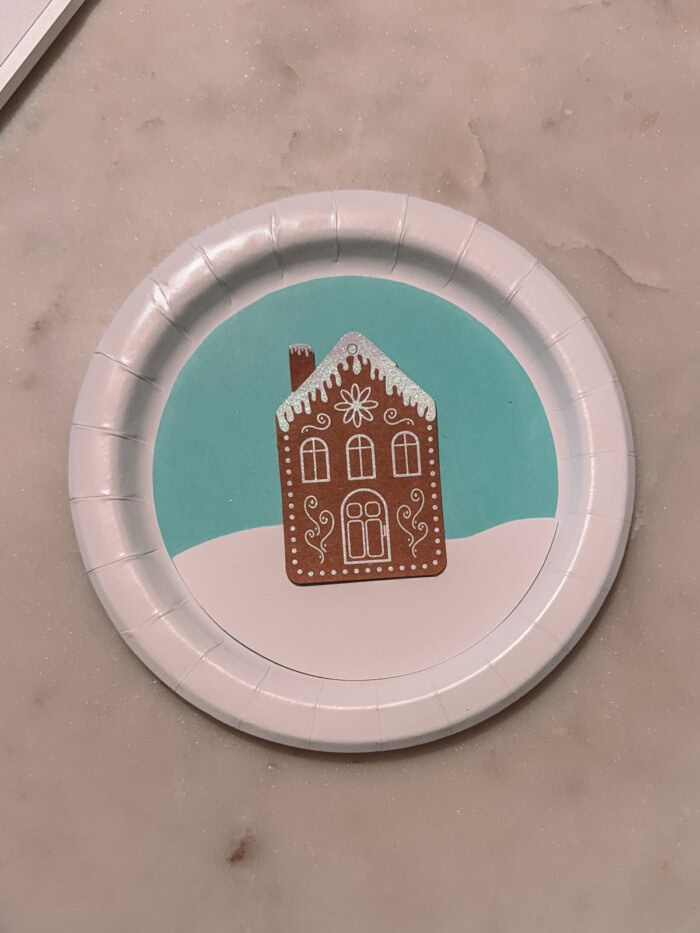
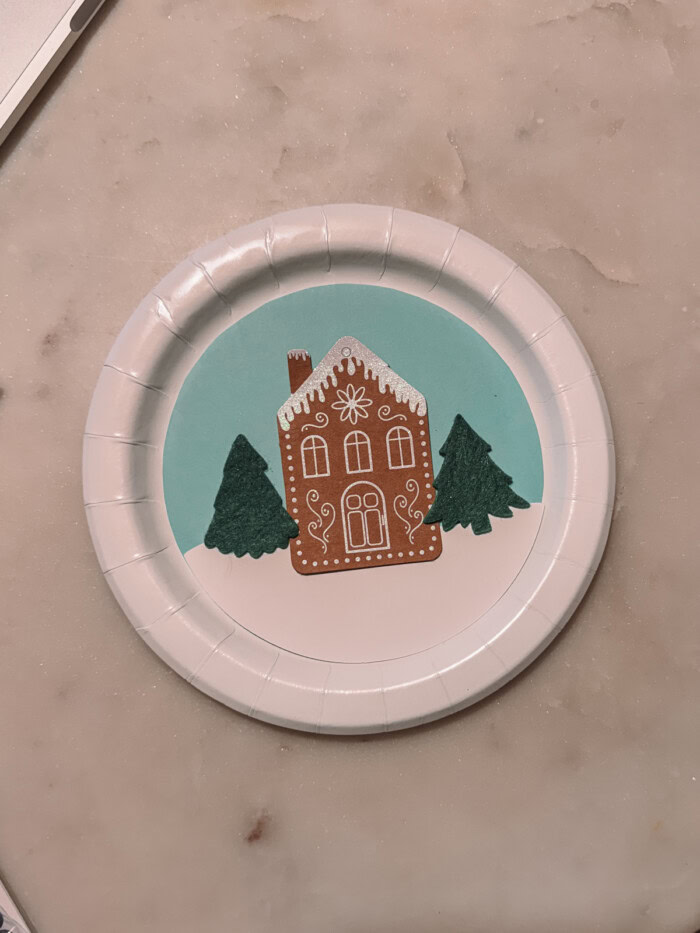
- Decorate! Design the snow globe as desired with the provided decorations. Use a glue stick to glue any paper items on and add stickers. Be sure everything is well secured so when the snow globe is “shaken” it stays put!

- Cut a 7″ piece of ribbon and a longer piece ribbon to tie into a bow, if desired.
- Fold the 7″ piece of ribbon in half and staple the two ends to the back of the top of your plate.
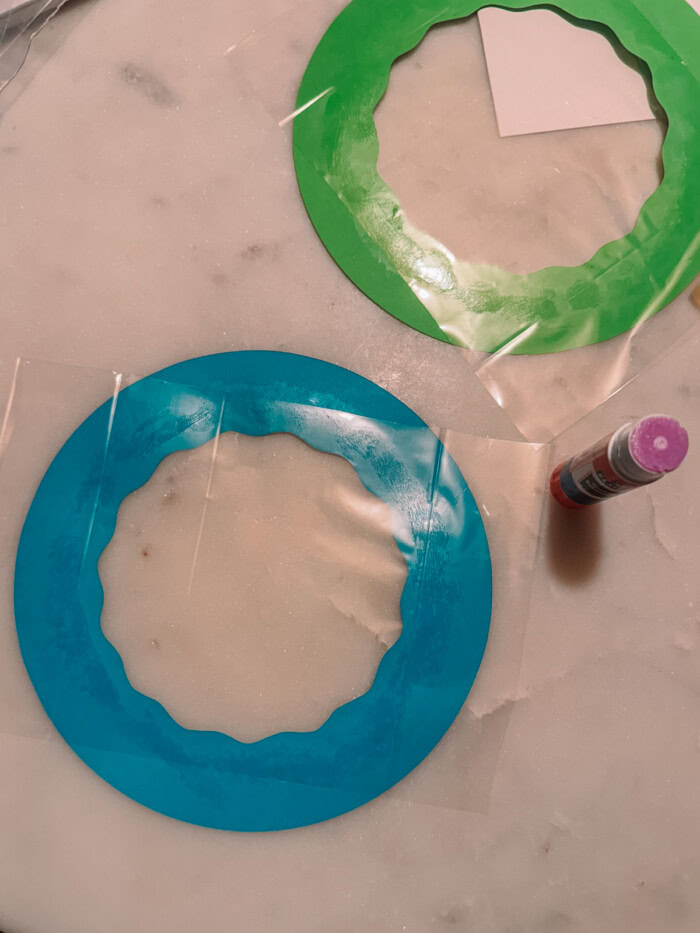
- Cut a piece of cellophane that is 1/2″ bigger than the inner circle of the cardstock plate frame you already cut out.
- Use a glue stick to glue it to the cardstock plate frame. Be sure to pull the cellophane tightly as you glue so there are no wrinkles. Trim any excess that hangs over the edge of the cardstock.
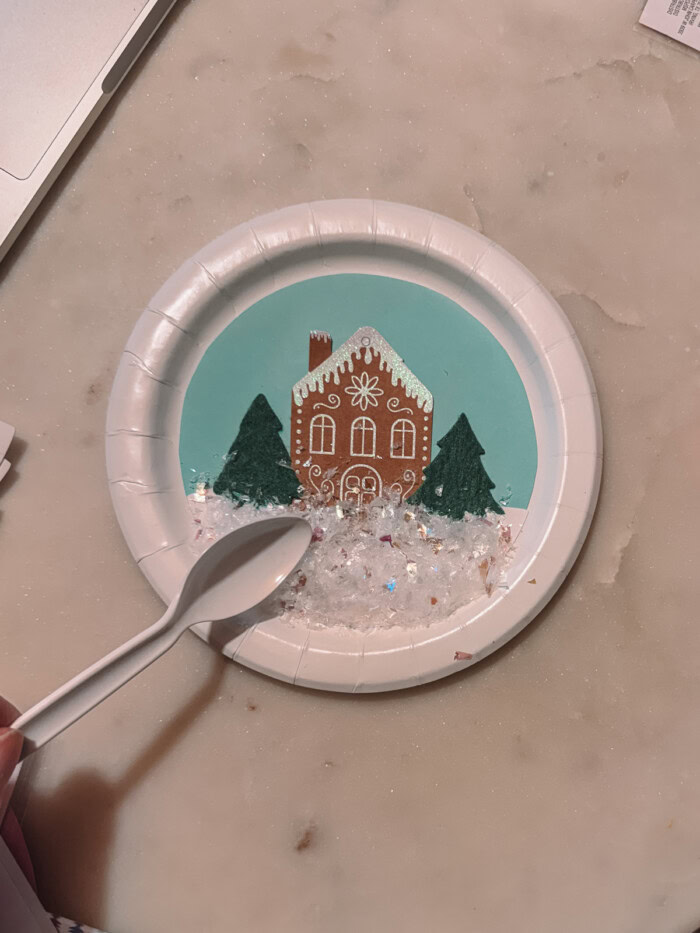
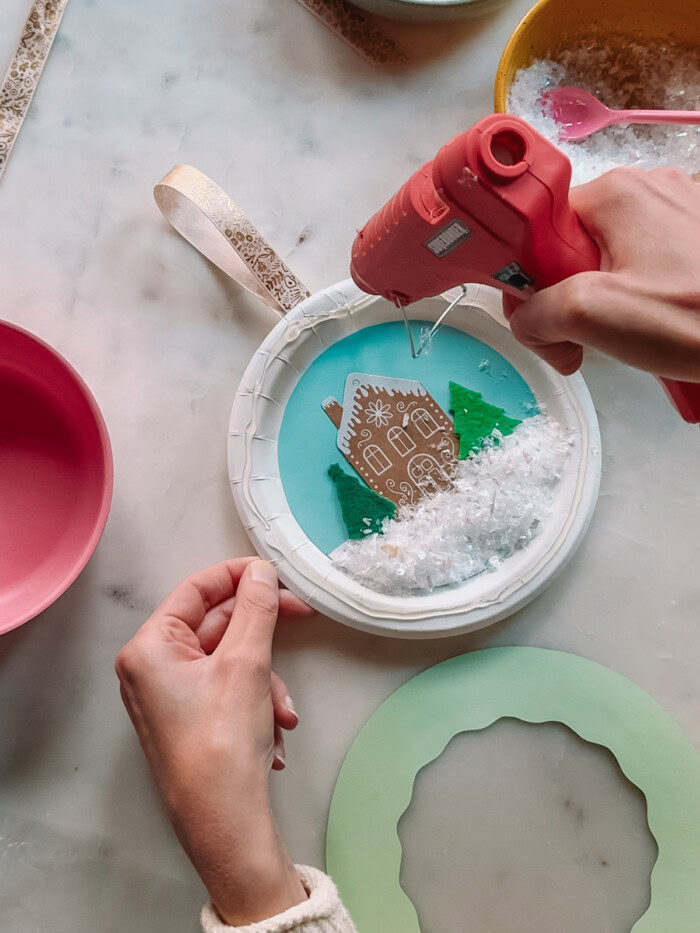
- With the plate laying flat, spoon several spoonfuls of snow onto the bottom of your plate, covering the snow hill completely (and more if desired).
- Have an adult run a line of hot glue along the rim of the plate. Quickly place the plate frame (with the cellophane attached) on top of the hot glue to secure. Ensure there are no holes/openings in the glue (touch up if needed) so that the snow can’t fall out!
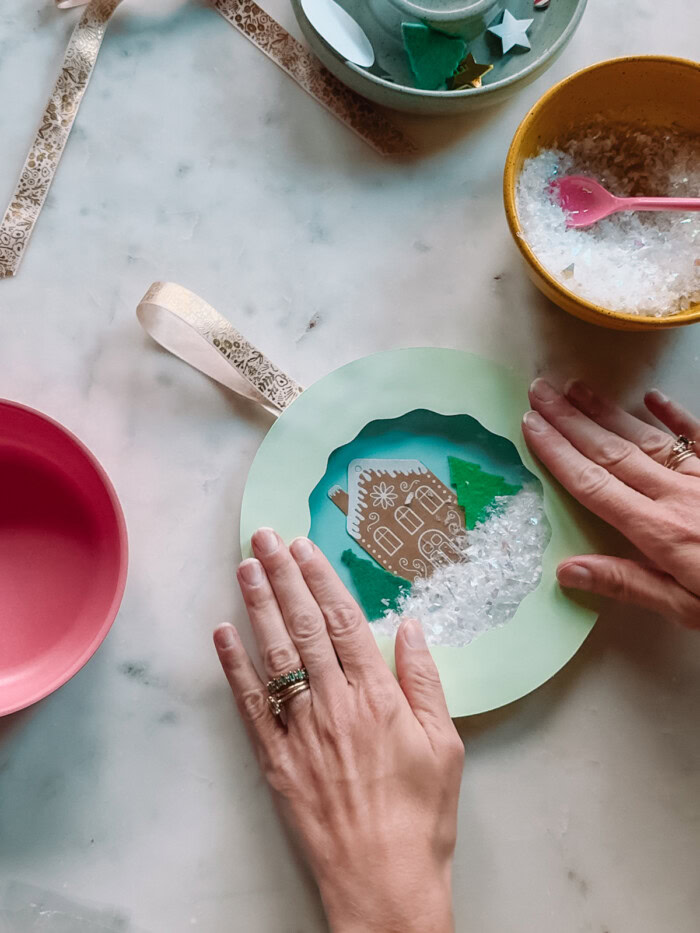
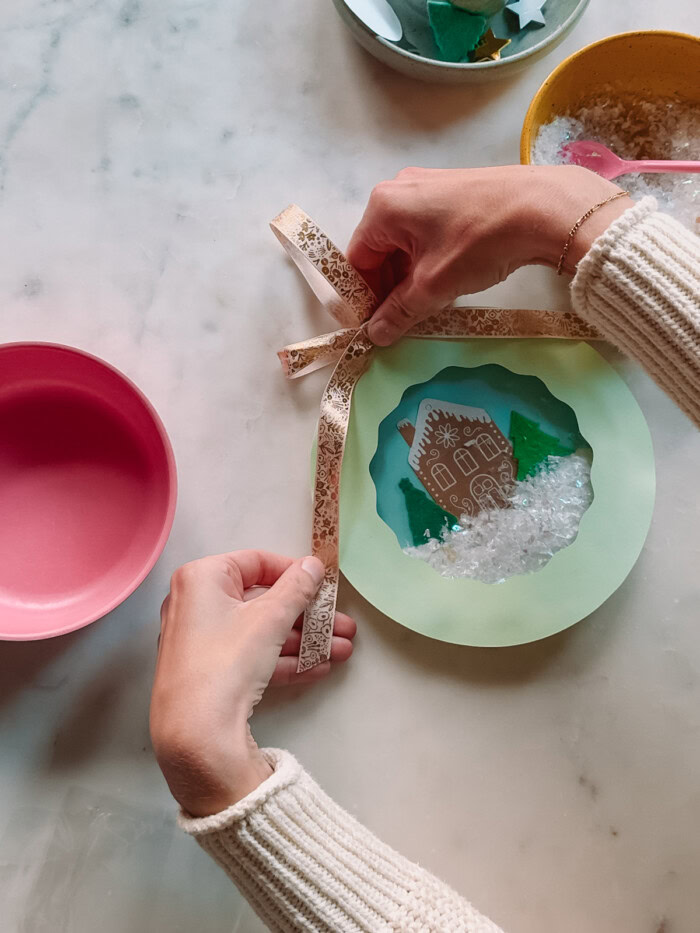
- Hot glue or tie a bow on to the ribbon loop you made. And you’re done!
How To Gift a Paper Plate Snow Globe
Place the paper plate snow globe into a standard sized gift bag (have the kids decorate these as well, if you’d like!) and stuff the top with tissue paper. Add a cute gift tag (use the extra gingerbread house ones if you have them!) or ribbon.
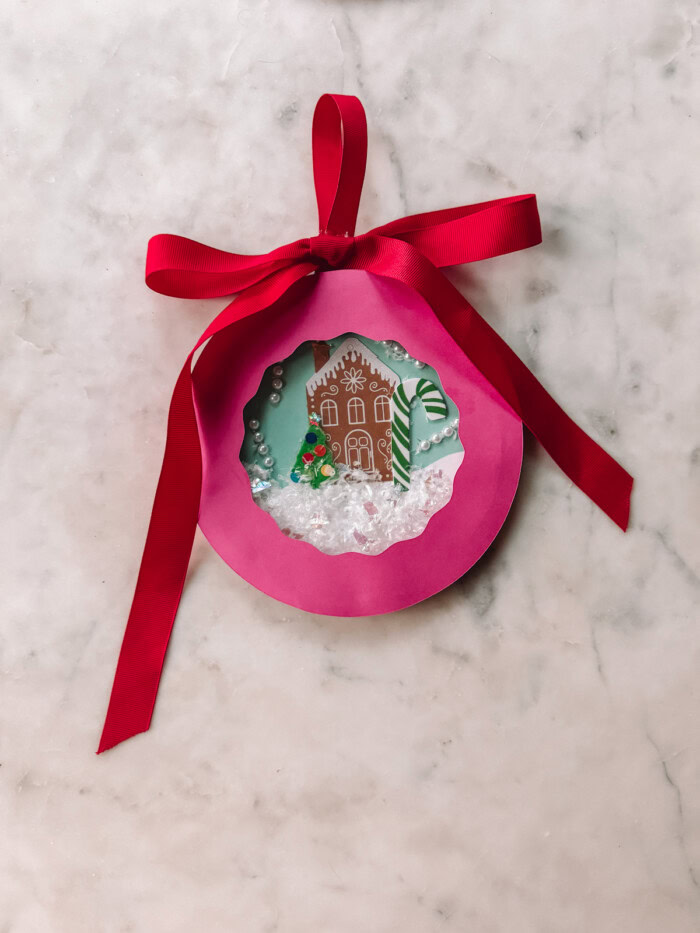
How To Display Your Snow Globe
Your snow globe craft can be kept for years to come as a nostalgic childhood craft! Here’s a few ways to display it:
- Hang on a door like a wreath
- Hang on the fridge using a clip magnet
- Hang on a cabinet handle
- Replace a picture hanging on the wall with it for the holiday season
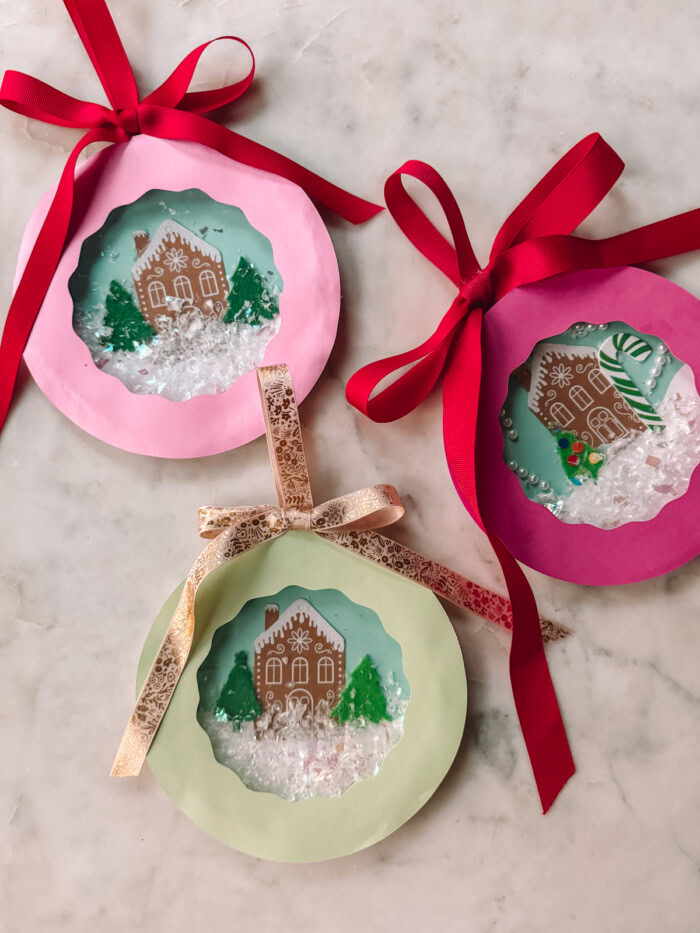
More Kids Winter and Christmas Crafts to Try
- DIY Kids Christmas Ornaments
- DIY Gifts for Grandparents
- Popsicle Stick Train Ornament Craft
- DIY Popsicle Stick Gingerbread House Ornaments
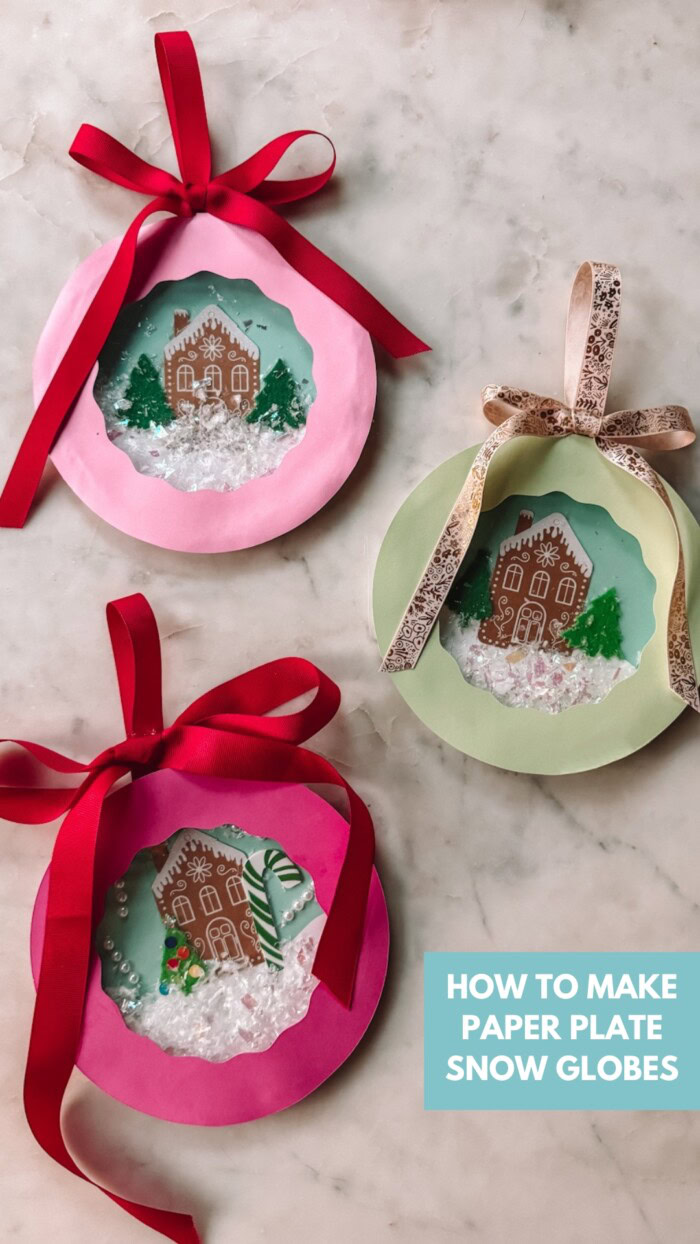
These paper plate snow globe crafts will become a holiday tradition you’ll treasure forever! They make a great school craft or project to do if you have a holiday or winter play date. You could even make them on a snow day!
Kids will love being creative with their designs, and watching the snow move and fall once they’re done. Enjoy!




Leave a Reply