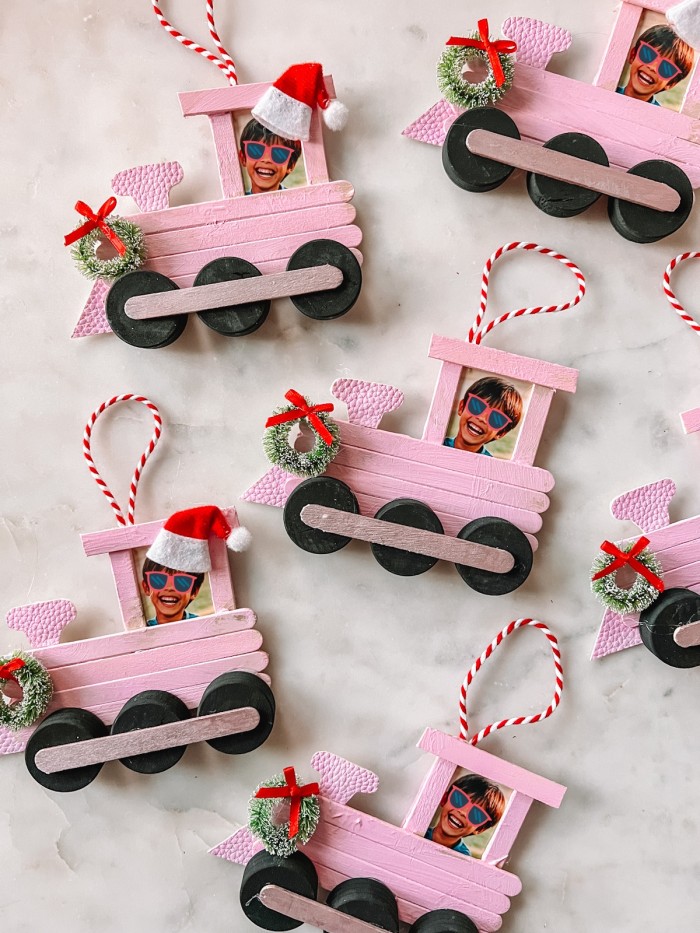
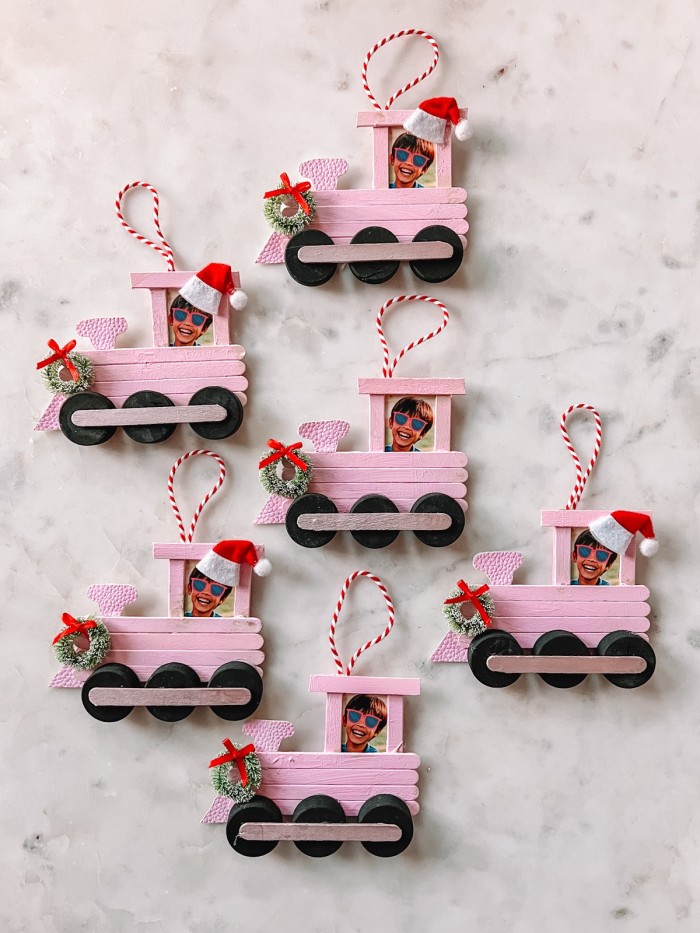
Popsicle stick ornaments, like this popsicle stick train ornament craft, make the best gifts for parents and grandparents, and the cutest ornaments that will hang on your tree forever. They follow other fun kid photo ornaments like my gingerbread house ornaments and popsicle stick Christmas window ornaments.
Kids can get involved by painting the ornaments themselves, and gluing them to depending on their age. This train ornament craft is both a holiday craft project and gift that you can work on together as a family following the simple step by step tutorial below!
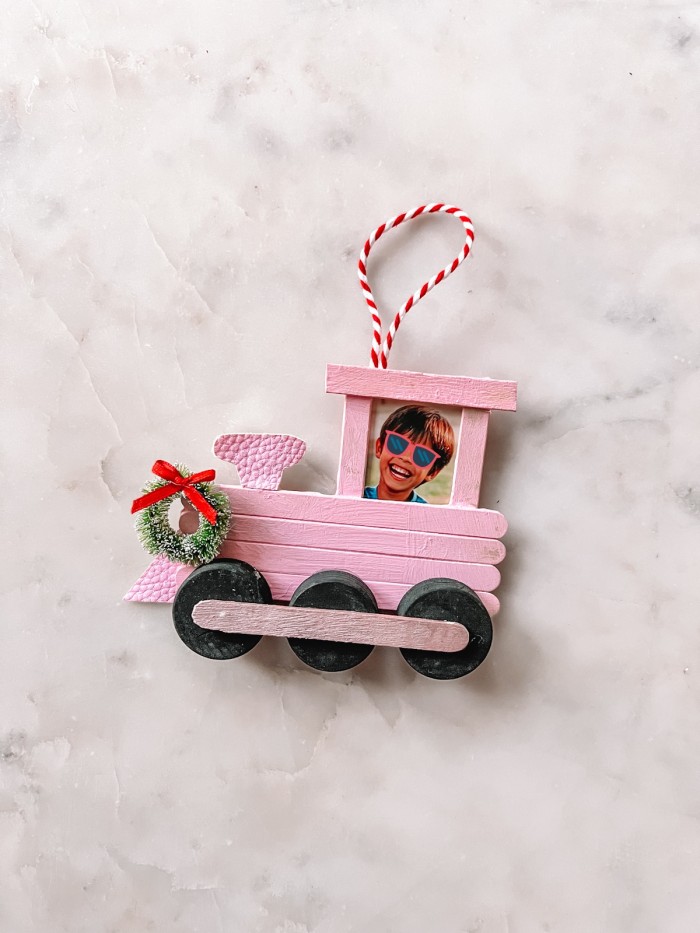
Supplies You’ll Need
Here’s what you’ll need to make these popsicle stick train ornaments:
- 8 popsicle sticks per ornament
- 3 round wood discs or beads per ornament (for wheels)
- Hot glue gun (for adult use only!)
- Paint in desired color(s)
- Paintbrushes
- Felt, cardstock or faux leather scraps (for trim on train)
- Photo (You can use a wallet size or cut down a 4×6, which is what I did)
- Twine
- Mini wreaths or Santa hats, if desired
- Scissors
Step-by-Step Popsicle Stick Train Tutorial
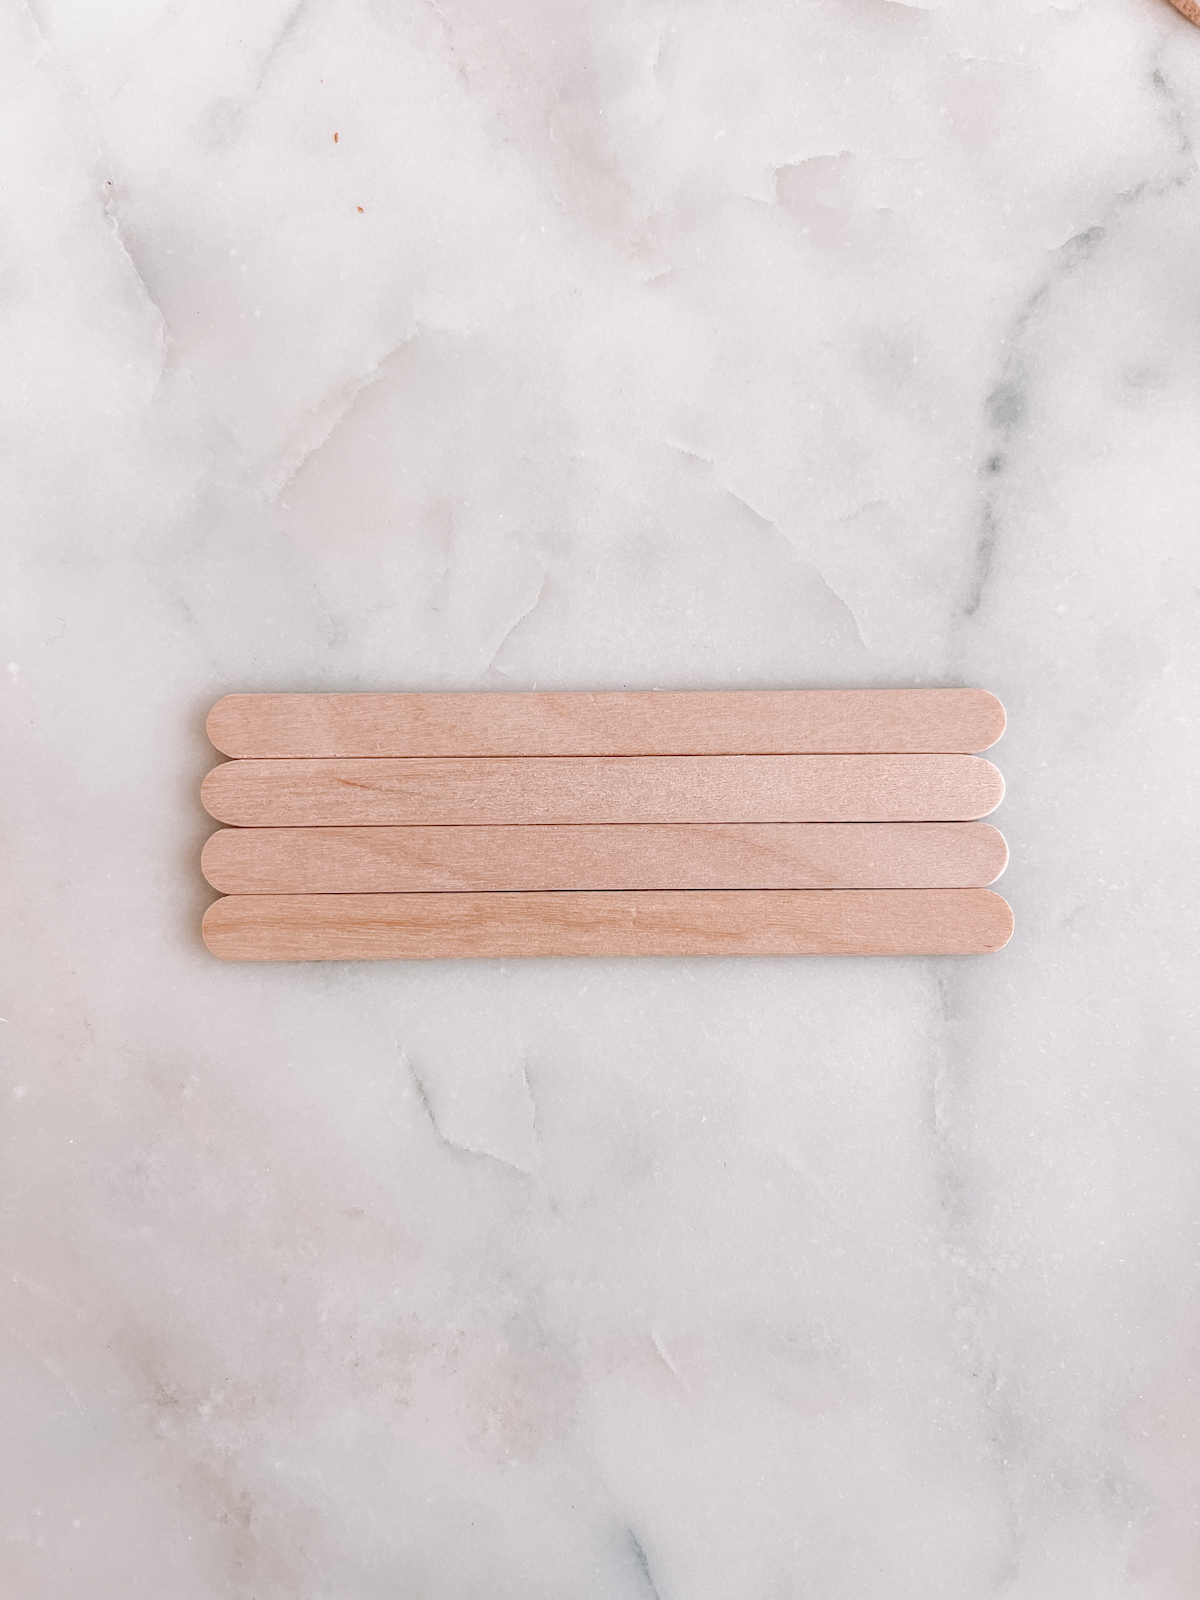
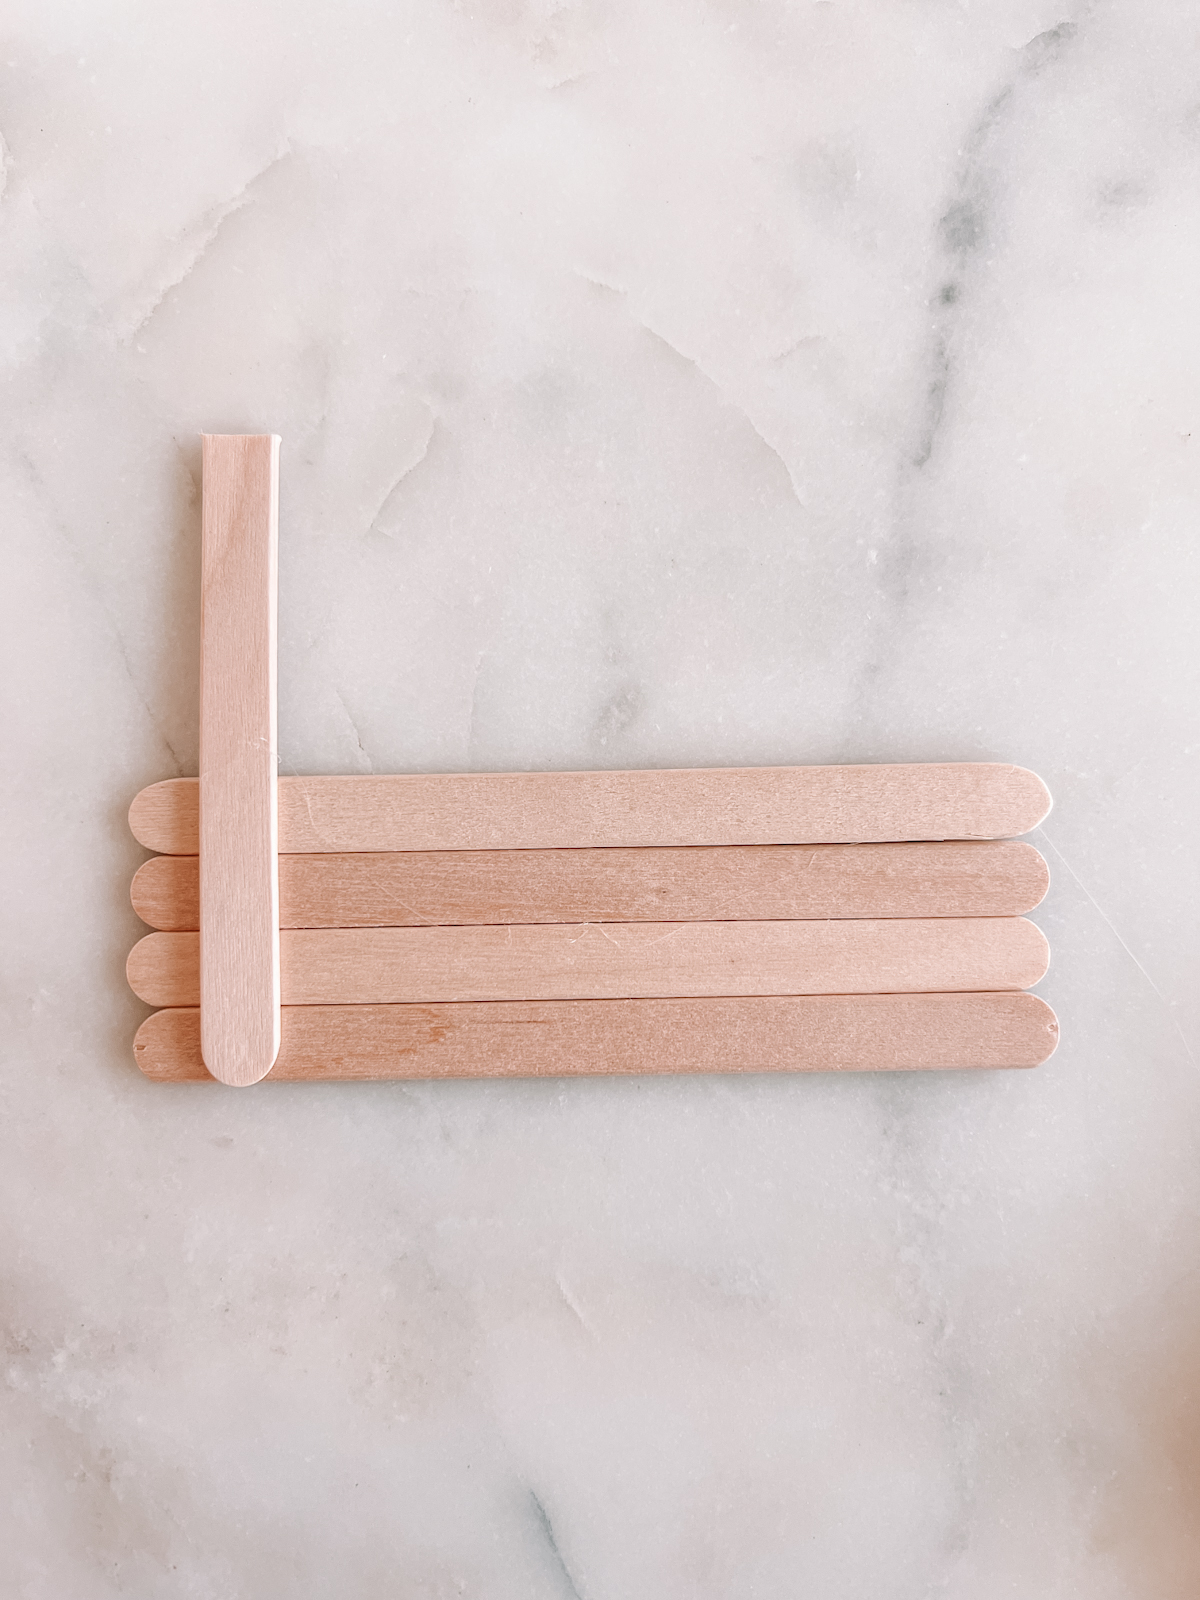
1. Lay four popsicle sticks next to each other horizontally.
2. Trim about 1″ off the top of two additional popsicle sticks. Hot glue one to the four horizontal popsicle sticks to hold them together.
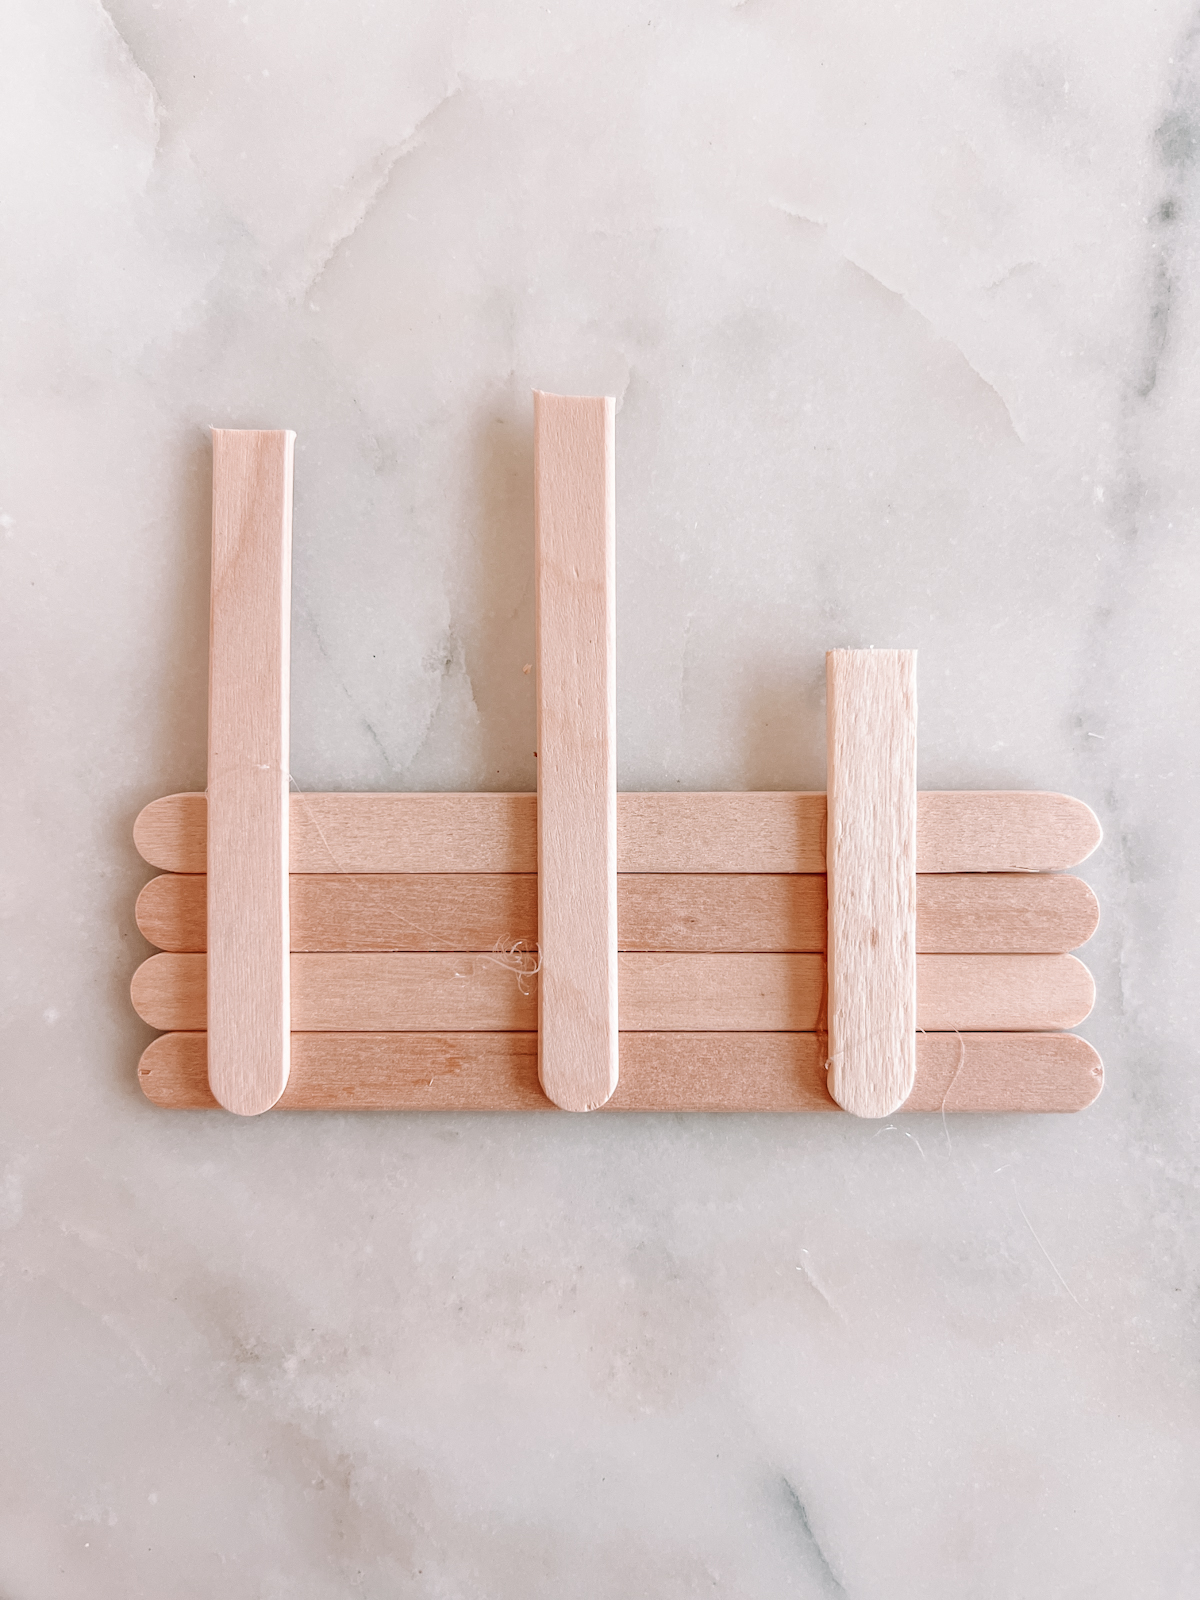
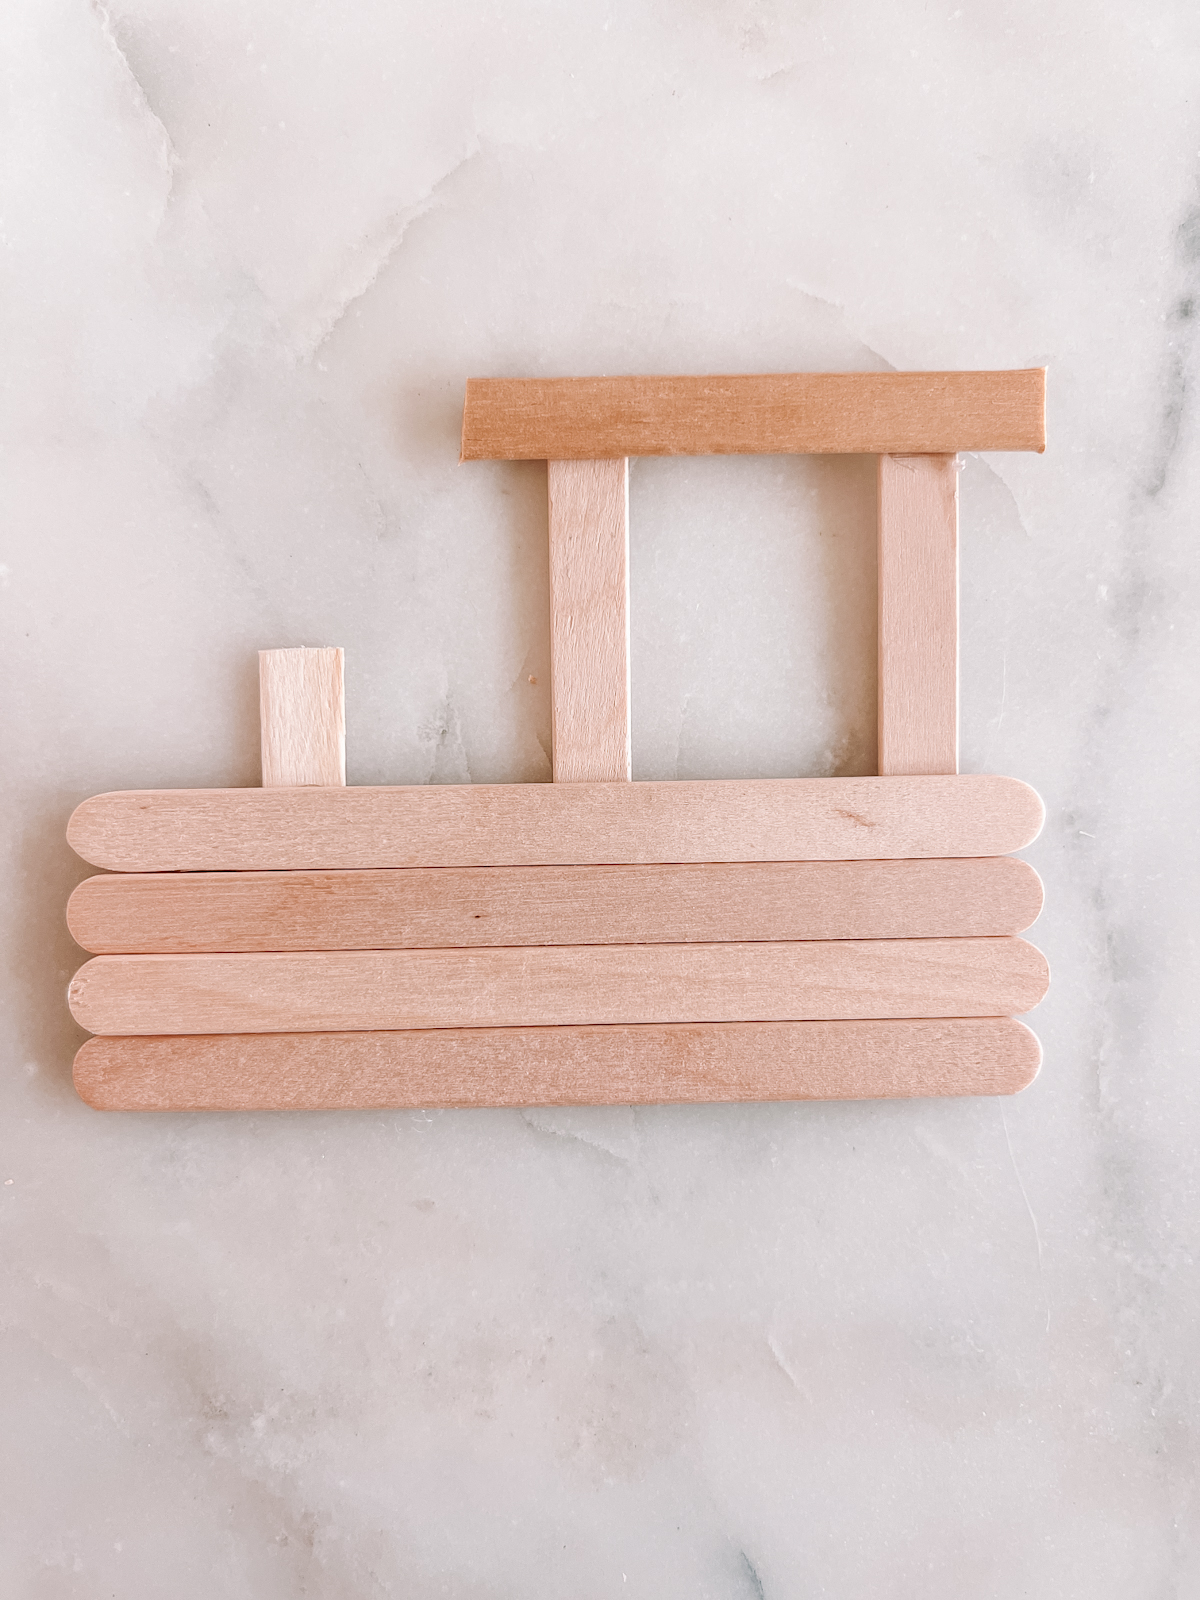
3. Glue the remaining popsicle stick about 1.5″ over from the first.
4. Cut another popsicle stick in half. Glue half to the horizontal popsicle sticks. This will act as the support for the chimney piece you’ll add later.
Trim the rounded end off the other half. Hot glue that across the top of the two taller vertical popsicle sticks. This will form the window of the train.
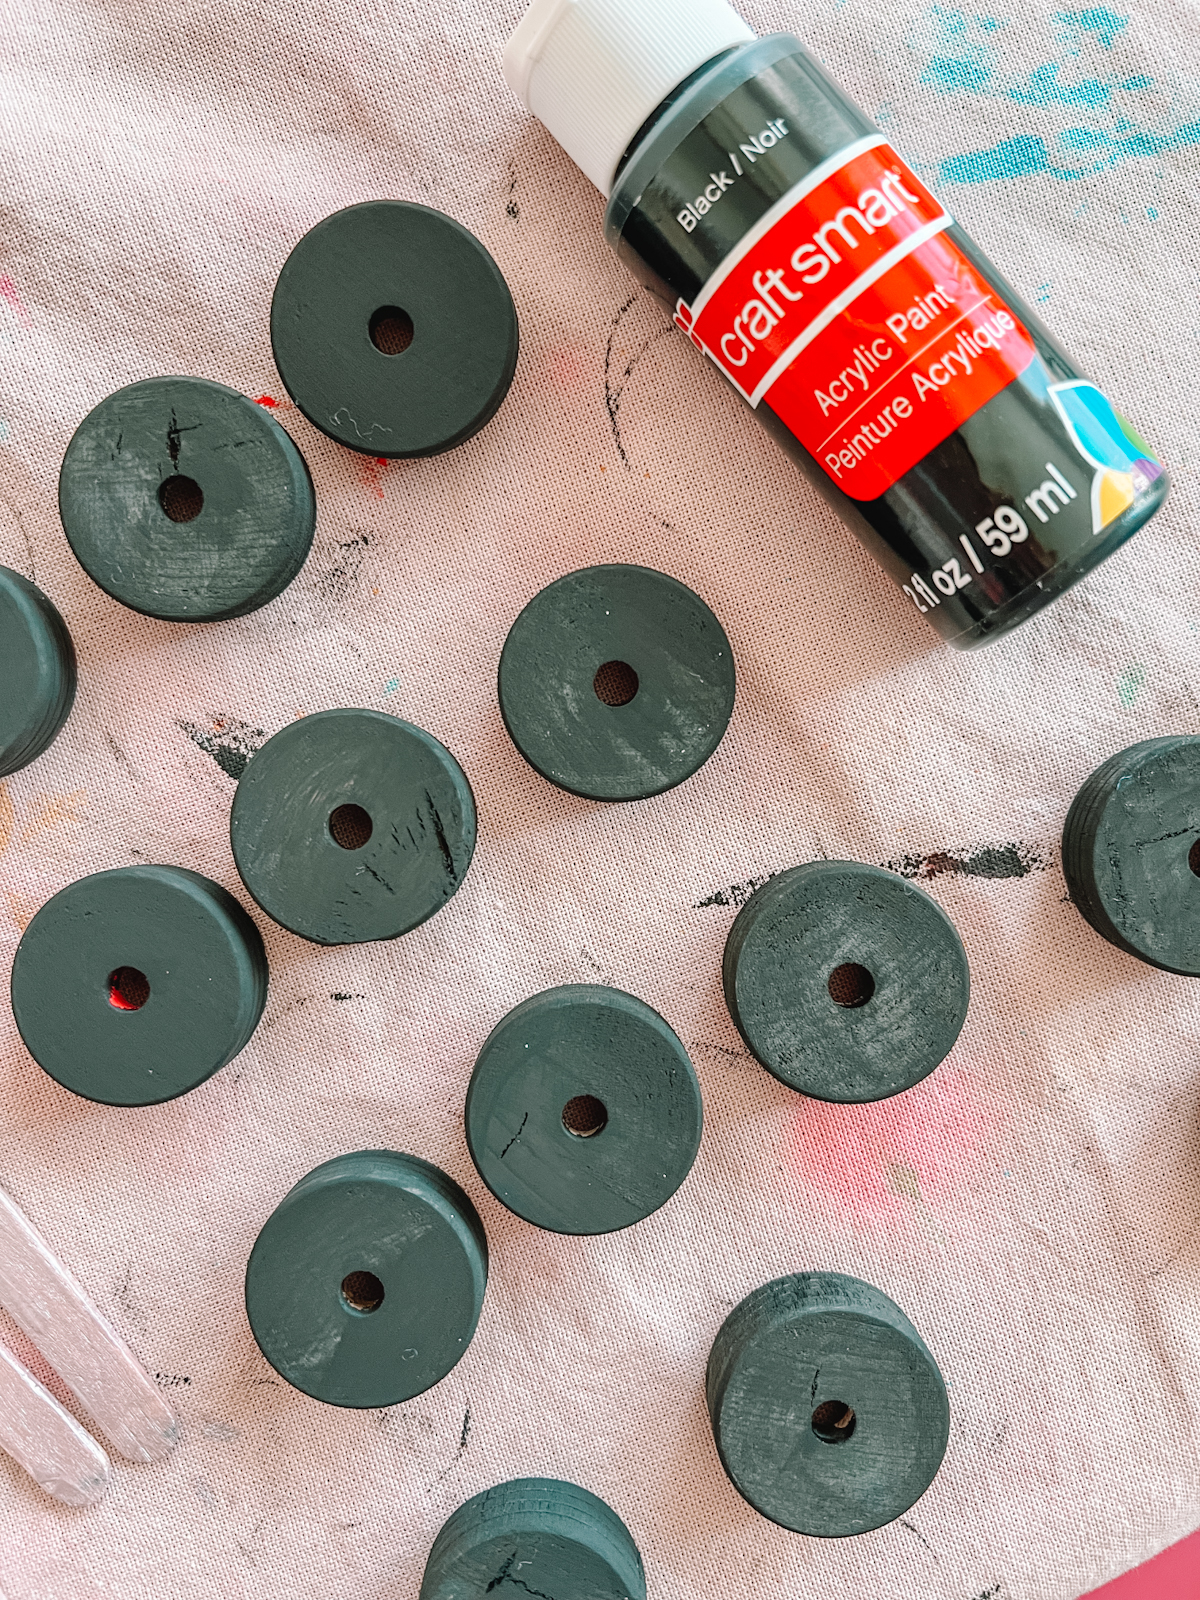
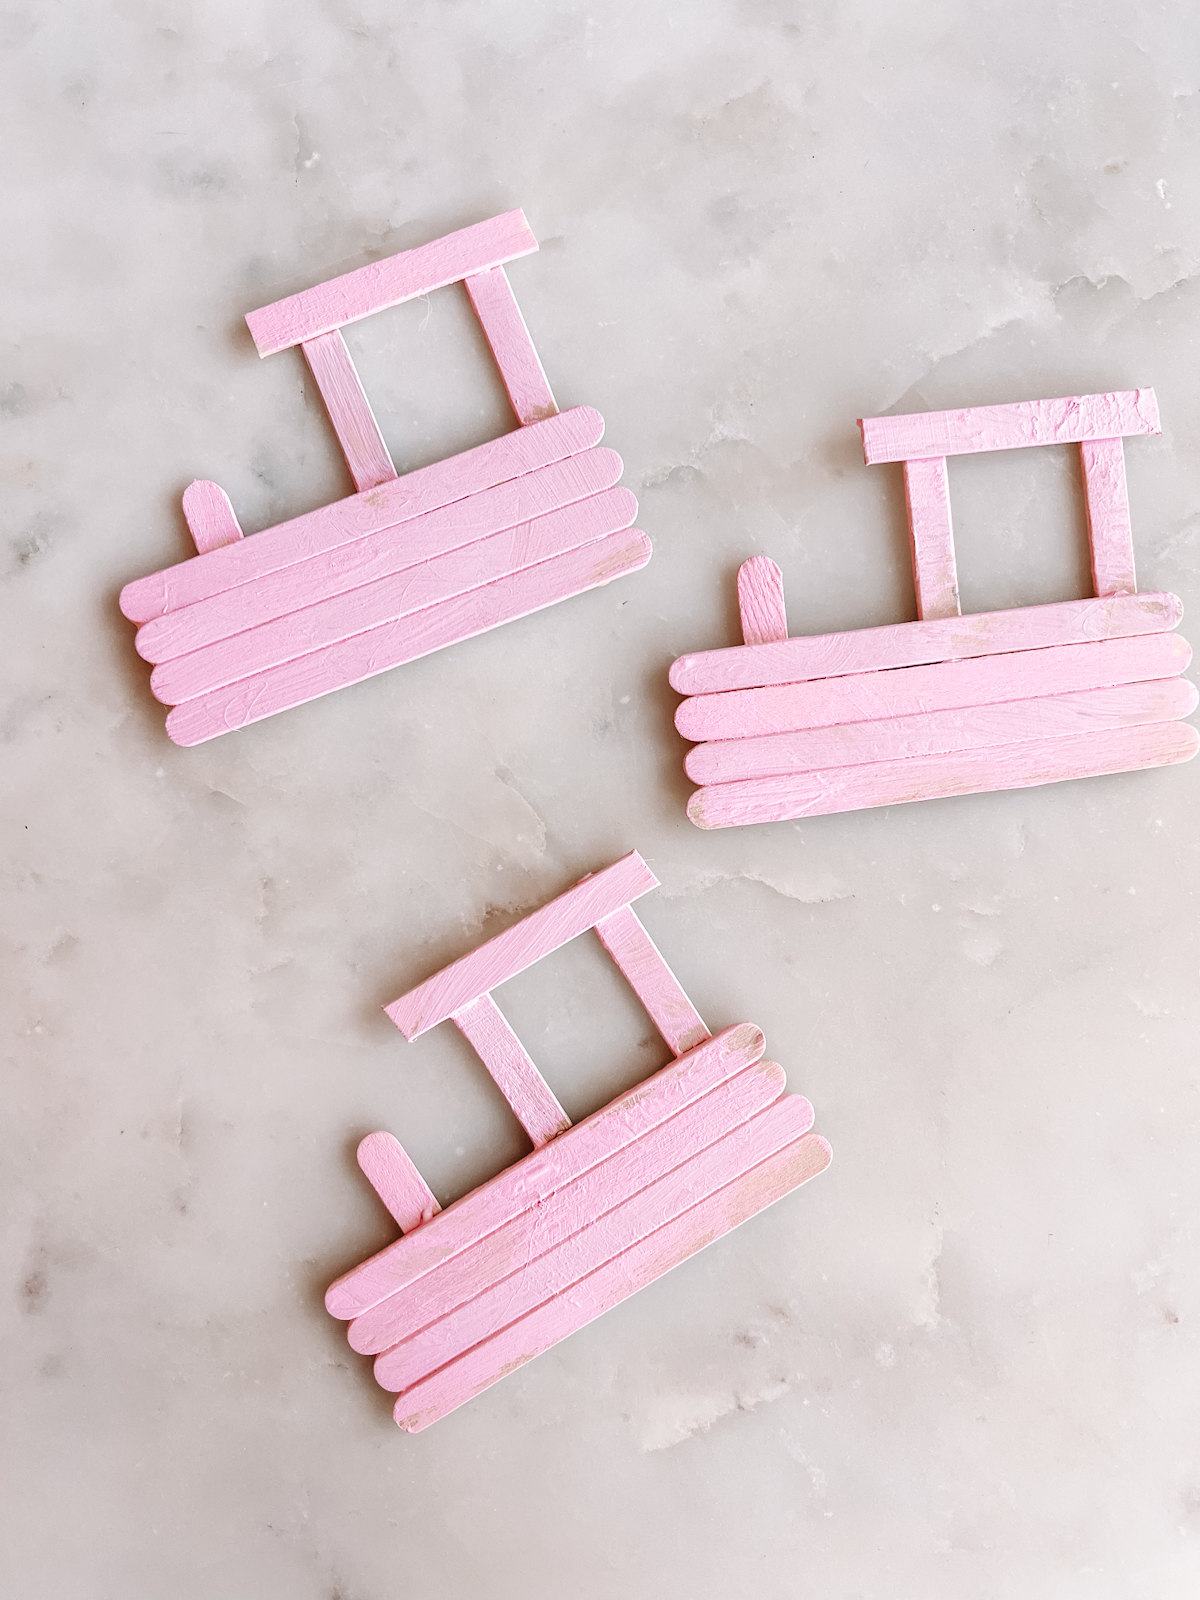
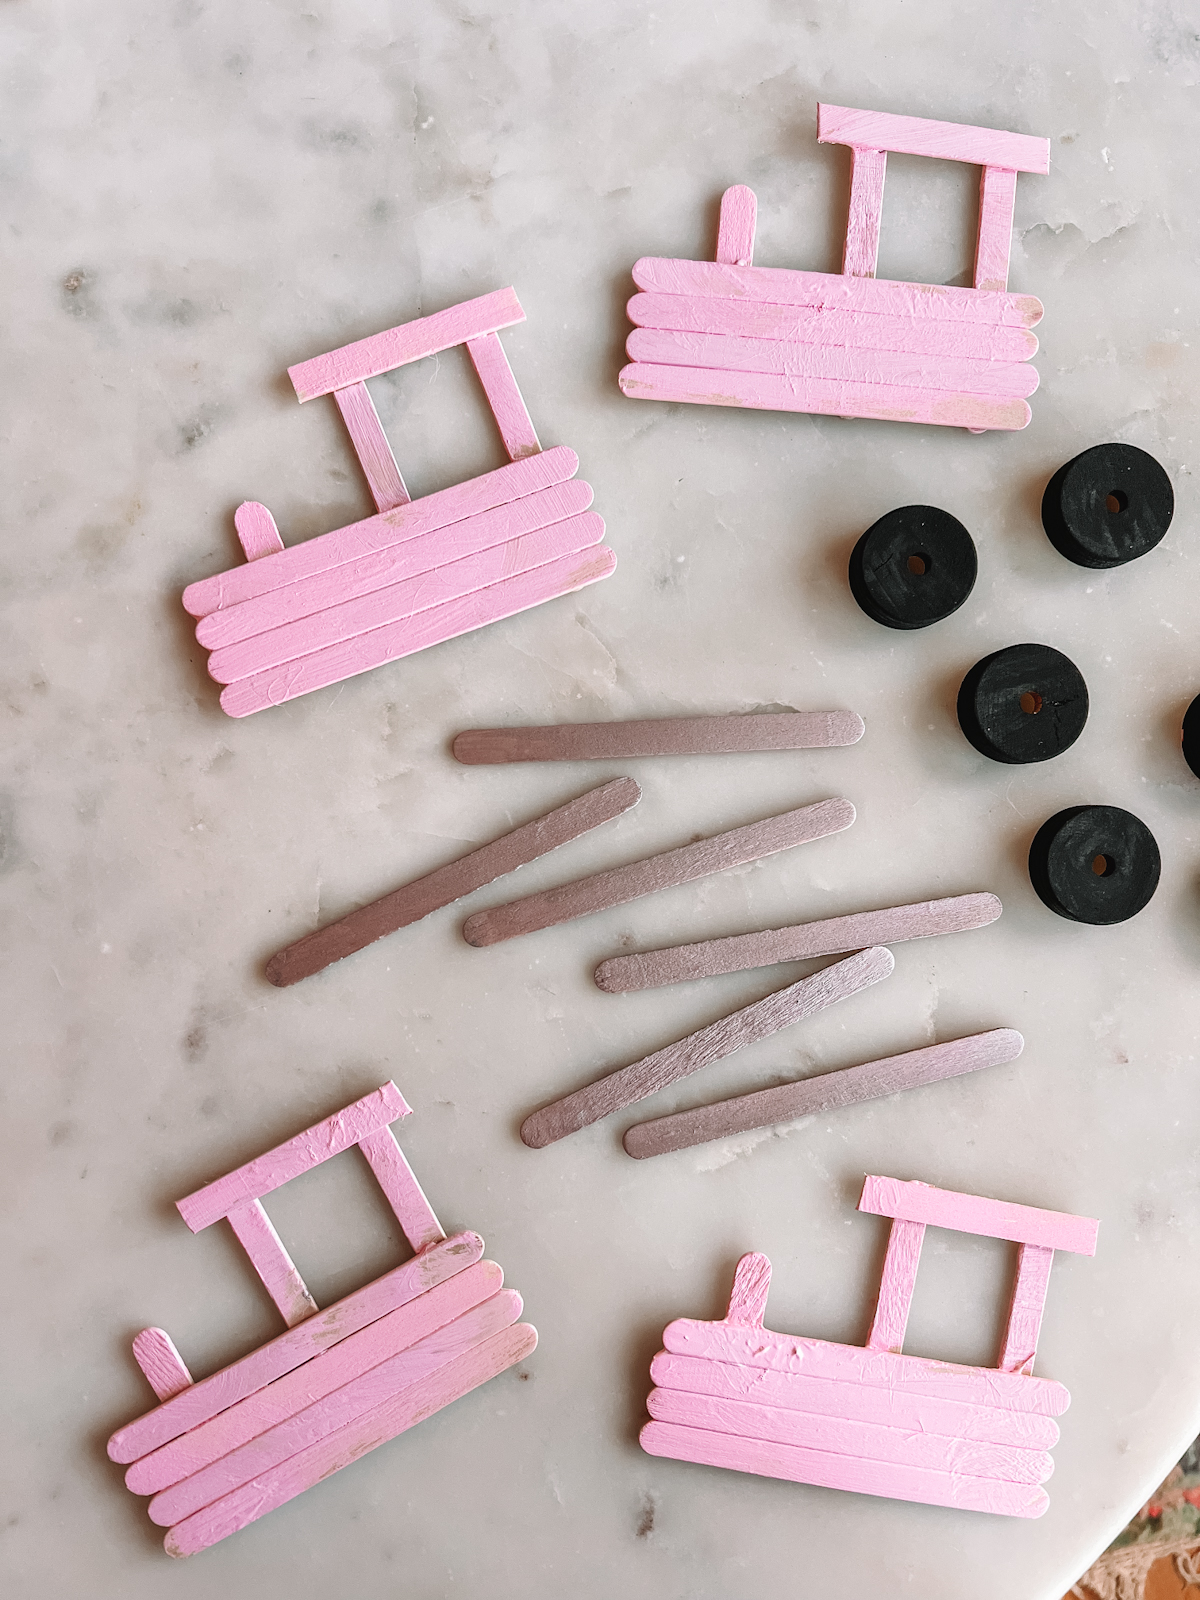
5. Time to paint. Paint the trains as desired (this is great for children to get involved and paint!), paint the wheels black, and paint one popsicle stick per train silver or another contrasting color. Let dry.
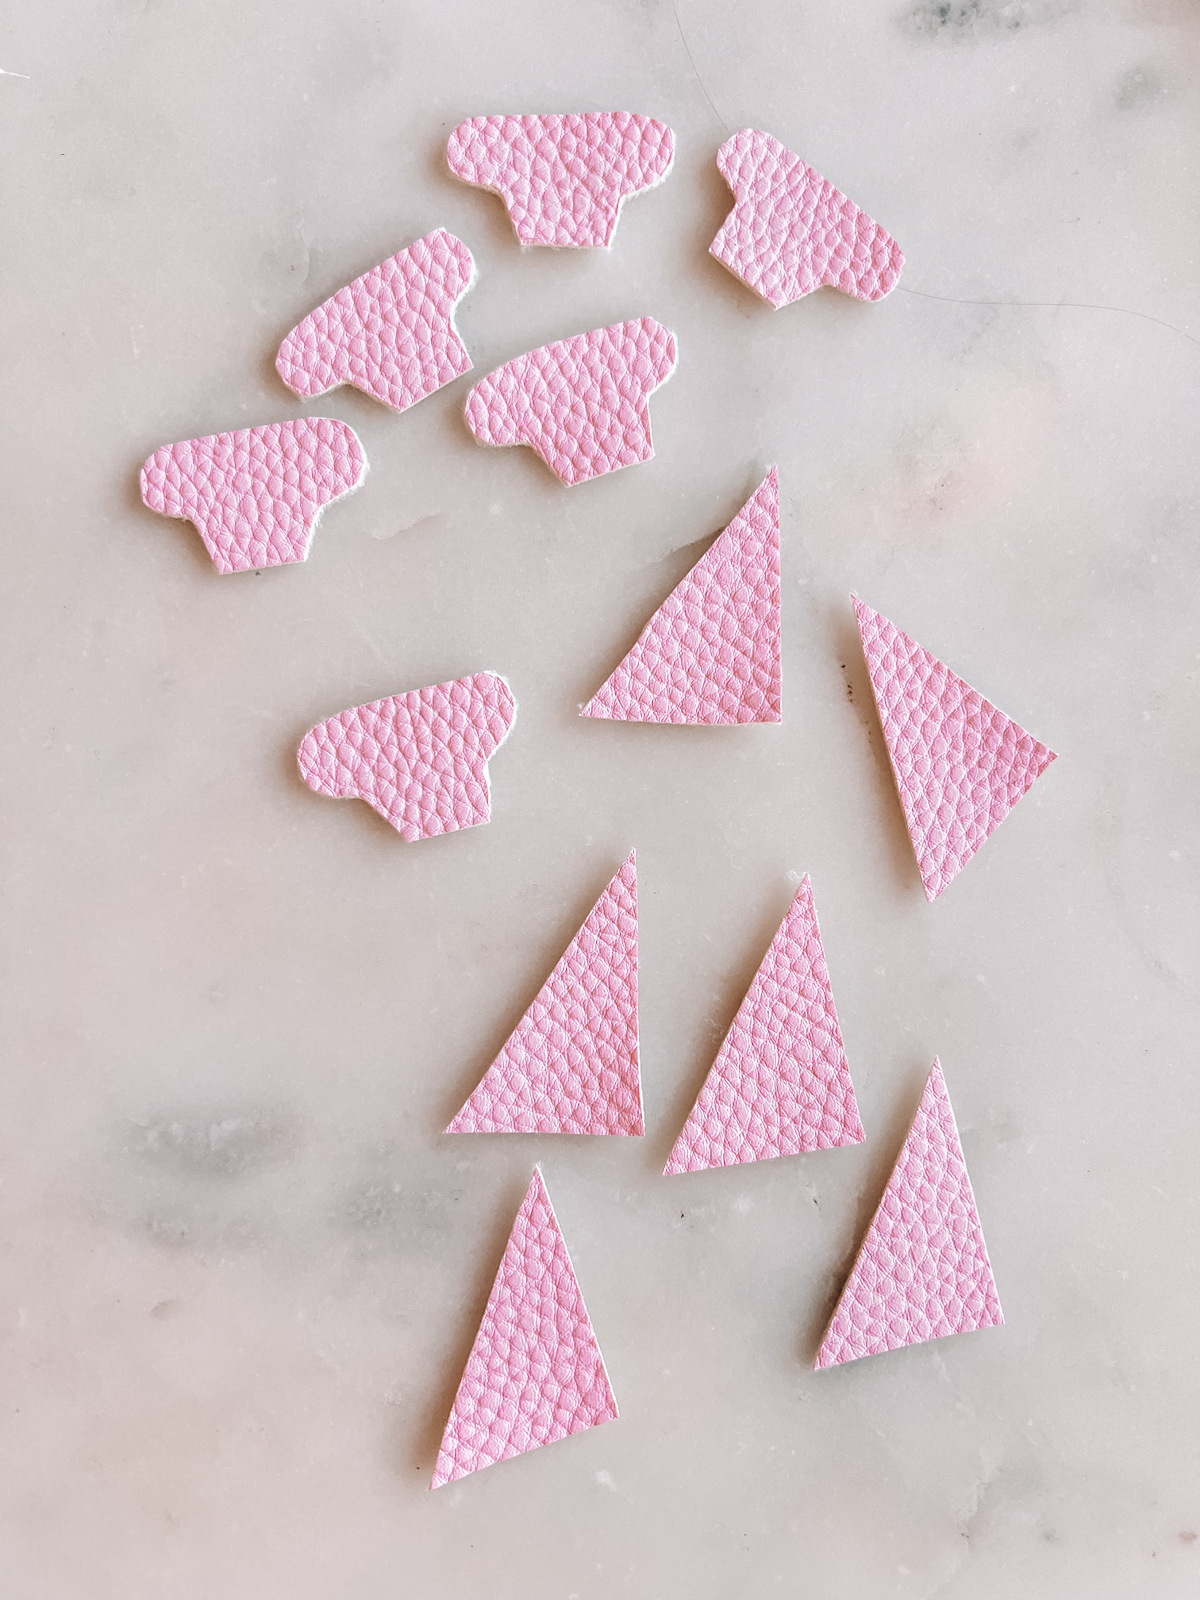
6. Cut out a small triangle for the front of the train and a chimney shape from felt, cardstock or faux leather.
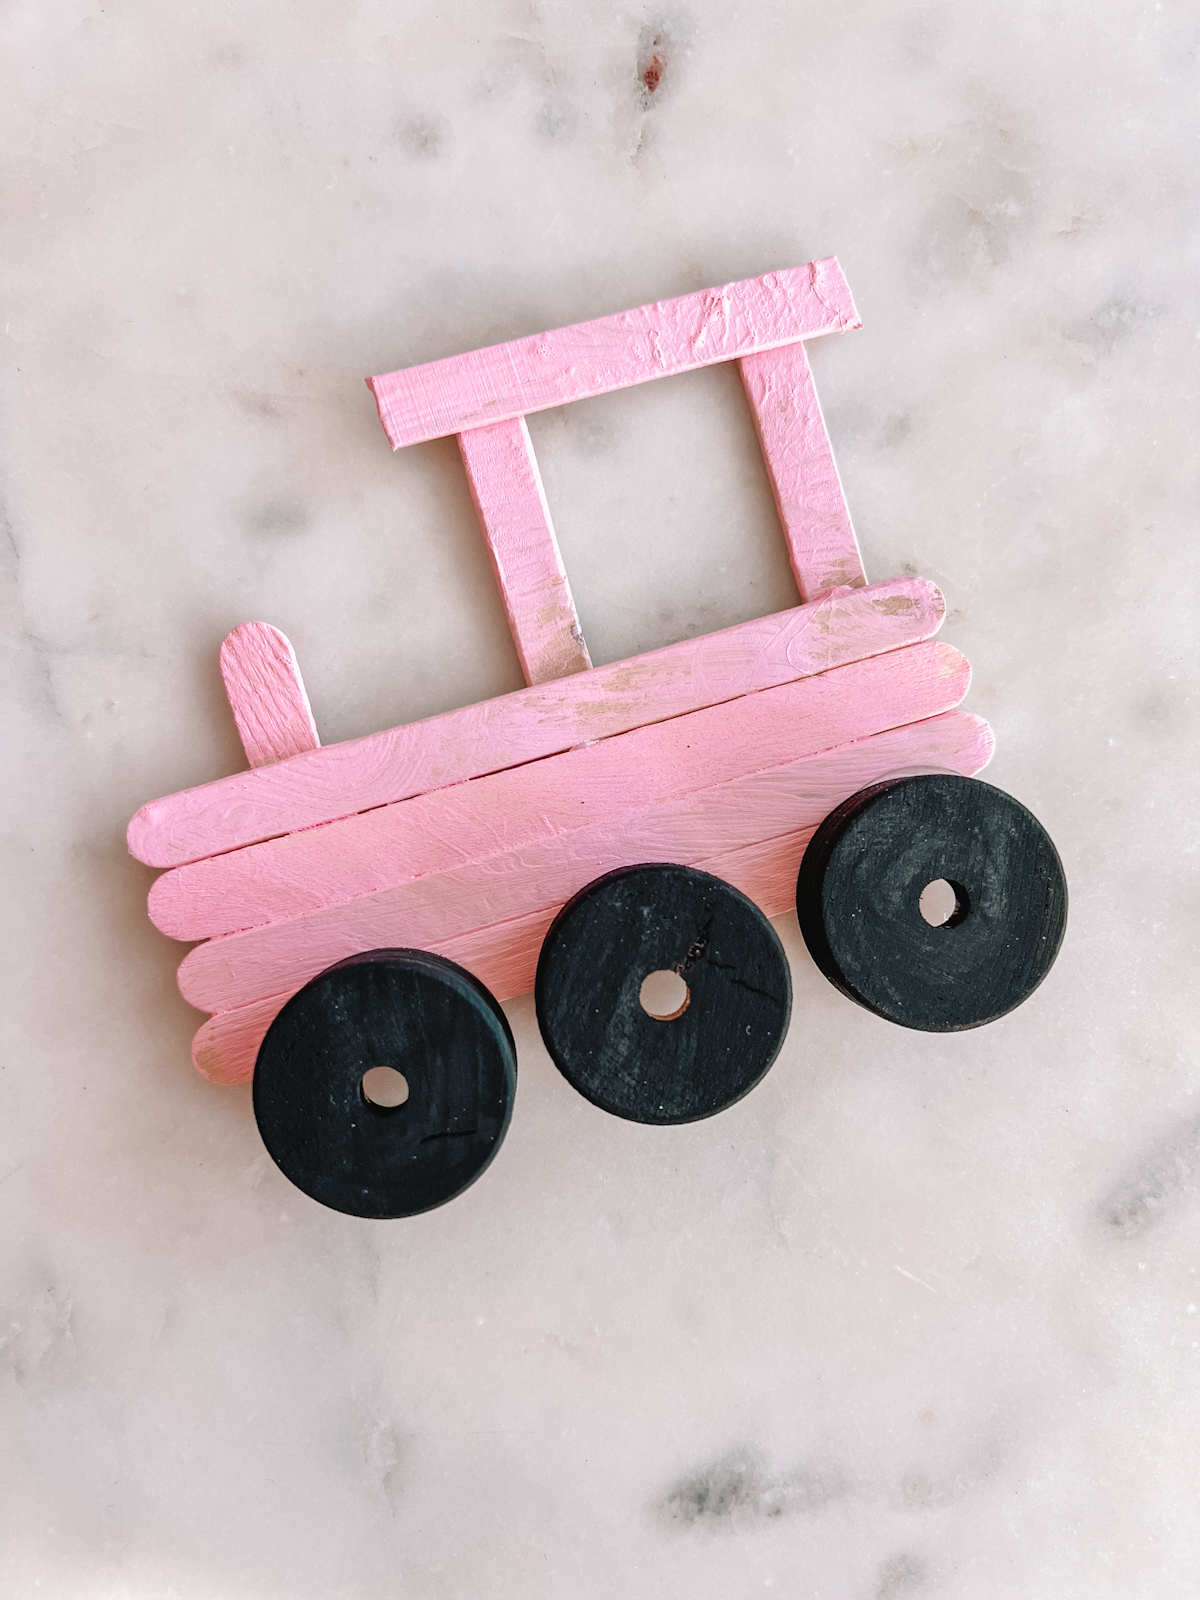
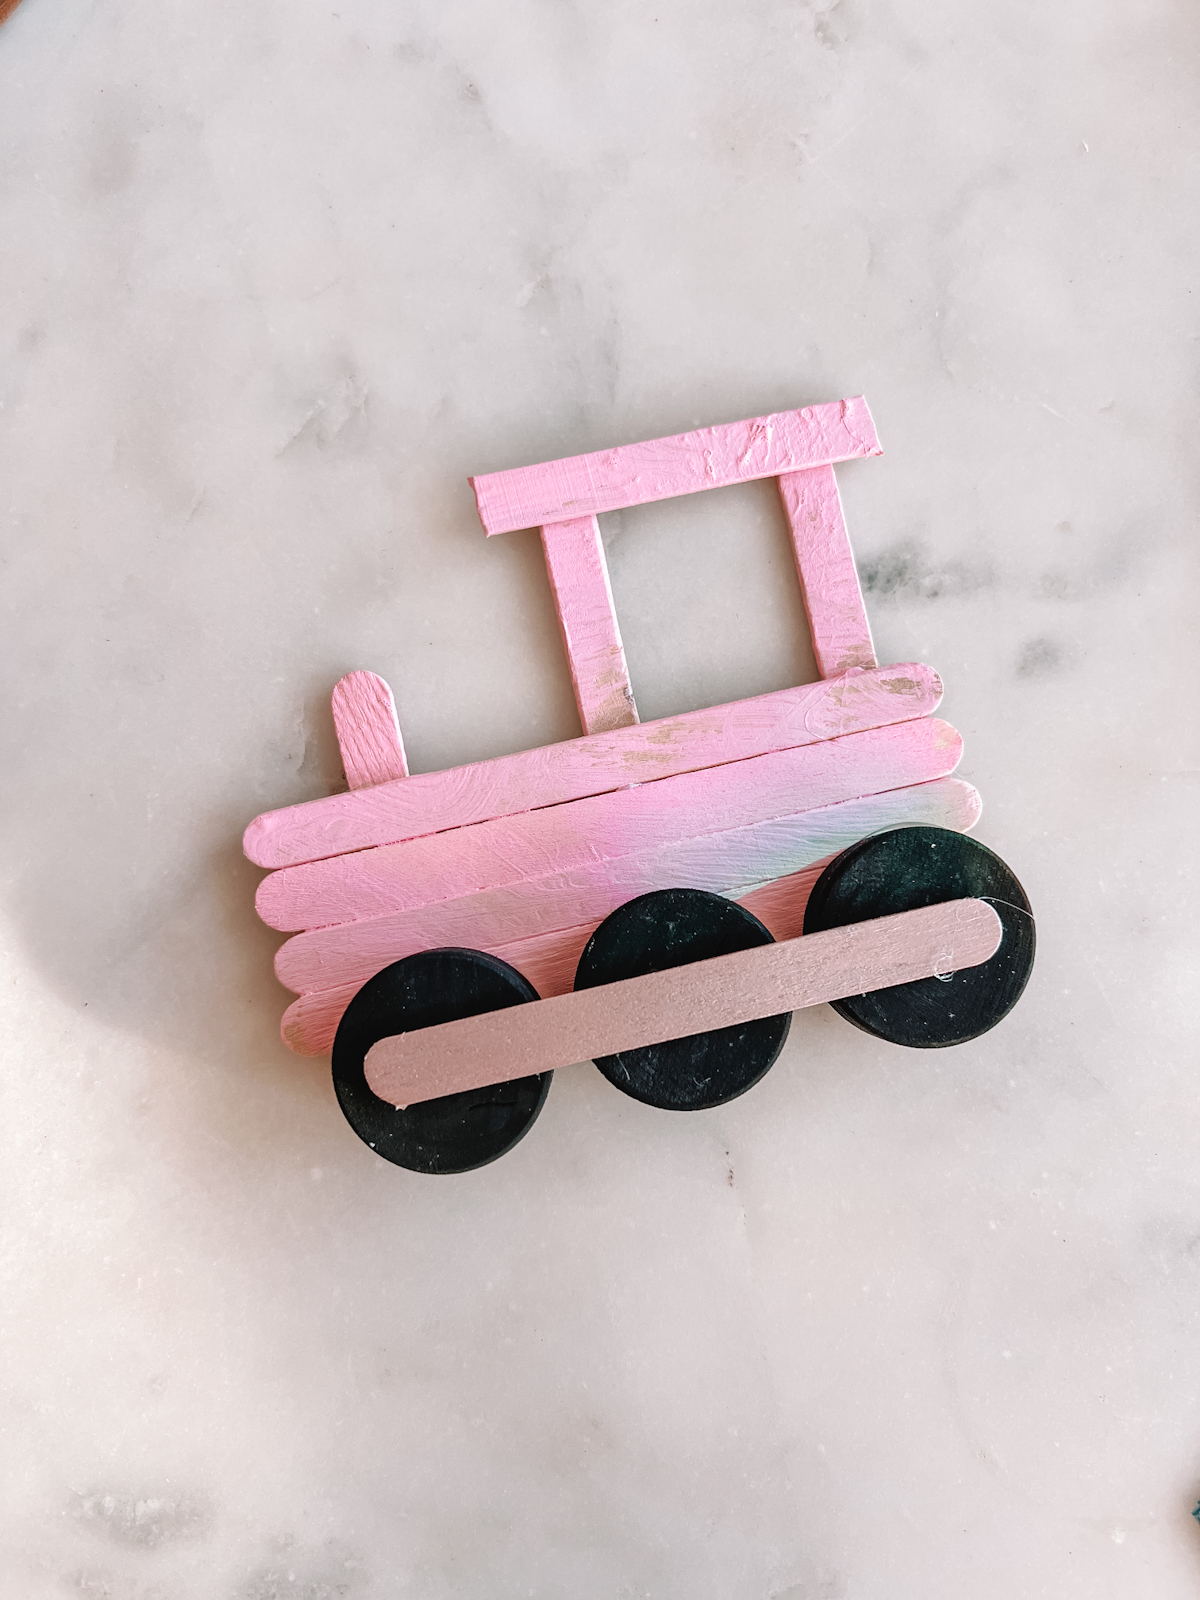
7. Glue each wheel to the bottom of the train.
8. Trim down the metallic popsicle stick slightly, if desired, and glue across the three wheels.
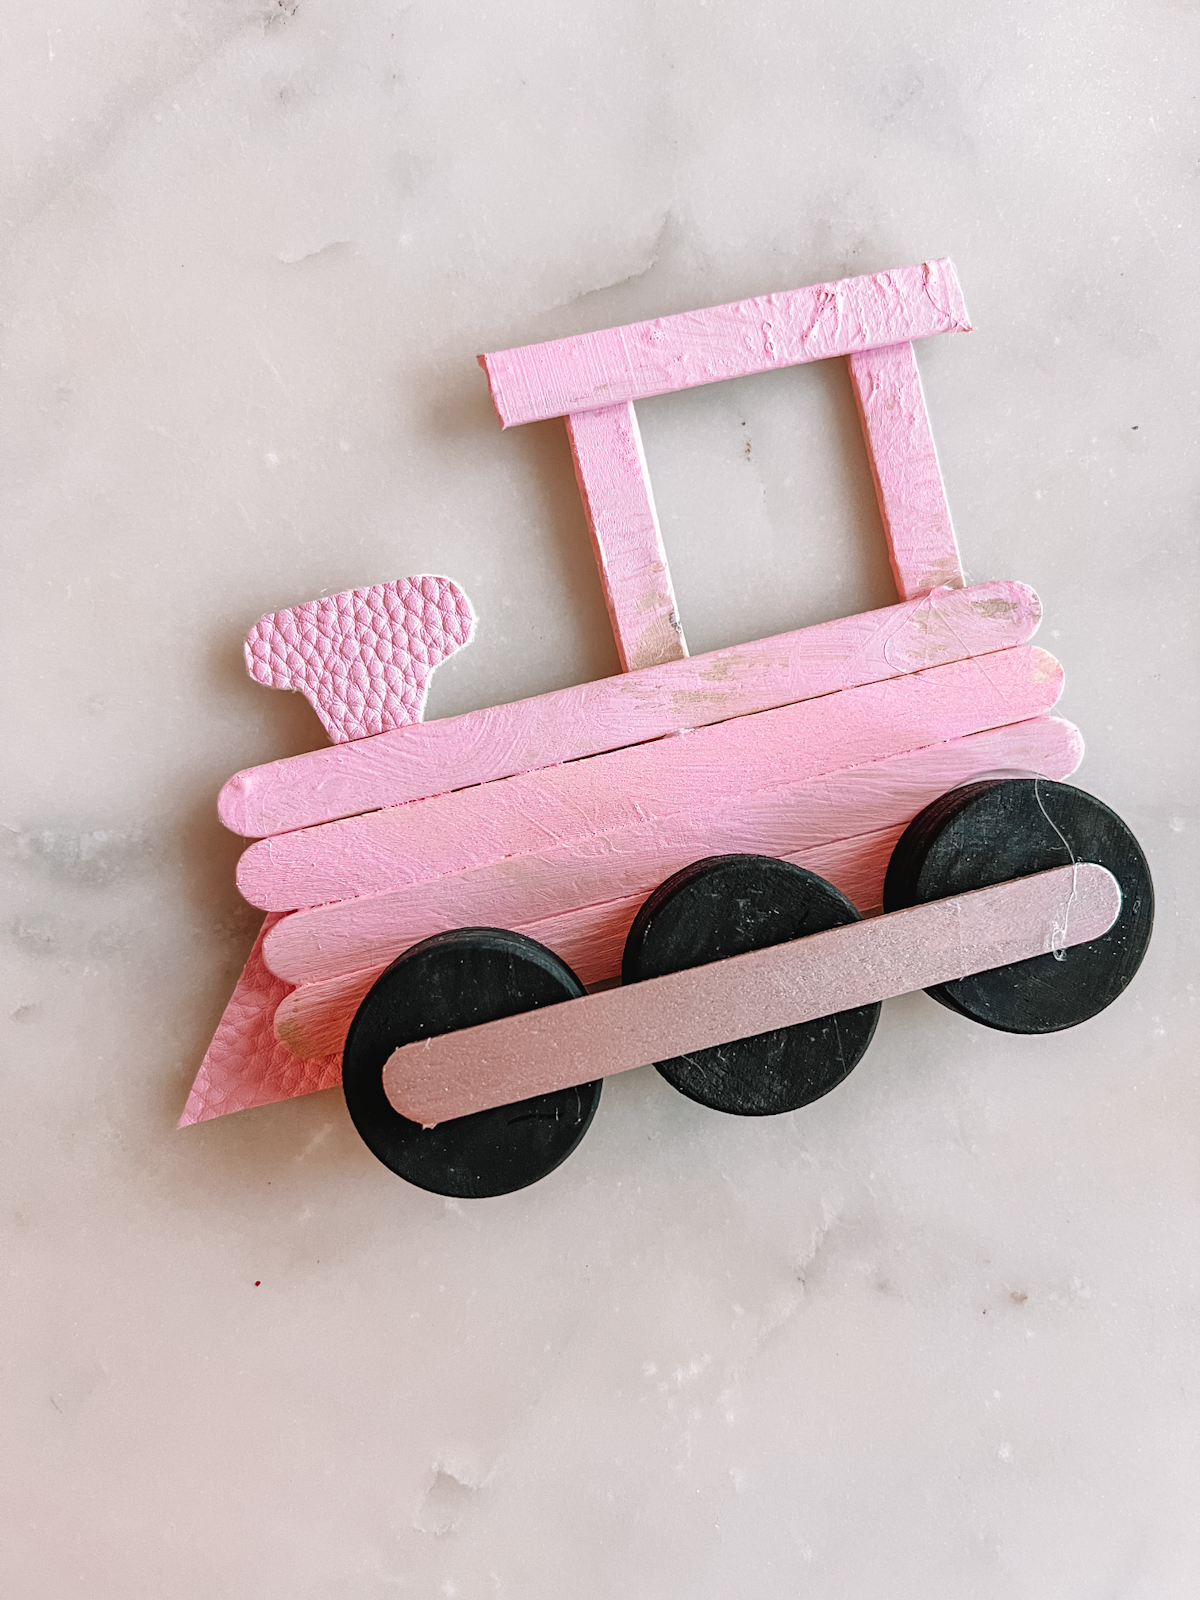
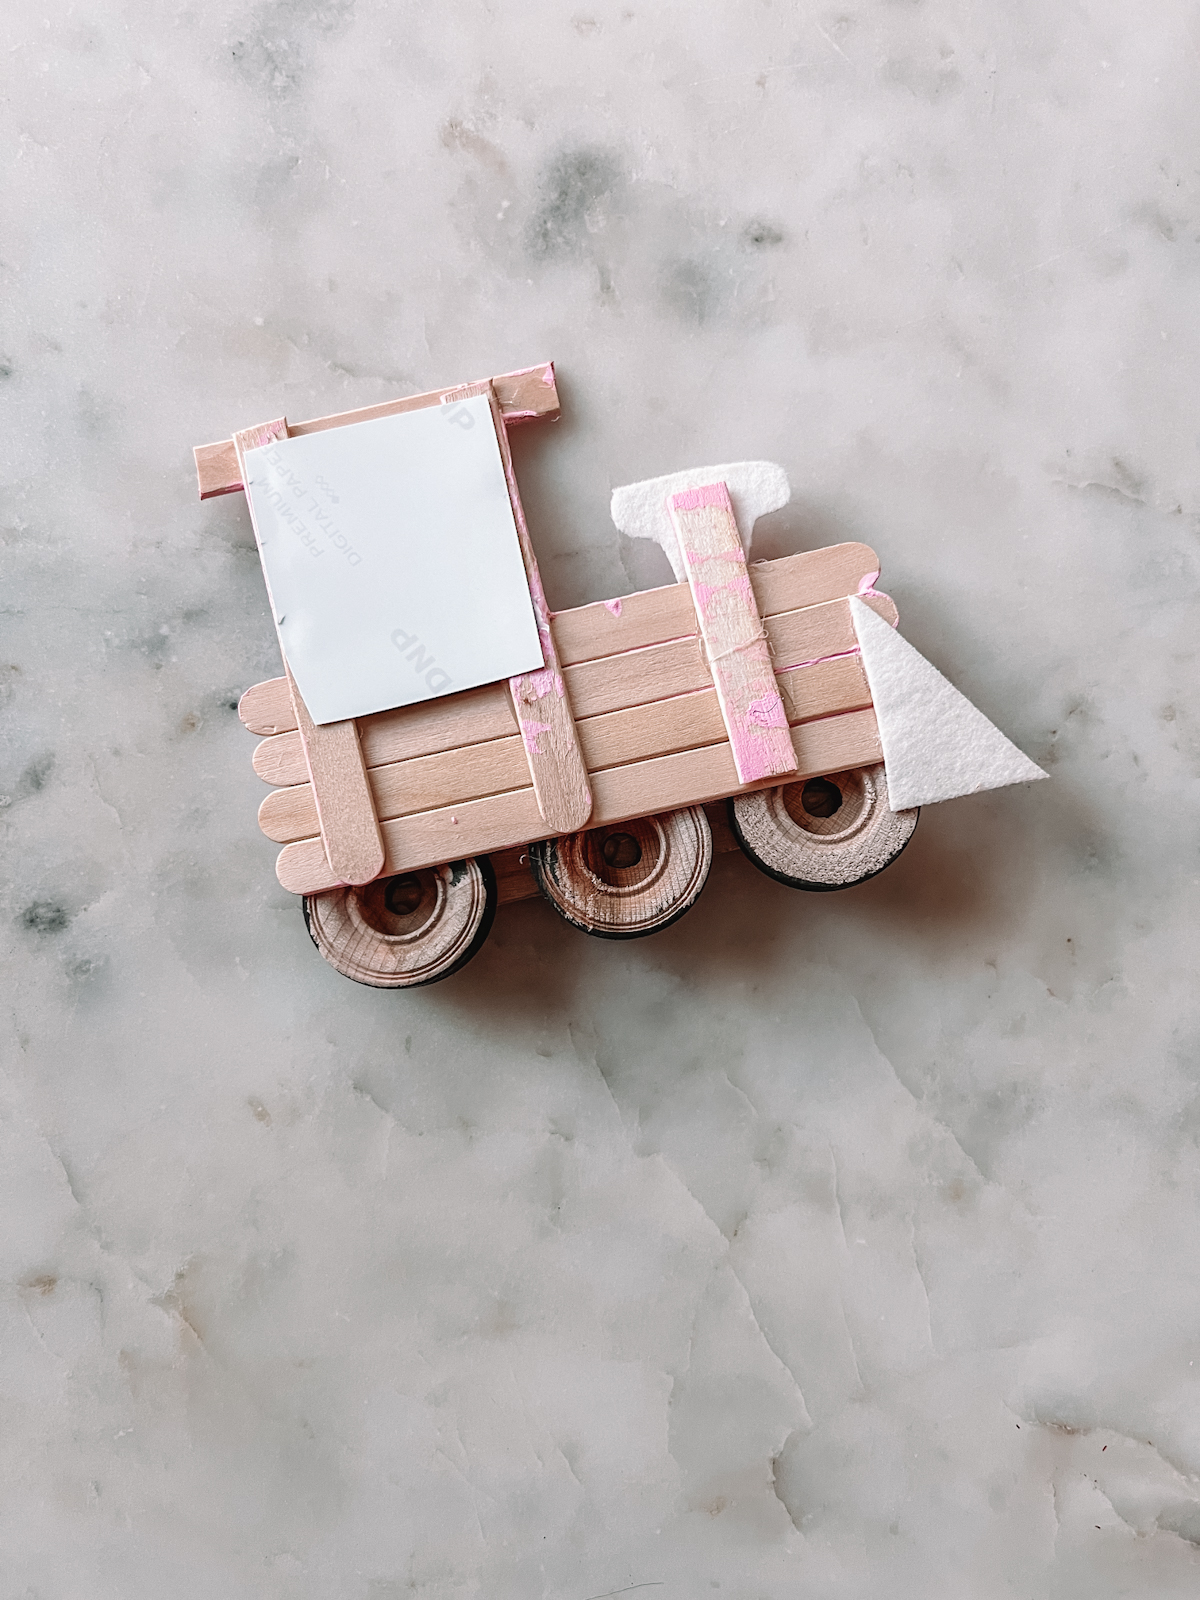
9. Glue the front piece of the train and the chimney on.
10. Flip your train over and glue your picture in place in the window.
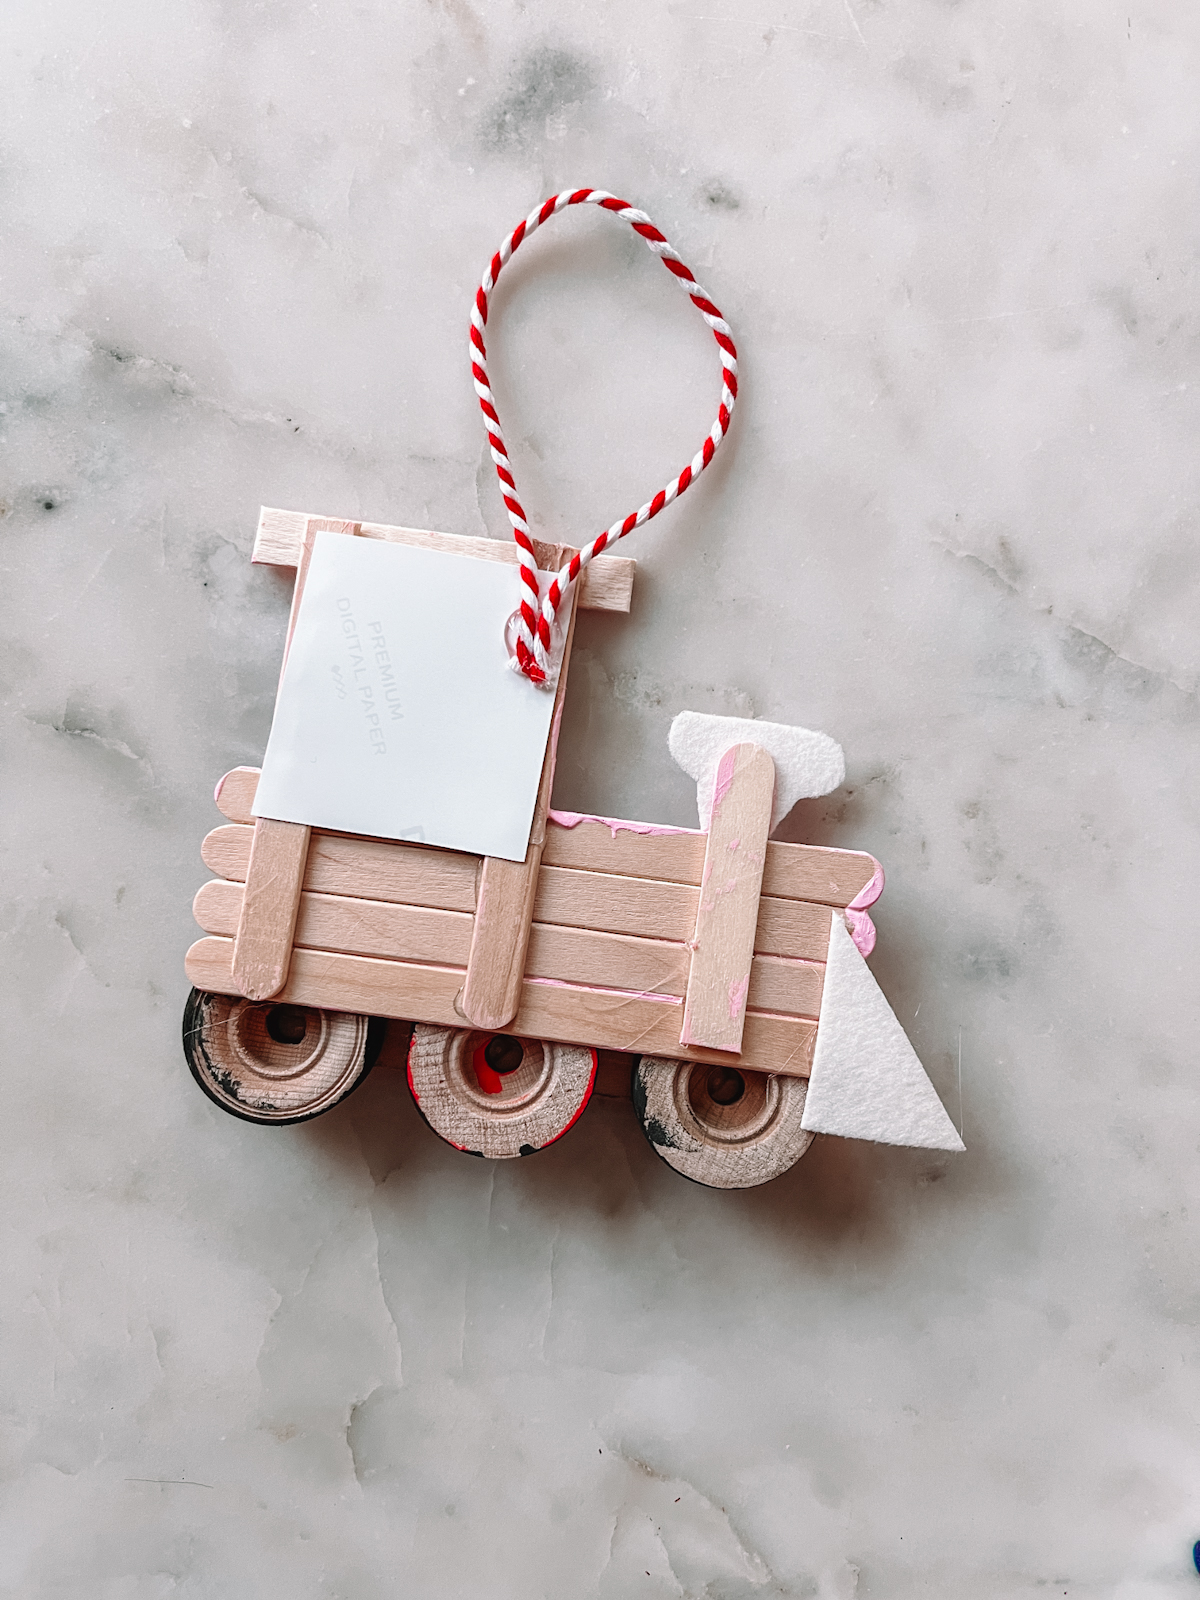
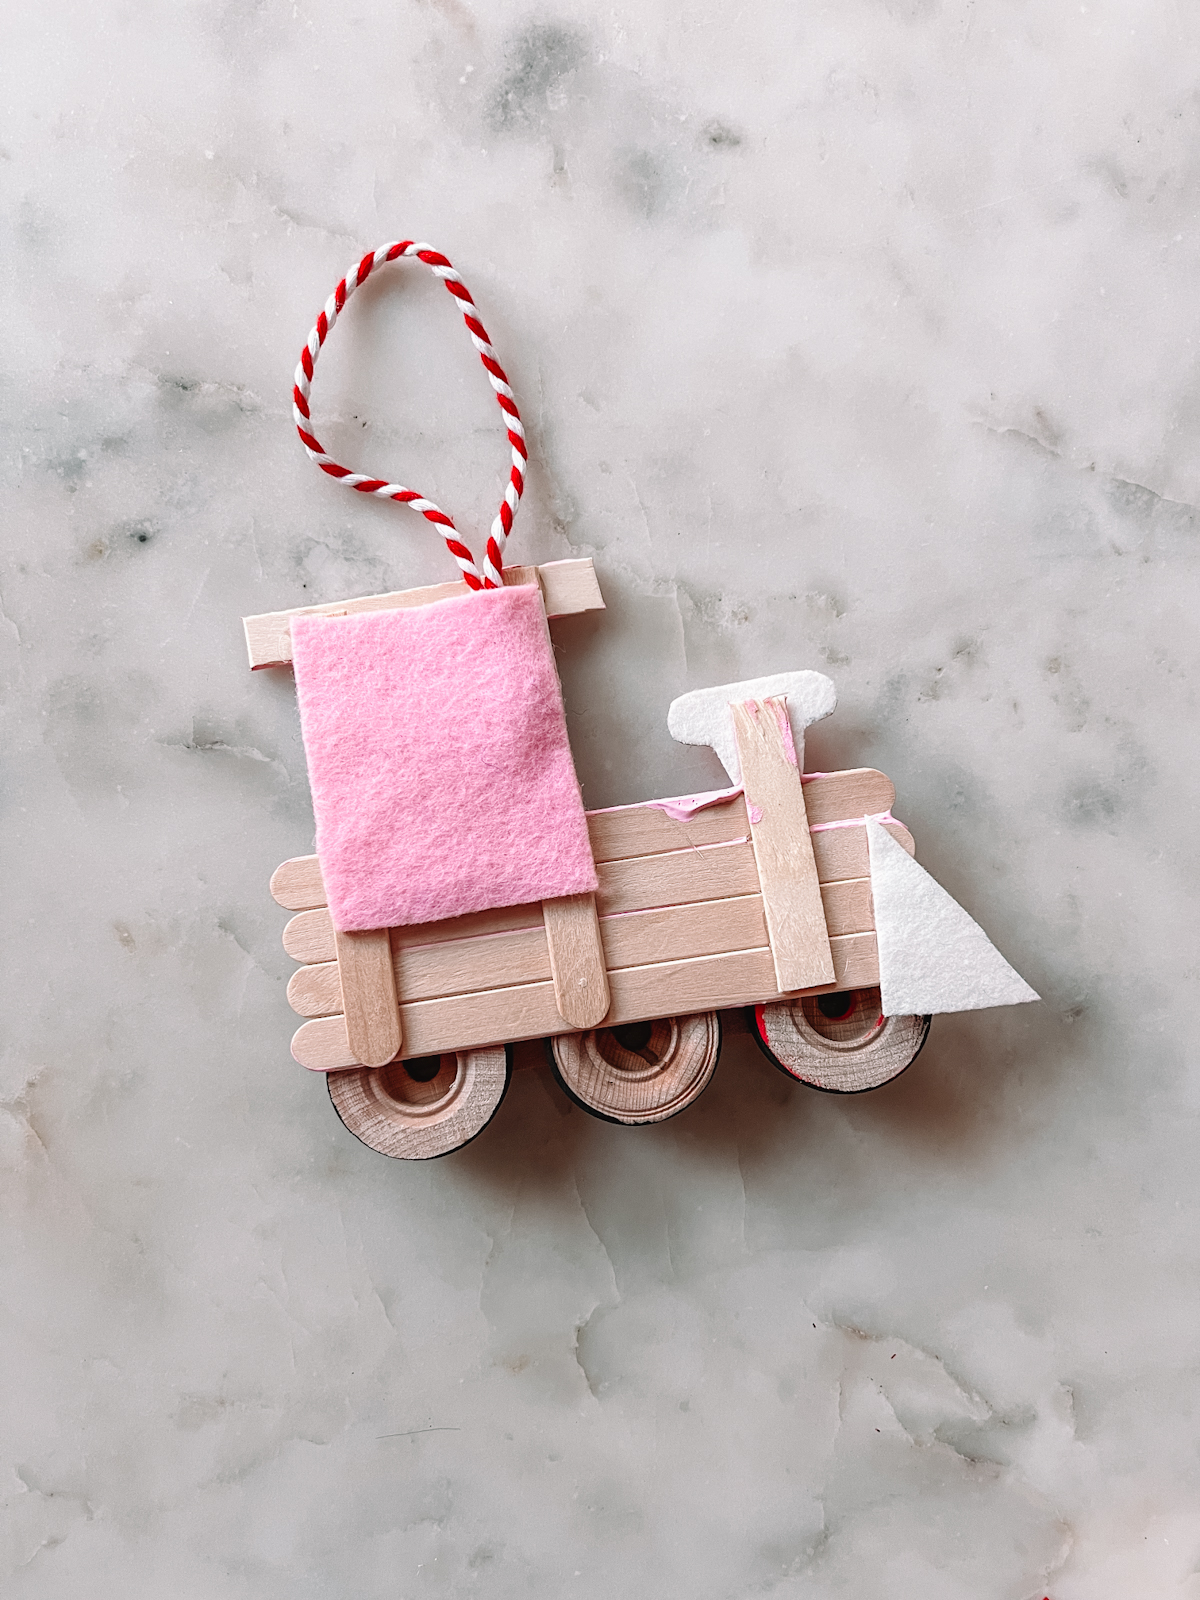
11. Glue a piece of twine, folded in half, to the back of the picture.
12. Glue a small piece of felt or other scrap material to the back of the photo to finish it off a bit more!
13. Add any trim you’d like, like mini wreaths or Santa hats.
More Popsicle Stick Ornament Ideas
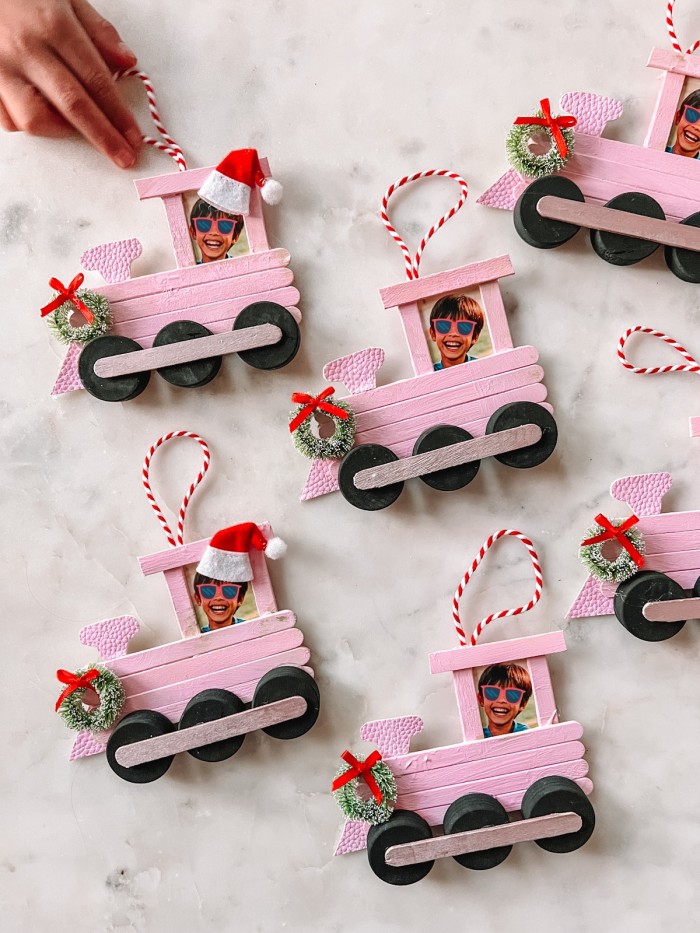
Photos by Studio DIY
You can make one of these cute popsicle stick train ornaments for each child, or pop a small picture of the whole family in one!
Popsicle Stick Train Ornaments
Equipment
- Pair of scissors
- Hot Glue Gun
Materials
- 8 popsicle sticks per train
- 3 wood discs or beads per train
- Paint in desired colors
- Paintbrushes
- Felt, cardstock or faux leather
- Photo wallet size or 4×6, trimmed down
- Twine
- Mini wreaths or other decoration
Instructions
- Lay four popsicle sticks next to each other horizontally.
- Trim 1" off the top of two other popsicle sticks. Glue one to the horizontal popsicle sticks to hold them together.
- Glue the other about 1.5" away from the first.
- Cut another popsicle stick in half. Glue half to the horizontal popsicle sticks. This will form the support for the chimney.
- Trim the round end off the other half of the popsicle stick. Glue across the top of the two vertical popsicle sticks. This will form the window.
- Paint trains and wheels as desired.
- Cut out a small triangle for the front of the train and a chimney shape from felt or other material.
- Glue each wheel to the bottom of the train.
- Glue a popsicle stick across the wheels, trimming if needed.
- Glue the chimney and front piece in place.
- Glue the picture to the back of the train, in the window space.
- Glue a piece of twine, folded in half, to the back of the picture.
- Glue a piece of felt over the border of the photo to finish.
- Add any decorations, like mini wreaths or Santa hats, if desired.




Jamie O. says
OMG our 2 1/2 year old is going to love this! We did the window ornament last year and look forward to doing these this coming weekend!