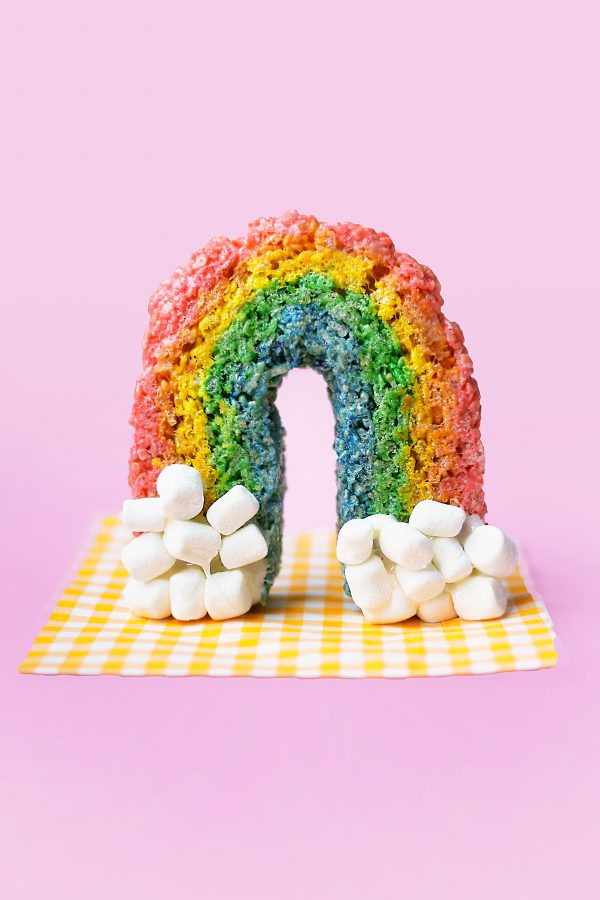
Hey everyone! I’m Erin from Hey, EEP! back with another fun recipe! Show of hands, who else LOVES rice krispies treats? Honestly, I can eat a whole tray in one sitting; it’s a skill I learned from my mom. I usually like mine plain but there’s something extra-special about these rainbow beauties chock-full of surprising fruity flavors!
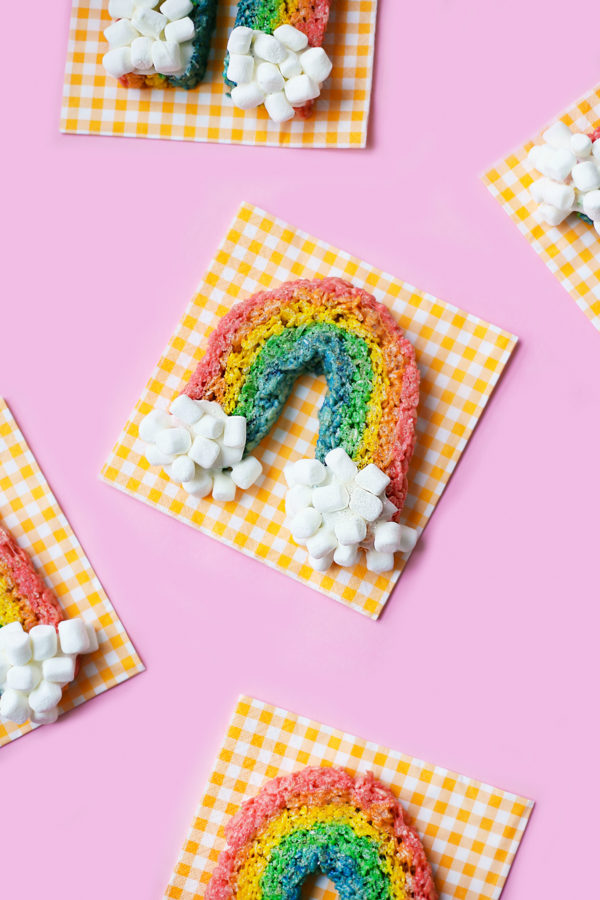
Today I’d love to show you how to make rice krispies treat rainbows! They’re the perfect personal-size desserts to share with friends. My secret: I like to spike each layer with a little Jell-O. It adds color and super-fun fruity flavor! All together, these end up tasting like Fruity Pebbles treats (without having to sort through all of the colors; could you imagine!?)
The great thing about this recipe is that it’s totally flexible. If you want to color your treats with Jell-O exclusively, go for it! If you’d rather use food coloring, that works too! You can even use a little bit of both, which is what I did to create my rainbows. The colors I used are pretty classic but you can play with whichever colors you’d like!
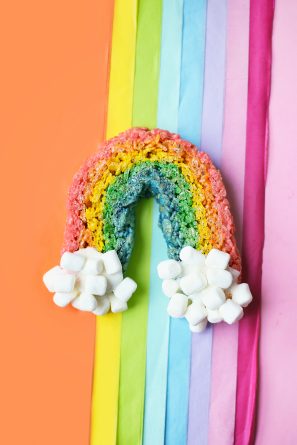
Rainbow Rice Krispy Treats
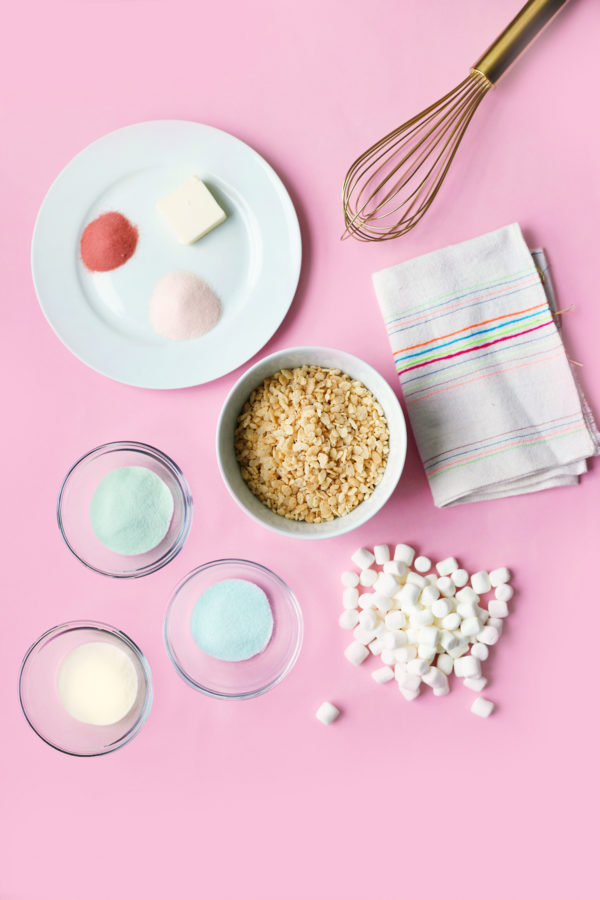
Ingredients
- Nonstick cooking spray for supplies
- 1 stick butter
- Jello and/or food coloring for dying
- 2 bags mini marshmallows
- 1 box Rice Krispies cereal
Instructions
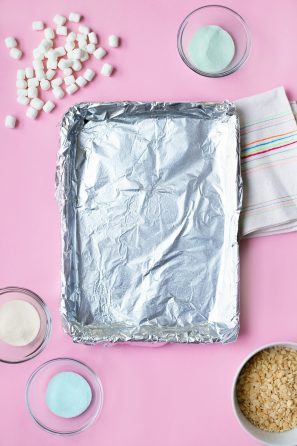
- Line a small baking sheet with aluminum foil and fold to make a “mini” pan that’s about half or a quarter of the baking sheet. Spray with nonstick cooking spray.
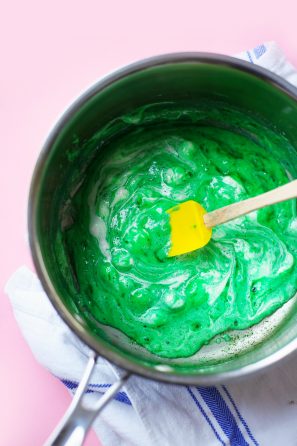
- Spray the inside of a saucepan with nonstick cooking spray. Add 1 tablespoon butter and melt over medium heat. Stir in 1 cup marshmallows and 1 tablespoon Jello and/or some food coloring, if desired. Cook, stirring, until marshmallows are melted.
- Turn off the heat. Add 1½ cups rice krispies and fold together until combined. Transfer the first color of rice krispies to the prepared pan.
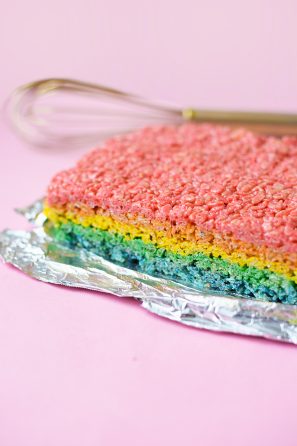
- Run your hands under cold water. Gently press the rice krispies down into the pan to create your first layer.
- Repeat steps 2 through 4 to create as many color layers are you’d like!
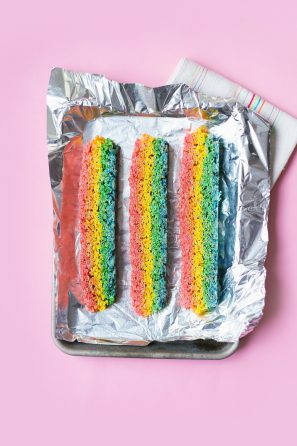
- Cut the layered rice krispies treat into 1-inch slices. Arrange a few slices at a time on a baking sheet covered with foil and nonstick cooking spray. Warm in a 300˚F oven until soft and moldable.
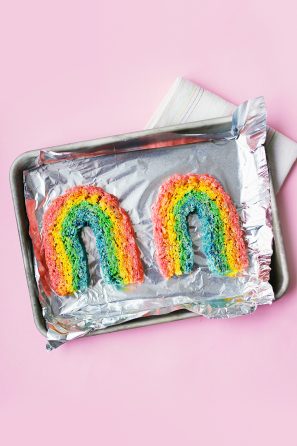
- Remove from the over and bend into a rainbow shape; set aside to cool.
- Melt 1 tablespoon butter and 1 cup marshmallows in a clean saucepan until melted. Spoon the melted marshmallows over the bottom of the rainbows and use it as “glue” to attach mini marshmallow clouds.
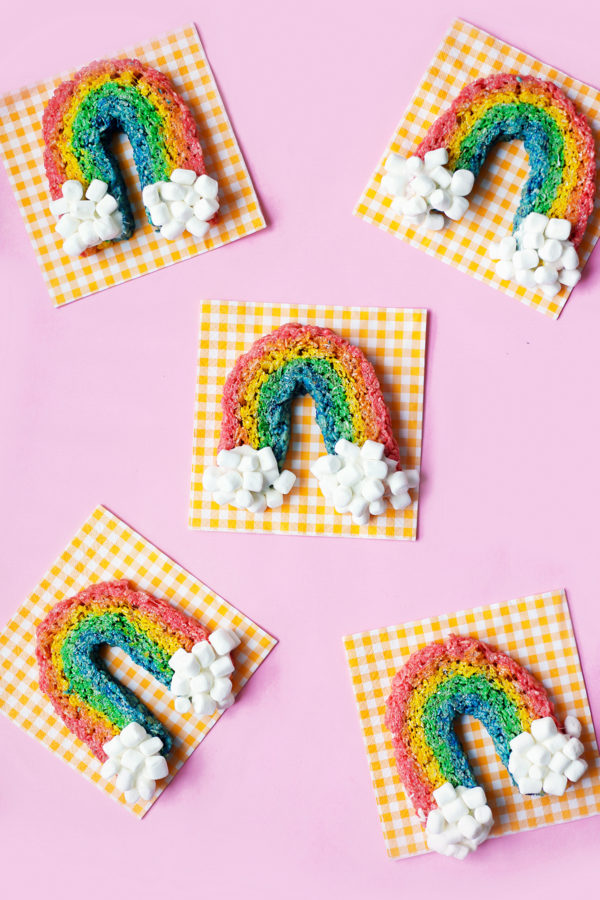
Photos by Erin Phraner | Hey EEP
A few other reasons why rice krispies treats are the best: They’re easy to make, impossible to mess up (if they harden too quickly, just pop them back in the oven for a few minutes and they’re totally moldable again) and they’re so darn cute! Bonus: Even your gluten-free friends can enjoy ‘em!




Michelle says
That looks so bright and fun, really cool!
https://www.makeandmess.com/
Spanish dictionary says
Amazing treats!
geometry dash says
So cute! I want to try it now.
Rachel says
These are adorable! Planning to make these as a treat for my daughter’s preschool class next week. How many individual treats will I get from one batch?
handicraft manufacturers says
oh! so sweet I want to try this. Your post and pictures will help me make it. Thank you for this tutorial.
spotify web player says
Well, this is my first visit to your blog! Your blog provided us valuable information .You have done a marvelous job
usps tracking says
wow, very creative and unique, thank you for sharing how to do.