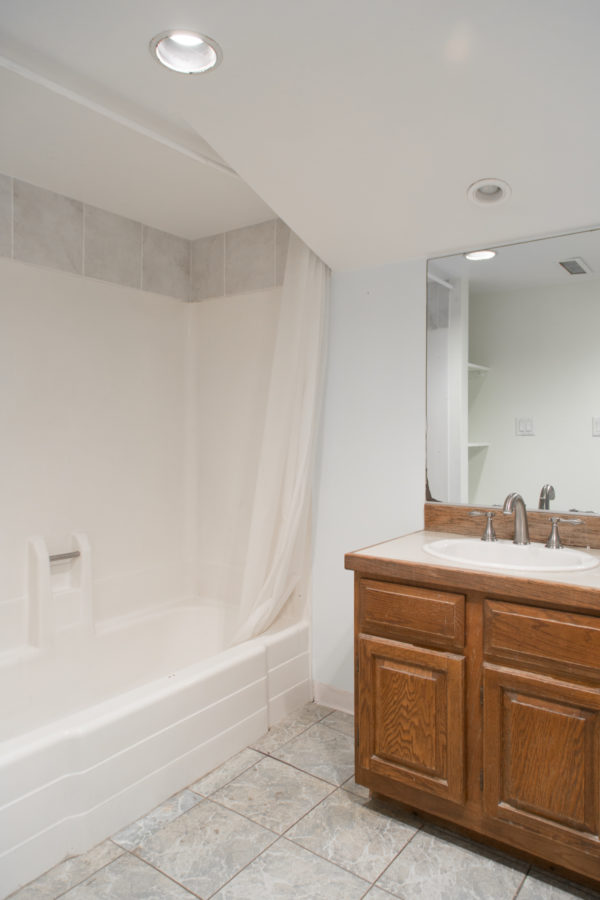
We are FINALLY getting ready to complete the final piece of our master suite… the BATHROOM!!!! Oh man, I am so excited to have a not ugly bathroom, I CAN’T EVEN TELL YOU. The renovations are well underway now but I wanted to take you back to the beginning and for this renovation, I’m gonna walk you through every step in a bunch of posts. You guys have been asking for more home content, so I thought it would be fun to really break this project down!
We’ve been longtime Bank of America customers so we were pretty freaking stoked when they reached out to us to partner together! And they’re gonna help us take you through the process! We’ve been referencing and utilizing their Better Money Habits site a lot as we make big decisions. It’s chock full of articles that help you spend and save wisely, on everything from family budgeting to home renovations. DING DING DING! Since renovations cost a LOT and we don’t plan to stay in this house forever, we’re trying to make sure we make the best investments possible when it comes to things like energy efficiency, plumbing and electrical so we can not only save money now, but make our money back when we sell. Dive in for our full plans!
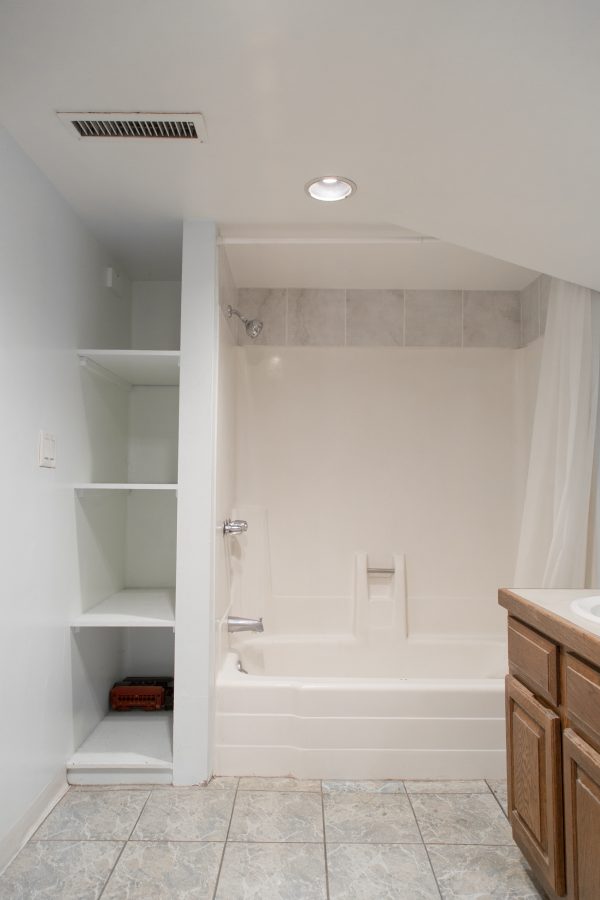
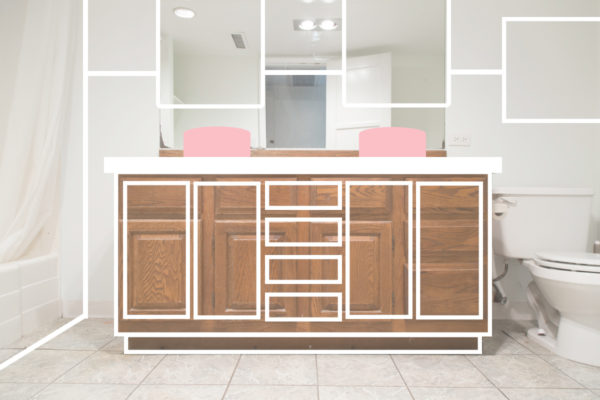
All right, so that gives you a PRETTY good glimpse of the before. It’s not great! And these photos were taken before the toilet fell through the floor, so keep that in mind. LOL!
The good news is the space is pretty big, so we have a lot to work with. We decided to keep the layout the same overall so we could avoid moving plumbing and save money. We’re tearing literally every single thing out, though! The tub/shower is going to be replaced with a larger stand-alone shower and glass door. We just felt there wasn’t enough room to put the tub in that we wanted, so we’ll just be putting a tub into the kids’ bathroom instead.
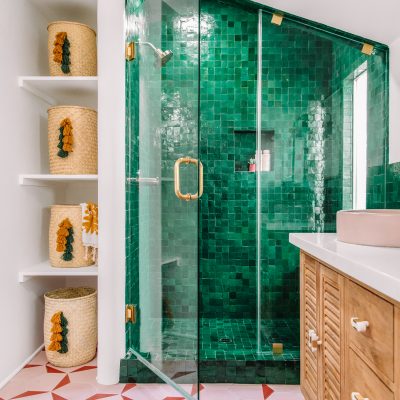
We’re keeping the shelving on the side for additional storage. I plan to fill the shelves with really pretty baskets for towels and other necessities!
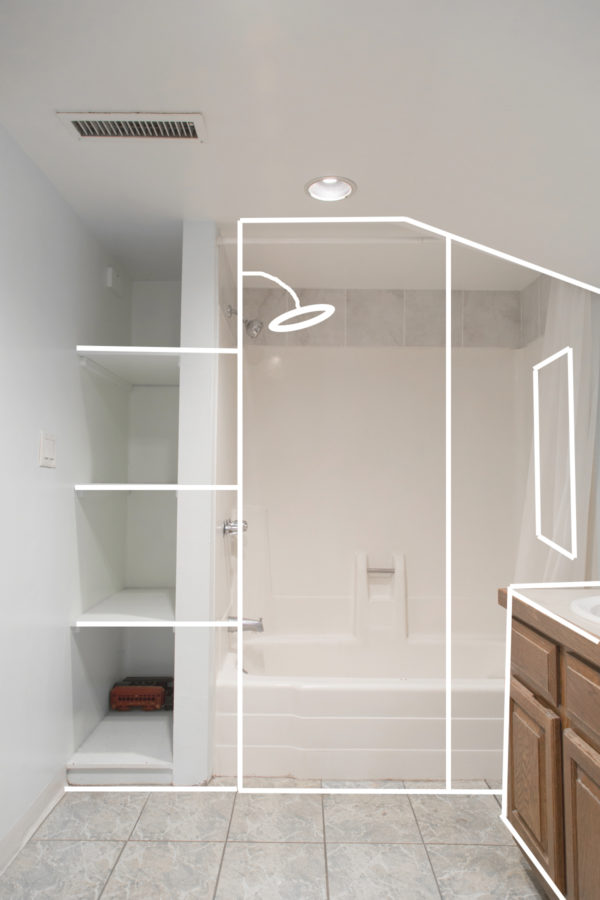
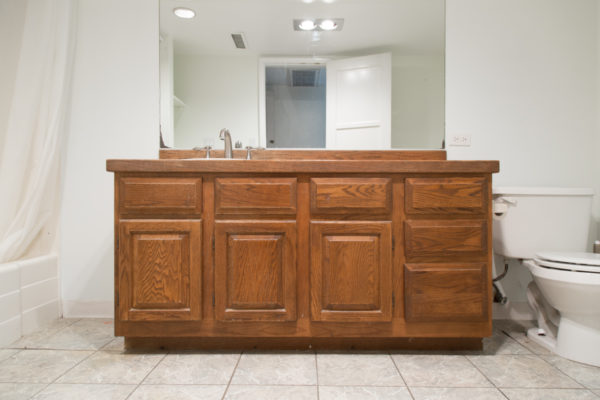
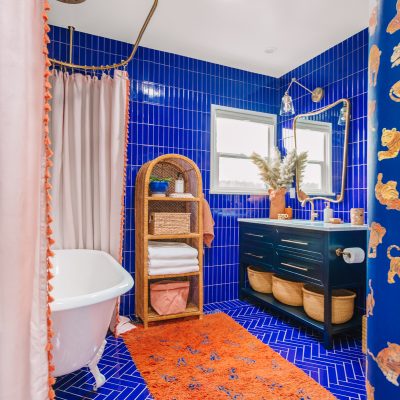
Then, we’re putting in a new vanity and adding a second (freaking beautiful!!!) sink. We’ll replace that one large mirror with two smaller ones anchored above the sinks and and a gorgeous sconce in the middle! We’re tiling halfway up the wall as well to add some visual interest and COLOR!
We’ve been referencing this article from Better Money Habits in particular as it features seven different ways you can make your home more energy efficient. We’ll be adding two windows to the bathroom (there are currently none!) and ensuring those are low-emissivity windows to reduce our energy loss. We’ll also be adding a leak detection system that will signal any pipe malfunctions or water left running.
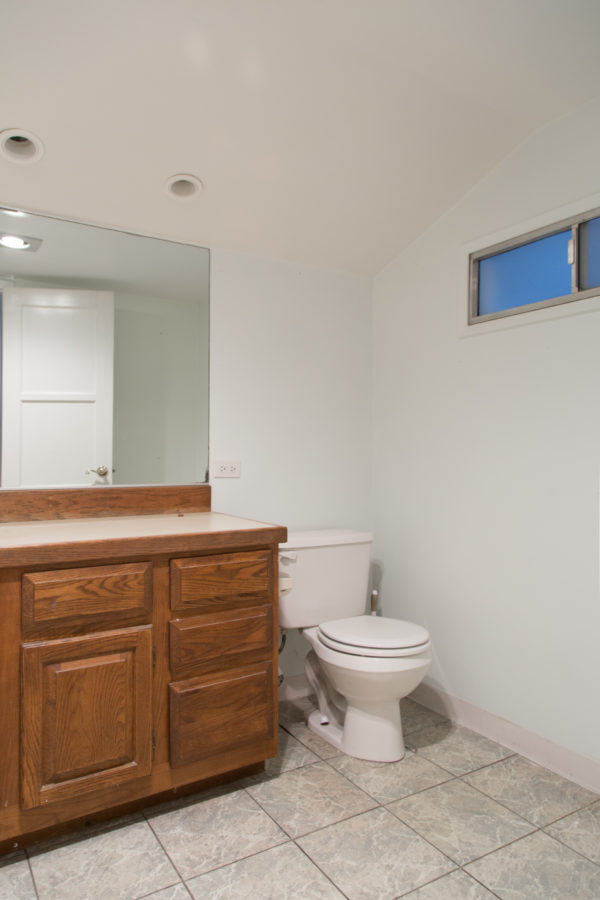
Photos by Jeff Mindell
Next up, I’ll share the design elements we have planned and then a progress report of where we’re at now. It’s shaping up to be SOOO great and I can’t wait for you to see! I’m curious though: Have any of you done renovations and made energy-saving improvements when doing so? We’re learning so much as we go and I’d be curious to hear what’s helped you guys save money, too! Lemme know below!
This post was created in partnership with Bank of America. All content and opinions are that of my own! Thank you for supporting the sponsors that keep the Studio DIY party going! Read more about my editorial policies here.


Michelle says
I’m excited to see what you will do with this bathroom, I bet it will look amazing!
https://www.makeandmess.com/