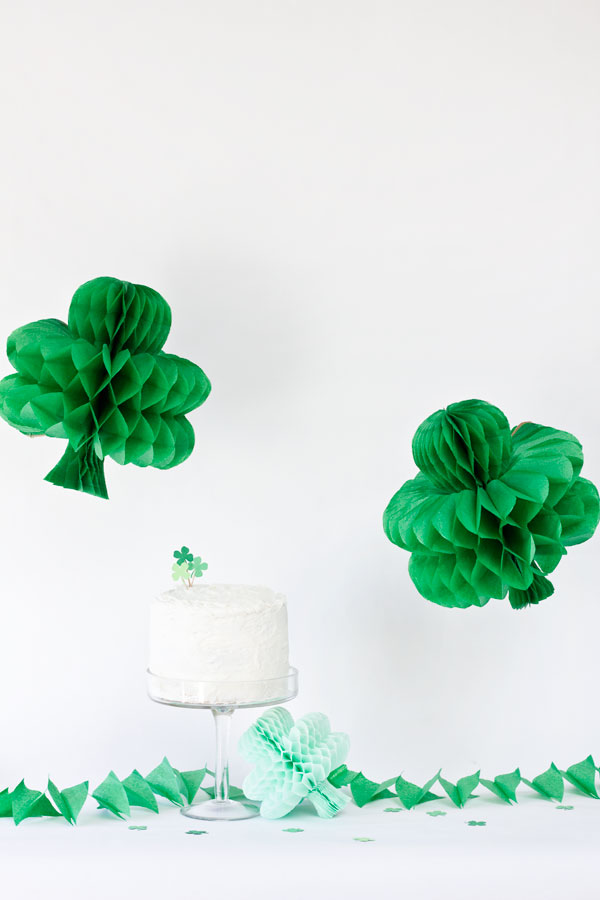
Honey, honey, honeycomb time! You ready? It’s time to turn those honeycomb balls into shamrocks for St. Patrick’s Day! BAM! (We’ve already made Christmas bulbs and invitations, why stop there!?) Shaping honeycombs for different holidays is seriously the easiest DIY ever! You have no excuse not to do it. Party or no party, you best be hanging these around your house for a little fun. The plan, I’ve decided, is to continue making a little honeycomb collection (just like the piñatas) for every holiday so you swap them out throughout the year. Luckily these guys don’t get smashed. If you like this plan, grab them scissors!
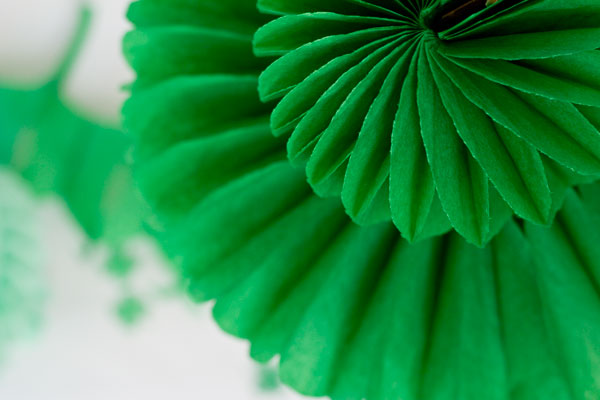
Honeycomb Balls (I used 12″ ones for these, there’s a great selection here.)
Printable Shamrock Template
Scissors
Print out your template and cut it out.
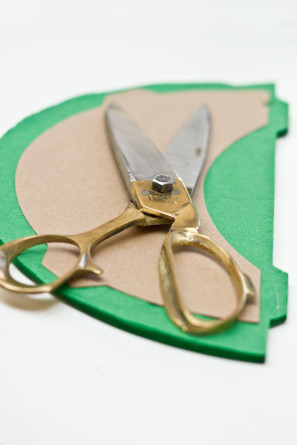
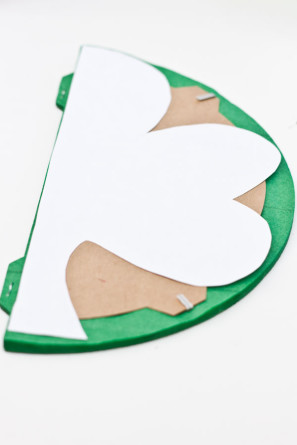
Adjust your template, if necessary, to fit your honeycomb. I actually made mine slightly larger but since I couldn’t fit that on the printable page I adjusted. Either will work beautifully! Line up the straight side of your template with the straight side of your honeycomb and trace. Cut out, carefully, through all layers.
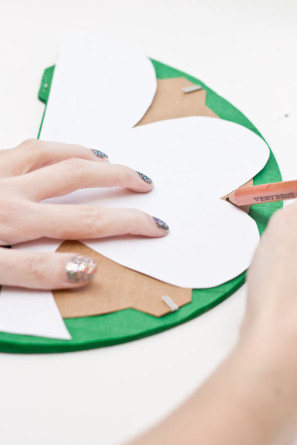
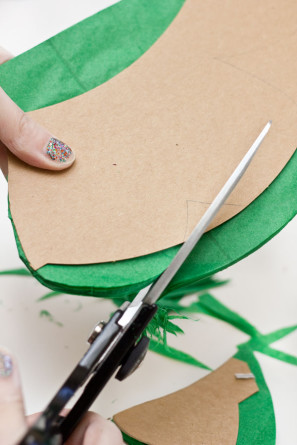
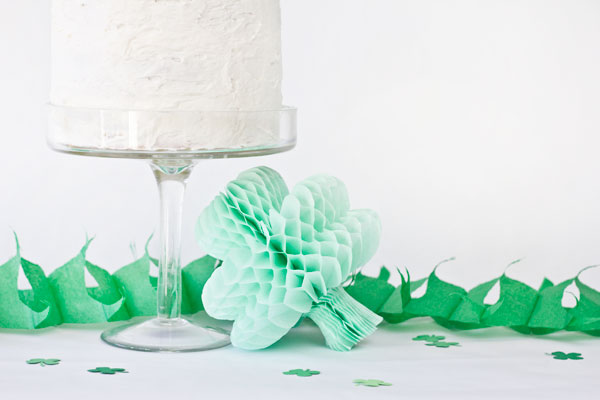
I happen to think the scraps this DIY makes make a kind of fun little garland (hence the prop-age in the photos!), what do you think!?
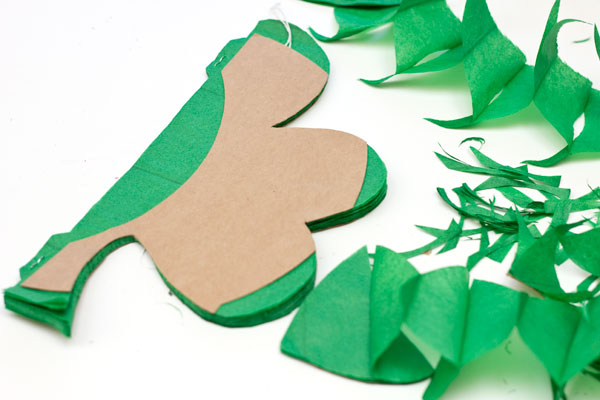
Unfold your honeycomb and hold it together with paper clips.
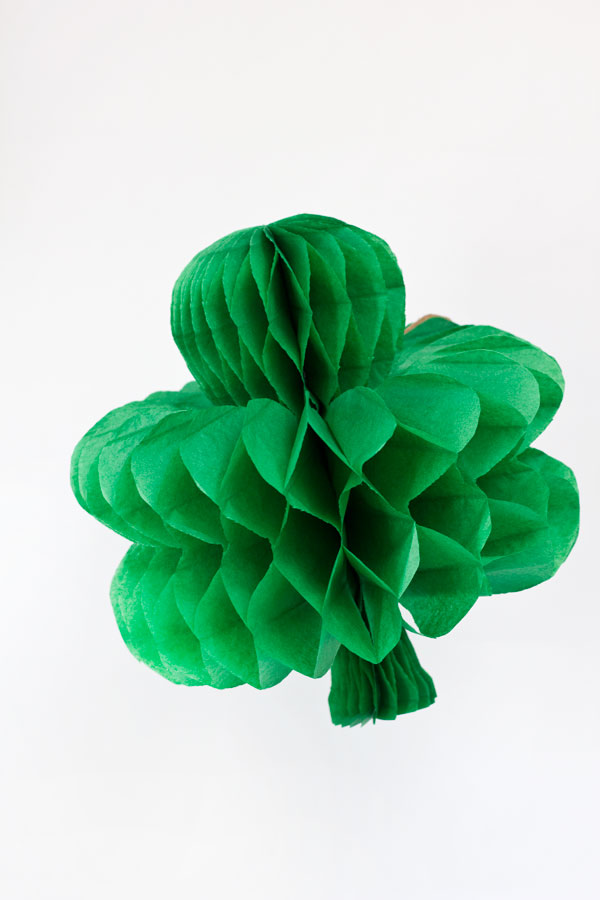
For the mini-sized shamrocks, you can follow the same steps with a small honeycomb (like these five inch ones) or follow the technique in this DIY honeycomb invitations post, except with shamrock shapes, to cut your own out of honeycomb paper pads.
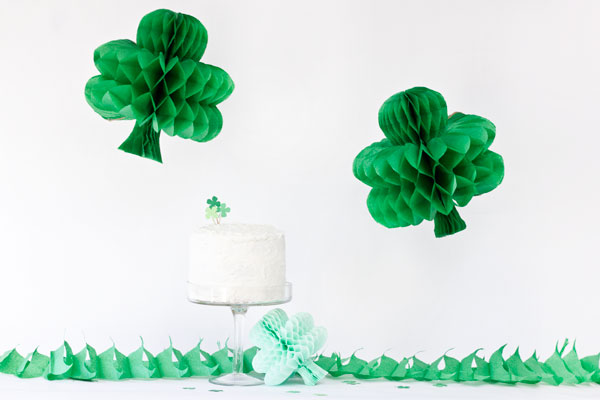
To suspend mine I used clear thread and to make them hang at a slight angle I attached a second piece of thread to the back of them (where the opening comes together) and taped it to the wall at a slight angle.
All Photos by Studio DIY
For more St. Patrick’s Day DIY projects, click here. And for more DIY fun all around, head here!


Brittni says
Such a smart idea. Why didn’t I think of that? Love it!
heather j says
Awesome idea! Love that you used honeycombs.