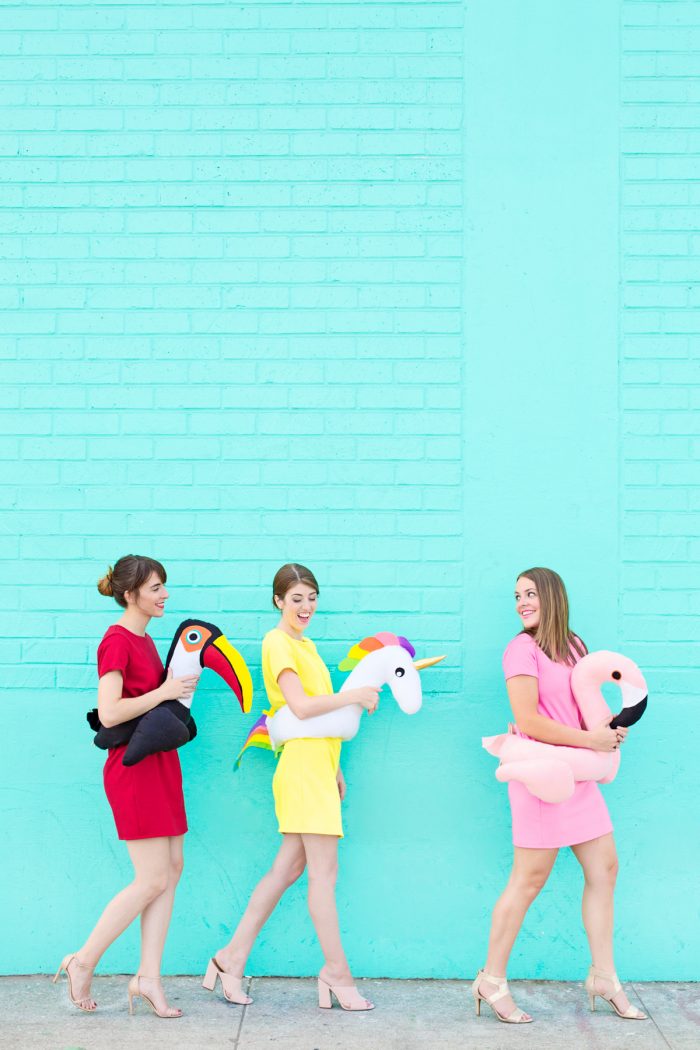
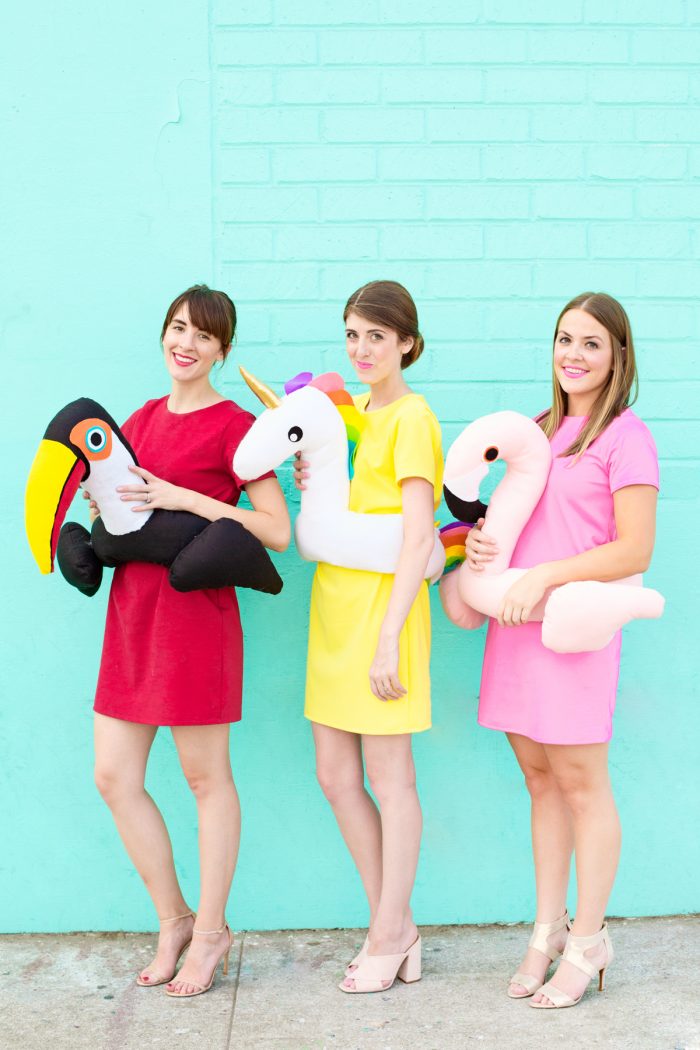
Excited to share the first full DIY costume tutorial of the season!!! And we’re kicking things off with DIY pool float costumes!!! It just seemed like a necessity after the popularity of these floats keeps SKY-ROCKETTING! Who doesn’t love them!?
I’ve only done one other sewing-based costume before, as I usually try to keep them really simple, but I thought I’d give it a try and see what you think! How cute do they look paired with our new Studio DIY Shift Dress!?!?
I created a video for this tutorial to supplement the written instructions and give you some good visuals as you make them. Plus, there’s free templates for each costume! BAM!!!
Onward!
Supplies You’ll Need
For the Unicorn:
- Yellow Dress
- Unicorn Templates (Printed on 11×17″ Paper)
- 2+ Yards White Felt (Depending on waist size of person wearing!)
- Felt Sheets in Black, Pink, Orange, Yellow, Green, Blue and Purple
- Small Piece of Gold Lame/Metallic Fabric
- Sewing Machine
- Hand Sewing Needle + Thread
- 2 Bags Stuffing
- Craft Glue
- Hot Glue Gun
- Scissors
- Heavy Duty Velcro
For the Flamingo:
- Pink Dress
- Flamingo Templates (Printed on 11×17″ Paper)
- 2+ Yards Pink Felt (Depending on waist size of person wearing!)
- Felt Sheets in Black, White and Orange
- Sewing Machine
- Hand Sewing Needle + Thread
- 2 Bags Stuffing
- Craft Glue
- Hot Glue Gun
- Scissors
- Heavy Duty Velcro
For the Toucan:
- Red Dress
- Toucan Templates (Printed on 11×17″ Paper)
- 2+ Yards Black Felt (Depending on waist size of person wearing!)
- 1/2 Yard White Felt
- Felt Sheets in Red, Yellow, Orange and Blue
- Sewing Machine
- Hand Sewing Needle + Thread
- 2 Bags Stuffing
- Craft Glue
- Hot Glue Gun
- Scissors
- Heavy Duty Velcro
How To Make Pool Float Costumes
You can watch the video above for a video tutorial, and follow the written instructions below!
For the Unicorn:
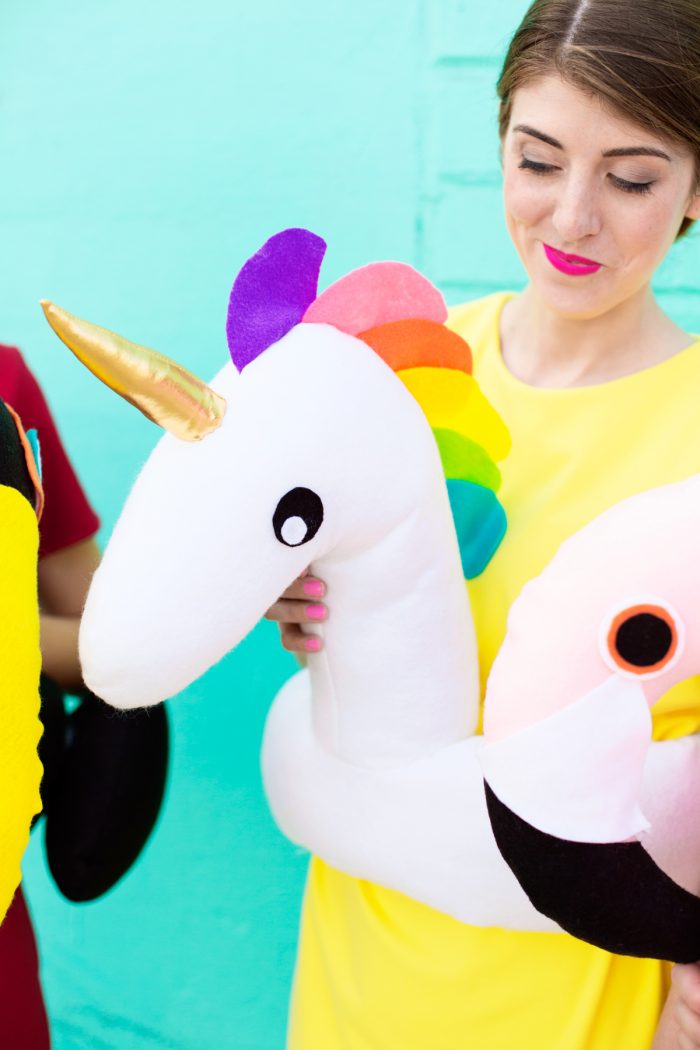
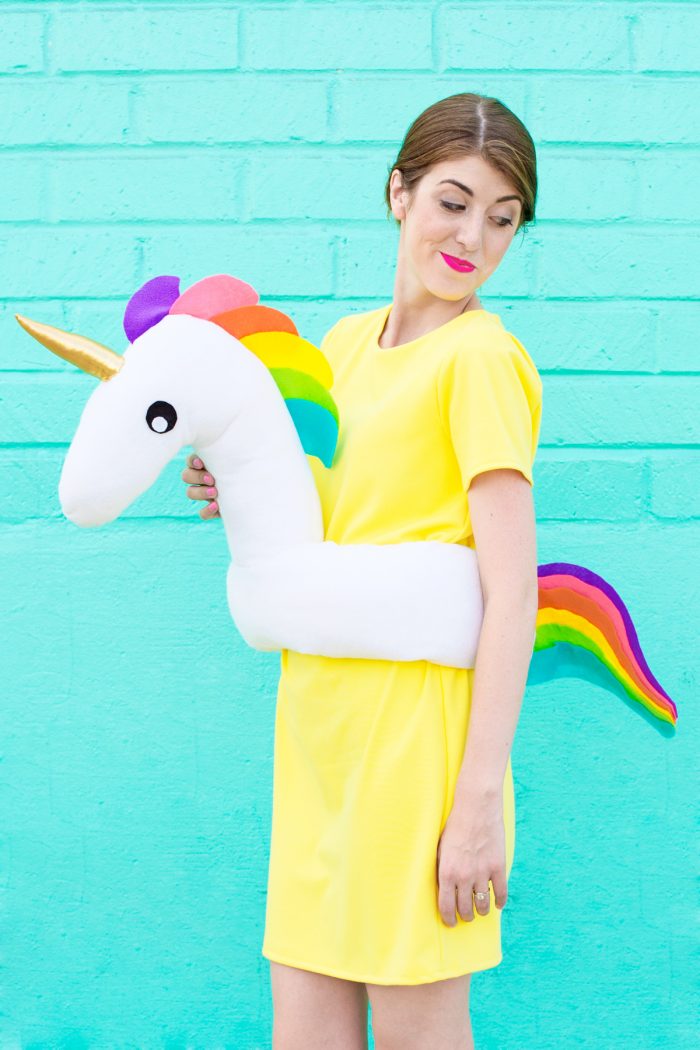
1. Print + cut out the unicorn templates and cut out the pieces from felt accordingly (One mane piece from each color, one tail piece from each color, two head shapes from white, two eye pieces from black, two eye pieces from white, one gold horn from lame.). For the body, cut one long strip from white that is 15″ wide and the length of your waist + 15-20″. (If it is too long, you can always trim it down at the end!)
2. Stack and glue together the rainbow tail pieces as shown in the video.
3. To attach the tail to the body, fold the body piece in half, lengthwise, and place the tail in-between the fold on one of the short edges. Stitch that short end as well as the long edge of the body piece, leaving the opposite end open.
4. Pin the rainbow pieces of the main along the top curve of the head. Place the other head piece on top and sew around the entire head and neck, leaving the base of the neck open. Turn both pieces (the head and the body) so right sides are facing out.
5. Stuff the head and body pieces. The fuller you stuff the head, the more stable it will be when wearing.
6. OPTIONAL: On this one (but not the others), I hot glued a circle of felt to the bottom of the neck, over all the raw edges, before stitching the head to the body. This isn’t necessary but makes it slightly easier, if you’re less experienced with sewing! I did NOT do this for the other two.
7. Hand stitch the neck on to the center of the body, folding the edge of the felt under as you stitch.
8. Fold the gold triangle you cut in half (right sides together) and stitch along the long edge, then turn the horn so it is right sides out. Stuff.
9. Hand stitch to the top of the head, just in front of the mane.
10. Glue the smaller white eye circles on to the lower half of the black circles and glue the eyes on to each side of the head.
11. To finish, hand stitch the open end of the body closed. Place one half of heavy duty velcro on each end of the body so they will overlap and adhere. It’s a good idea to try the float on before doing this, so you can position the velcro so the float fits comfortably on your waist!
12. Pair with a yellow dress and you’re ready to go!
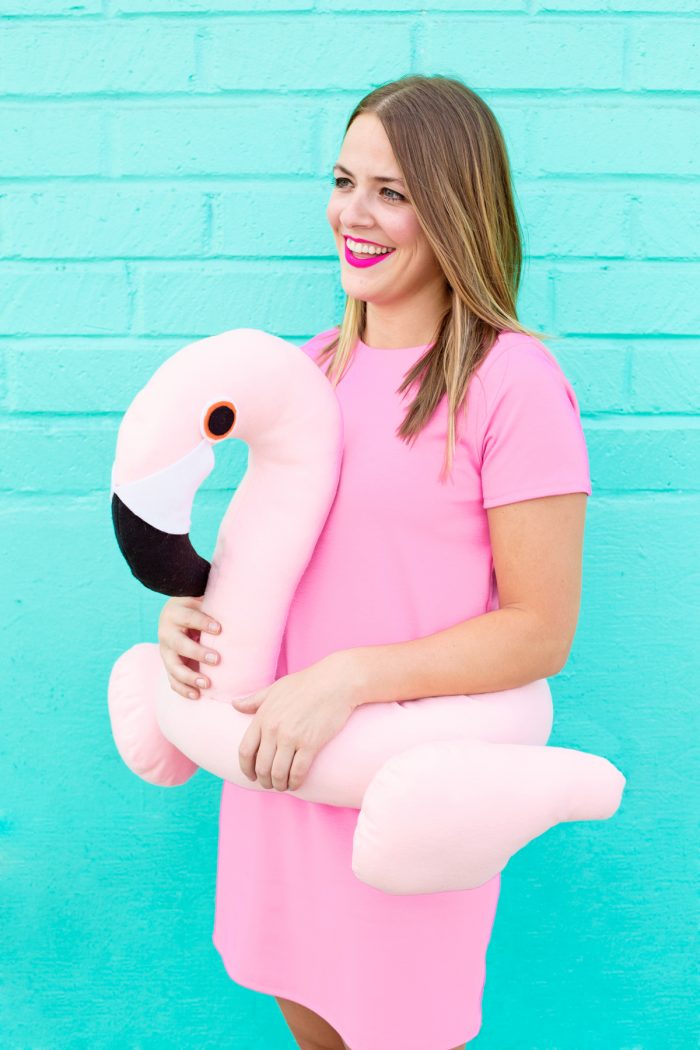
For the Flamingo:
1. Print + cut out the flamingo templates and cut out the pieces from felt accordingly (Two heads, four wing shapes and one tail piece from pink, two beak pieces and two eye circles from black, two triangle pieces and two eye circles from white and two eye circles from orange.). For the body, cut one long strip from pink that is 15″ wide and the length of your waist + 15-20″. (If it is too long, you can always trim it down at the end!)
2. Glue the black beak pieces over the end of the each head shape.
3. With good sides together, stitch around the neck/head, leaving the bottom of the neck open.
4. To attach the tail to the body, fold the body piece in half, lengthwise, and place the tail in-between the fold on one of the short edges. Stitch that short end as well as the long edge of the body piece, leaving the opposite end open.
5. Make small clips with your scissors in the curves of the flamingo head to make for a smoother finish, than turn the body and head pieces right side out. Stuff the head and body pieces. The fuller you stuff the head, the more stable it will be when wearing.
6. Stitch together each wing shape, leaving a small opening for turning. Clip the curves, turn and stuff. Then hand stitch the opening closed.
7. Hand stitch the neck on to the center of the body, folding the edge of the felt under as you stitch.
8. Glue the white triangles (as shown in the video) to the head, one on each side. Layer and glue the eye pieces together (white, than orange, than black) and glue one to each side of the head.
9. Mark where you want the wings to be (You can try the costume on to determine this. They should sit slightly in front of each side of your body.) and mark with a pin. Hot glue wings in place.
10. To finish, hand stitch the open end of the body closed. Place one half of heavy duty velcro on each end of the body so they will overlap and adhere. It’s a good idea to try the float on before doing this, so you can position the velcro so the float fits comfortably on your waist!
11. Pair with a matching pink dress and you’re good to go!
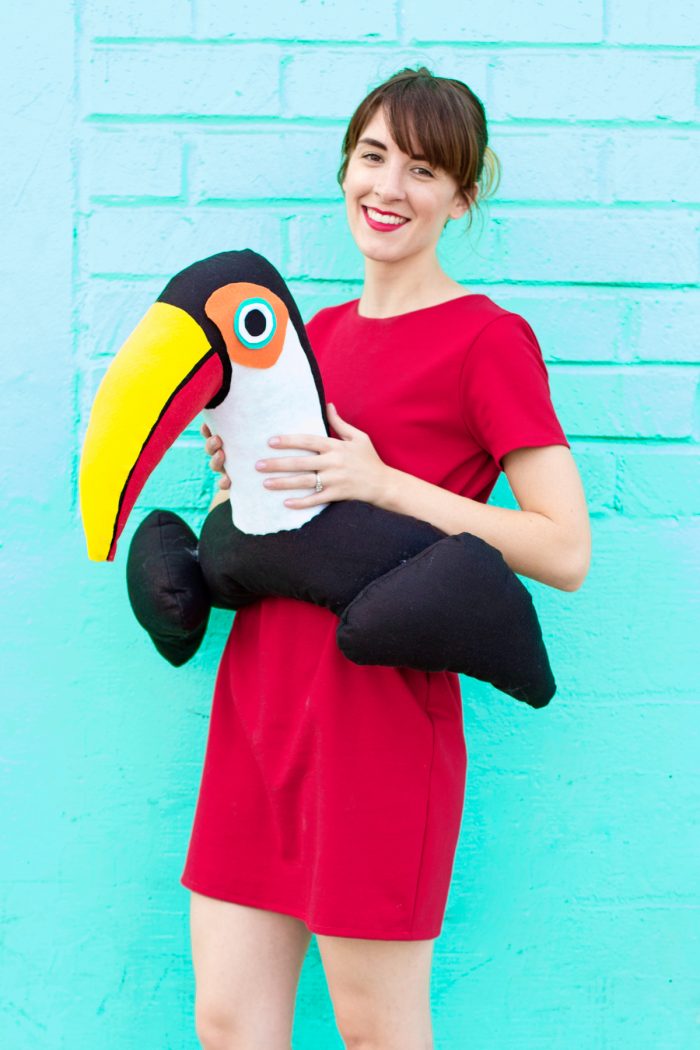
For the Toucan:
1. Print + cut out the toucan templates and cut out the pieces from felt accordingly (Two heads and two eye circles from back, one beak piece from yellow, one beak piece from red, one neck piece from white, two head pieces from orange and two eye circles from blue.). For the body, cut one long strip from black that is 15″ wide and the length of your waist + 15-20″. (If it is too long, you can always trim it down at the end!)
2. To attach the tail to the body, fold the body piece in half, lengthwise. Fold the tail in half as well, and place the tail in-between the fold on one of the short edges. Stitch that short end and the long edge of the body piece, leaving the opposite end open.
3. With good sides together, stitch around the neck/head, leaving the bottom of the neck open.
4. Turn both the body and the head right side out and stuff. The fuller you stuff the head, the more stable it will be when wearing.
5. Hand stitch the the neck on to the center of the body, folding the edge of the felt under as you stitch.
6. Glue the yellow beak piece over the top of the beak on the head. Then glue the red piece on the underside of the beak.
7. Glue the white piece around the inner neck.
8. Glue the orange piece to the top of the white and finally glue the eyes on top of that.
9. Mark where you want the wings to be (You can try the costume on to determine this. They should sit slightly in front of each side of your body.) and mark with a pin. Hot glue wings in place.
10. To finish, hand stitch the open end of the body closed. Place one half of heavy duty velcro on each end of the body so they will overlap and adhere. It’s a good idea to try the float on before doing this, so you can position the velcro so the float fits comfortably on your waist!
12. Pair with a red dress and you’re done!
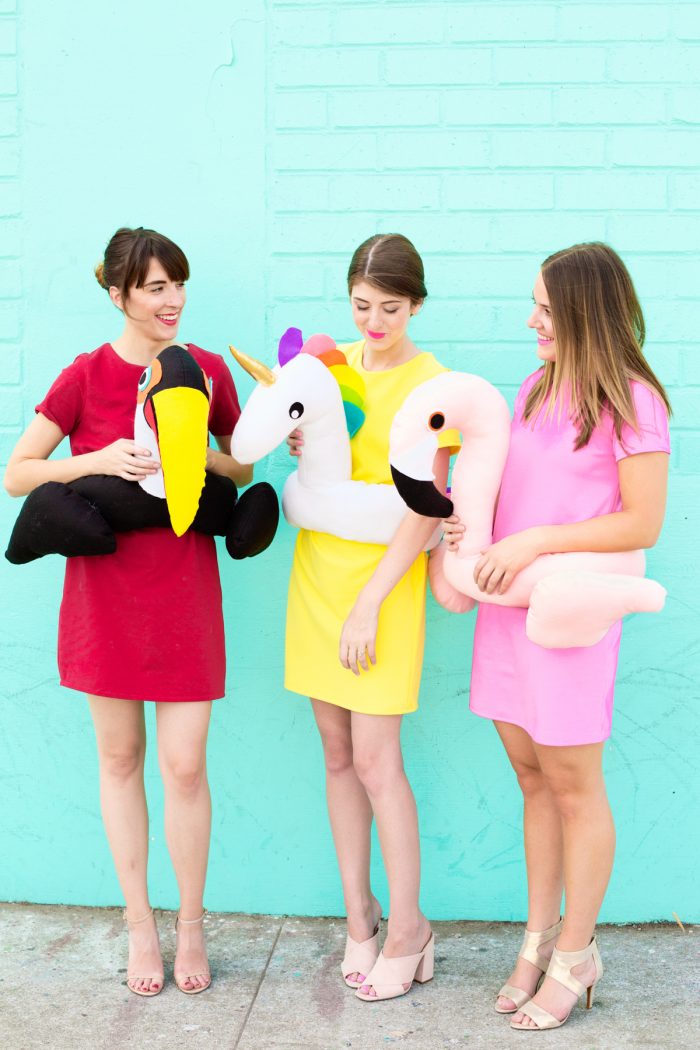
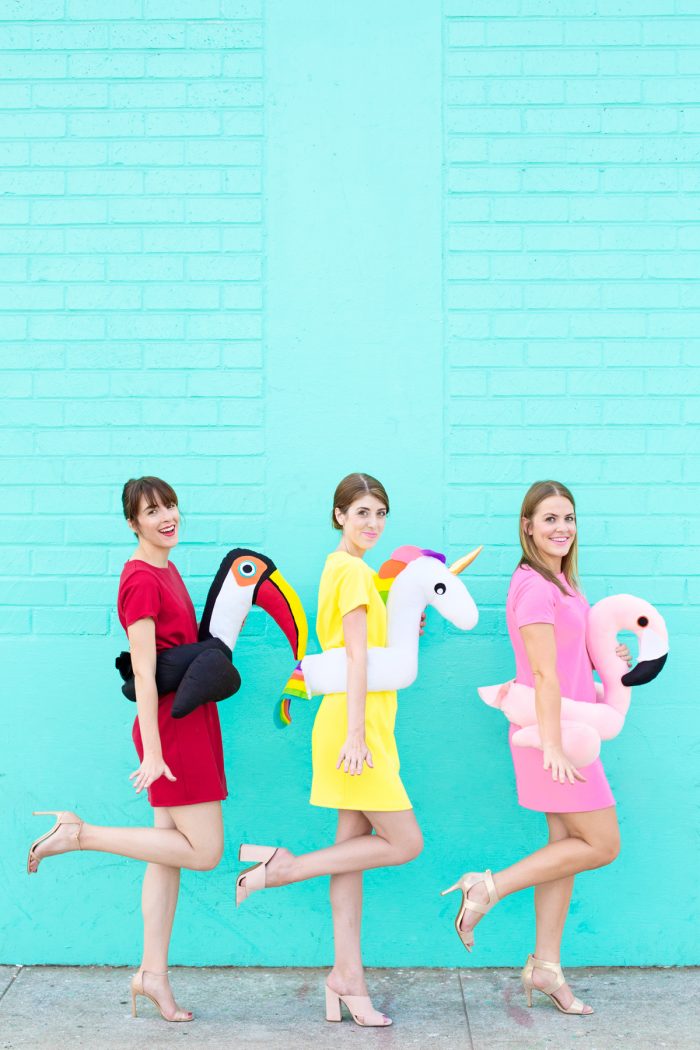
Photos + Video by Jeff Mindell
Which one is your fave!?!?
If you do make these pool floats, we have a pretty fun way to turn it into something after Halloween so be sure to keep it around and stay tuned come November!!
p.s. If you want to dress your pup like a pool float too, my girl Ashley has an AMAZING tutorial!! I mean… could you even imagine what a duo you’d be?!?!?
Remember, if you make a Studio DIY costume, be sure to share it on Instagram with #studiodiyincostume so we can feature it on the blog!!


brittni says
Super cute Kel.
Rosie says
I think I need to host a Halloween party just to make one of these!
Brandi says
OMG! These are amazing, I totally want to be the unicorn!
Sydney strickland says
Hi Mrs. Kelly this sydney I love your YouTube channel and love your blog also I really want to get all of your dresses sooooooo badly but you don’t have my size. Do you think you would could possibly make size 12 kids??? Thanks so much!! I love you. Sorry if it’s weird that I am calling you Mrs. But I’m just used to it??. !!!!!!!
Michelle says
These are super cute, I love the toucan!
https://www.makeandmess.com/
Eden Passante says
These are so amazing! What a great idea!!
Mia says
LOVE IT!! but nothing happens when I click download, it just takes me to the pages with the SHOP COSTUMES button… can you help??
Kelly says
Hmm, that’s weird! You have to sign in/up on the website and it should save the templates into your account so you can download them. I’m pasting the link below, but if you are still having issues, start a conversation with our costumer service team and they can help you get it figured out!
http://shop.studiodiy.com/free-printables/diy-pool-float-costumes-templates
Shannon Gregory says
I’m having the same issue with the templates. I also am taken to shop costumes. When I try to save to printables, I go to my file and all that is saved is a picture of the models. No templates. Is there anyway to get the unicorn template?
Kelly says
I’m so sorry for these issues! We are working on fixing them ASAP. In the meantime, if you start a convo with our customer service team, they should be able to help!
Shivani says
I followed your instructions and the templates exactly but the head is WAY too small for the body. Did I need to enlarge the template or something? The sizing does not look like what’s in your picture
Erika says
Hi Kelly, Can you help me and email me the unicorn and flamingo template. Everytime I press your link it says “error”. My daughter and her friends want to attempt this costume. Please Help.