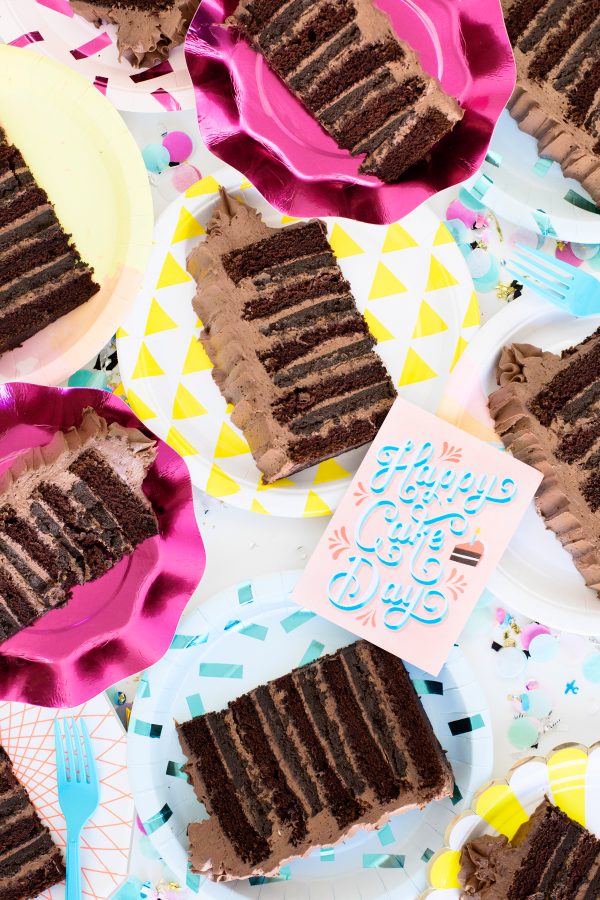
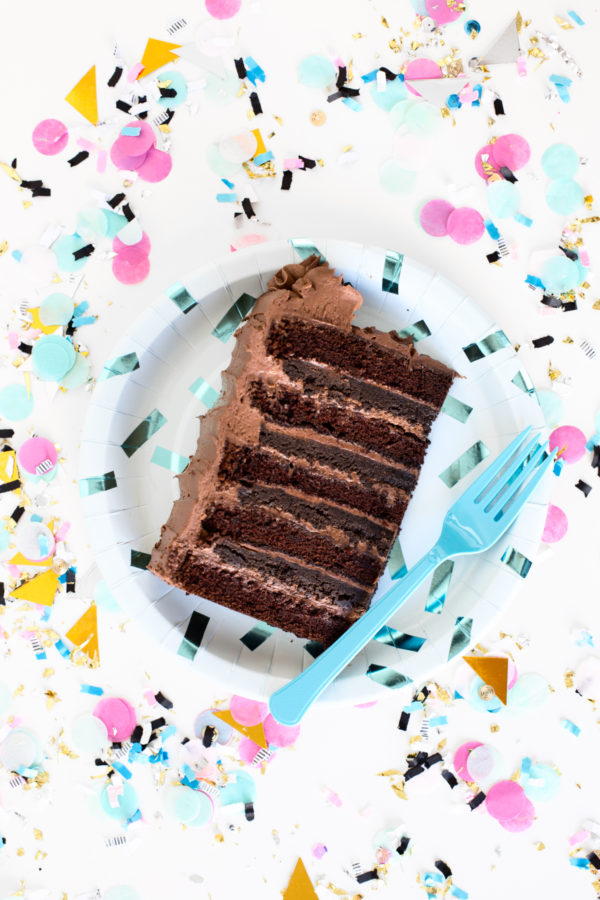
I am eating the last slice of this cake as I write this and crying many a tear. It’s THAT good! Do any of you have a favorite treat from childhood that the second you take a bite of it again you’re just immediately happy? That’s this cake for me!!! We used to frequent a bakery with my family when I was growing up and my cousin and I were obsessed with this cake because in addition to being chocolate cake (#winning), it had those chocolate crunchies in it that you usually only get in ice cream cake! You KNOW what I’m talking about, right!? OMG. So good.
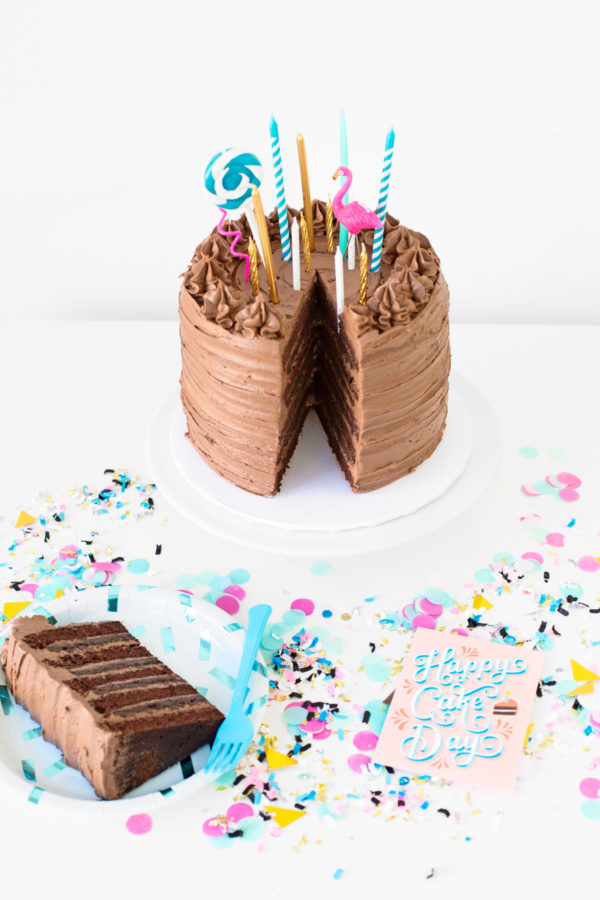
Since we can’t get the cake anymore, we decided to make our own version for my cousin’s birthday this year and it did NOT disappoint. I teamed up again with my pals at Hallmark to share this recipe, because when I saw their Happy Cake Day card with that glorious slice of chocolate cake on it, I knew it was meant to be! You’re gonna LOVE it.
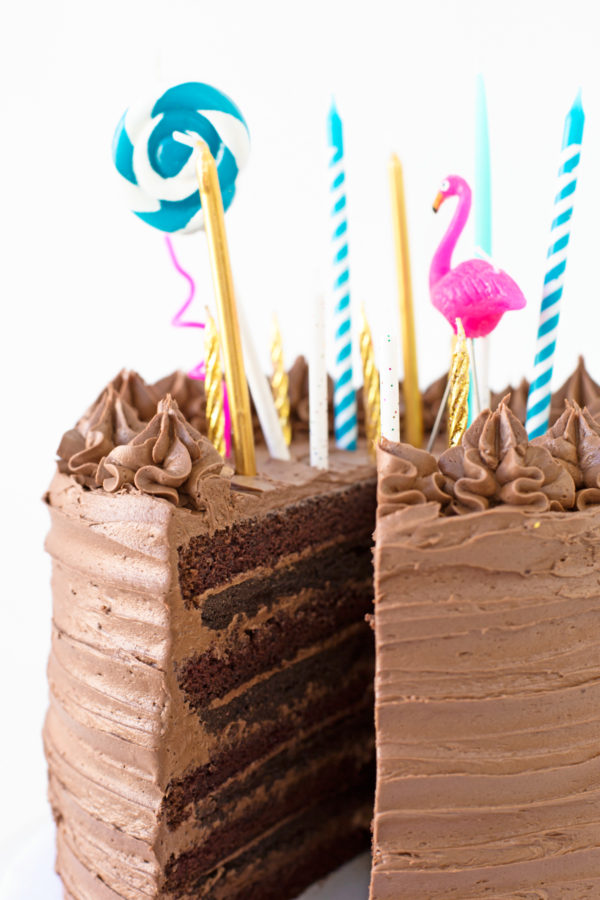
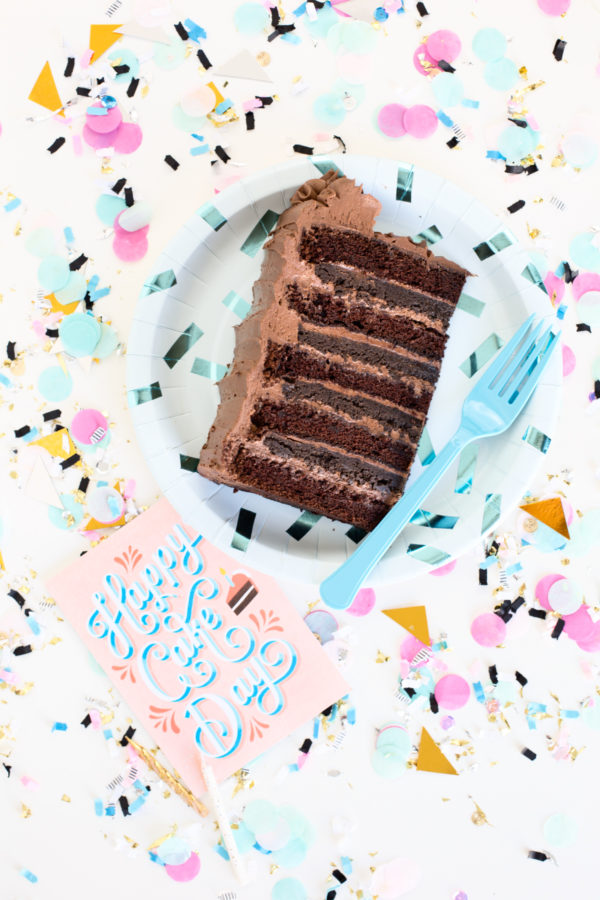
Triple Chocolate Crunch Cake
Ingredients
- For the cake:
- 1 cup butter softened
- 2½ cups sugar
- 4 eggs
- 1 cup cocoa powder
- 2 cups hot water
- 2¾ cups flour
- 2 teaspoons baking soda
- ½ teaspoon baking powder
- ½ teaspoon salt
- For the crunch layers:
- 2 packages of Chocolate Sandwich Cookies 14.3 ounce packages
- 3 bottles of Magic Shell Ice Cream Topping 7.25 ounce bottles
- For the chocolate buttercream:
- 1.5 cups unsalted butter room temperature
- 6 cups powdered sugar
- 1 cup of cocoa powder
- 2 teaspoons vanilla extract
- 3 to 4 tablespoons milk
Instructions
- Preheat the oven to 350 degrees F.
- Butter and flour three 8-inch round cake pans and line bottoms with parchment.
- Cream together the butter and sugar. Add in the eggs, 1 at a time, mixing well after each.
- Whisk together the cocoa powder and hot water.
- Whisk together the flour, baking soda, baking powder and salt.
- Add ⅓ of the dry mixture into the creamed butter/sugar mixture. Mix. Add in ½ of the warm cocoa/water mixture. Mix again. Repeat till all the flour and cocoa are combined.
- Divide batter evenly among the cake pans. Bake for 40 to 50 minutes till a toothpick inserted comes out clean.
- Cool for 15 minutes, then remove cake from pans. Cool completely. Carefully cut each layer in half. You will have 6 layers. We only used 5 for this cake. Feel free to use all 6 for a taller cake!
- For the chocolate crunch: Crush the cookies in a food processor or with a rolling pin till you get a fine crumb. Place into a large bowl.
- Add in the Magic Shell Ice Cream Topping and stir to combine.
- Line an 8-inch cake pan with parchment paper. If you happen to have multiple 8-inch pans, you can use them all at once to shorten this process.
- Spread about 1/4 of the mixture into the bottom of the pan (or divide mixture depending on how many crunch layers you want to end up with). Chill for about 5 minutes in the freezer till firm.
- Run a knife along the edge to help release the crunch layer from the pan. Repeat with remaining crunch mixture. Keep the layers in the refrigerator till ready to stack the cake.
- For the buttercream: With an electric mixer, cream the butter till smooth and fluffy.
- Gradually add in the powder sugar and cocoa powder. Add in vanilla and milk.
- Scrape down sides of bowl.
- Beat on medium speed for 1 minutes till well mixed.
- To assemble the cake, place down first layer of cake. Spread a little bit of the chocolate buttercream over the layer. Press one crunch layer into the chocolate buttercream. Spread just enough buttercream over the crunch layer to cover it. Add the next layer of cake and repeat this process with the rest of the crunch layers, chocolate buttercream, and cake.
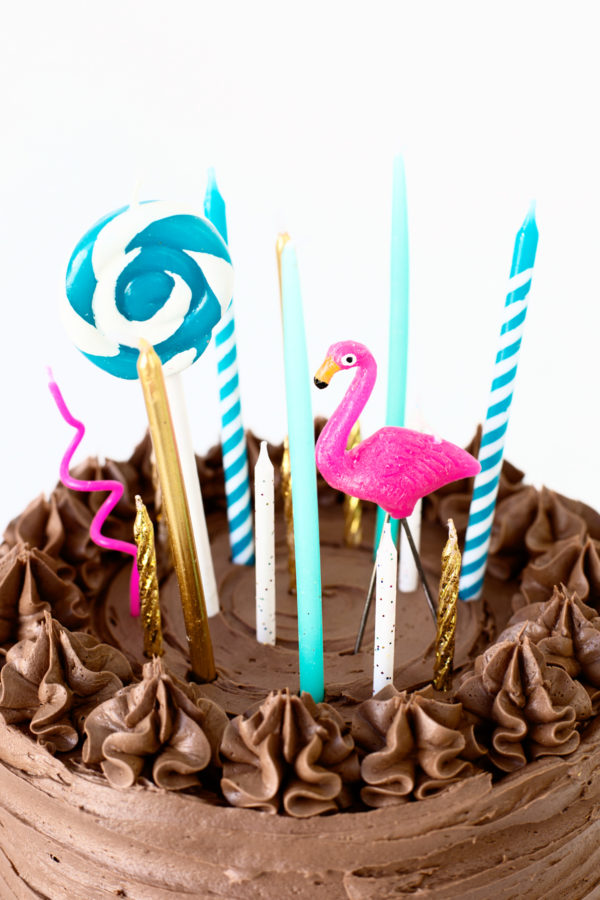
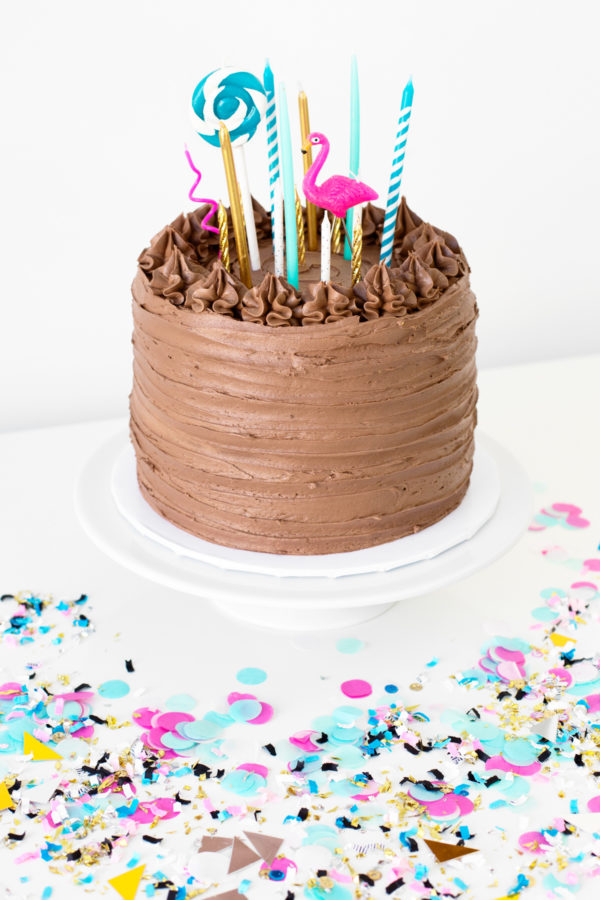
- Once fully stacked, frost a very thin layer to crumb coat the cake. Chill for about 30 minutes. Finish with a thicker layer of chocolate buttercream. Using a piping bag fitted with a medium to large star tip, decorate the top edge of the cake with more chocolate buttercream. This cake tastes best a bit chilled so the crunch layer stays firm, but still tastes great at room temperature.
Photos by Jeff Mindell
I mean if you really think about it… birthday’s really should just be called cake days anyway. That’s all I do on mine anymore at least…. 😉 Now go try a slice!!!!!!
This post was created in partnership with Hallmark. All content and opinions are that of my own! Thank you for supporting the sponsors that keep the Studio DIY party going! Read more about my editorial policies here.



Michelle says
This cake looks beyond delicious, yummy!
https://www.makeandmess.com/