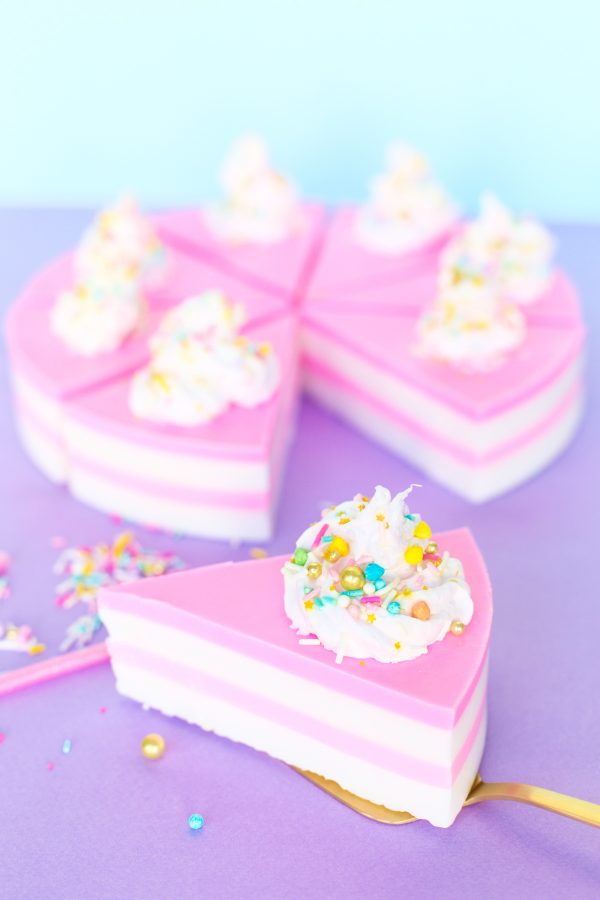
Trying something new today!!! SOAP! Have you ever tried making soap at home? It is bizarrely easy!! Who knew!? I sure didn’t. For my first soap making, run I made this layered DIY birthday cake soap and it’s kind of the best because you just need a silicone cake pan and it makes eight schnazzy slices of soap! They’d be the PERFECT favors for a party or gifts for friends! Let’s make some.
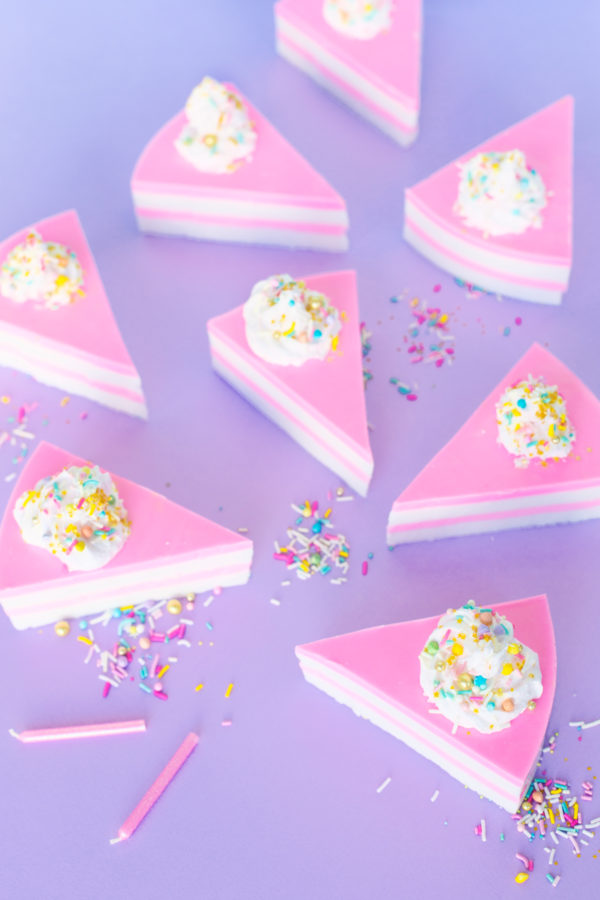
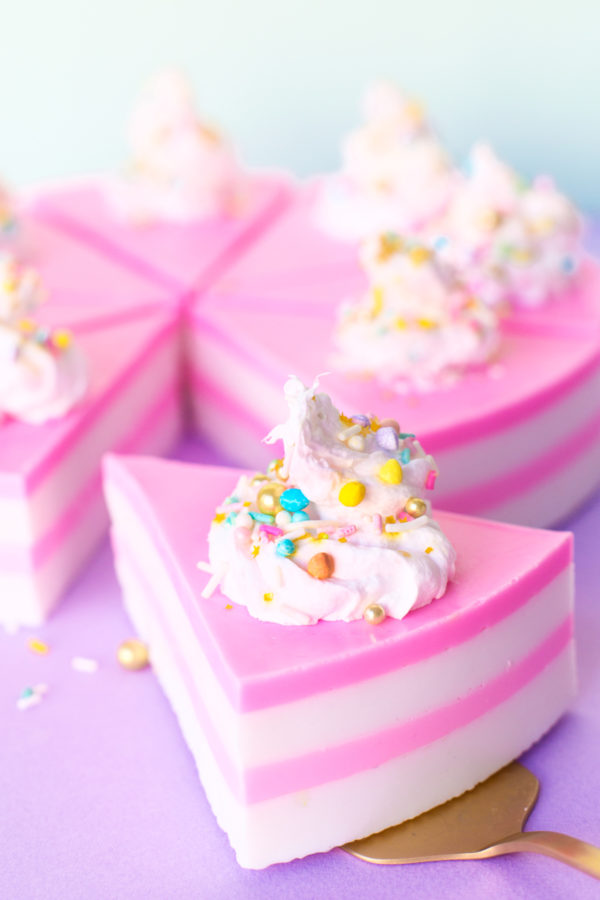
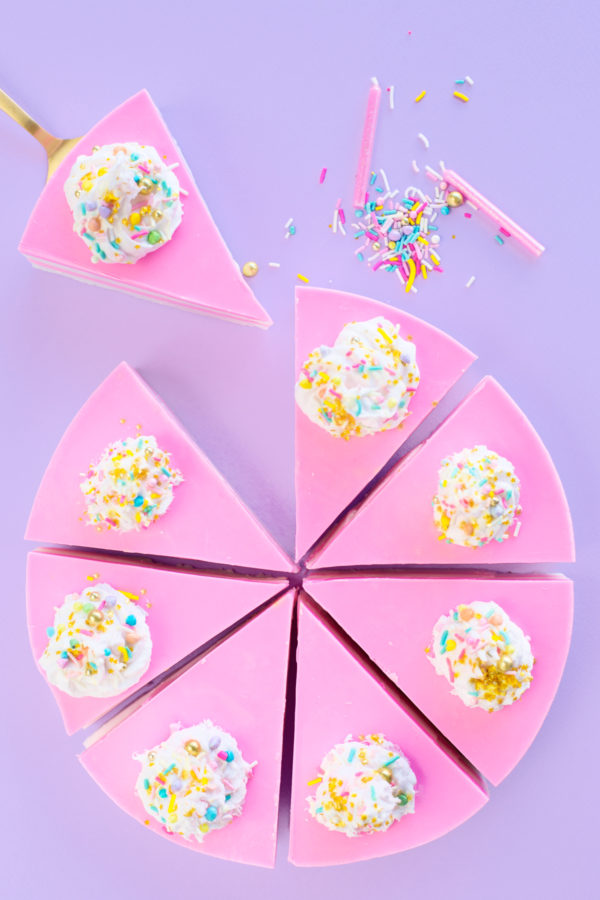
DIY Birthday Cake Soap
Total Time:
Supplies
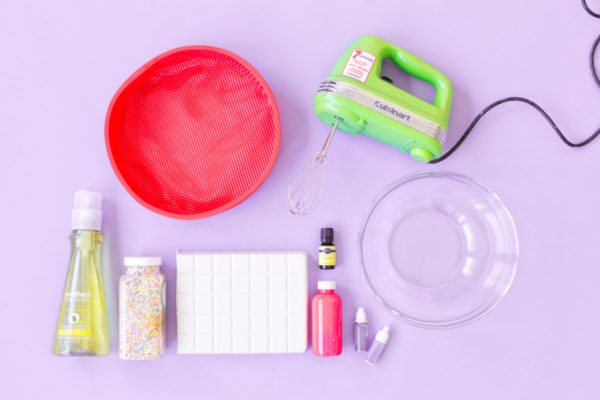
8-9" Silicone Cake Pan (The smaller the pan, the taller the cake!)
About 6 lb. Melt and Pour Soap Base*See Note Below
Pink Soap Dye
Cupcake Fragrance
Liquid Dish Soap
Ziplock Bag or Piping Bag
Star Piping Tip
Spray Bottle of 99% Alcohol (I just poured some rubbing alcohol into a little spray bottle!)
Large Microwave Safe Bowl
Large Kitchen Knife
Hand Mixer
Sprinkles of Choice (We used this mix from Sweetapolita!)
*I used the soap base pictured above because I liked that it was scored. It made it easier to measure. However, you can buy a 5 lb base here that is more cost effective. Since you'll have 5 lbs versus 6 lbs, your layers will be a little thinner and you will have to guesstimate your measurements, but that's totally fine!
Directions
I recommend reading through all the instructions before beginning! You have to work very quickly with soap, so I want to make sure you are prepared!
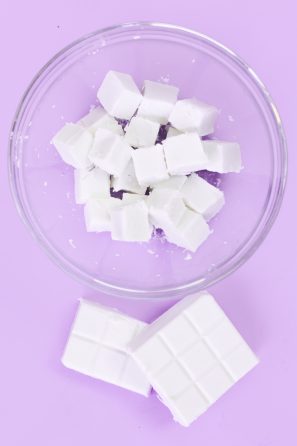
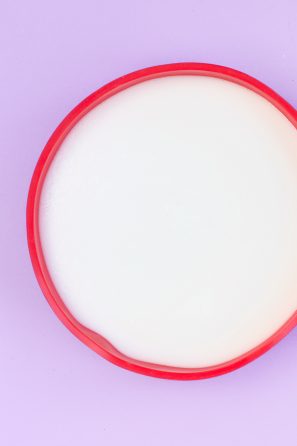
1. Cut off six columns of your soap base (approximately 1.5 lbs) for the first cake layer. Then, cut it into cubes along the scored lines.
2. Melt the soap at 30 second intervals, stirring in between, until the soap is completely melted.
3. Quickly add in a 1/2 tsp. of fragrance (NOT dye) and stir.
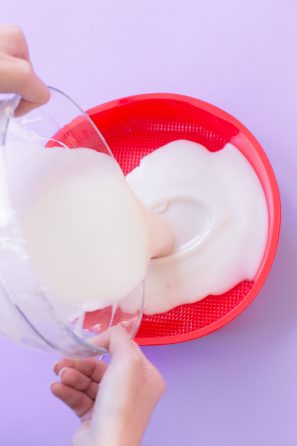
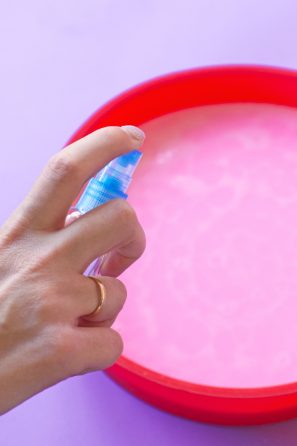
4. Immediately pour the melted soap into the bottom of your cake pan. You do NOT want to move the cake pan after pouring, so be sure it is somewhere where it can be for awhile. Once it is poured, immediately spray the top lightly with the alcohol. This will pop any little air bubbles you might have!
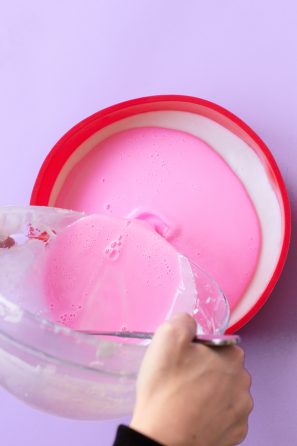
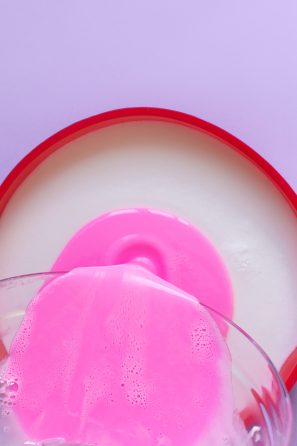
5. While that first layer is setting up, time to work on the second layer. You'll need four columns of soap for the first frosting layer. Just as before, melt at 30 second intervals until the soap is completely melted. This time, instead of fragrance, immediately add a few drops of soap dye and stir. Add more if desired. Remember to work quickly!
6. Pour this layer right on top of the white layer, which will be set by now. Spray again with alcohol.
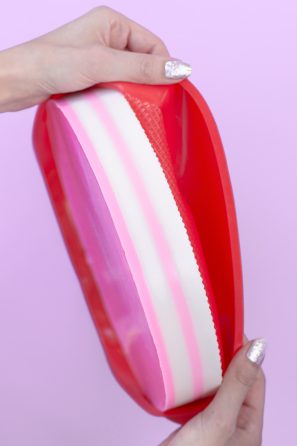
7. Repeat all of the above to create another cake layer followed by another frosting layer, spraying with alcohol each time.
8. Allow your soap to cool and set completely. Once cool, carefully "peel" the silicone pan off of it.
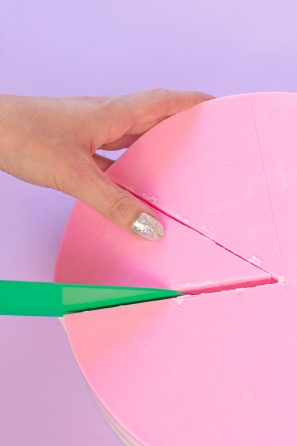
9. Using a VERY sharp knife (the sharper the knifer, the smoother the cuts. A dull knife can cause the layers to separate.) score the cake circle you made into eight pieces. Then follow those lines to cut all the way through the layers. Try to do this in one movement so you don't have jagged edges on your cake slices.
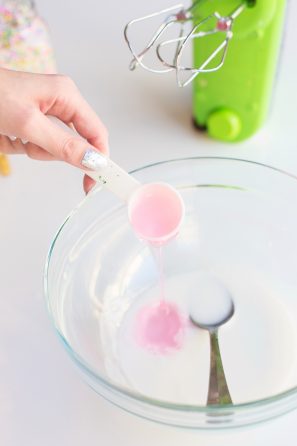
10. Now, to make the frosting dollops on top! For reference, to make the frosting texture, the ratio is always 4oz of soap to 2 Tbsp. of liquid dish soap. For this, you will need four more columns of soap (8 oz.), cut into squares.
11. Melt them at 30 second intervals until completely melted and then add 4 Tbsp. of liquid dish soap.
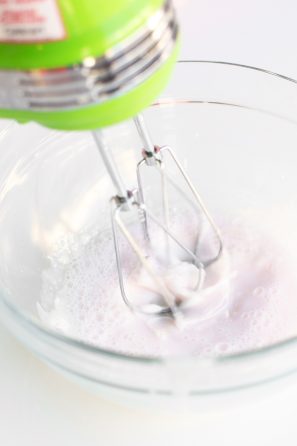
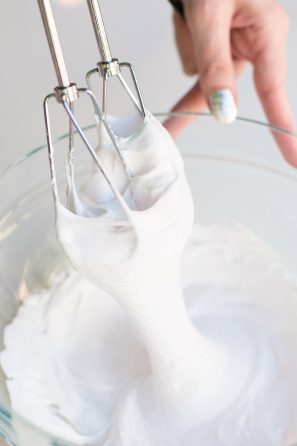
12. Use your hand mixer to whip the soap mixture until it has very stiff peaks.
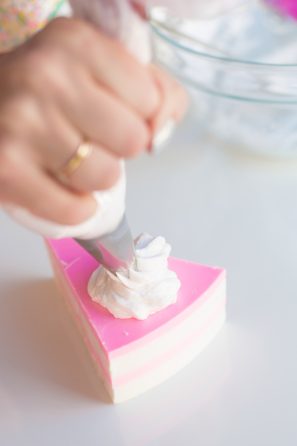
13. Transfer the whipped mixture into a ziplock or piping bag with a star tip and pipe on top of the cake slices.
14. Immediately add sprinkles (You could also add a birthday candle!) and then let the frosting set completely. Tada!
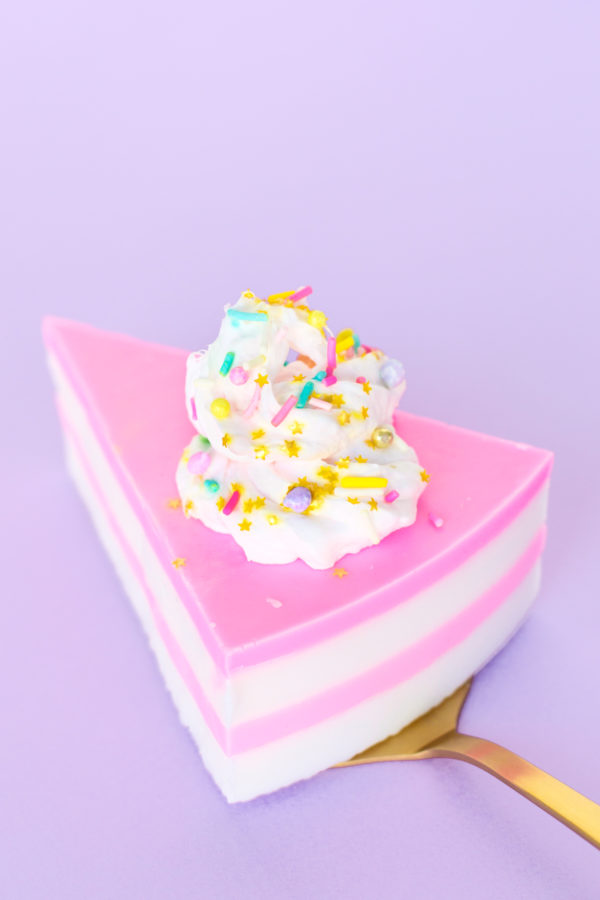
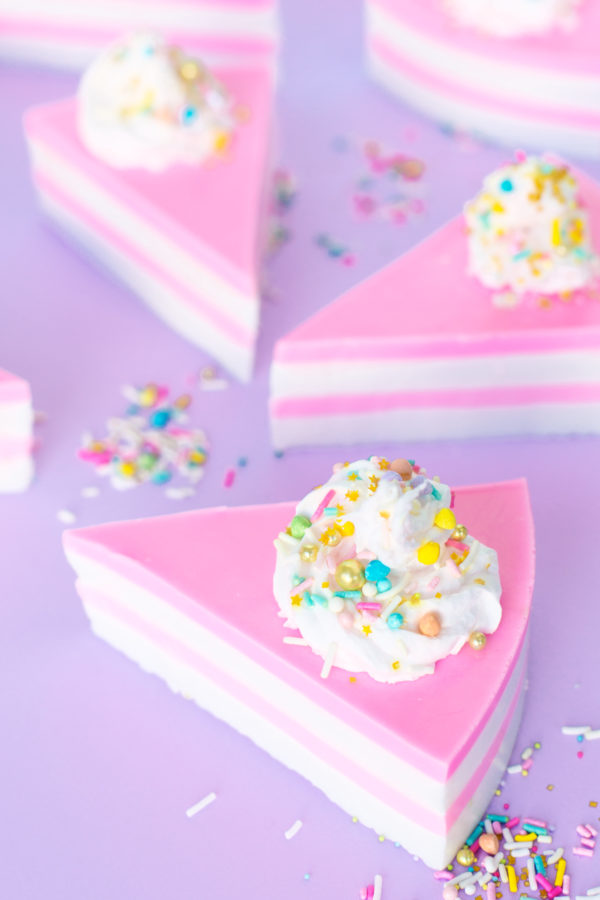
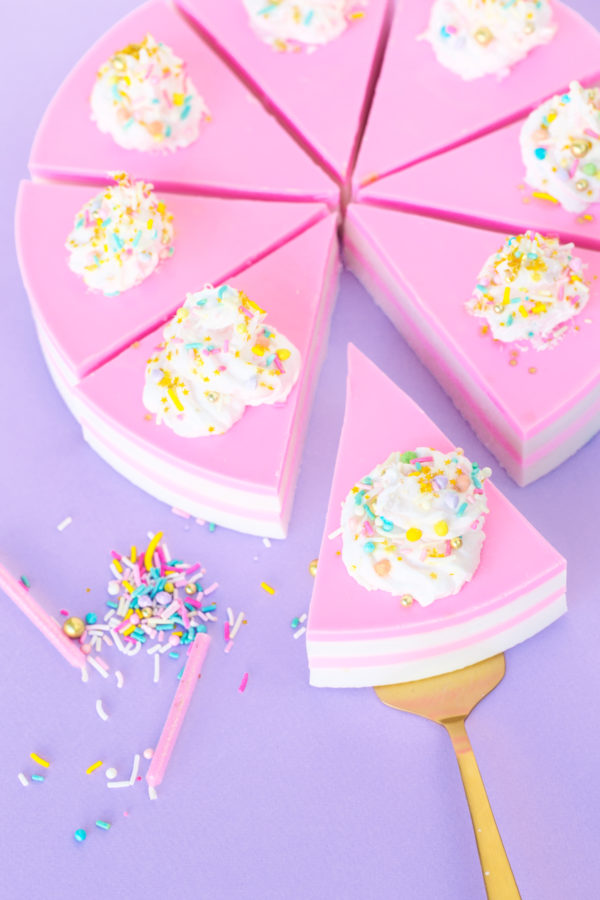
Photos by Jeff Mindell
Can you believe that that is SOAP!? It looks good enough to eat. Except, please don’t eat it. Haha! If you guys try your hand at this, you gotta tag me + tag #troopstudiodiy so I can see it!!! Ok!?


Michelle says
What a cool idea, looks good enough to actually eat!
https://www.makeandmess.com/
Sophie says
You should sell this in the shop. It’s so cute.
http://goldclutter.com
Kristina B says
I am IN LOVE with this! I’ll have to hang onto this idea for Christmas!