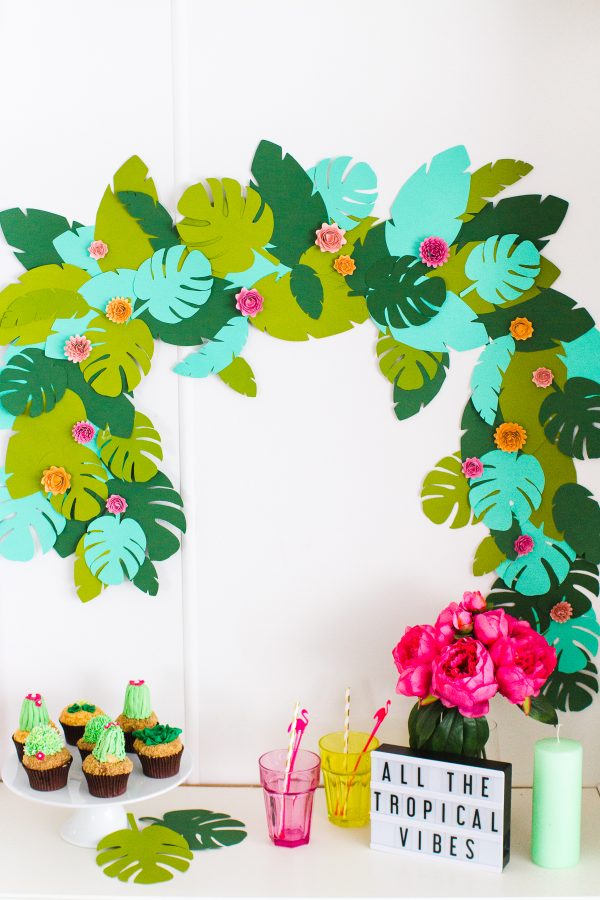
Hey guys! It’s Jess from Bespoke Bride here again, I hope you enjoyed our fun free printable Chick Flick Game in our last post! Today we’re going to be sharing a tropical garland DIY which would make the perfect piece of decor for a tropical bridal shower or even a summer wedding! It’s really easy to make and will definitely make your party decor POP!
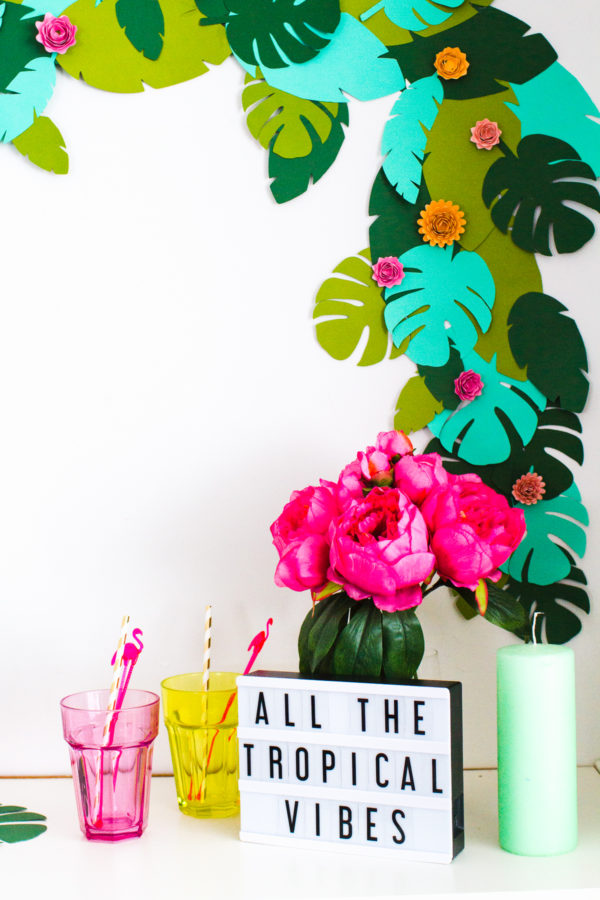
Let’s get started shall we?
DIY Tropical Garland
Total Time: 2-3 Hours
Supplies
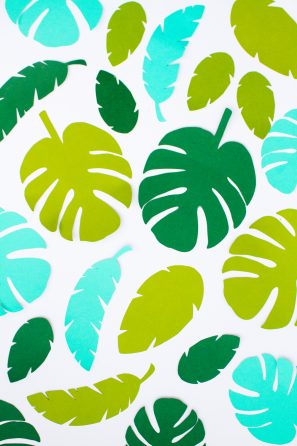
Leaf One
Leaf Two
Leaf Three
Cardstock in different shades of greens, pinks and peaches
Scissors OR a Craft Cutting Machine, like A Cricut
White string, cotton or yarn
Craft glue
Directions
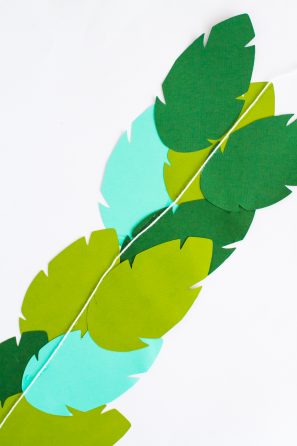
1. You can do this DIY one of two ways! You can print them and use the leaves as templates to trace and cut. Or if you happen to have a Cricut, like I do, you can upload the leaf templates to Cricut Design Space.
2. If you’re cutting your leaves by hand: Print each leaf on regular white computer paper then cut out the leaf and lay it on top of a piece of green cardstock. Use a pencil to lightly trace around the edge of your leaf template. Once you’ve finished tracing, use the outline to cut out your leaf from the green cardstock. Repeat this step for each leaf, as many times as you need for your garland.
3. If you’re using a Cricut: Once the leaves have been uploaded it’s ready to start cutting. You can size the leaves to whatever measurements you want. Since ours was a small garland to sit above a table I sized the leaves between 4-6 inches wide, but feel free to make them bigger to fit your needs! Set your machine to cut cardstock and hit that go button! Simply vary the colours of the green card with the leaves so that you’ve got a good mix.
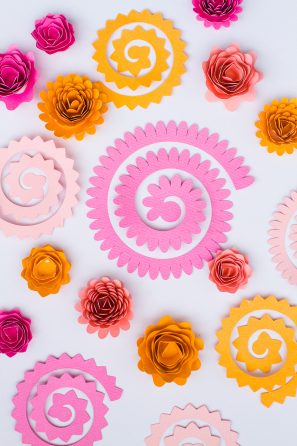
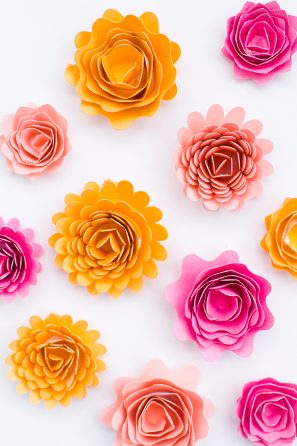
5. Next it’s time to move onto making the flowers! You can use any paper flower tutorial for this, depending on what style you want! I used two Cricut ones: #M3CBDF and #M44A7D. Again, just vary the colours for these so that you end up with some peach flowers and pink flowers. I cut out a total of 64 palm leaves and 16 flowers.
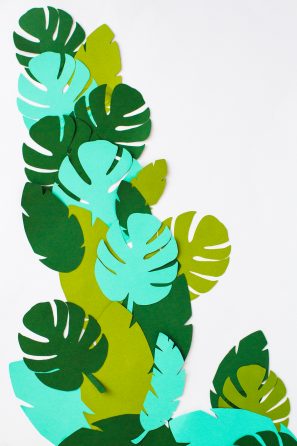
7. Now that you’ve got all of your elements for the garland it’s time to assemble! Cut your string or cotton to the desired length that you need it then lay it flat out onto the floor. Next, add a stip of glue to the back of your leaves and then adhere them to the cotton.
Keep going with all of the leaves, varying the direction and colours until you have them all stuck to the cotton. I decided to create a cascading effect on either end of the garland.
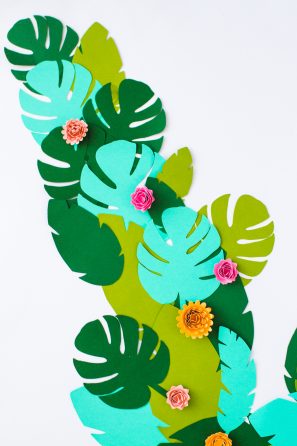
8. Finally, flip your garland over so that you can no longer see the cotton and glue a few flowers on top of the leaves. Now all that’s left to do is hang it up on the wall! You can either tape it in place or hang it up using a few pins pushed into the wall. Job done!
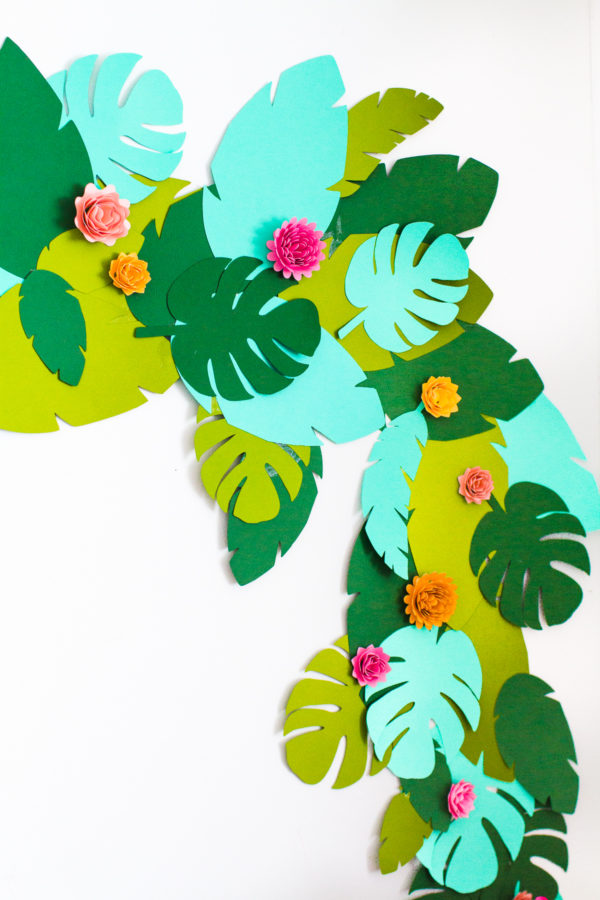
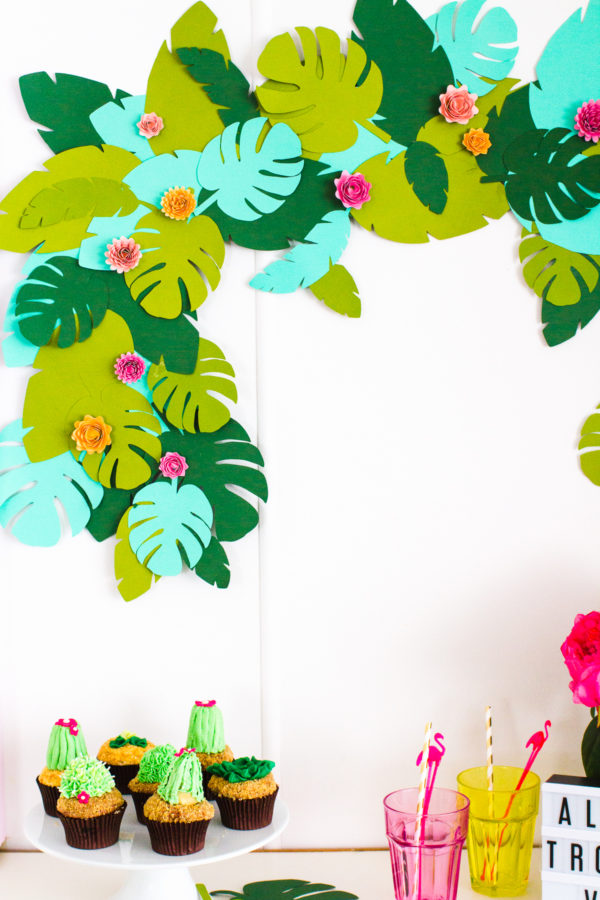
So what do you guys think? We love how it looks displayed up above a feature table but it would also work great for a table runner if you lay it flat straight down the middle, or why not make several garlands and team them all together for a fun photo booth backdrop? The possibilities are endless!
PS If you want to complete your party with some Cactus Cupcakes like the ones seen above, my girl Alana has the best tutorial for them right HERE!



Paige says
This garland is cute! I’m totally making this for my daughter’s birthday this summer!
Paige
http://thehappyflammily.com
Michelle says
It’s so cheerful, I absolutely love it!
https://www.makeandmess.com/
Rachael @ Rachael's Foodie Life says
Oh I love this!! I am changing the theme of my Halloween party so i can make this!!
ANGELICA says
Hello! What’s the name of the white customized board in he right bottom??
things to do says
What a fun idea! I love this tropical garland! Thank you for the tutorial!
happy room says
I love this tropical garland! It’s so cheerful..
Fandangonow activate says
thanks for the share. this is very beautiful. looks like something I’ll try.
Allie Anderson says
I LOVE THIS SO MUCH I CAN KISS YOU!!