I love me a rainbow and I love me a shamrock, but for this St. Patrick’s Day, I was really feelin’ a “Kiss Me I’m Irish!” theme! So I ran with it. And this cake was born. But don’t worry, I didn’t actually kiss this cake (please don’t do that!), though I did eat it. All. By myself. These little kisses are made with some pearl dust and a DIY stencil! BAM! And if you aren’t Irish, I’m pretty sure it would be just as wonderful for an anniversary, or thinking way far ahead for Valentine’s Day too! Yes!?
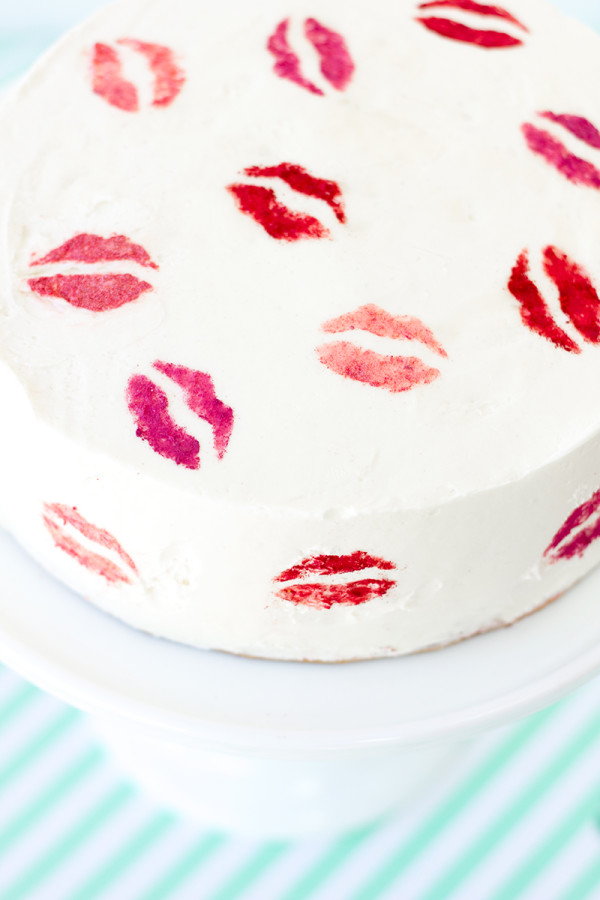
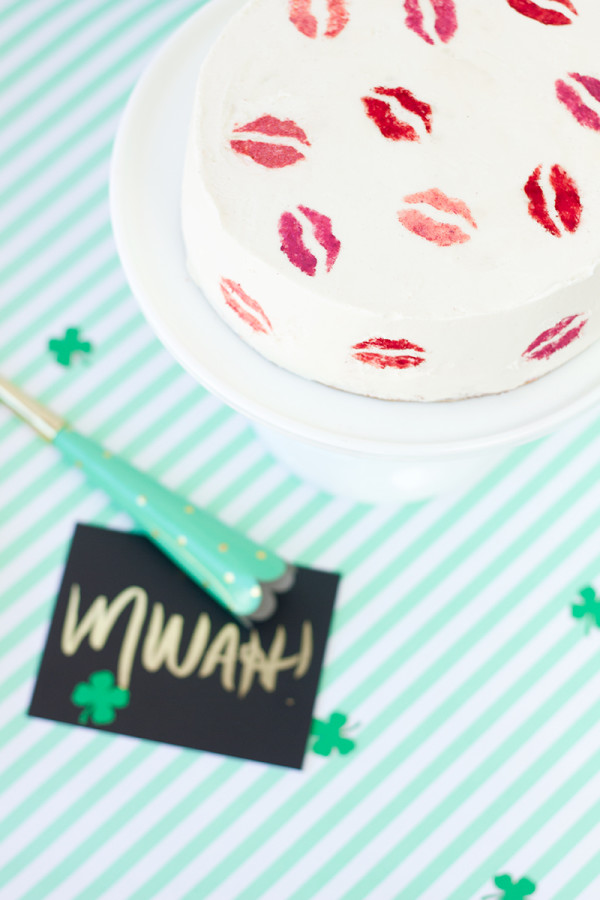
Pssst… the cake should probably be green inside! Eeeee!! Even better! How about this one!?
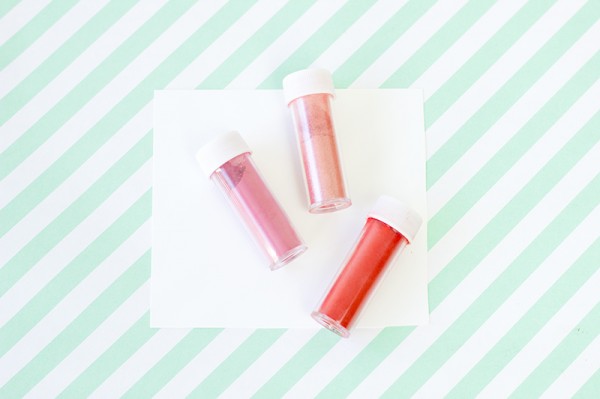
Pearl Dust (You can find it at Michaels!)
Clean/New Paint Brush
Scrap Cardstock
Pen
X-Acto Knife
Cake (Duh!)*
*Important! It is 100 zillion times easier to do this if your cake is COLD. Keep it in the fridge while you prep your stencil, and put it back in the fridge if necessary between lip stenciling to keep it firm.
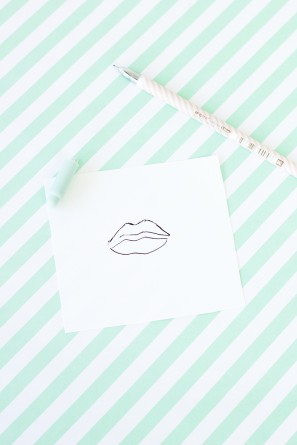
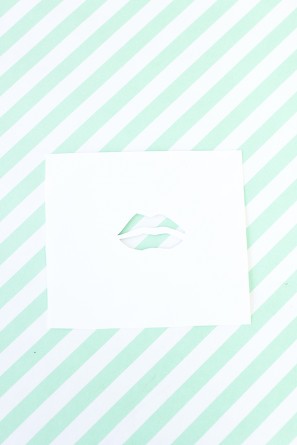
Draw your lip template! A few ways to do this: Pull up a photo/clip-art on your computer and use your computer as a lightbox to trace it, freehand it, or put some lipstick on and kiss the paper, then trace the outline as best you can! Either way, make sure the top and bottom of the lip don’t connect to each other on the sides. Once you have your template, use an x-acto to cut the top lip shape and the bottom lip shape out.
Take your cake out of the fridge and lay your stencil on top. Dip your dry paintbrush right in to the pearl dust and start “painting” with it, within your stencil. (I varied up my lips to make it look more “real”, so for some I painted a thicker layer of pearl dust and for some I left it thinner.) Once your stencil is filled in, use both hands to lift it, parallel to the cake (in case any extra dust is on the stencil, so it doesn’t fall on the cake!).
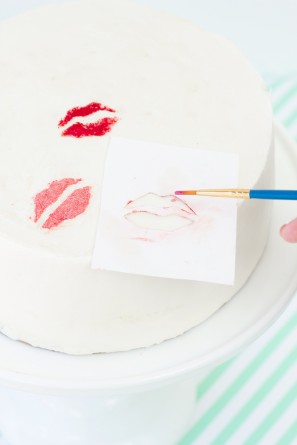
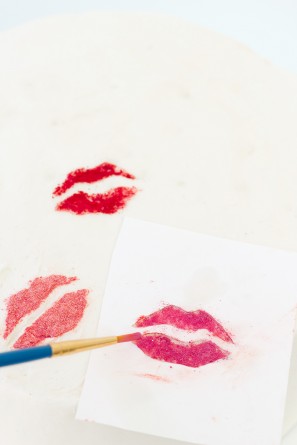
Now wipe your stencil off and repeat all over your cake as desired. I recommend starting on one side and working your way around.
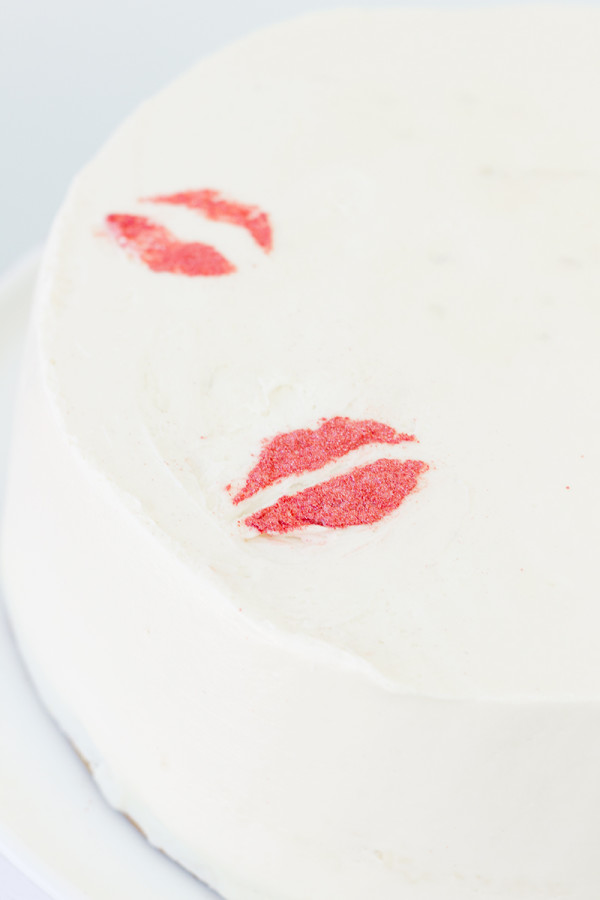
The lips on the side of the cake are tougher. Use the same method, but if your cake is already on your cake stand, put a paper towel underneath to catch the falling dust. And again, make sure your cake is chilled and firm for this!
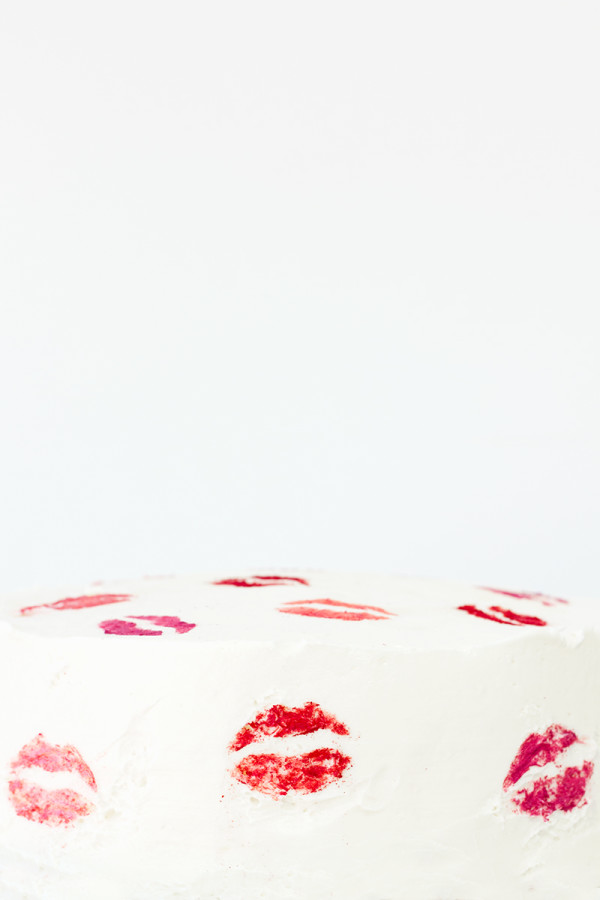
Yayyyyy!
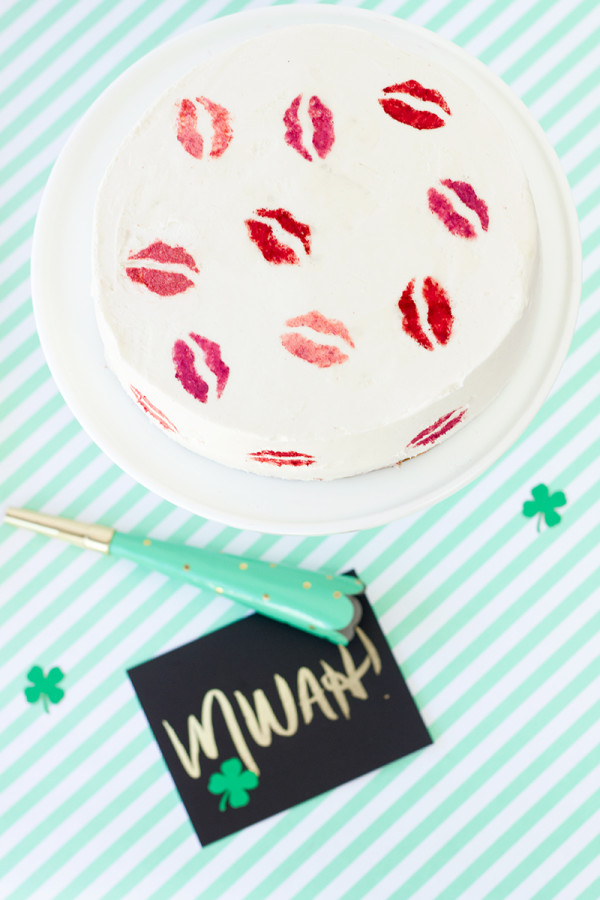
All Photos by Studio DIY
I’ve got another Kiss Me project comin’ up tomorrow! Be on the look out!!! And for more St. Patrick’s Day projects, pop over here!


Brittni says
This is such a fun idea, Kel! And I’m super impressed that you were able to get the lips on the side of the cake as well. Nice work!
Jess says
Such a cute idea! And as soon as I saw the pic on IG, I thought having a green inside would seal the cuteness deal!
Jamie says
Dude. This is such an awesome idea! I wonder what would happen if you actually kissed the cake. Probably a big slobbery mess…or a genius way to claim a cake.
Kait says
This is soooo cute!!! I love how you could totally do so many different shapes & themes with this one. Thanks for sharing! It’s really clever 🙂
Kate says
This is flippin’ perfection.
Confeti en los bolsillos says
Me rechifla!! Me he enamorado de la tarta!!
Confeti en los bolsillos
Heather @ Curly Girl Kitchen says
This is so fun and creative! I love it!
Lisa says
That’s so cool! I’ve seen a lot of lip printed bags lately but a cake is another thing entirely! A delicious thing!
Ashleigh Hodges says
This is such a fun cake…. I’m saving this idea for my wedding anniversary in July. My husband loves red velvet cake so, this looks like a winner. Thanks!
Apollina says
Oh I love this cake! It is adorable and super sweeeeet!