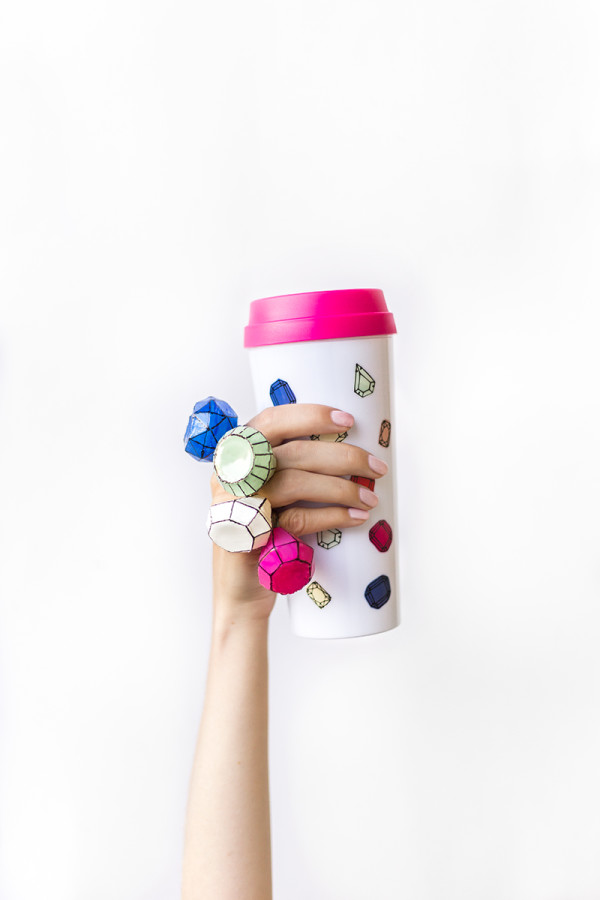
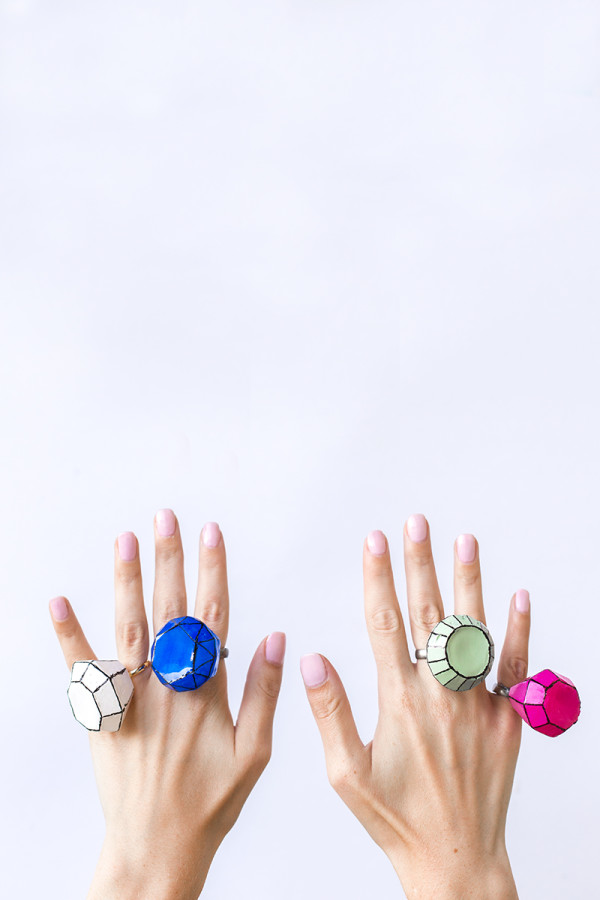
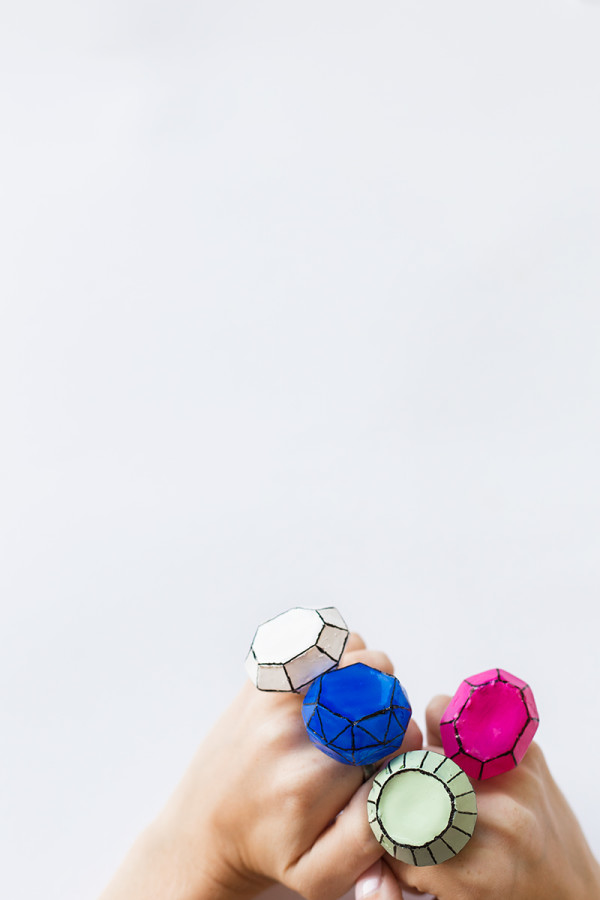
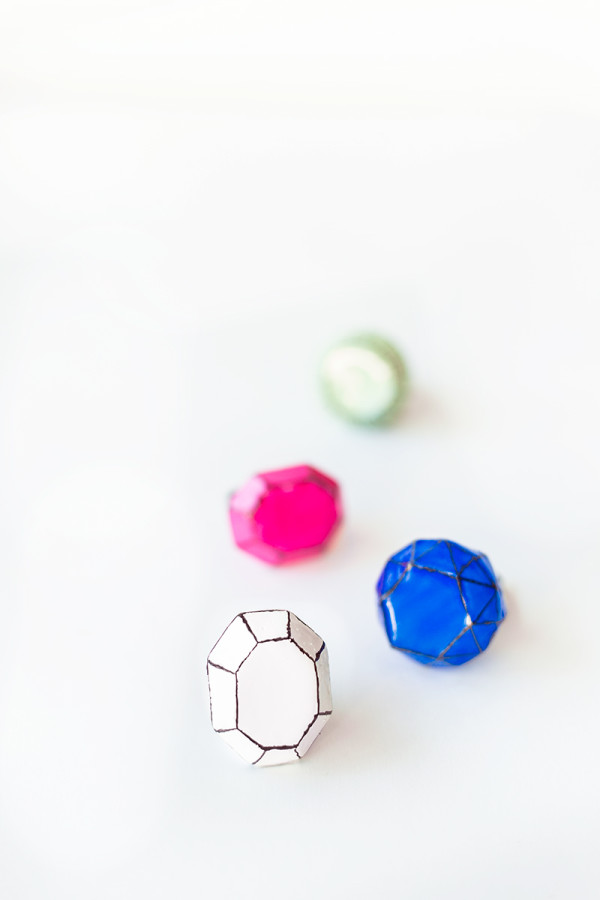
Oh just some gigantic gem rings. I’ve been sitting on this DIY for a few months now, ever since I found these ice cube molds and KNEW I had to make some big ol’ rings. When ban.do sent me that gem-i-ifed mug, I knew I had to bust this one out. And wanna know what these bad boys are made out of? HOT GLUE! Yep, it’s true. And now i want to make all the things with hot glue. All of ’em. But first, let’s make some jewels.
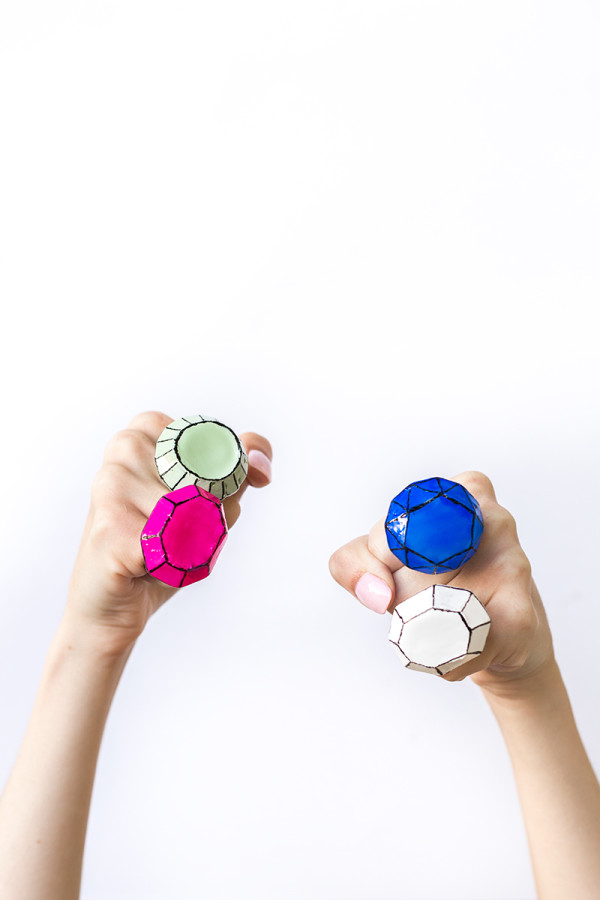
BAM!
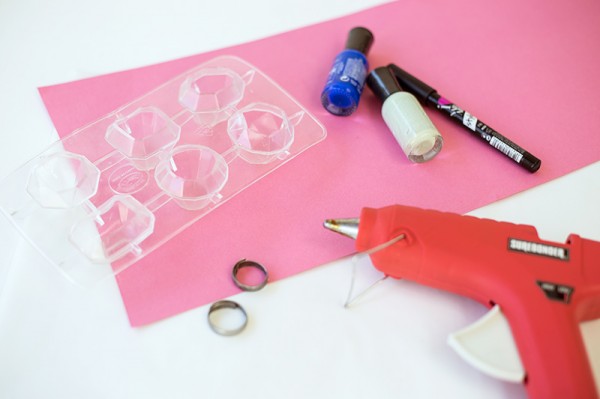
Gem Ice Molds
Pan, Water + A Freezer
Hot Glue
Nail Polish
Nail Art Pen (For outlining)
Ring Blanks
Butter Knife
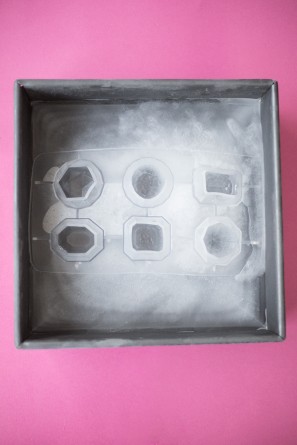
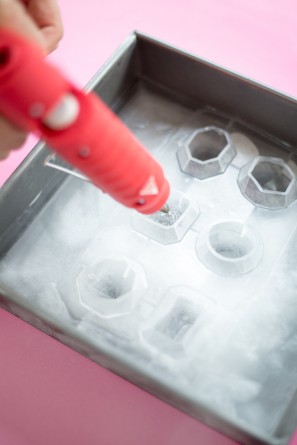
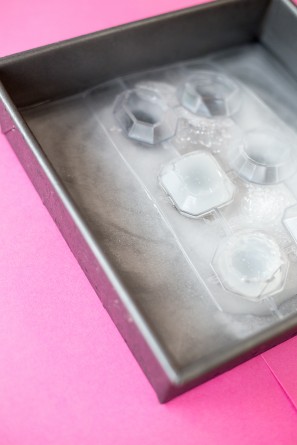

1. After several tests, I made the discovery that the molds needed to be supported before the hot glue went in, otherwise they didn’t keep their shape. SO! First thing you need to do is place the mold in a pan and fill it with water up until you reach the flat part of the mold. Pop it in your freezer and let it freeze up!
2. Once frozen but before removing from the freezer, heat up your glue gun. When it’s ready, remove the mold (still in the pan) from the freezer and set on a sturdy/solid surface. Fill the entire gem shape with hot glue. You need to work continuously. Do not pause, or the glue won’t form a perfect gem! Keep Filling and filling, ensuring that the glue spills into all the corners of the mold and that it comes all the way to the top of the mold. I was using short glue sticks, and each gem took about one and a half sticks.
3. Place your mold back in the freezer and let the glue set up completely.
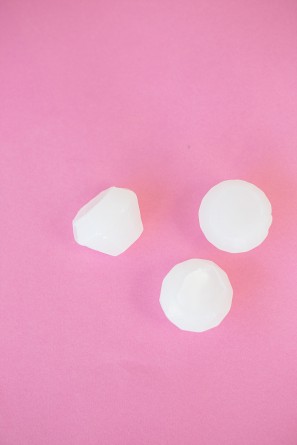
4. Once set, remove the pan from the freezer and remove the mold from the ice (you may have to wait for the ice to melt a bit to do this). You will probably need to use a butter knife around the top of the gem to loosen the silicone mold from the glue. Once you’ve done that, pop the gem out (it takes some finagling) and TADA!
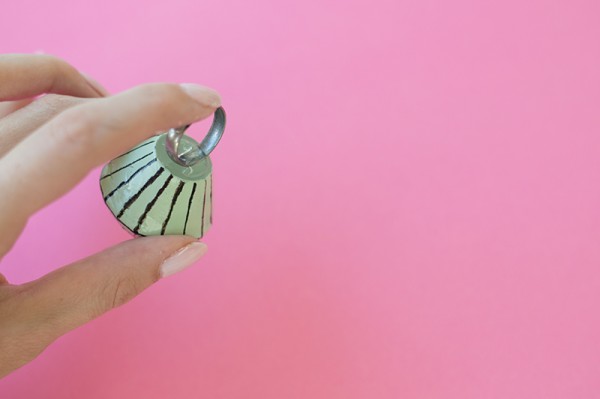
5. Paint your gem using nail polish. You may need a few coats (letting them dry in between each) depending on your color. Do this in a well ventilated area. Those fumes are STRONG!
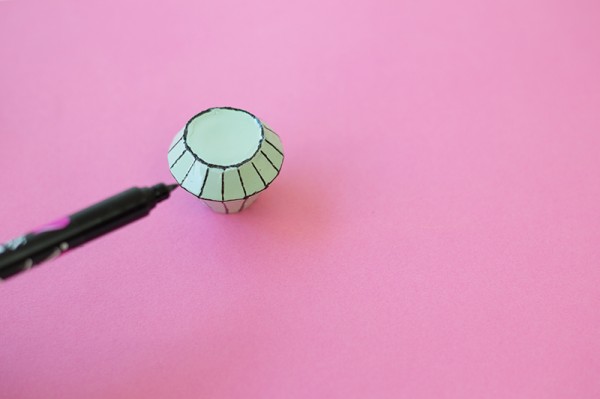
6. Use your nail art pen to draw over all the lines in your gem. It’s hard to see them in the photos before doing this, but in real life you can see/feel them very easily.
7. I used hot glue (again!) to attach my gem to my ring. You can’t just glue it on like normal though, that won’t hold. (If you want to do htat, I recommend purchasing a jewelry/metal-safe glue) Instead, I ran the hot glue over the inside of the ring and onto both sides, basically sealing it in.
These would be really fun for a Halloween costume, bachleorette party or just your average Wednesday. I love ’em!
All Photos by Studio DIY
Can you imagine the possibilities of things to make with hot glue now? My favorite glue just keeps gettin’ better and better!



Gucki says
Super idea!!! Great!
Brittni says
Oh my goodness. These are amazing! I used this same exact mold to make chocolate candies, but hot glue rings?! Never would have thought of that. I may love these too much.
Laurel (@abubblylife) says
These are so cool!
Lexy | The Proper Pinwheel says
Okay, I just have to say that you have pretty hands! Truly. Mine are all freckle-filled and old-looking. But yours! Your hands! So youthful!
Love,
The Creeper
Jess says
This is just the best idea!
Brittany says
These are so fun!!! I love this idea!
dakota barber// state & occupation says
omg. just a month too late otherwise every girl at my sisters bridal shower and bachelorette party would’ve had these on their fingies! I’m dreaming up some gold and silver ones- SO cute!
xo,
Dakota Barber
Shastablasta says
I love that this is almost lo-tech 3d printing. Because I already think of 3d printers as fancy glue guns.
Aleah and Nick says
FUN! What a cool idea!
Sara : Confetti Sunshine says
Love it Kelly! You are Wonder Woman!
Mlle Eugé | creative content since 1984 says
Woah that’s one fun DIY ! Did you choose the hot glue for the light weight of the material ? Have you tried with resin ? And maybe even with slightly colored resin, that might be beautiful !
Thank you for sharing !
Stop by my little bloggy, I just post a DIY that you might like ! ( Yes i know the blog has no english version yet 😉 )
Bonjour de Paris !
xo
Sam says
Or….maybe just use these?
http://www.orientaltrading.com/ui/browse/processRequest.do?requestURI=processProductsCatalog&categoryId=377320&sku=73%2F57&BP=10879&ms=search&source=Google&cm_mmc=Google-_-GooglePLA-_-Craft+%26+Hobby+Supplies%2FAdult+Crafts%2FTools+%26+Supplies-_-Surebonder%C2%AE+Colorful+Mini+Glue+Sticks&cm_mmca1=OTC+PLAs&cm_mmca2=GooglePLAs&cm_mmca3=10879&cm_mmca4=FS49&cm_mmca5=Shopping&cm_mmca6=Glues&cm_mmca11=73%2F57&cm_mmca12=Surebonder%C2%AE+Colorful+Mini+Glue+Sticks&gclid=CJ2xoOC0oMECFRSEfgod478AdA
Ashley says
Really fun!! Thanks for sharing!
Ellie says
hi there! quick question: could you insert the rings into the mold before putting them into the freezer to set? Obviously you wouldn’t submerge the ring completely, just slightly so that it all cools together.
thanks for the wonderful ideas!
Melissa Page says
Wow this is genius! Quick question, will it still work if I use an ordinary pen or will it fade? I gotta try this DIY gem rings!
Keisha says
Hello, just interested to know why nail polish was chosen for the paint? Is it cheaper / better at holding?