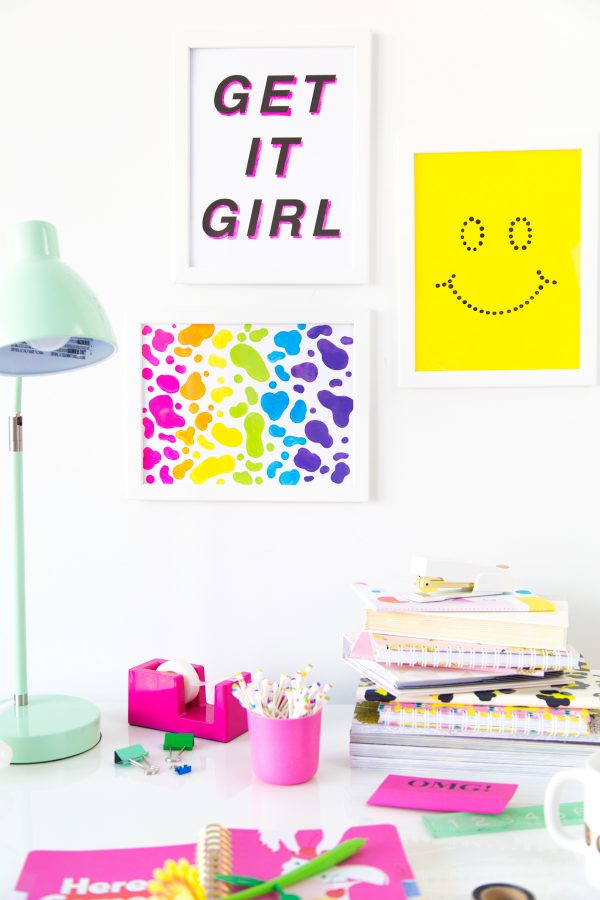
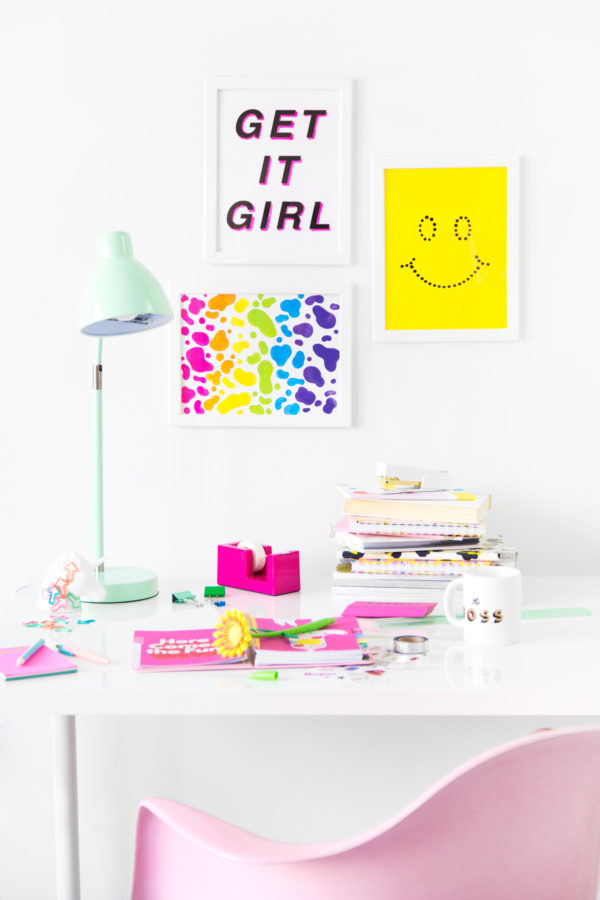
One of my most requested DIYs is wall art! ALAS! I’ve got some DIY wall art for under $10 for you!! Even less if you already have some paint on hand. HEYYY-O! These ideas are great for dorm rooms, apartments and any place where you need some small-scale art that makes a BIG impact on a budget! All about that gallery wall, folks. Or you could even make mini-versions for a locker!!
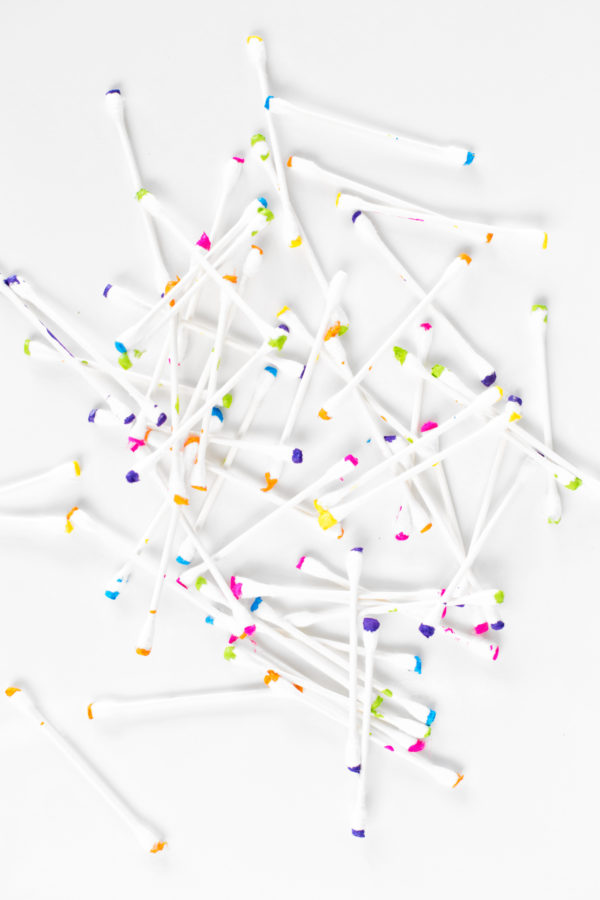
I partnered with my pals at Q-tips on this project because believe it or not… Q-tips cotton swabs are the best alternative to paintbrushes in my mind! We use them a lot because they are more firm than a brush, which helps with consistency for us non-pros out there! How’s that for a little life hack!? Check out how we made these three art prints below!
DIY Wall Art for Under $10
Total Time: 15-30 minutes per piece!
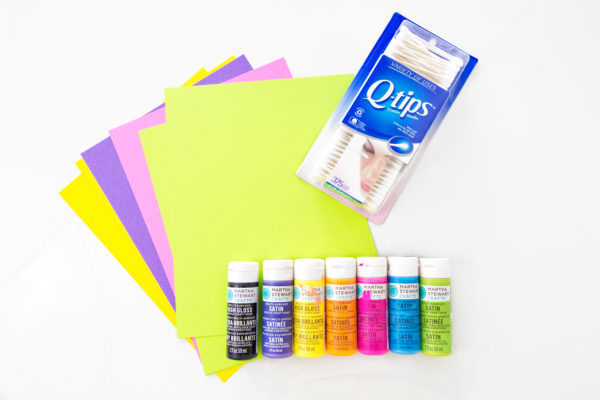
Supplies
White and/or Yellow Cardstock
Paint in Desired Colors
Q-tips Cotton Swabs
Paper Plate as a Paint Palette
Pencil
Printer (Optional, for the graphic print only)
Directions
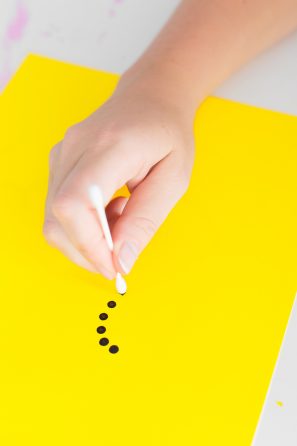
1. For the smiley print: Lightly freehand-sketch (or trace one you like from your computer screen!) a smiley face outline onto yellow cardstock. Squeeze some black paint onto a paper plate and dip the end of your Q-tip cotton swab in the paint. Then holding it perpendicular to your paper, place dots along the line that you drew, forming a smiley face! Let dry and then carefully and lightly erase the pencil marks.
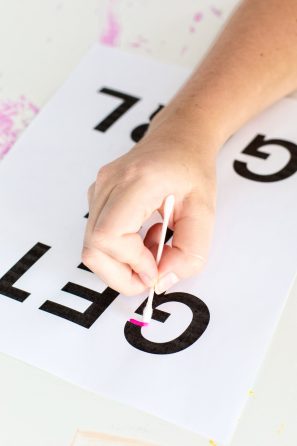
2. For the graphic print: Type out a phrase that you link in large, bold letters and print it out onto card stock. Pick a color of your choice and squeeze some onto a paper plate. Dip the end of your Q-tip in the paint and, following the edge of the letters, create a colored shadow on each of them. The shadow should only hit one side of the letters (for mine, it was underneath and on the right side) to mimic how a shadow would be cast in real life.
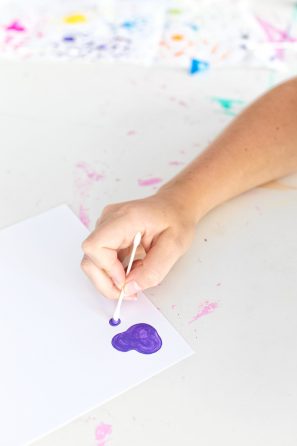
3. For the rainbow spots: Choose a rainbow palette and squeeze some of each color onto a paper plate. Use your Q-tip to draw spots of all different sizes, fading gradually from one color to the next across the paper.
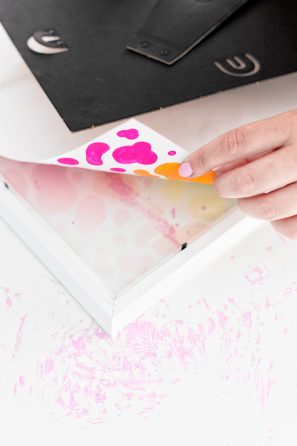
4. Frame, if desired, or attach to the wall with washi tape!
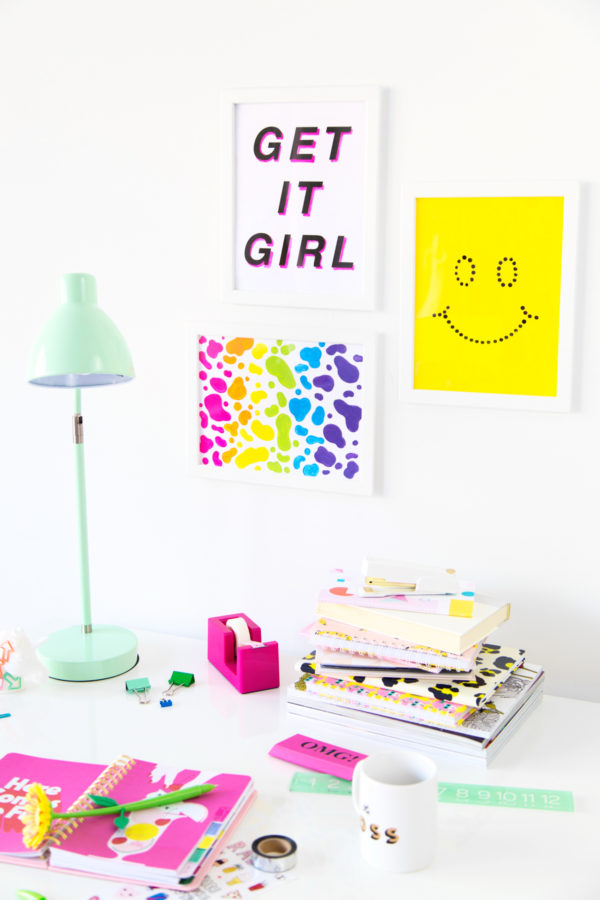
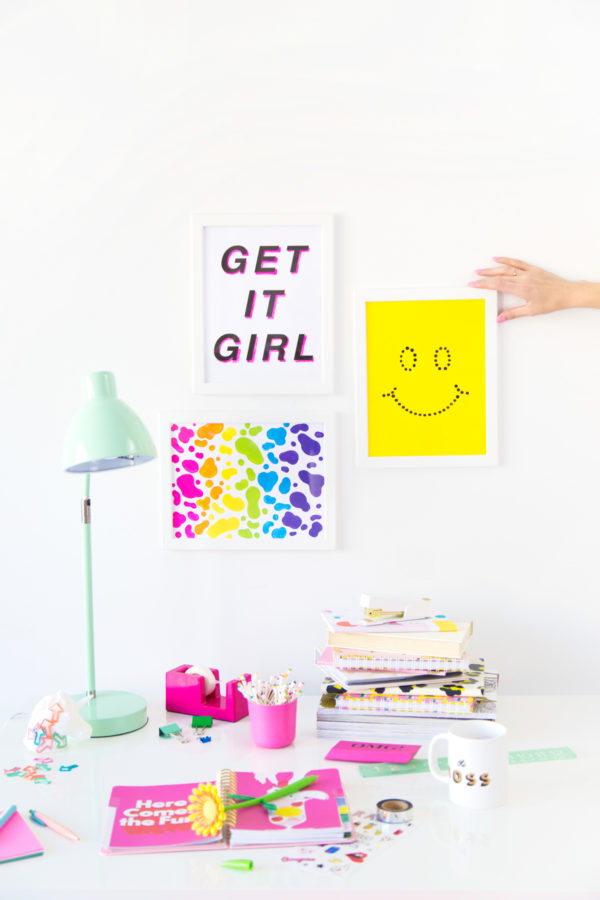
Photos by Jeff Mindell
You could apply the “dot” technique to SO many different motifs! Shapes, letters, faux-neon signs! I think that one might be my fave. What’s yours!?


Michelle says
What a cool idea, love the colours!
https://www.makeandmess.com/
Helen says
Thanks for sharing such easy DIY wall decor. I love having my walls covered with colorful items, so this is awesome!
XO Helen | www.KaleidoscopeSpinning.com
katie says
LOVE. The Rainbow Spot art totally reminds me of Spotty & Dotty from Lisa Frank. I have been DIYing all of my school supplies to look like Lisa Frank styles and have been having so much fun with it!
JaneEllen says
Cute and do-able art to make. Think might be able to rustle up some q-tips and paint, something to paint on. Since my arthritic hands don’t work too well anymore holding q-tips might be much easier for me. Really gets imagination going for ideas to paint.
Figured could take little break from cleaning out disgustingly nasty sewing room so can actually sew in there. Also been working on some bee theme wall art, tired of beach stuff. With kids back in school hard to feel summery except for sweating, yuk.
From what I understand not only place (western CO) it’s hot, after all it is almost middle of August. What are school boards thinking for crying out loud What was wrong with school starting after Labor day?
Happy weekend
pizzafino says
very cheap for DIY wall art. Only by using cotton swabs, we are able to increase the value of the room. very impressive
Alayna Fisher says
Loving these!!! Simple,fast,and attractive what more could you ask for? Thanks for taking time out to share. Keep them coming.
Mucho gracious,
Alayna👣