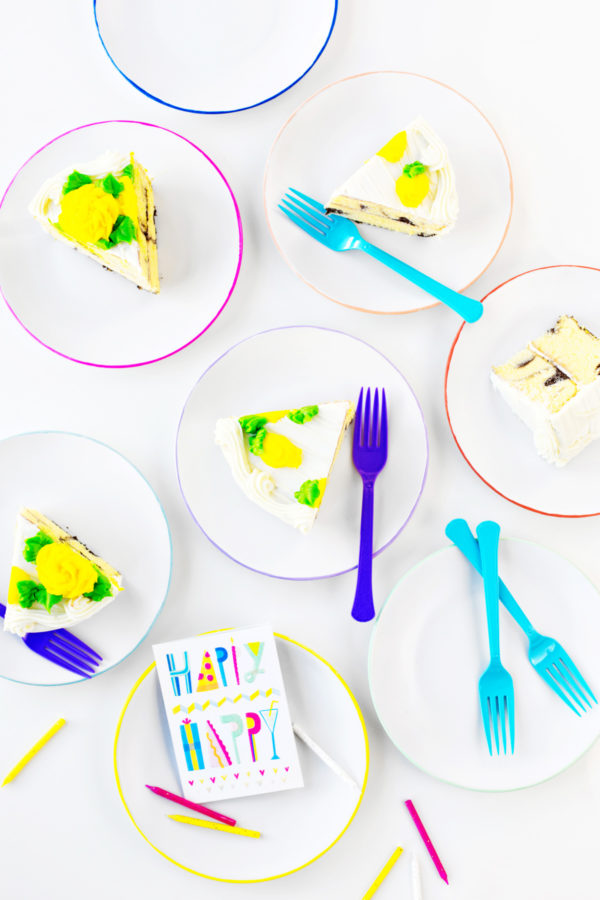
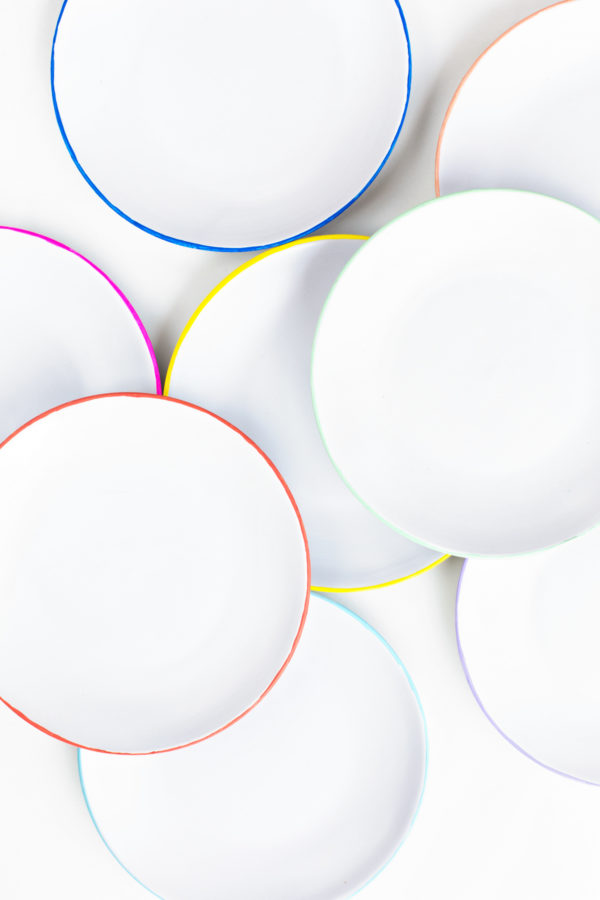
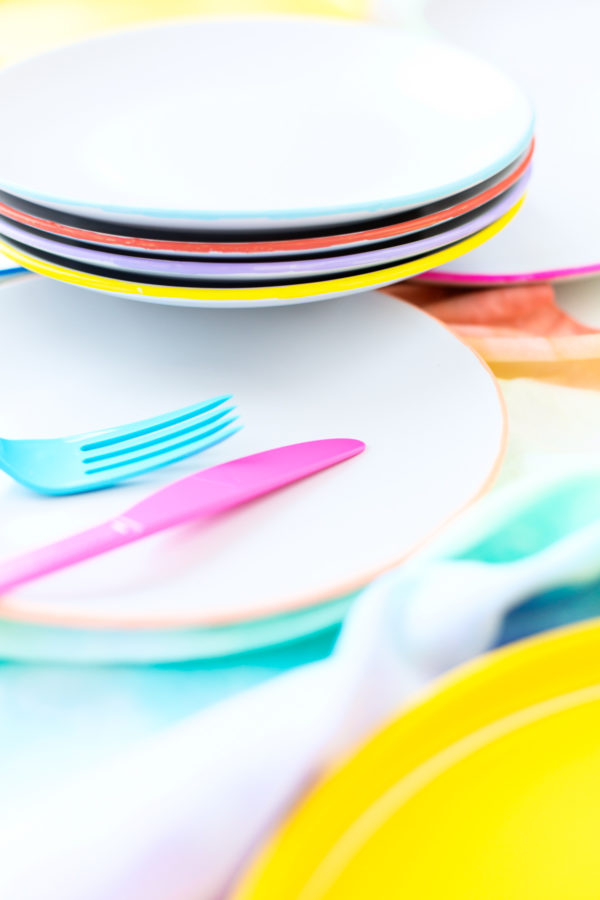
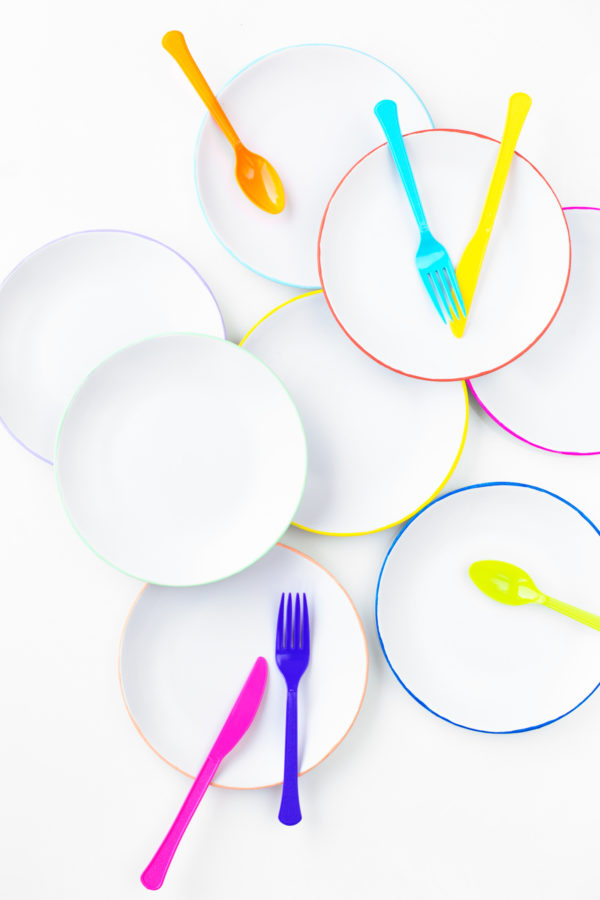
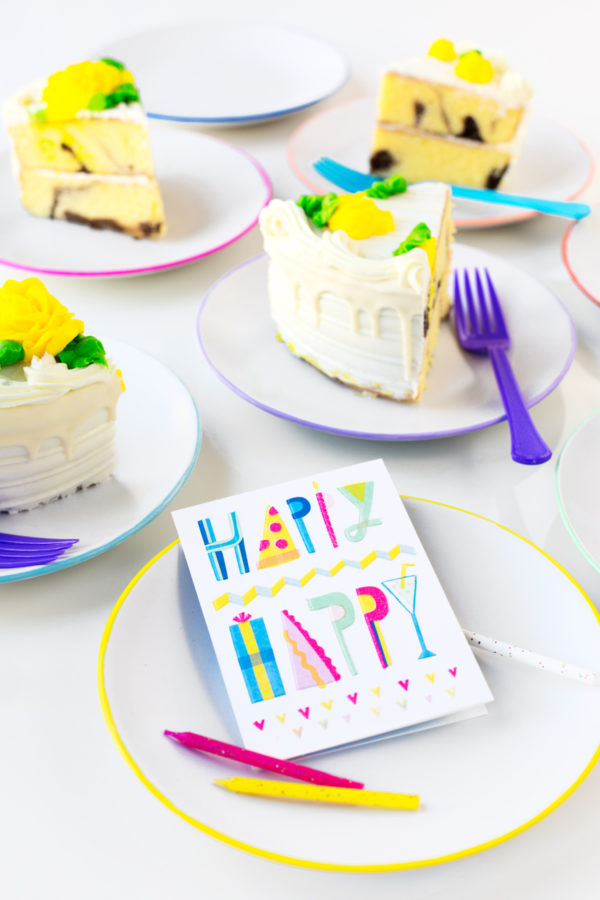
We interrupt our Halloween extravaganza for our next fun birthday post with our partners at Hallmark, featuring… THESE PLATES!!! We made these color edged dessert plates as a birthday gift for our resident food contributor (AKA master!) Theresa, inspired by this cute + quirky Hallmark Studio Ink card! The project is SO crazy easy, you could whip up a whole set in no time for all your sweets-loving friends, too!
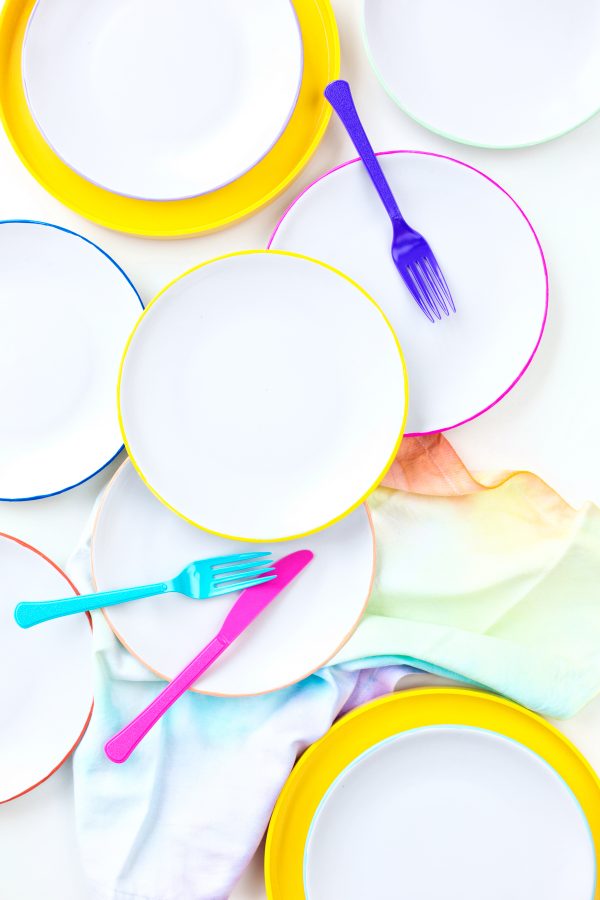
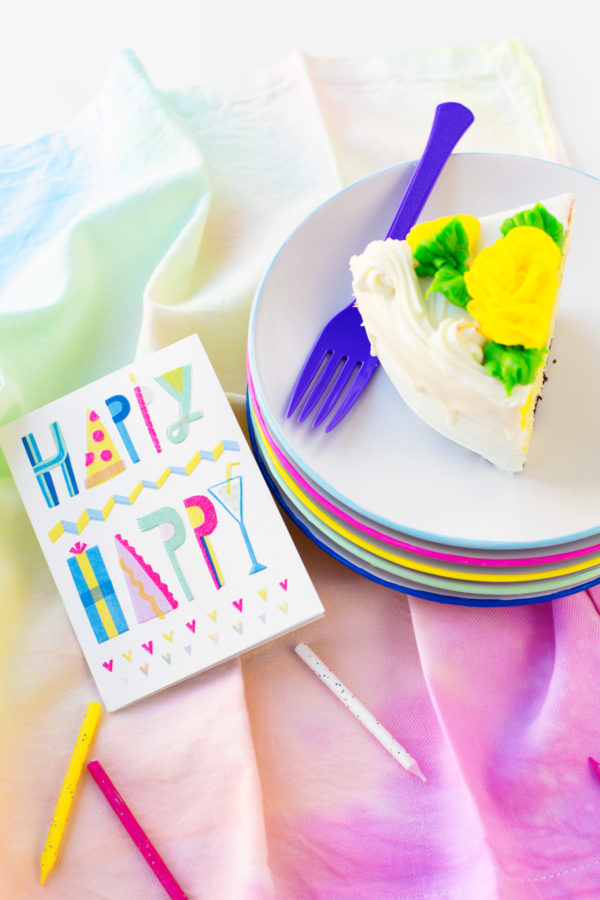
I picked this card for Theresa because it was clean and simple but with a big punch of color + quirkiness, just like her style! Theresa is a foodie, so we loved that the card incorporated food elements (That slice of pizza, though!), and wanted to create a gift inspired by it that also centered around food. We pulled the colors and unexpected pop of “quirk” from the card, and applied that to simple plates, something that Theresa can use every day to serve the delicious treats she makes! Ready to make some?
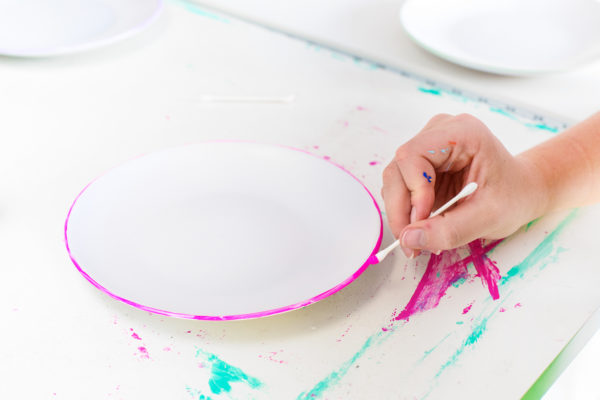
DIY Color Edged Dessert Plates
Total Time: 10 Minutes per Plate
Supplies
Plain White Ceramic Plates
Non-Toxic Ceramic-Safe Paint
Cotton Swab
Directions
1. Prepare the plates per the paint's instructions. Our paint required cleaning the edge with alcohol first.
2. Dip a cotton swab in paint and run it along just the very edge of the of the plate, dipping back in the paint as needed. Let dry and add second coat, if desired.
3. Let dry completely and cure according to paint instructions.
These plates are hand wash only!
Photos by Jeff Mindell
This would be a great way to revamp a thrift-store find, wouldn’t it!?
This post was created in partnership with Hallmark. All content and opinions are that of my own! Thank you for supporting the sponsors that keep the Studio DIY party going! Read more about my editorial policies here.





Michelle says
Love them!
https://www.makeandmess.com/
My Little Crafty Life says
So colorful and beautiful!