
I was shopping for wood beads for another project (which, well, isn’t happening this year but it’s gonna be GOOD next year! ha!) and BOOM. This idea hit me! A little wooden Christmas tree forest! I’ve been constantly hunting for crafts Arlo can help with, but also ones that will last for awhile and not just get tossed at the end of the season. This one fits the bill. (So does our Christmas village, by the way! Have you seen his addition yet!? So cute!)
These tiny Christmas trees are all made from random wooden odds and ends I found at Michael’s and on Amazon, plus a little paint and glitter!! I’m so in love with how they turned out. Arlo helped paint a bunch, and then I went back in and added the details. They’re currently living on the little ledge in his room and look so darn cute. Here’s how we made ’em!
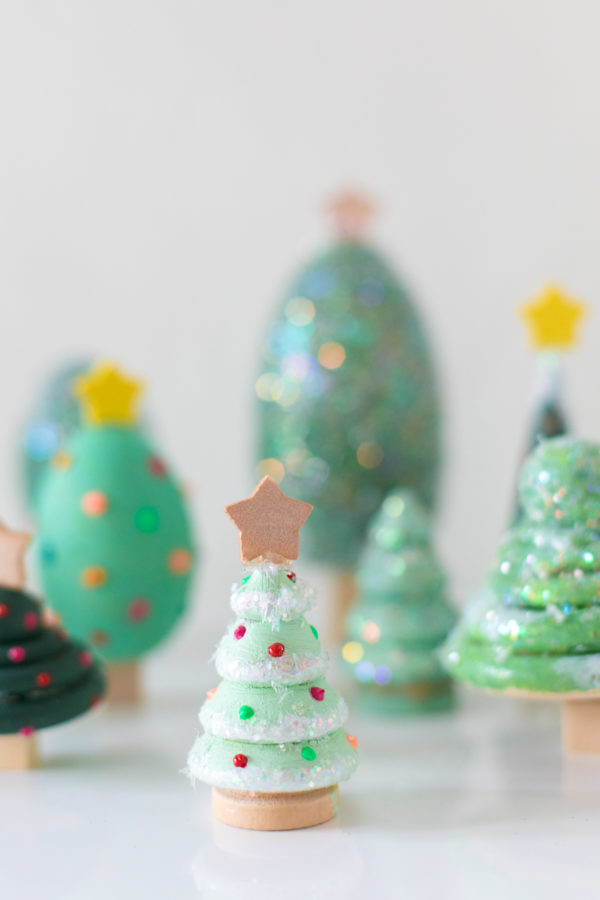
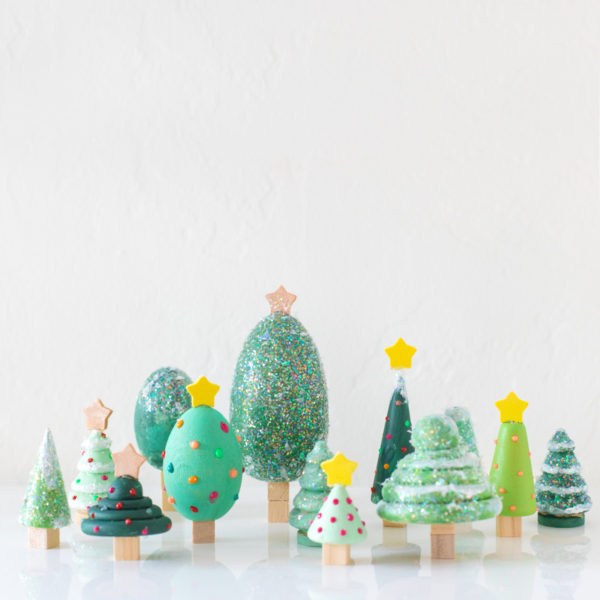

DIY Wooden Christmas Tree Village
Total Time: 1 Hour (+ Dry Time)
Supplies
For the various trees I used:
Wooden Pine Trees
Wooden Eggs
Wooden Rings + Wooden Beads
Wooden Ring Holders
Other Supplies Needed:
Square Wooden Beads
Wooden Stars
Green Craft Paint
White Craft Paint
Paint Brushes
Puffy Paint in Desired Colors
Mod Podge
Iridescent Glitter
Iridescent Snow
Hot Glue Gun or Wood Glue
Directions
1. Paint the tree pieces in different shades of green. *If you are making the stacked ring trees, glue them together to form a pyramid shape and top with a wooden ball. Then begin painting. Let dry.
2. Paint the stars yellow or metallic or whatever you'd like! Let dry.
3. Glue the stars to the top of the trees.
4. Decorate! Here's a few ideas:
To make ornaments, use puffy paint to add little dots all over the trees.
To make them have a snowy look, for some that had "peaks" like the wooden pine trees and the ring cones, I added a little white paint to accent them and make the glitter stand out. Let that dry. Then paint on a layer of mod podge and sprinkle glitter on top. Let dry.
To make full-sparkle trees, simply paint the entire thing with mod podge and add glitter on top. Let dry.
5. I like to add another layer of mod podge on top the glitter to help seal it on so it doesn't come off so easily! Let dry.
6. Glue square wooden beads to the bottom of each tree and you're done!



Photos by Jeff Mindell
It’s just been so fun that Arlo’s at an age where we can craft together! Even if it’s a total mess and his attention space is about two and a half minutes. Haha! It’s been a good lesson in me loosening up on my perfectionist natures, too.
Be sure to share a pic with me if you make a little Christmas forest!!! I’ve been loving seeing all your Christmas village pics.




Kristina B says
These are so darling! They look like trees from Willy Wonka’s chocolate room!
Mister Lapin says
It’s an original idea. The trees seem to come out of a fairy tale. 🙂
Sabrina says
wonderfully creative and fun, love all of the different shades of green and glitter, fun to continue after Christmas too, thank you for the inspiration
syair togel sgp says
oh so beautyful