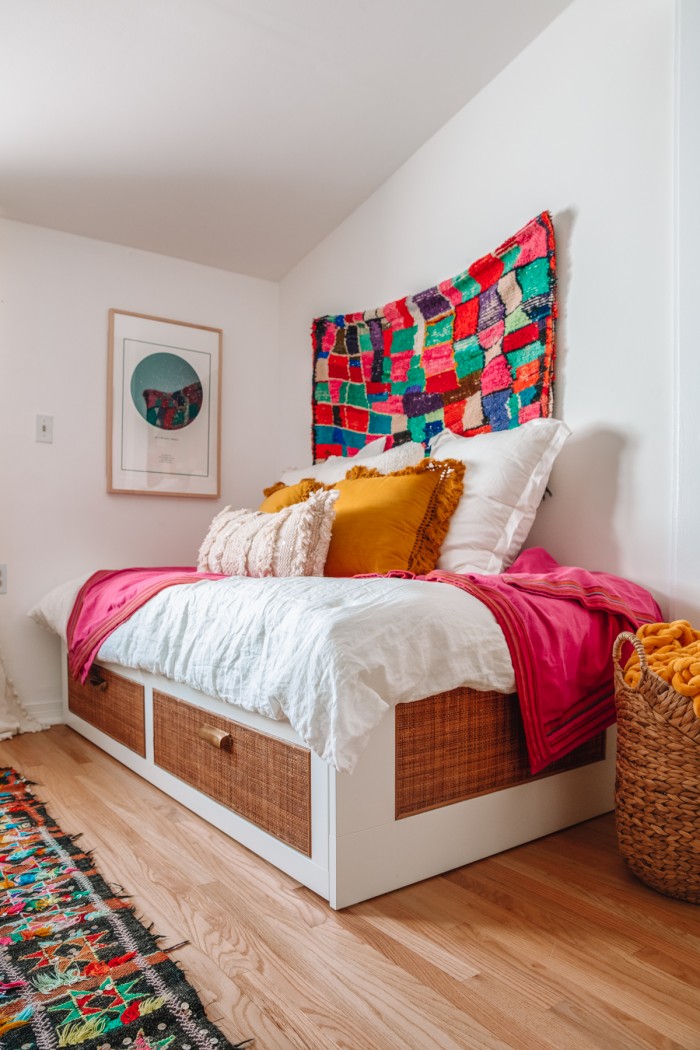
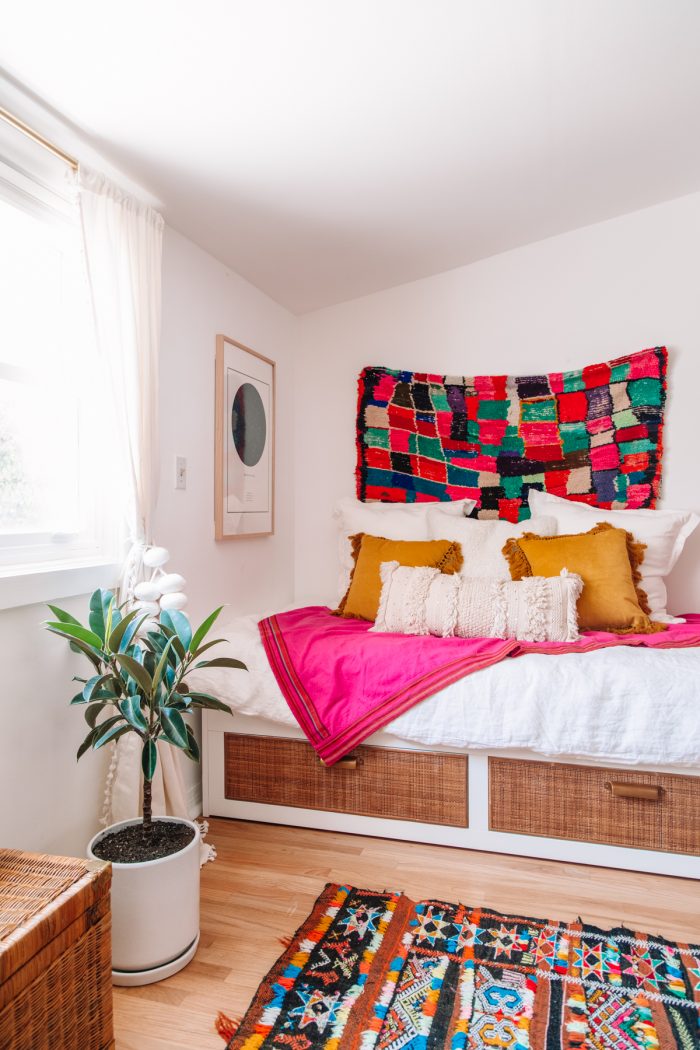
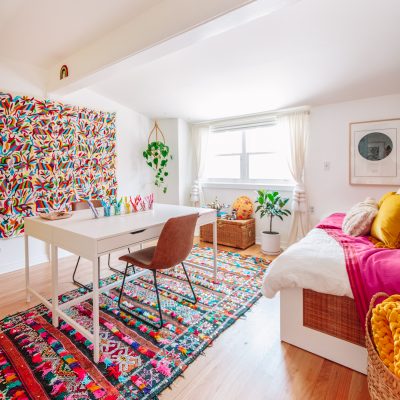
This IKEA bed hack couldn’t be more simple. If you’re looking to add a functional, affordable piece to your home but want it to have a bit more character than your average plain white IKEA piece, this is for you!
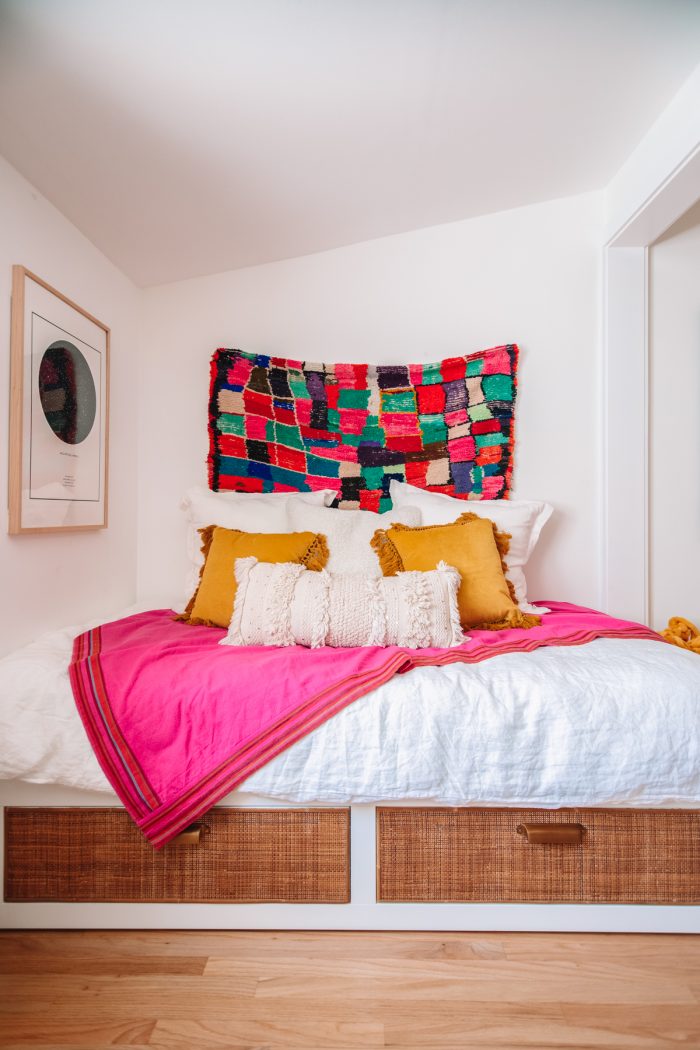
The IKEA BRIMNES is the perfect bed for a multipurpose room, guest room or children’s room. It’s a daybed style trundle bed that expands from a twin into a king easily, and with built in storage! However, I wanted to make mine feel less modern, more timeless, by adding the classic texture of rattan cane.
Today I’ll show you to DIY a rattan daybed and make it look like a custom piece with just a few materials and some hot glue!
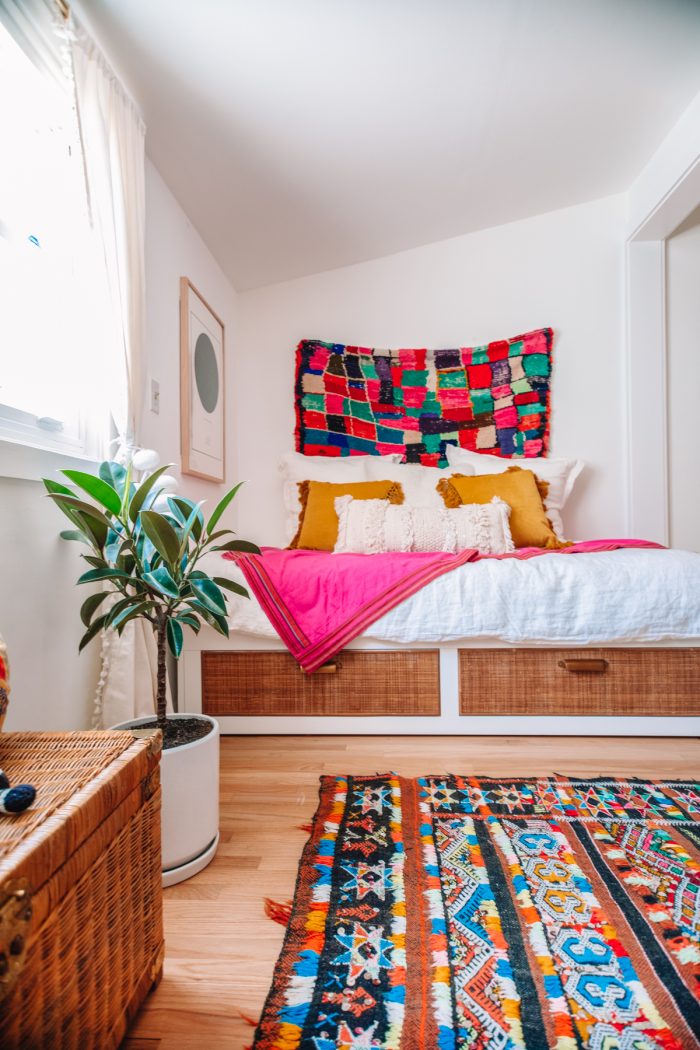
Table of contents
Materials to DIY a Rattan Daybed
- IKEA BRIMNES bed
- MEISTERVIK mattress
- 4 Yards of Raffia cloth (Optional, to soften the contrast between the cane and bed!)
- Four Yards of 24″ Wide Cane webbing (I purchased mine locally and was able to find a piece that was already patina-ed. But you can stain the webbing to be your desired color if you want it darker than natural!)
- 30ft. Half-round reed
- Scissors
- Hot glue gun
- Gorilla glue hot glue sticks
- Handles or knobs of choice
How To: IKEA BRIMNES Daybed Hack Directions
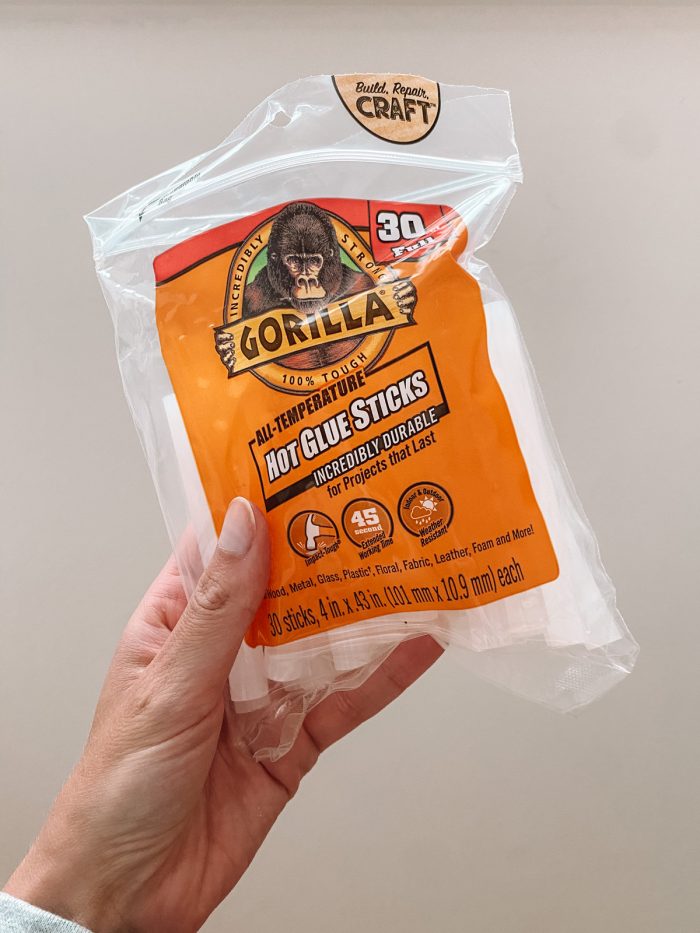
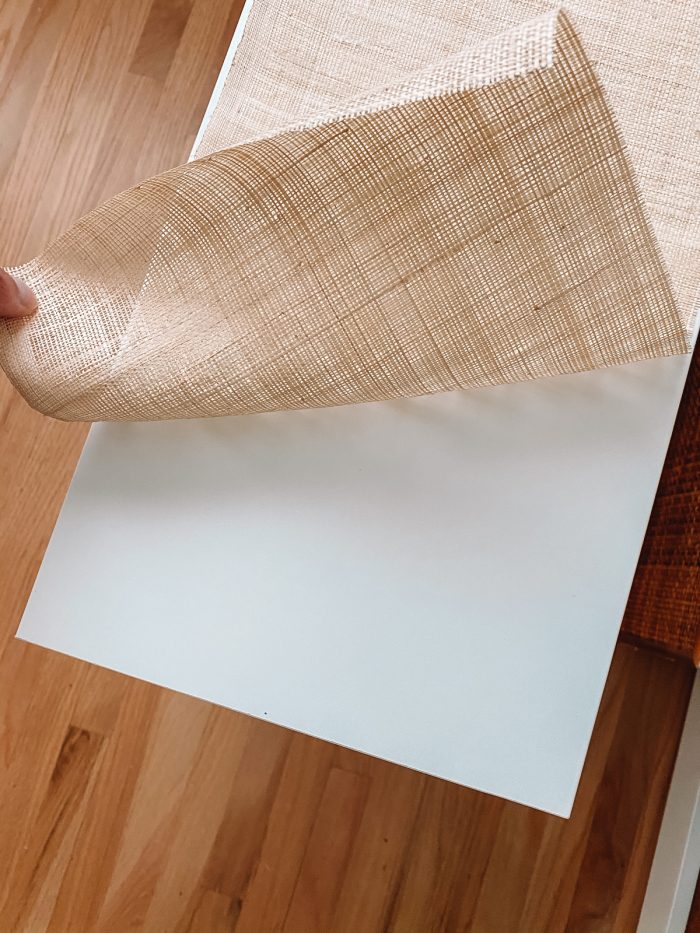
I used Gorilla Glue hot glue sticks for this IKEA bed hack for increased durability. To soften the stark contrast between the rattan and the white drawer, I added a layer of grasscloth. This is optional.
If you are adding grasscloth, remove the drawer from the daybed so you can access it better. Cut the grasscloth about 1/8-1/4″ smaller than the size of the drawer front and hot glue it to the front along the perimeter and in the middle.
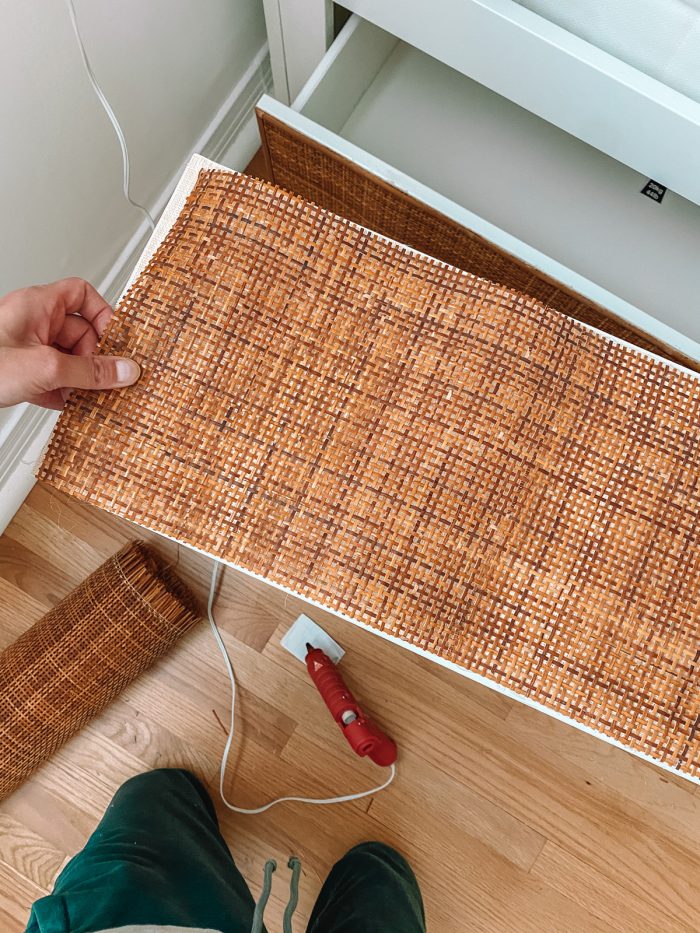
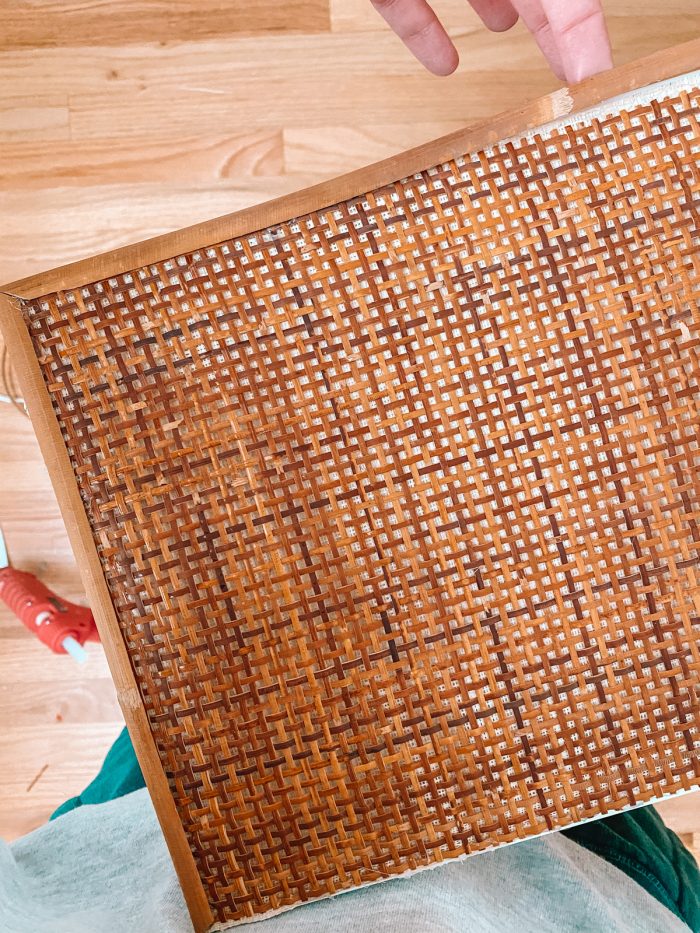
Cut the cane webbing about 1/8″ smaller than the size of the drawer front. Use the lines of the webbing as your guide!
Carefully hot glue the webbing on top of the drawer and grasscloth (if using) around the perimeter of the drawer front, smoothing the webbing as you go so it lays flat. Let the glue dry completely (luckily hot glue dries very quickly!). If the cane is hanging off the edge of the drawer anywhere trim off with scissors.
Trim your reeds to length with each end at a 45 degree angle so they fit together with a seamless corner. Hot glue each on. Ensure they do NOT hang over the edge of the drawer or the drawer will not close properly!
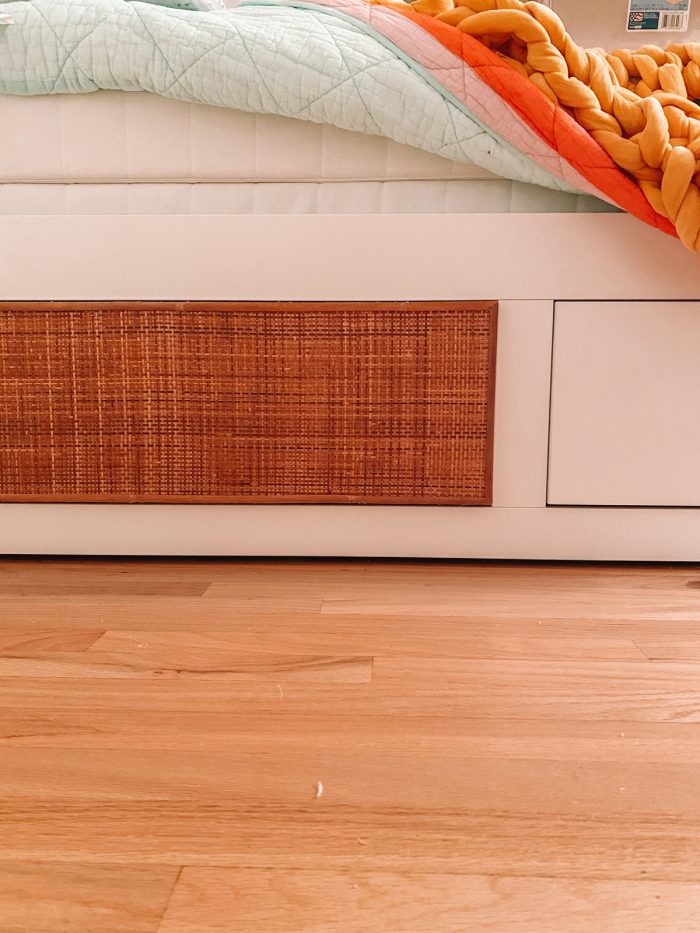
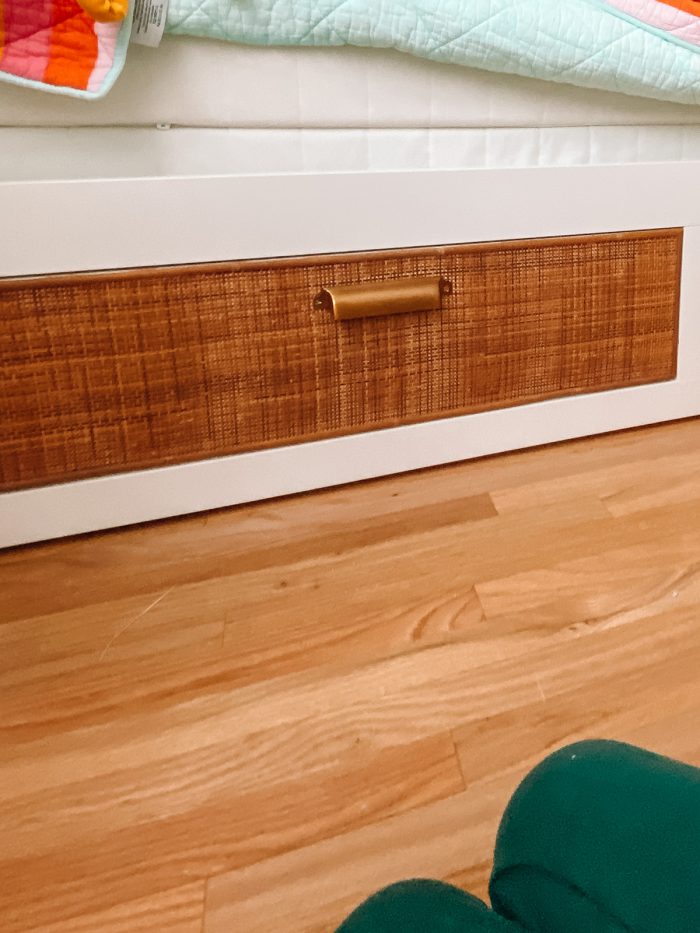
Repeat with the second drawer and slide the drawers back into place in the bed. Add handles as desired!
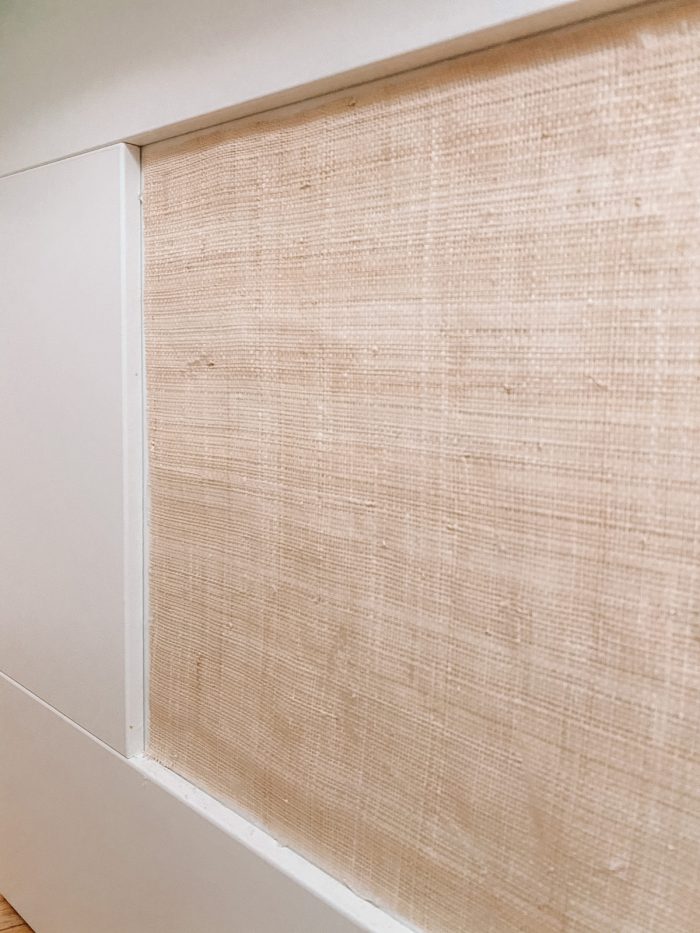
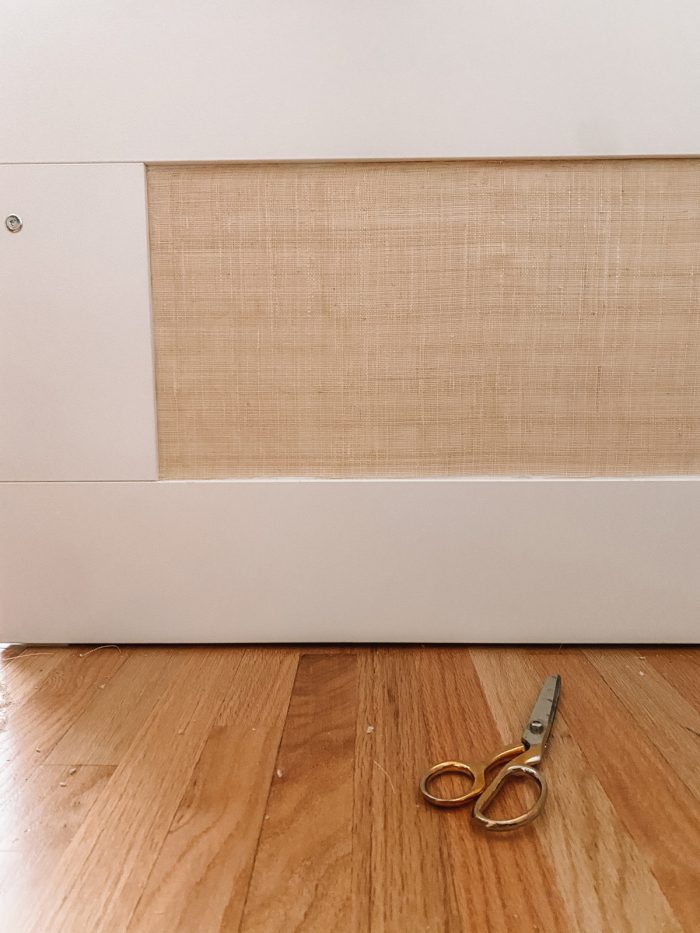
For the side panels, you’ll repeat the same process except inside the panel instead of on top of the drawer front. If using grasscloth, cut it to size (approximately 1/8″ smaller than the area) and hot glue on.
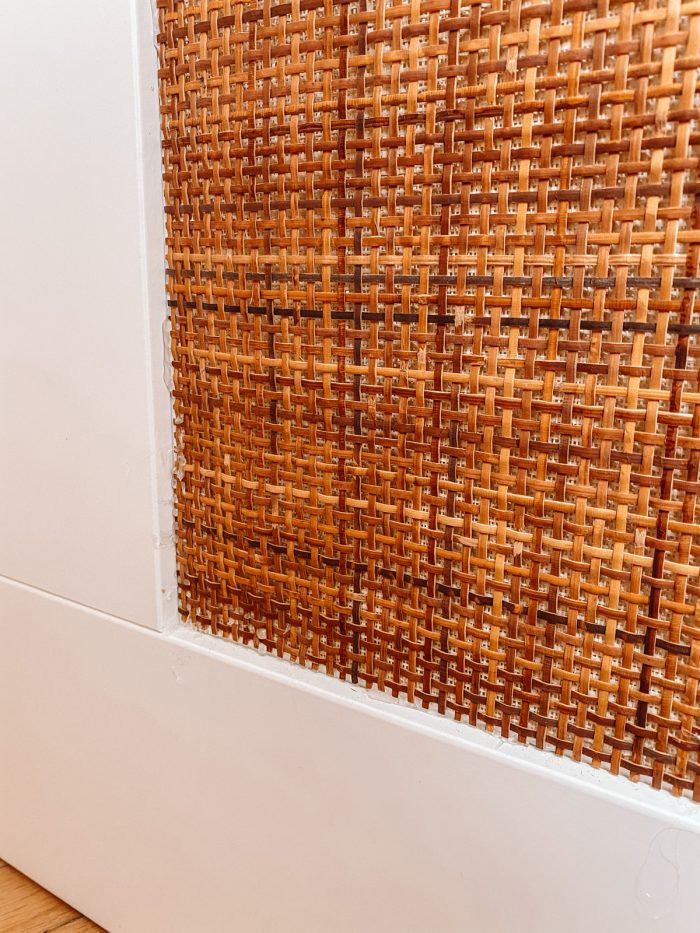
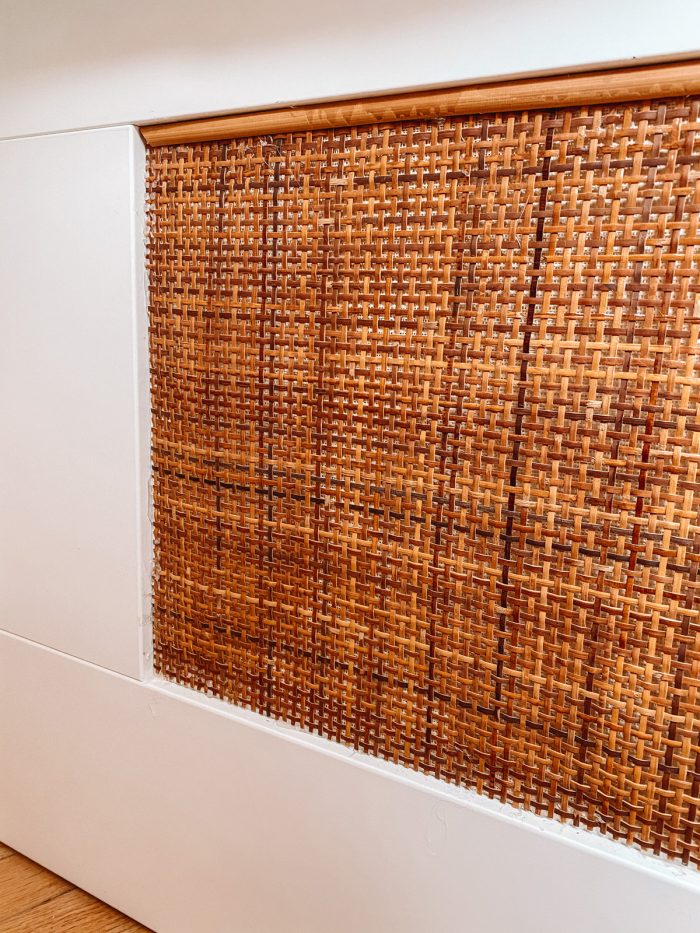
Cut the cane webbing to size, about 1/8 smaller than the size of the panel, and hot glue it on along the perimeter only.
Cut the reed to size, with each end at a 45 degree angle, and hot glue each on, starting with the top one.
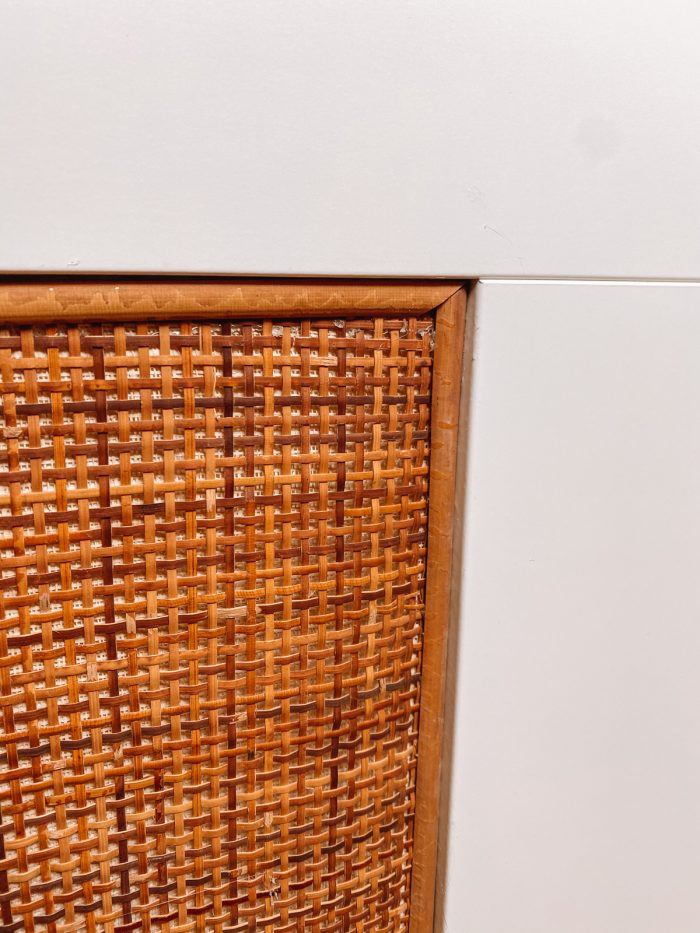
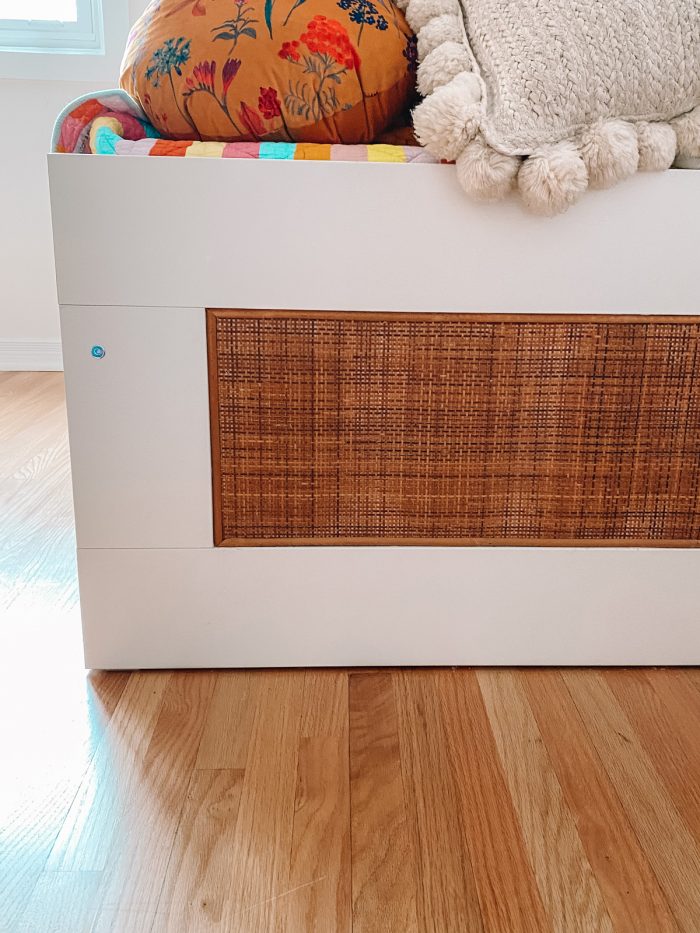
Match the corners as you glue the sides and bottom piece of reed on. Repeat with the other side panel! Done.
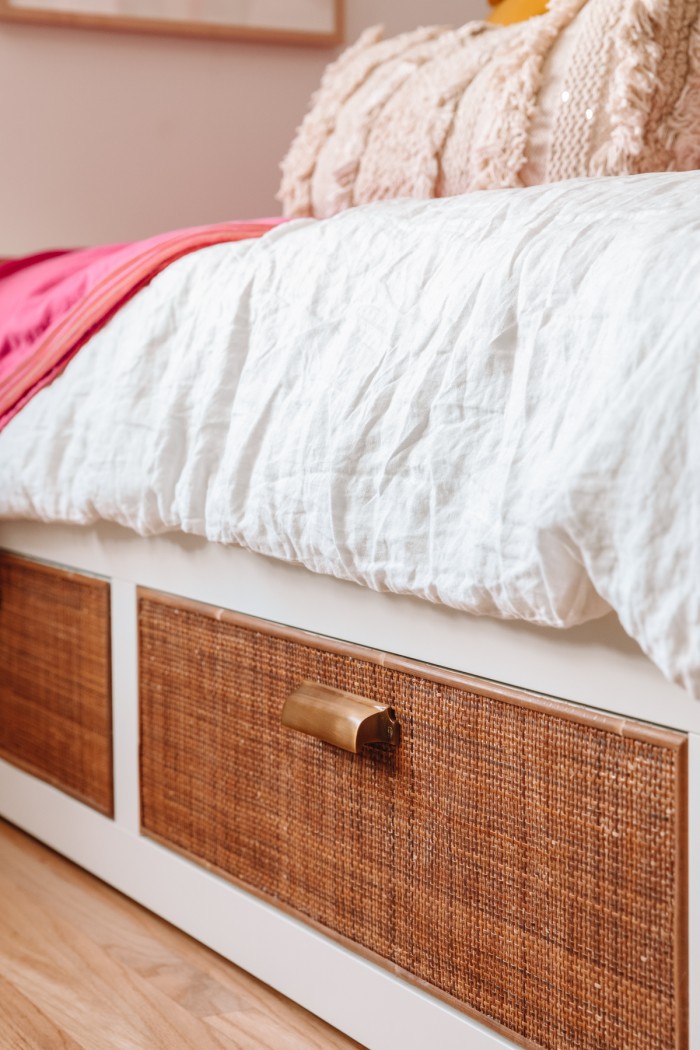
Is the IKEA BRIMNES bed comfortable?
This trundle bed is perfect for a guest bed or for a children’s room. We went with the MEISTERVIK mattress option for a bit extra cushioning.
When set up as a twin, the mattress stacks one on top of the other making it especially comfortable.
When the trundle is pulled out, the mattress lay in one level creating an approximate king size bed. Because this layer is thinner, it’s not quite comfortable but it has worked out great for guests! If you have someone sleeping on the bed more consistently, you may want to invest in a mattress topper.
The comfort, functionality and simplicity make it the perfect canvas for this IKEA daybed hack.
More IKEA Furniture Hack Ideas
Looking for other projects like this IKEA bed hack? Here’s a few to check out:
- IKEA Hack: DIY Rainbow Bookshelves
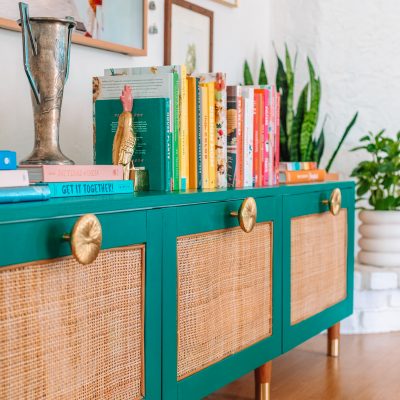
- Rattan IKEA BESTA Hack (A TV Stand Makeover!)
- DIY Simple Wood Toy Shelf (Montessori Inspired)
- Our IKEA Kitchen Reveal with Custom Cabinet Fronts!
Have you ever customized a piece of IKEA furniture? I love making these affordable pieces my own!
Easy Rattan IKEA Brimnes Bed Hack
Equipment
- Scissors
- Hot Glue Gun
- Drill (for adding handles, if needed)
Materials
- 1 IKEA BRIMNES bed
- 2 MEISTERVIK mattresses
- 12 feet Raffia cloth
- 12 feet Cane webbing
- 28 feet Half round reed
- Gorilla glue hot glue sticks
- 2 Handles
Instructions
- I used Gorilla Glue hot glue sticks for this project for increased durability. To soften the stark contrast between the rattan and the white drawer, I added a layer of raffia cloth. This is optional. If you are adding grasscloth, remove the drawer from the daybed so you can access it better.
- Cut the grasscloth about 1/8-1/4" smaller than the size of the drawer front and hot glue it to the front along the perimeter and in the middle.
- Cut the cane webbing about 1/8" smaller than the size of the drawer front. Use the lines of the webbing as your guide!
- Carefully hot glue the webbing on top of the drawer and grasscloth (if using) around the perimeter of the drawer front, smoothing the webbing as you go so it lays flat. Let the glue dry completely (luckily hot glue dries very quickly!). If the cane is hanging off the edge of the drawer anywhere trim off with scissors.
- Trim your reeds to length with each end at a 45 degree angle so they fit together with a seamless corner. Hot glue each on. Ensure they do NOT hang over the edge of the drawer or the drawer will not close properly!
- Repeat with the second drawer and slide the drawers back into place in the bed. Add handles as desired!
- For the side panels, you'll repeat the same process except inside the panel instead of on top of the drawer front. If using grasscloth, cut it to size (approximately 1/8" smaller than the area) and hot glue on.
- Cut the cane webbing to size, about 1/8 smaller than the size of the panel, and hot glue it on along the perimeter only.
- Cut the reed to size, with each end at a 45 degree angle, and hot glue each on, starting with the top one.
- Match the corners as you glue the sides and bottom piece of reed on. Repeat with other side panel! Done.
Notes
- Hot glue dries quickly, work in small sections as you go.
- To add new handles, I just drilled new holes in the drawer front, right through the can webbing, that fit the ones I wanted to add.
- Ensure the cane webbing doesn’t extend over the drawer or the drawers won’t close properly!


Aurora C. says
That looks fantastic! Honestly looks like a vintage piece.
Leanne says
Did you soak your caning fabric and let it dry before cutting it?
Megan Fox says
I was so excited to try this but the hot glue is not working! 🙁
The glue just peals off of the drawers and doesn’t adhere to the webbing at all. Any tricks that I am missing?
Kelly says
Hi Megan! Are you using Gorilla hot glue? Be sure you’re using that one as it’s much stronger than regular hot glue. I glued down the raffia cloth first, then glued the webbing on top and then the reeds on top of that which is what really held everything together. Hope that helps!
Megan Fox says
Yes I am using the Gorilla hot glue! Just stapled it down instead but now i am having such a hard time working with the reed, lol. What a nightmare.