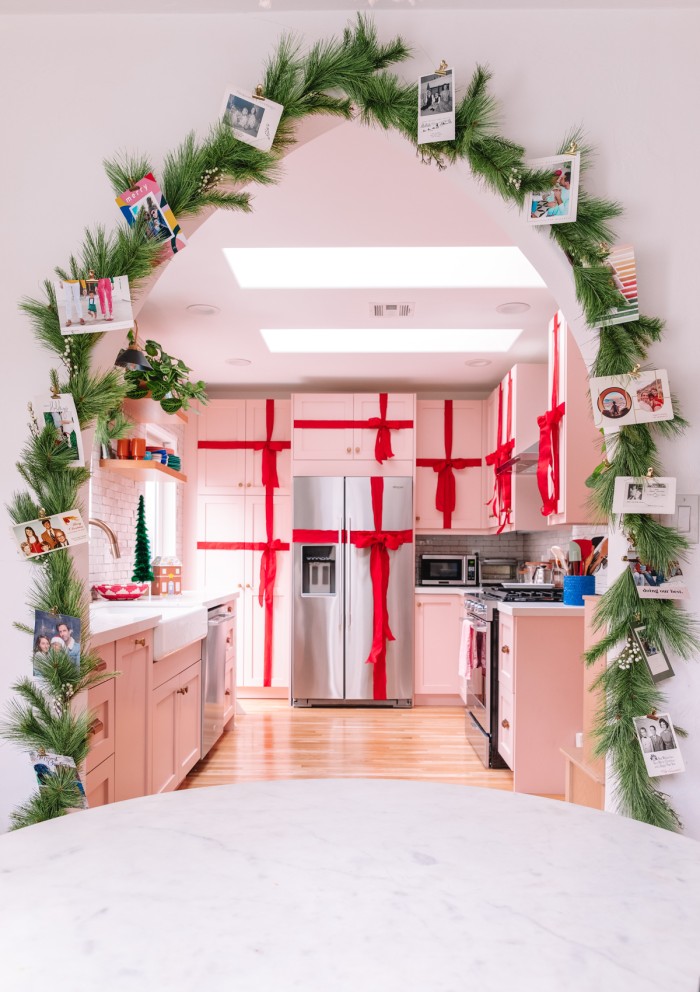
I love receiving Christmas cards. It’s so fun to see everyone’s photos and little updates about the year! For years, I’ve been trying to figure out how to display Christmas cards in our home, in a way that doesn’t take up additional wall space (which we don’t have).
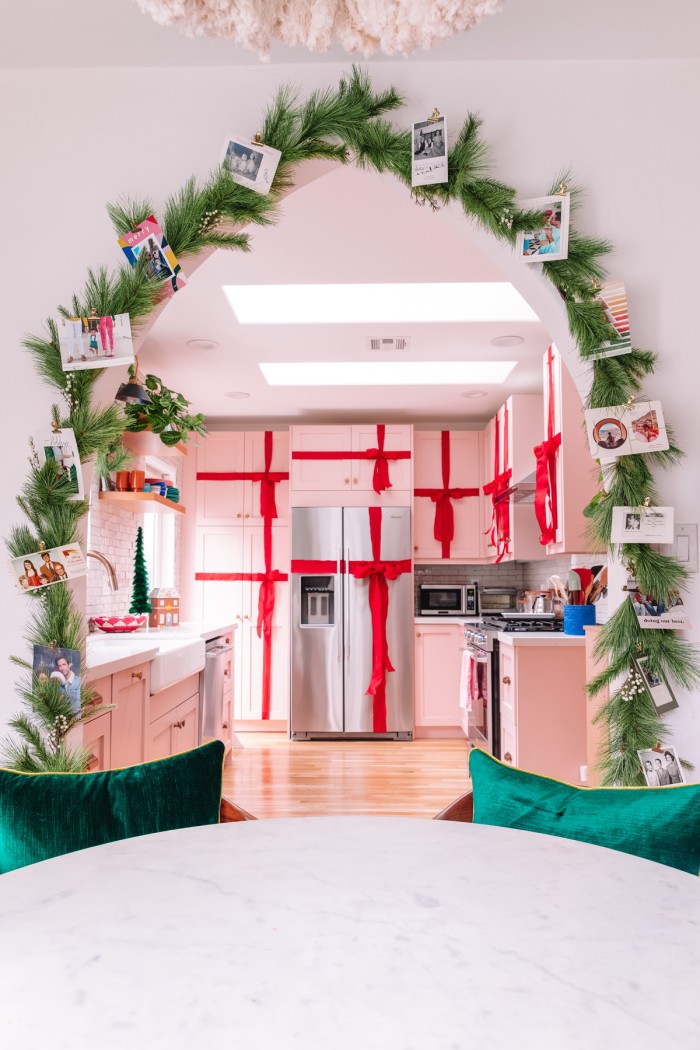
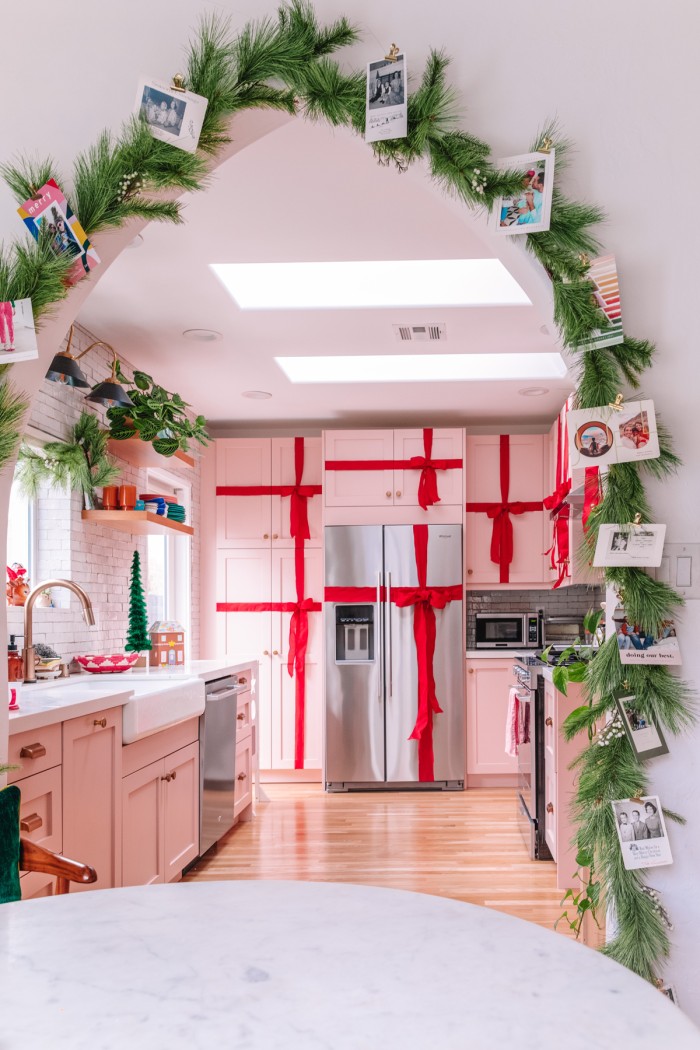
I do however have many a doorway and archway in my home, and I love decorating them with garlands for the holiday season. Turns out, they’re the perfect backdrop for our Christmas cards! Clipping the cards to the garland allows us to see and enjoy them and doesn’t take up any additional space we don’t have!
I’ll walk you through how we hang our garlands on our archways (so they’re removable, with no damage!), and what we use to clip the cards to them!
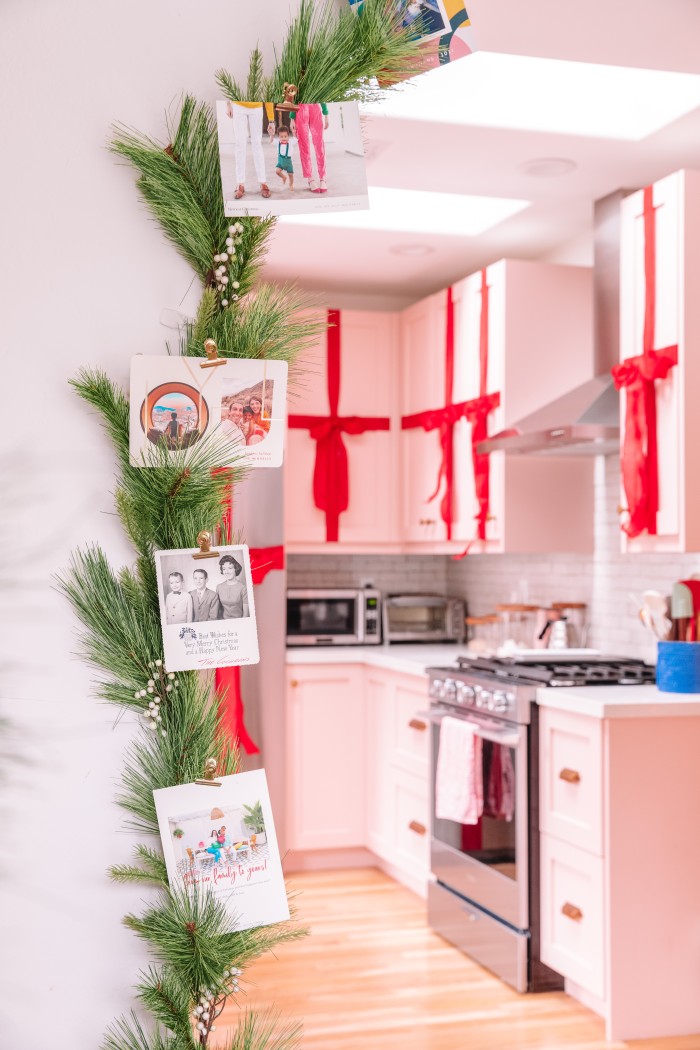
Here’s our foolproof, damage-free way of hanging garlands on our doorways. Our openings are arched but I’ll walk you through how to hang garland on squared off doorways as well. Here’s what you’ll need:
What You’ll Need
- Garland
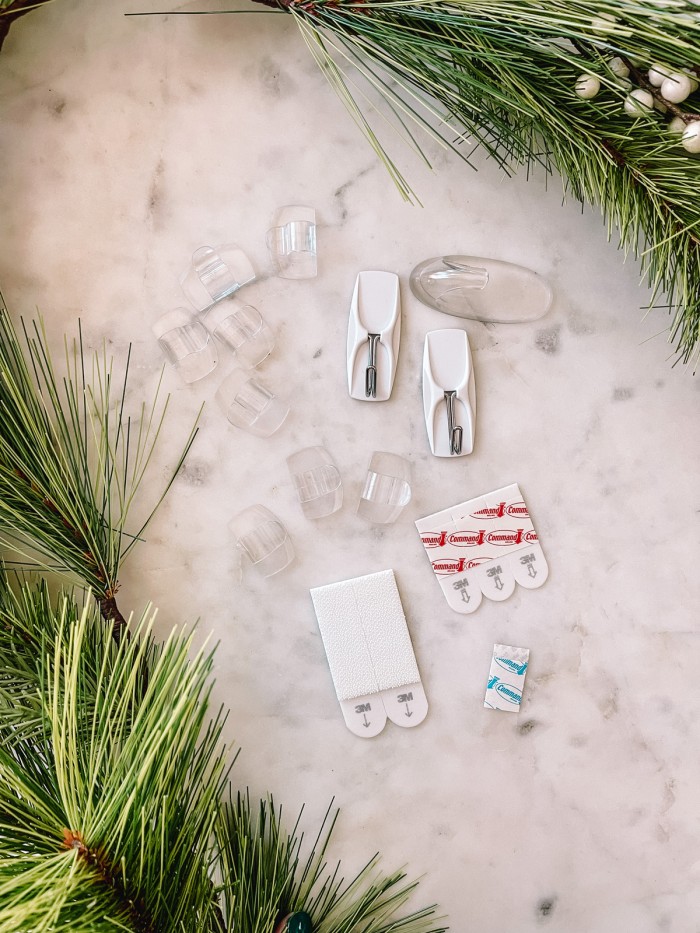
- Command Hooks & Strips:
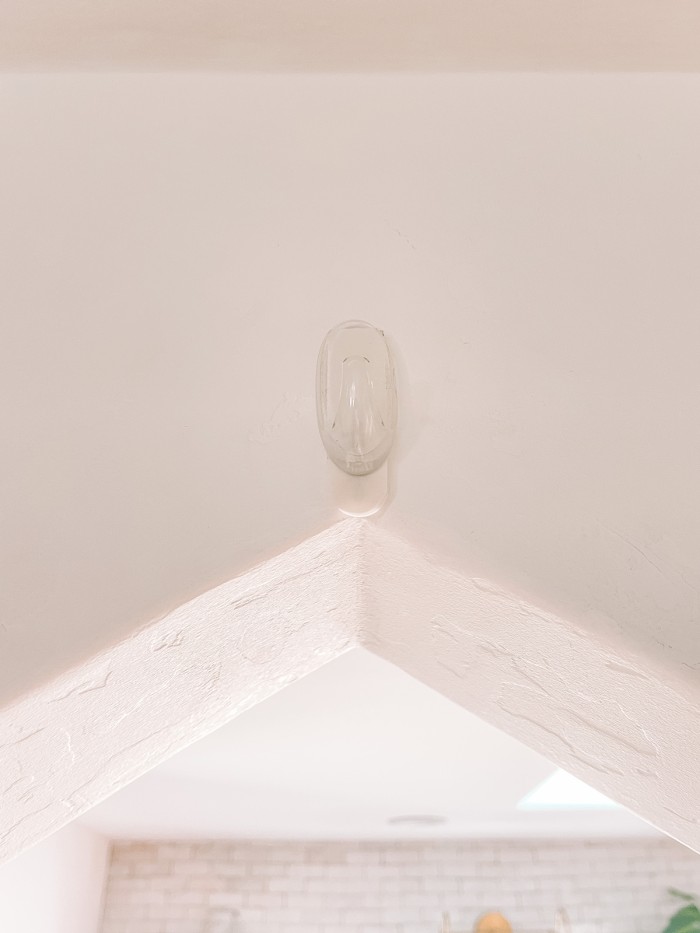
- Large hook(s) to anchor the top (One if you’re doing an archway, two if you’re doing a regular doorway)
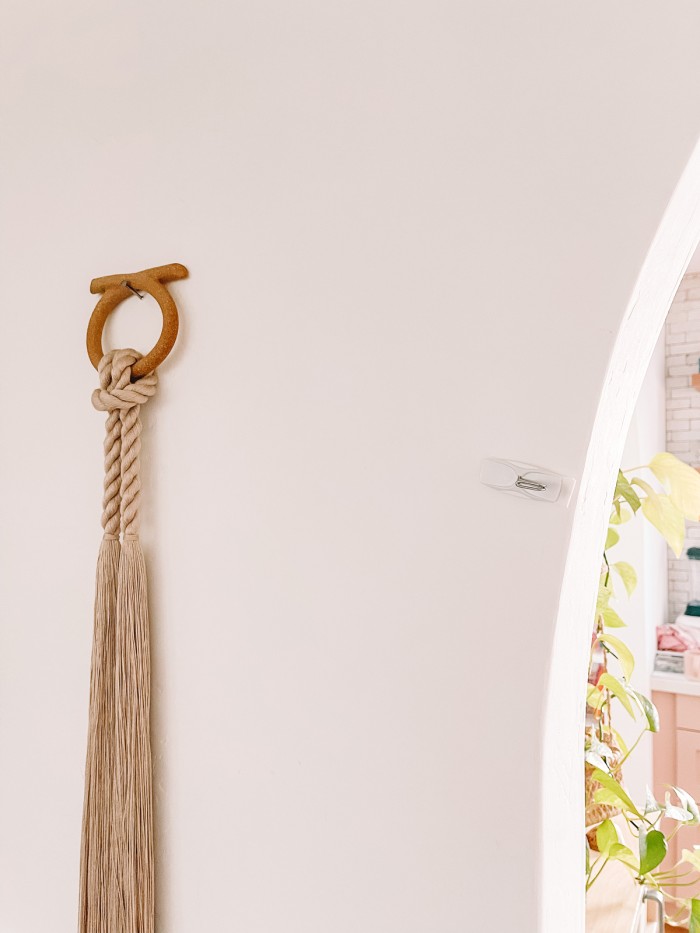
- Medium wire hooks (2-4 depending on the shape of your doorway. These anchor the garland along the vertical edges of your doorway. We use 4.)
- Light Clips
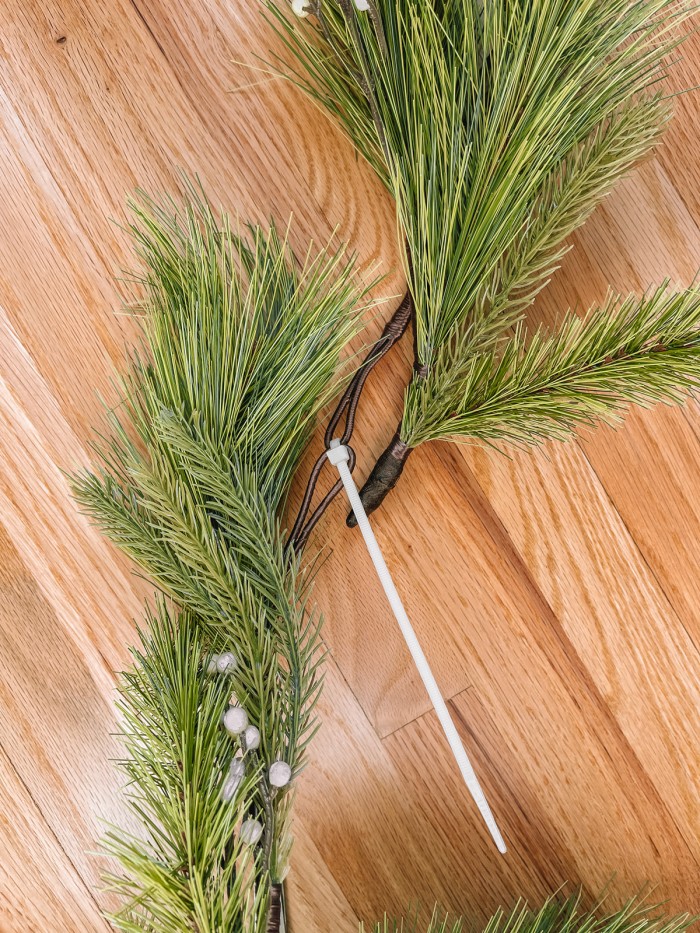
- Zip Ties (If you need to attach multiple garlands together to get the length needed)
- Lights (if desired)
- Gold Clips for attaching cards
How To Hang Garland Around A Doorway
To Hang:
- Start at the top of your doorway and adhere your large anchor hook(s). For me this was at the point of my arch, but this could be at the top of a rounded arch or at the top two corners of a regular doorway. Follow ALL directions for adhering all the hooks in this project, including cleaning the area with rubbing alcohol and waiting an hour before hanging the garland on it.
- Next, you’ll adhere your medium hooks. If you’re working with a regular doorway, I recommend doing this about halfway down the wall. If doing an arch, I recommend anchoring these where the steep curve ends and the straight(er) portion of the wall begins. For an arch, you may want to add another anchor mid-way through the curve for extra stability.
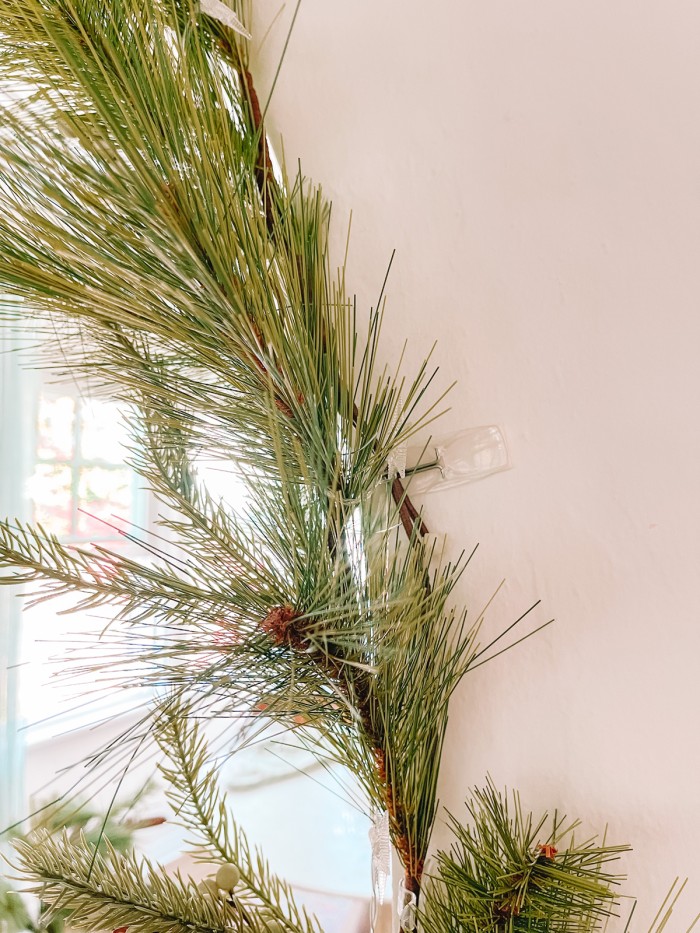
- Last, place your light clips. Because of my arch shape, I adhere them quite frequently, about every 10″ or so. If decorating a regular doorway, you may only want a few or none at all.
- While you’re waiting for them to properly adhere, put together your garlands. If you need multiple garlands to complete your doorway, zip tie the ends together and trim.
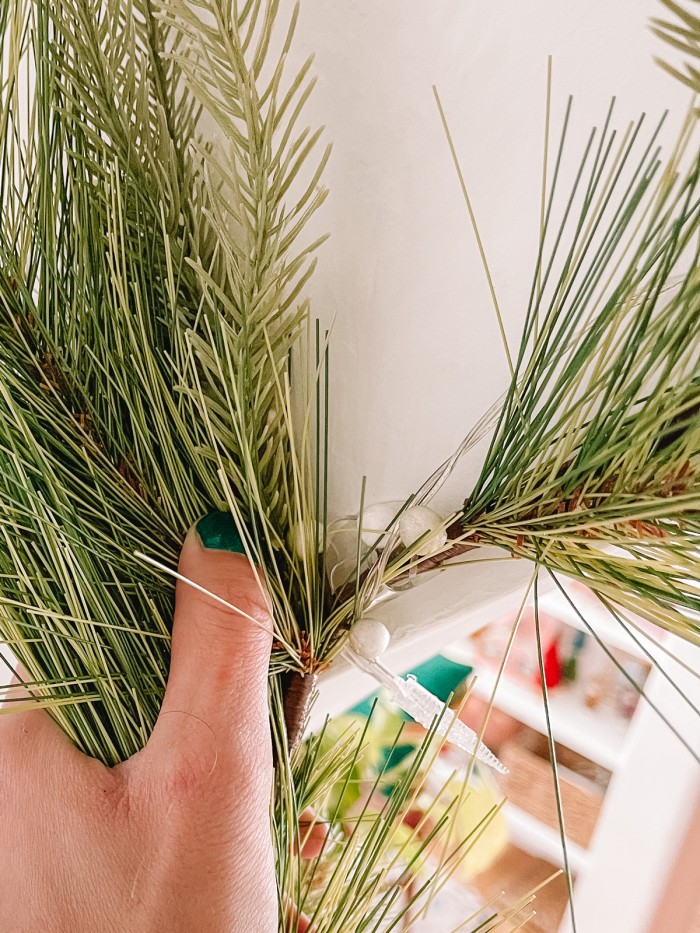
- If you’d like, add lights to your garlands. It is easier to wrap the garlands now before hanging.
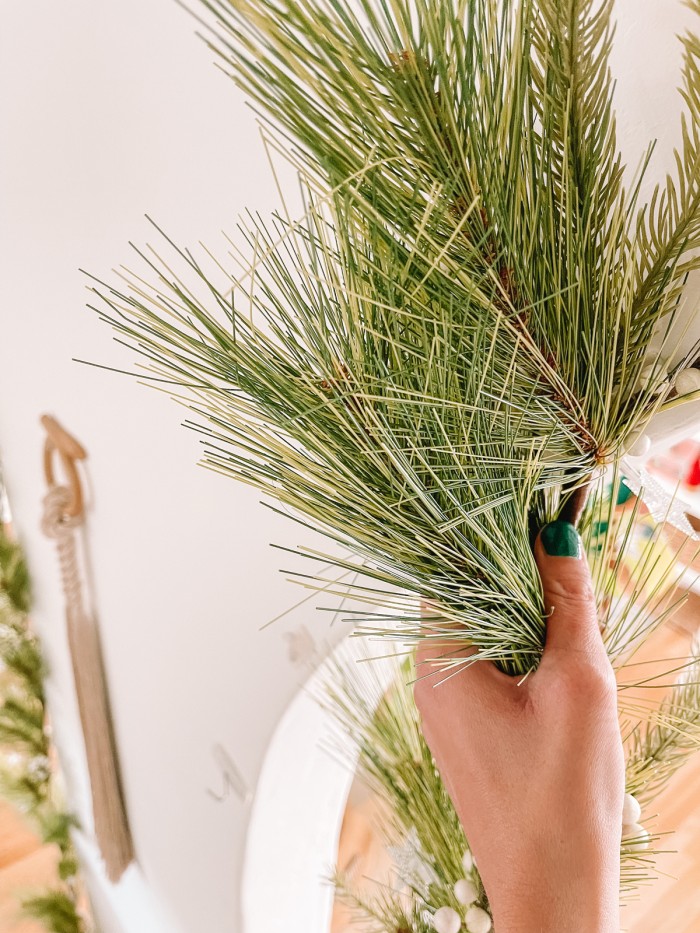
- Once your hooks are properly adhered, you can hang your garland. Hang it first on your anchor hooks, then immediately hook it into the medium wire hooks.
- Lastly, go back and clip it into the light clips all the way down. You may want or need to add additional clips once the garland is hung.
- Fluff the garland to cover the clips.
- If you have excess garland on the ground, you can add another light clip or wire hook at the bottom to hold the remainder on your wall and prevent tripping hazards.
My Favorite Faux Christmas Garland
This pine garland is my favorite faux Christmas garland. It looks realistic, and is easy to shape. I love that you can use it year after year. It comes in both a six foot length, and a ten foot length and can be purchased online or in store!
I used three six foot garlands for each of our archways.
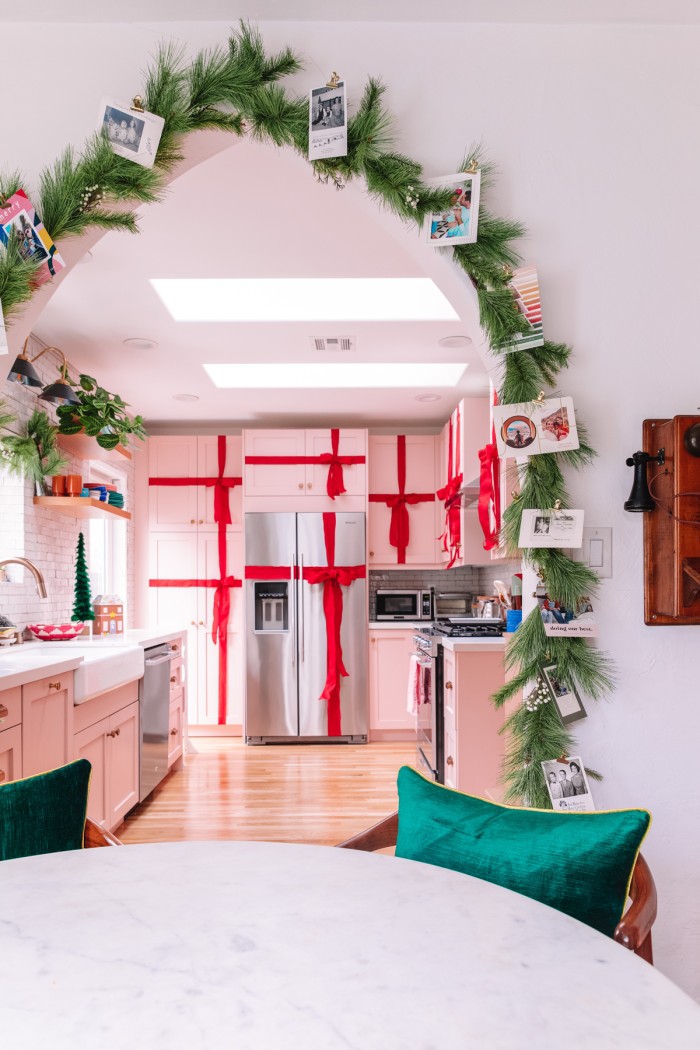
Displaying Christmas Cards on Your Garland
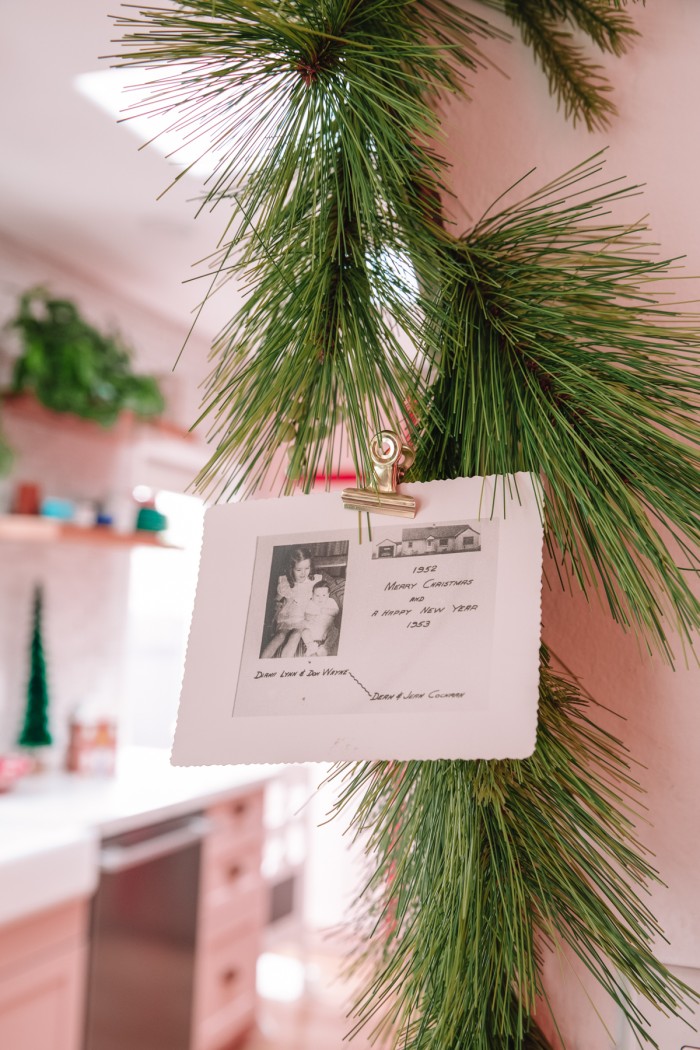
I use these gold bulldog clips to attach Christmas cards to the garland. You could also use clothespins or another clip as desired.
Simply clip the card to the branches and arrange as desired!
Add Heirloom Christmas Cards
If you’re family happens to have old or vintage Christmas cards saved, consider adding those into your garland alongside the new ones! I’m lucky to have a collection of cards from when my mom was a child and it’s fun to pul those out each year.
Removing The Garland (With No Damage!)
At the end of the season, unclip the photos and save the clips in a bag for next year. Store the cards as keepsakes or recycle as desired.
Carefully take down the, removing it from the clips (leaving the clips on the wall) one clip at a time, from bottom to top.
Press each hook firmly and slowly pull the clear pull tab down, as directed on the hook’s package, until it comes cleanly off the wall. Do NOT pull the tab outward, just straight down.
Discard the adhesive and save the clips for future use.
Store the clips, hooks, garland and lights (don’t forget to remove the batteries!) in a storage tub together so they are easy to find next year!
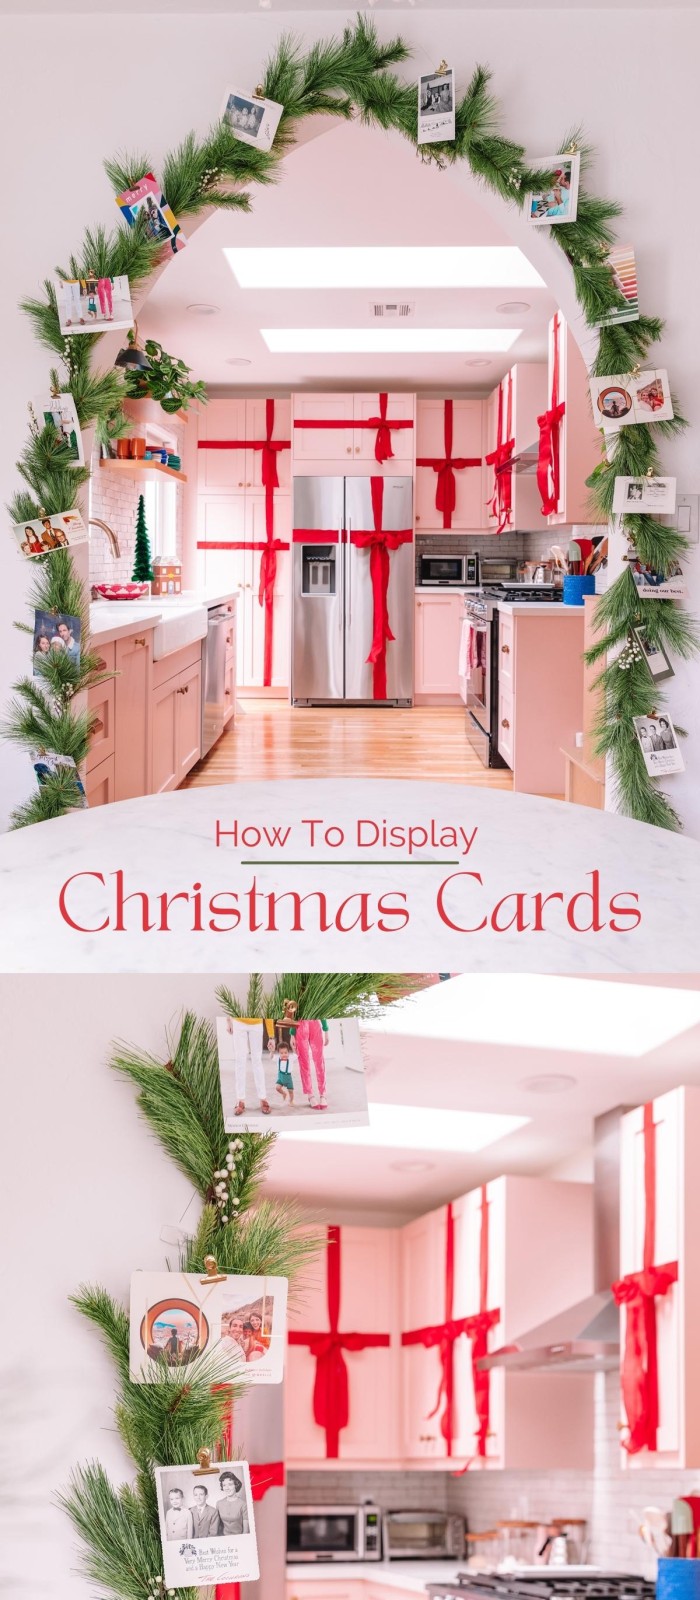
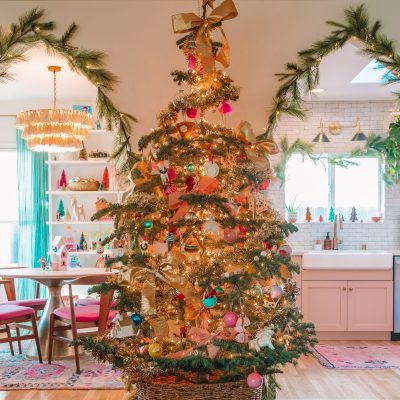
This garland makes not only the perfect way to display Christmas cards, but also a beautiful frame for our cabinet bows!


Leave a Reply