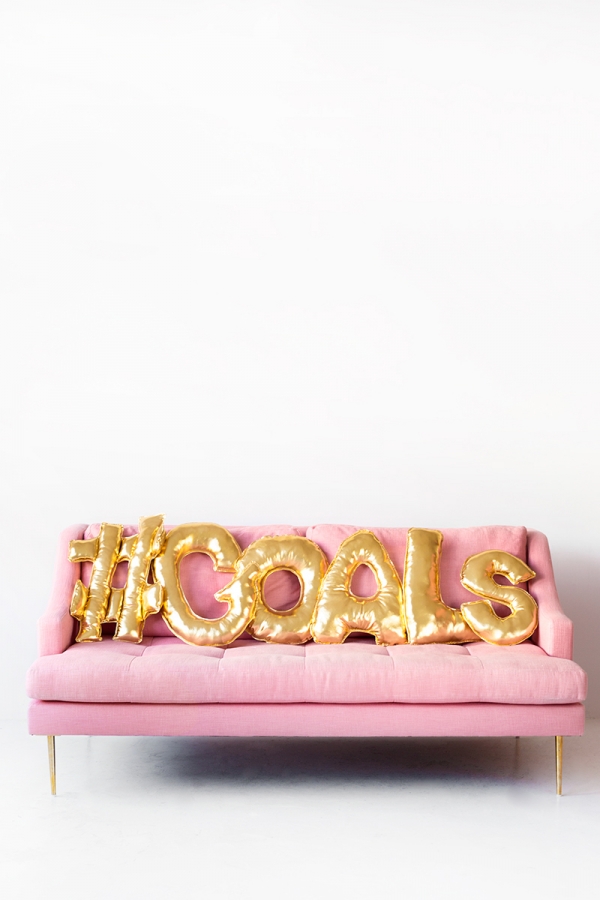
About this time last year, we posted this balloon project and forever cemented that our chair needed permanent balloon letters on it. Of course, that’s a tad impractical so we made letter balloon pillows! HAYYYY! If you’ve got some extra time this weekend you can sew some of these up for your gal pals! Because… #goals you guys! (I’m still learning what these means but I think it’s hilarious!)
Gold Spandex Lame Fabric
Paper or Wax Paper (for a stencil)
Pencil
Scissors
Sewing Machine
Thread
Pins
Stuffing
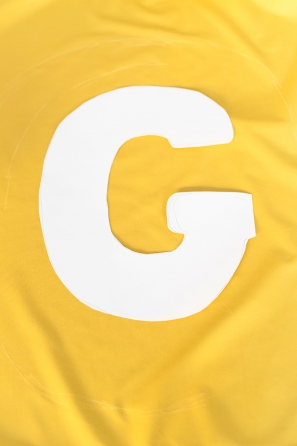
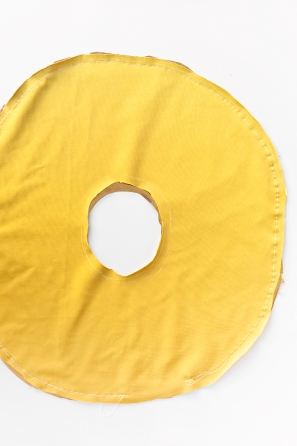
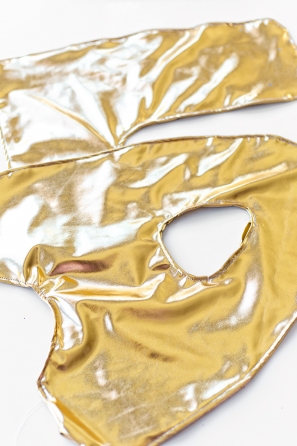
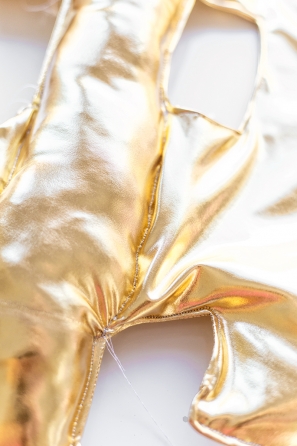
1. First you need to create your stencils. You can freehand these on your wax paper or you can do what I did, which is blow up a photo of a letter balloon on my computer screen, hold up a piece of paper to it and trace it. Cut out your stencil. Fold your fabric in half, good sides together, lay your stencil on top and trace the letter.
2. Cut out the letter (through both layers of fabric) and follow the following steps depending on your letter/symbol:
For a letter with a hole in the center: With right sides together still, sew around the outside of your letter shape with a 1/2 inch seam using your sewing machine. Leave a four inch opening in the bottom of the letter. Turn the letter right side out. You’re now going to sew up the center hole in the letter. Fold just over a 1/4 inch of fabric under (onto itself) around the hole and pin it in place. Sew together with a 1/4 inch seam. To make your pillow look more “balloon” like, repeat this same 1/4 inch outer seam around the outside of your letter, still leaving the opening. Stuff your pillow through the opening and then fold the edges of the fabric under and close the opening by completing the 1/4 inch outer seam.
For all other letters: With right sides together still, sew around the outside of your letter shape with a 1/2 inch seam using your sewing machine. Leave a four inch opening in the bottom of the letter. Turn the letter right side out. To make your pillow look more “balloon” like, sew a 1/4 inch outer seam around the outside of your letter, still leaving the opening. Stuff your pillow through the opening and then fold the edges of the fabric under and close the opening by completing the 1/4 inch outer seam.
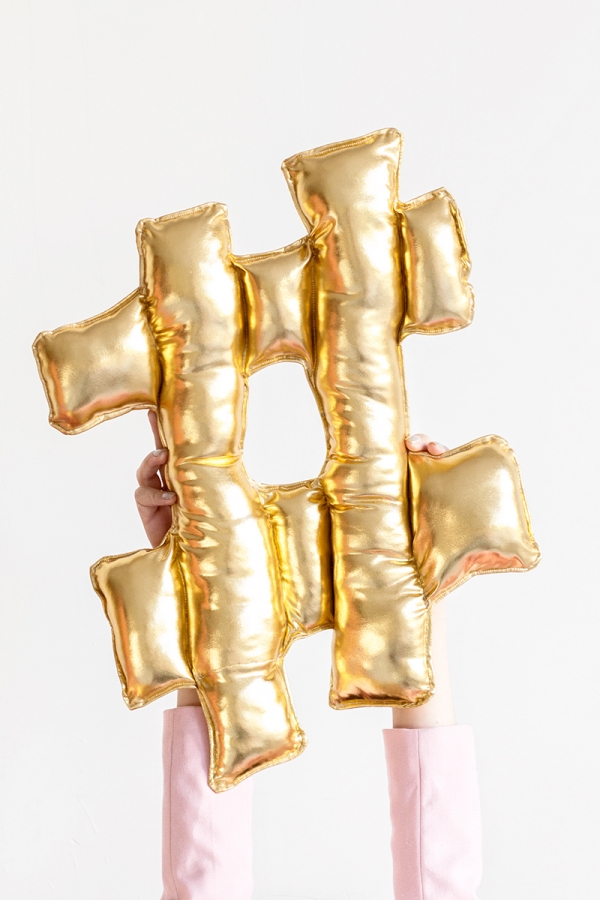
For the hashtag: This one takes some patience! With right sides together still, sew around the outside of your hashtag shape with a 1/2 inch seam using your sewing machine. Leave a four inch opening in the bottom of the hashtag. Turn the hashtag right side out and sew up the center square. Fold just over a 1/4 inch of fabric under (onto itself) around the square and pin it in place. Sew together with a 1/4 inch seam. To make it really look like the hashtag, I sewed the balloon into “sections”, but this is optional. If you want to make the sections, stuff the two ends farthest from the opening and stitch to section them off. Then stuff the enter next section and stitch. Stuff the two middle sections and stitch, followed by the next section and finally the two sections closest to the opening. To finish, stitch to together the opening with a 1/4 inch outer seam.
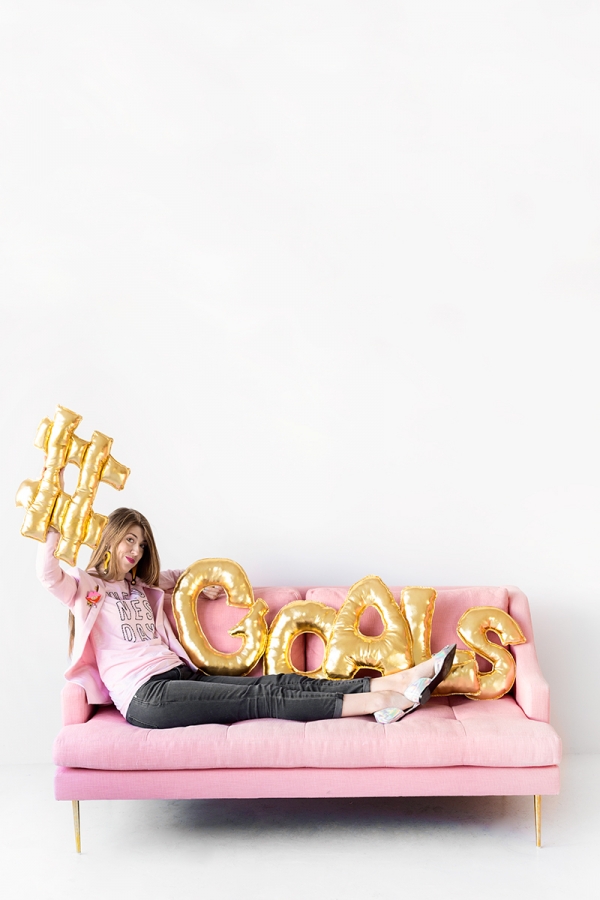
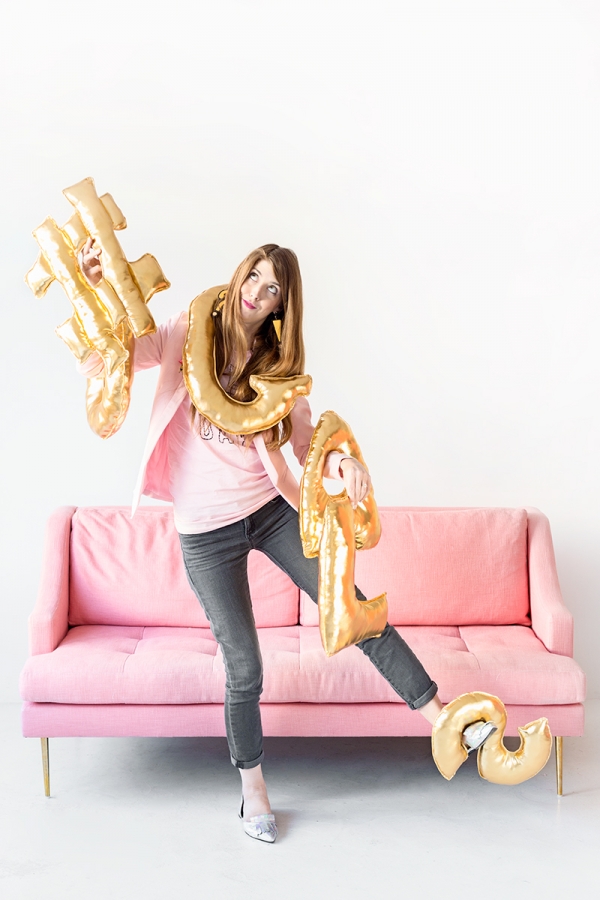
Photos by Jeff Mindell
On me: Wednesday Shirt | Holographic Flats
Don’t they look like the balloons!? You could make any word, an initial or just the hashtag!
p.s. Look familiar!? New Year’s balloons!


Kristina B says
File under “I wish I could sew” and LOVE the shirt…
Lary (Inspiration Nook) says
This is such a cute idea. I totally thought they were balloons at first HA! Love it!
Charlotte says
OMG I love that idea!
Nara says
Wow
I love your idea!!! It´s funny!!
Sarah says
Love this! Such a cute idea for a wedding gift too!
Lexy | Proper says
I love these, Kel! I’ll take the hashtag sign and maybe my name in gold, por favor.
Catherine says
Hi S-DIY!
Just wondering what size/height the finished letters were and what size photo you used to trace the outlines?
I haven’t found a font I’m happy with and thought your suggestion of using images of the actual balloons was brilliant!
x
sarah says
look so awesome in birthday occasions and anniversary.i want to try it for my friend’s birthday party and also need some suggestion for any new decorative idea.and Just wondering what type of materials you use and size/height the finished letters were and what size photo you used to trace the outlines?