Today’s DIY project is sponsored by The Confetti Bar.
It’s my first DIY nail tutorial!!! Ok but let’s get real here, I actually am the worst nail painter in all the land. It takes me quite some time to paint up my nails (which are typically soon destroyed by my crafting ways), and any sort of fancy nail art? Probably not happening from me! But this manicure folks… this one I can do! And if I can do it, so can you. It’s a confetti manicure, and it’s part two of my fun confetti series with The Confetti Bar. (Did you see part one? p.s. Let’s count how many times I say confetti!) Among her selection she sells a pack that has the teensiest little confetti bits and I thought they were just perfect for jazzing up an all white manicure. So, I got to making my nails party ready and it is seriously simple! Let’s do this!
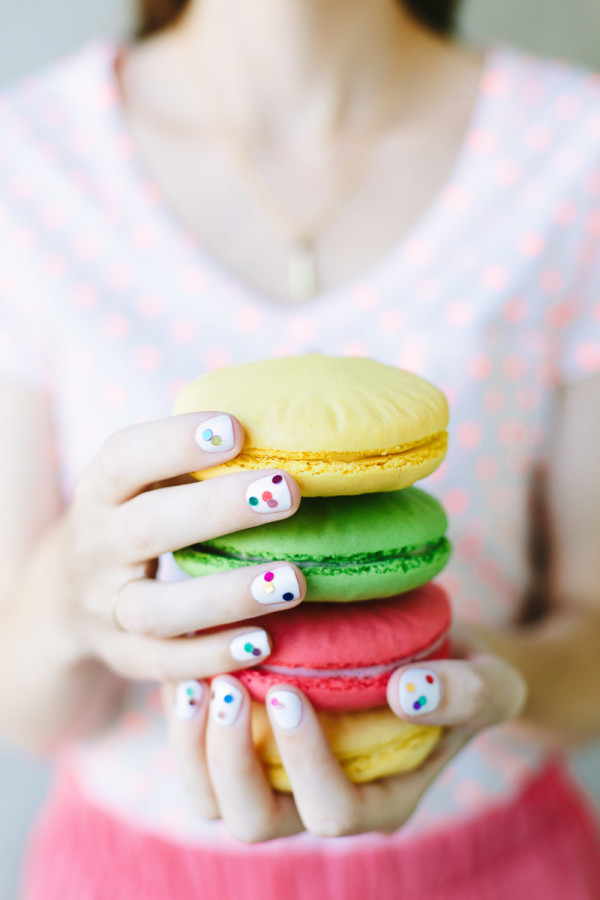
Can we talk about those giant macarons too? Yeah. Yum. These confetti nails are just meant to hold macarons… and confetti, of course.
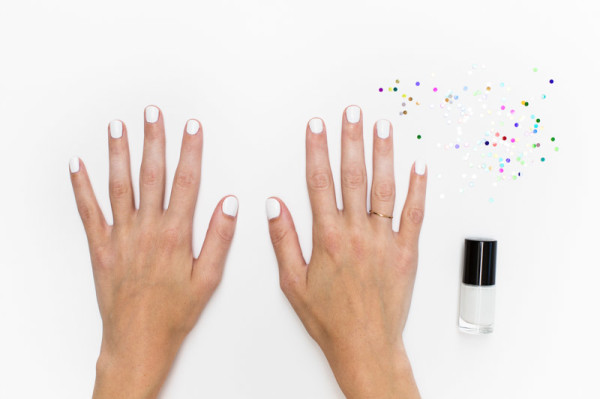
Nail Polish In Your Color of Choice
Top Coat/Clear Nail Polish
Metallic Confetti (You’ll want to use the teeniest size that comes in that mix. It’s perfect nail size!)
Tweezers
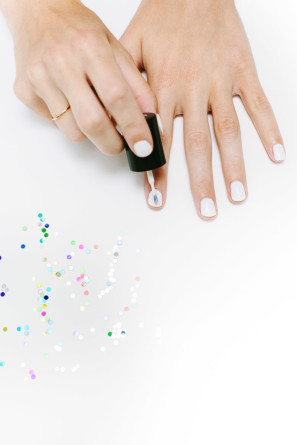
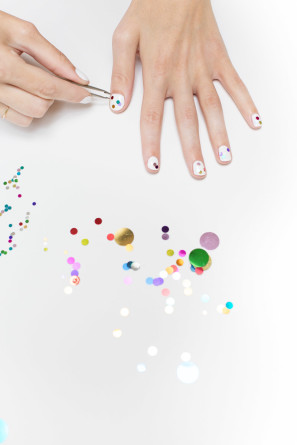
You will need to work with slightly wet nails in order to get the confetti to stick for this one. Depending on the polish you’re using (Is it super quick dry?) and how speedy you are at painting (I am not speedy.), adjust how many nails you paint at a time before adding confetti. Paint at least two coats and on top of the second coat, we’ll add the confetti! To do this grab your tweezers and pick up a piece of confetti, and place it onto your wet nail.
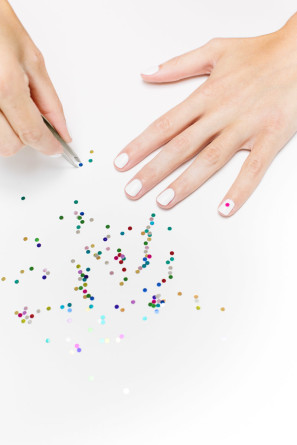
Place the confetti randomly on each nail. I overlapped some and left others scattered. It should look like you just threw confetti at your nails! Once the nail is confetti-fied, you’ll want to coat it with your top coat. Now, I found that a few of the hot pink confetti color bled a little bit when adding the top coat. To combat this, I recommending “dripping” the top coat on and then spreading it with the brush, or just forgo the hot pink… there’s plenty of other colors to choose from!
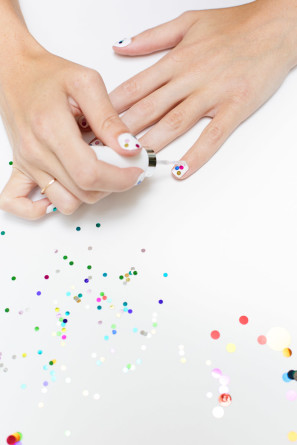
Fun Fact: When if after several days the confetti starts to fall off, it actually leaves a perfectly colored confetti circle behind on your nail. It’s like you get two rounds of confetti with one manicure! SHAZAM!

Confetti on confetti. That’s what I’m talkin’ bout!

All Photos by Mary Costa Photography for Studio DIY
It is now required that every bit, down to your nails, is party ready! Are we all on the same page!? Luckily all the leftover confetti is perfect for throwing at the guest of honor or pouring into poppers. Or just saving for a rainy day!
This DIY project is sponsored by The Confetti Bar. All content and opinions are that of my own! Thank you for supporting the sponsors that keep the Studio DIY party going! Read more about my editorial policies here.




Jessica @ The Confetti Bar says
OH MY GOODNESS. It’s just so perfect. Love, love, love it!!
The itsy bitsy alphabet confetti I have in the shop would also be great for this! 🙂
Aukele @ 91dash says
I’m just loving all of your confetti posts!!
Brittni says
Holy crap. This is awesome! These photos are so good…and I love your nails, of course.
Sarah Ilene says
YAY for confetti! YAY for cute nails! And SUPER YAY for getting your party on right down to the last detail.
Terrie says
You nails look so cute and fun! I love this idea and the photos look awesome!
Alexandra Pettinato says
SO CUTE!! I love confetti + nail art, so this is the perfect combo 🙂
Alex from www.polkadottedpixels.com