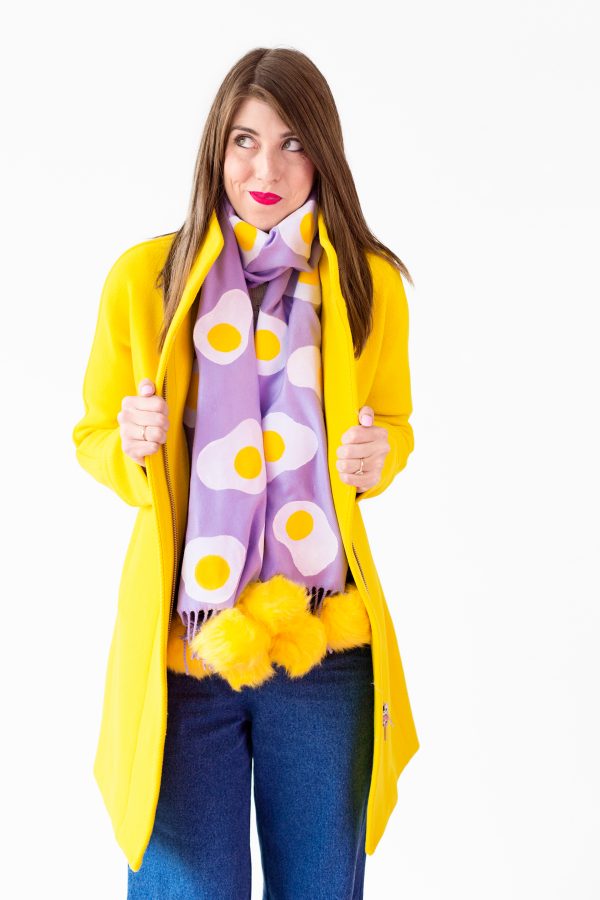
For my #snaptroop out there, this is the project I asked your opinion on!!! So, the story behind this DIY… I wanted to ask for a scarf for Christmas, and I really wanted a patterned one. In my brain I said “I wonder if anyone makes an egg patterned scarf?” And then I searched for three hours and turned up nothing. So I made one!
And that’s when I asked my snapchat fam whether you prefer paint projects or iron-on projects and got an overwhelming vote for paint! Which was super helpful. So since I already had an iron-on project happening anyway, I painted them on!!!
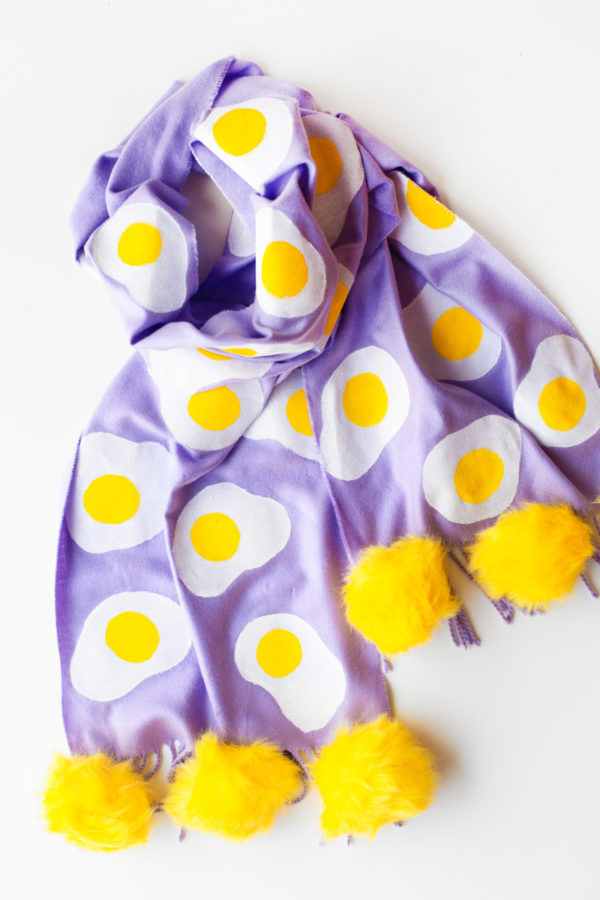
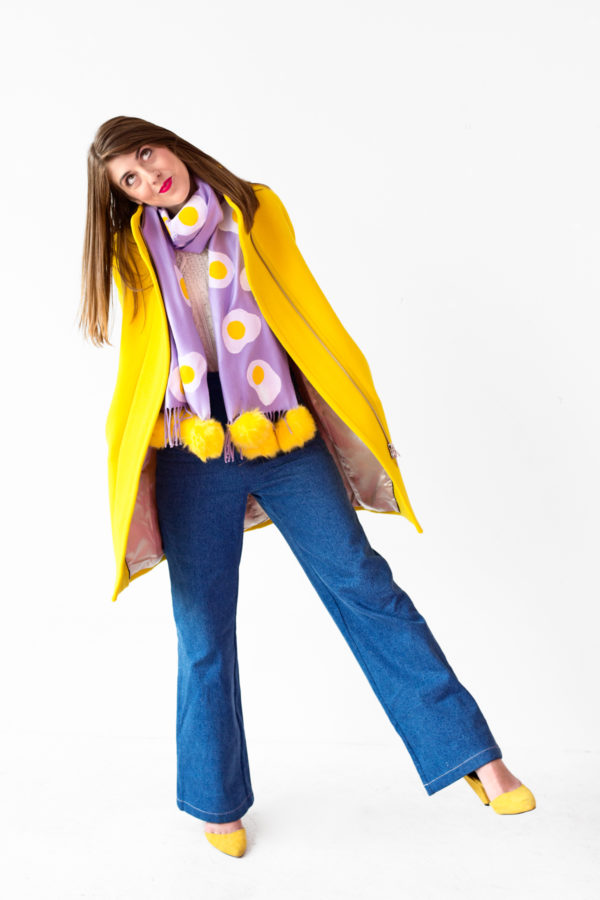
I used to always buy these pashmina scarves on the street in NYC when I was cold or in at those little mall kiosks so you can snag one locally (or on Amazon, linked below! Prime, baby!!) and make this just in time to gift it for Christmas!!! Ok, now let’s do it!
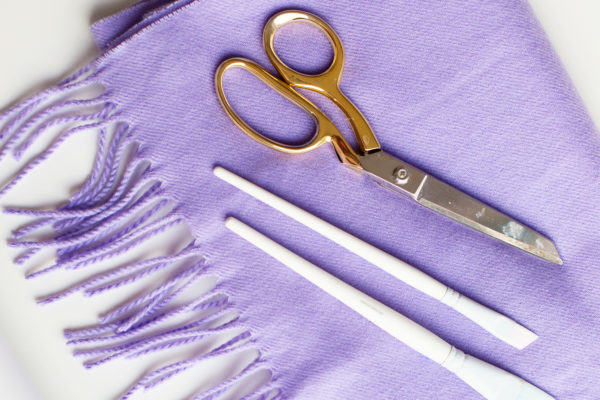
DIY Egg Patterned Scarf
Total Time: 2 Hours
Supplies
Solid Color Scarf
Freezer Paper
Scissors
Iron
Fabric Paint in Yellow + White (Be sure to use fabric-specific paint for this!)
Paint Brushes
Six Faux Fur Pom Poms and Hand Needle + Thread (Optional)
Directions
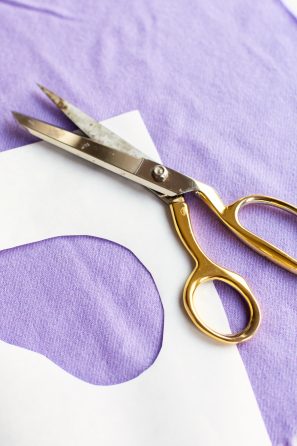
1. Cut out a BUNCH of egg shapes from freezer paper. I freehanded mine so each egg was different, but you can make one and then trace it over and over if you want them all to be uniform. You'll need about 20.
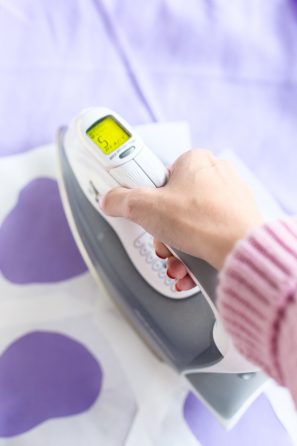
2. Lay your scarf on top of an old rag/towel and iron the stencils, glossy side DOWN, to your scarf. Each one only needs a few seconds and you can space them however far apart that you want. You can work in sections (a few eggs at a time) or if you have a large flat surface you can do the whole thing at once. IF you choose to work in sections, be sure you are careful when ironing on additional stencils that you don't iron the paint!
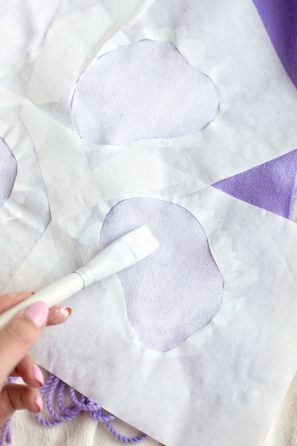
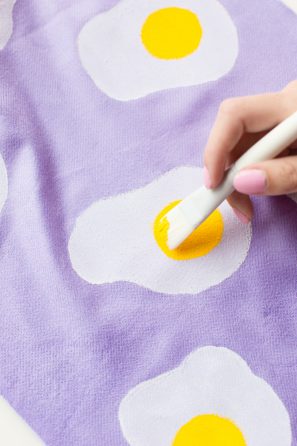
3. Once the stencils are ironed on to the scarf, fill them in with white paint. You'll likely need two layers, depending on the paint and scarf you use. Let dry slightly between each layer.
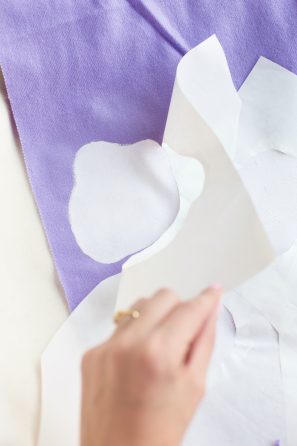
4. Remove the stencils by peeling them off and let the white dry.
5. Once dry, paint a yellow circle on each egg shape. Let dry.
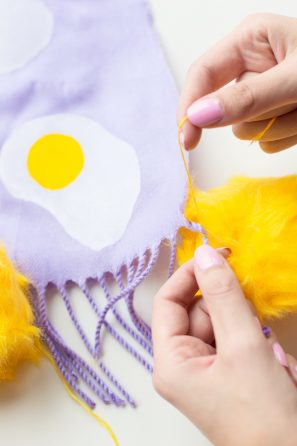
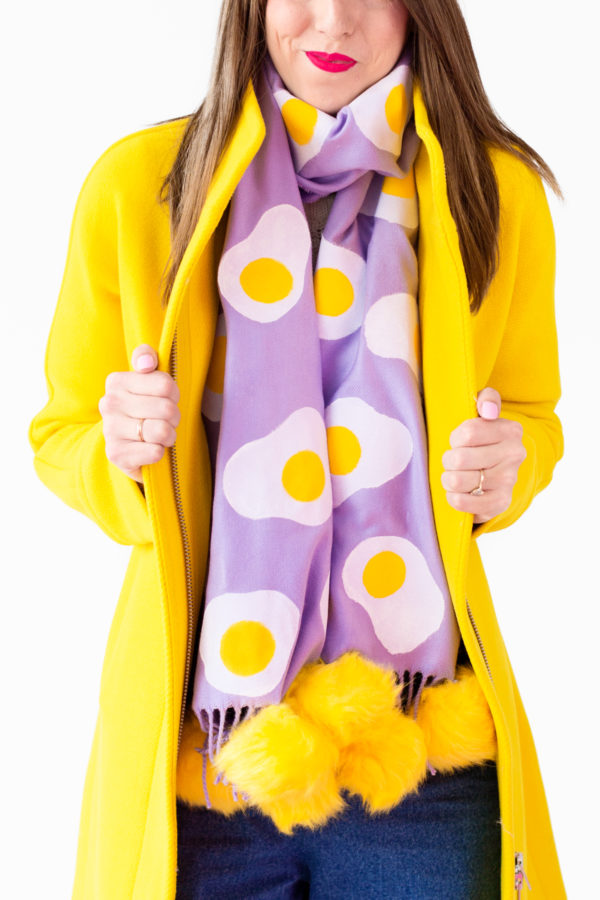
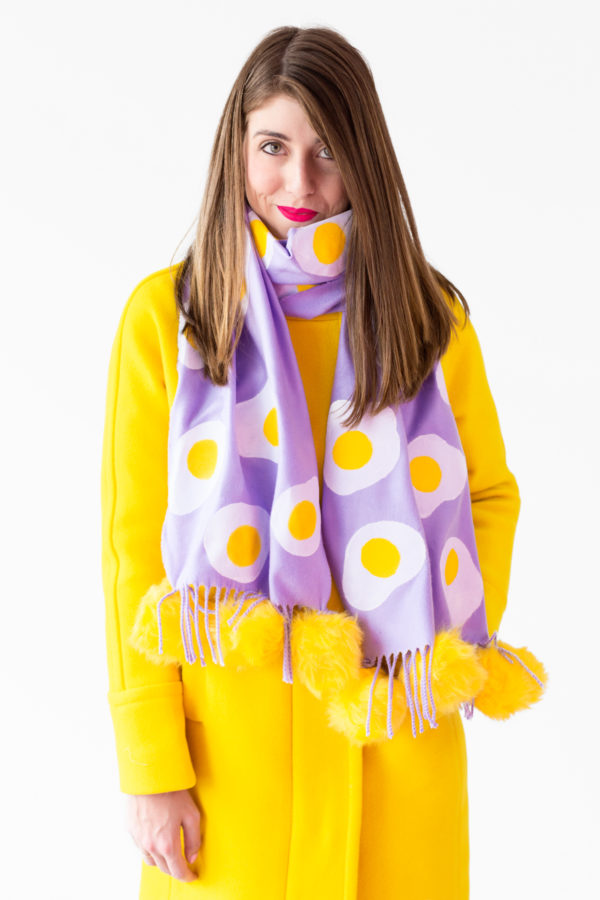
6. Finally, if desired, stitch fur pom poms onto the end of your scarf! Use a needle and thread or tie onto the existing scarf if the material allows. I used three on each end.
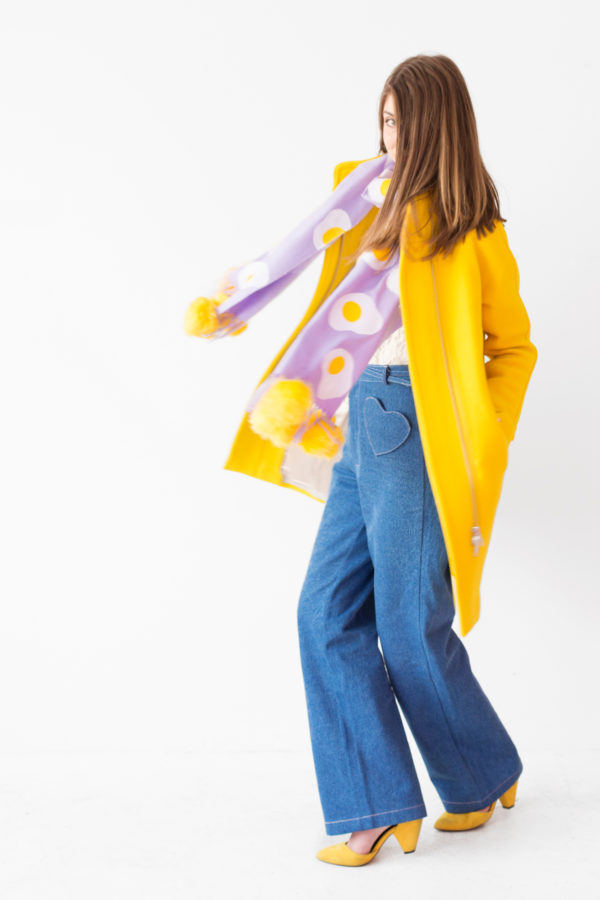
Photos by Jeff Mindell
My mom, being that intuitive mom she is, coincidentally surprised me with this yellow coat (it’s 40% off right now with code ‘HOLIDAY’!!!!!!) and it arrived the day before we shot this! Don’t ya just love a mother’s intuition!? Thanks Mom!!!


Jessica says
How cute! x
Jessica — NinetyCo
Kelly says
THANKS!
Chelsey says
Yes!! You know I’m totally gonna make a donut version of this! 🍩👌
Kelly says
OoOOoOOooO love that idea!
Michelle says
Absolutely hilarious idea, I love it! A pizza scarf would be cool too!
https://www.makeandmess.com/
Kelly says
YES! Pizza scarf would be very cool!
Les says
OMG I love this!
and your outfit is the best!
I LOVE THIS SCARF!!!!
Kristina B says
WAYYYY too distracted by your fabulous coat/lip color combo but the scarf is totally fab and agree paint is better for this 🙂
Ally Ebdon says
I love this sooooooo much! The colour combo is the best. I’m thinking of making a sweatshirt with this pattern so I have the most appropriate brunch outfit ever.
Amanda J says
What a cute idea!! And this scarf in general is a great idea–and great execution!!
inlay work says
Great, it is looking so awesome and you shared amazing DIY guide to design it.
ttemple run says
Thank you for sharing. Thanks to this article I can learn more things. Expand knowledge. Thank you
hotmail login says
I read this article! I hope you will continue to have such articles to share with everyone! thank you!
icloud login says
hank you for sharing. Thanks to this article I can learn
TCSWebmail says
you for sharing. Thanks to this article I can learn more things. Expand
clownfishvoicechanger.xyz says
and your outfit is the best!or sharing. Thanks to this article I can learn more things. Expand knowledge. Thank you
discordvoicechanger.xyz/ says
agree paint is better for this 🙂
hotmail says
i love this diy ,