
My favorite projects to make are the ones that we’ll have forever. This is one of them!!!! It’s our first Christmas that we’re spending at home, just the three of us. And while we’ll miss being with family, we’re excited at the possibility of starting some new traditions of our own.
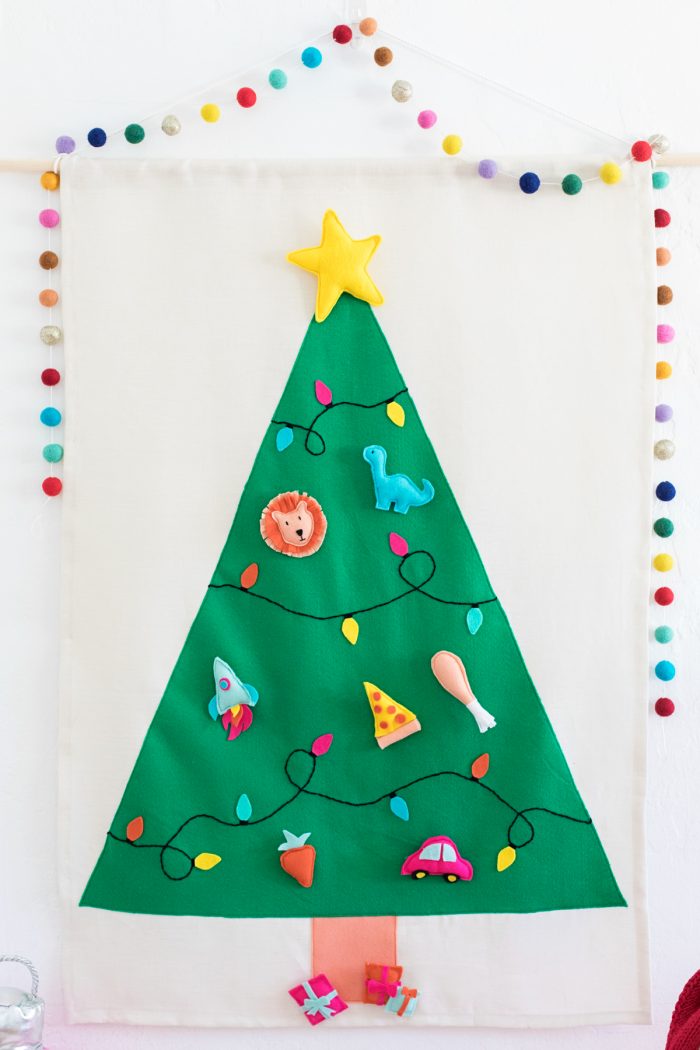
I made this felt tree wall hanging because I love that it’s something Arlo (and his future siblings!!) can play with, decorate and re-decorate over and over throughout the holiday season. I also thought it would be a fun way to create a few new ornaments each year that are inspired by our family’s interests, travels and memories. This year, they’re pretty much inspired by Arlo’s favorite things.
I got to work with Sony Music on this post which was kind of a dream because they were basically like “Hey, want to listen to this awesome Christmas playlist we created and do a DIY for your family?” And I was like “Duh, yes. Have you met me!?” Haha! The playlist is Christmas GOLD! So if you’re looking for a good one for tree decorating, a holiday party or a craft night, you can listen to it right here. It’s got all the classics: “All I Want For Christmas Is You” by Mariah Carey, “Merry Christmas (Happy Holidays)” by *NSYNC…ya know! GANG’S ALL HERE!
Alright now on to the tutorial!!
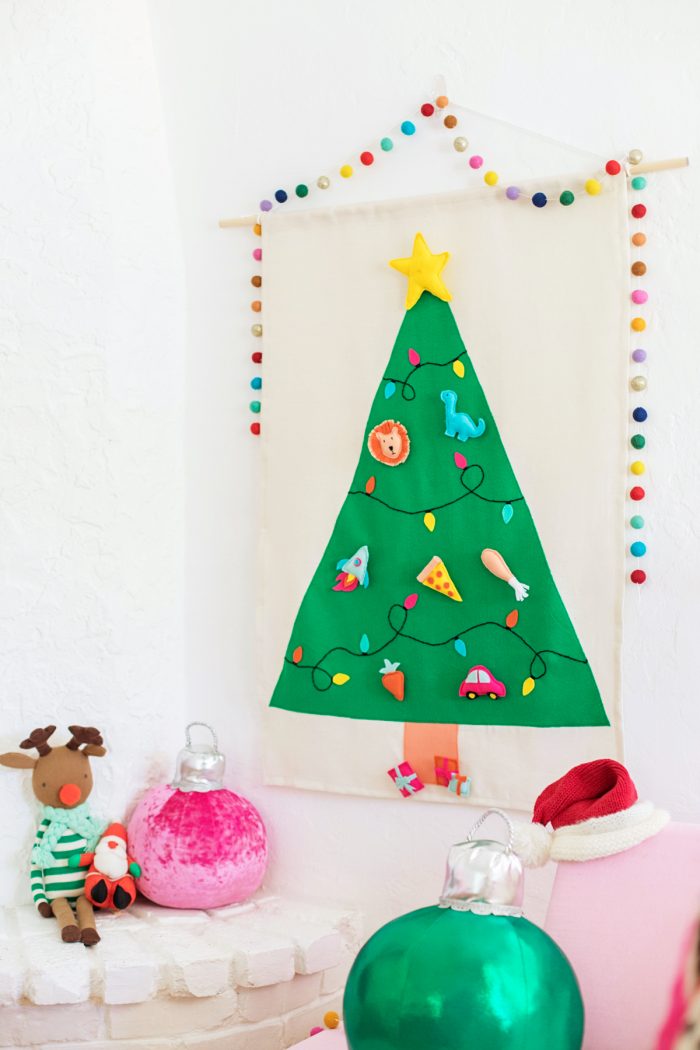

I love to sew so my version of this project involves a lot of sewing, but I also have call-outs throughout the tutorial that allow you to make the entire thing with NO sewing, if you prefer!
Supplies
1 Yard of Fabric for Background (I used linen, you could use cotton, felt, anything you want!)
1 Yard of Green Felt for Tree
1 9×12 Sheet Felt for Trunk
Various Felt colors for Light Bulbs AND Ornaments
Stuffing (For Ornaments)
Sewing Machine
Thread in Colors of Fabric/Felt
Pen or Chalk (For Marking where the embroidery will go)
Black Embroidery Floss (Yarn if you are doing a no-sew version)
Needle
Scissors
Hot Glue Gun (Mini preferred because everything is small and detailed!)
Iron
Pins
Velcro
36” Wooden Dowel
Rope or Sturdy String (For Hanging)
Christmas Playlist
Step-by-Step Tutorial
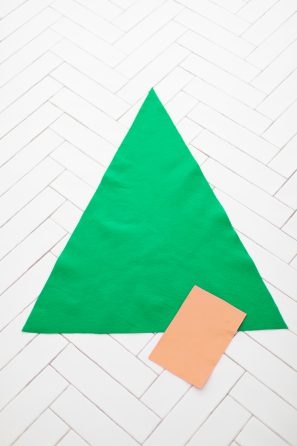
1. Cut your triangle (tree) shape out of the green felt. Mine was 27” wide and 33” tall at the base. Also cut your trunk out, mine was 4” wide by 5” tall.
2. Then, lay your trunk and tree on top of your background fabric and determine how big you want it to be. Remember to leave an extra inch on the sides and bottom (for the hem) and an extra two inches at the top for forming the pocket for the dowel. Mine was 31” wide by 46” tall. Set the background fabric aside.
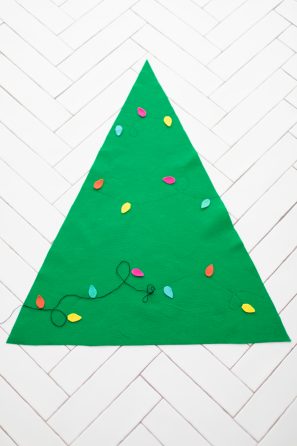
3. Cut out about 14 light shapes out of whatever color felt you choose.
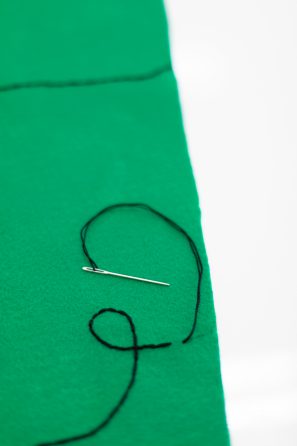
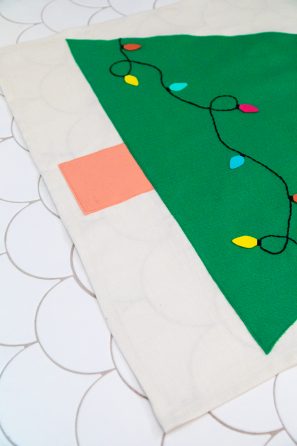
4. The easiest way to determine where you want your string of lights to be is to just lay your embroidery thread/yarn and felt lights on the felt and play around with it until you like where it is. If you’re using yarn, you can use a very thin line of hot glue to glue it in place. If you’re embroidering, slowly use a pen to trace a thin line right next to where you laid the thread. Then, thread your needle and double up the thread and tie on knot. Use an embroidery back stitch to stitch over the line.
4. Next, embroider the sockets for all the lights using the same stitch. For no-sew, you can cut sockets out of black felt and hot glue those in place instead.
5. Hot glue your lights in place.
6. If your background fabric needs to be ironed, iron it now.
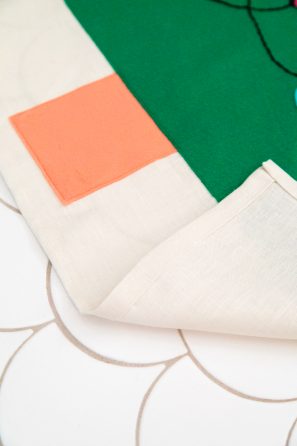
7. Pin the trunk of your tree in place on the background fabric and stitch right along the edge of the felt (about 1/8 of an inch from the edge). For no-sew, hot glue it in place.
8. Then pin the tree in place and stitch along the edge. Again, for no-sew, hot glue in place.
9. Now, for the hem. If you are using felt, you don’t need to hem it. All other fabric should be hemmed! Fold over a half an inch of fabric on the bottom and both sides and iron in place. Then fold that hem on-top of itself and iron again. Pin in place and sew along the edge of the fold you made.
10. Do the same process for the top but with approximately an inch for each fold you make (or wider, depending on how wide your dowel is.) Iron and stitch in place.
11. Slide the dowel through and then tie rope on either side for hanging!
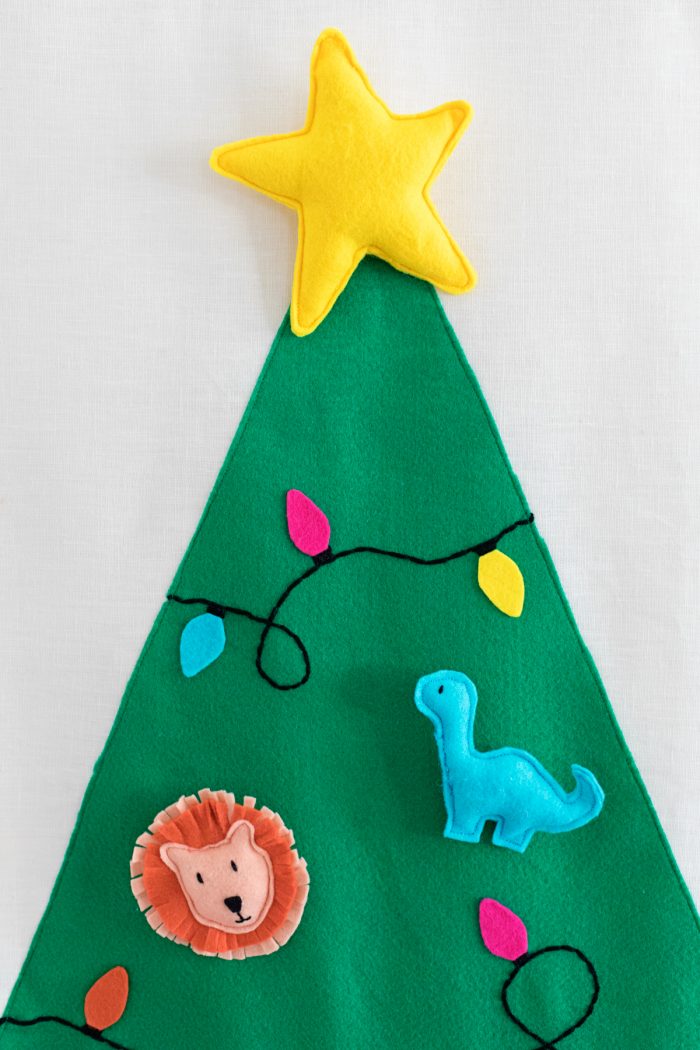
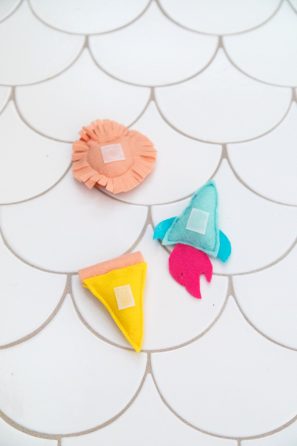
12. Now you can make the star and the ornaments! They are all made in the same method.
13. For the star, cut out a star shape from yellow felt. You can use a paper template to do this or freehand it. Then trace and cut out a second one.
14. Stitch or hot glue the two shapes together, leaving about a 3/4” opening for stuffing.
15. Stuff the star and then stitch or hot glue the opening closed.
16. Ornaments are made the same way! If they have any detailing (like windows on a car or pepperoni on a pizza) I recommend hot gluing those on after stitching the base pieces together.
17. Hot glue a piece of the hard/spikey side of velcro on the back. It will adhere directly to the felt of the tree!

More Felt Christmas Projects
- Needle Felted Doll Tutorial: DIY Sugar Plum Fairy Tree Topper
- DIY Felted Stripe Christmas Stockings
- DIY Felt Truck Advent Calendar

Photos by Jeff Mindell
I hope you’ll share a pic with me if you make one!!! I think once we have a playroom, this will live there. But for now, since we have our real tree in our bedroom, it’s perfect in the living room. Arlo walking up to play with it unprompted basically makes my heart explode into one million tiny snowflakes. Cherishing every second of this holiday season with him.
And don’t forget to listen to the playlist here!
This post was created in partnership with Sony Music. All content and opinions are that of my own! Thank you for supporting the sponsors that keep the Studio DIY party going! Read more about my editorial policies here.








Mia S says
I loooove it! I can’t wait to see the ornaments y’all add in the coming years 🙂
Alexandra says
I LOVE the turkey leg and dinosaur – they’d be so cute (and easy) to make for a regular tree too 🙂
www.onlylivingirlny.com
Curso de Macrame en Santiago says
Beautiful and creative way to decorate a Christmas tree sn spend a lot of money
syair togel sgp says
so lovely