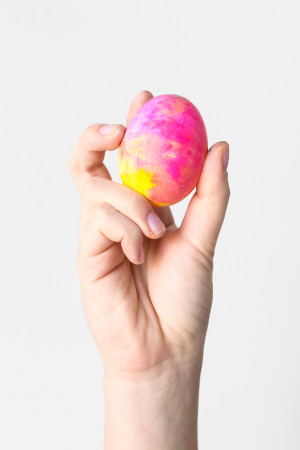
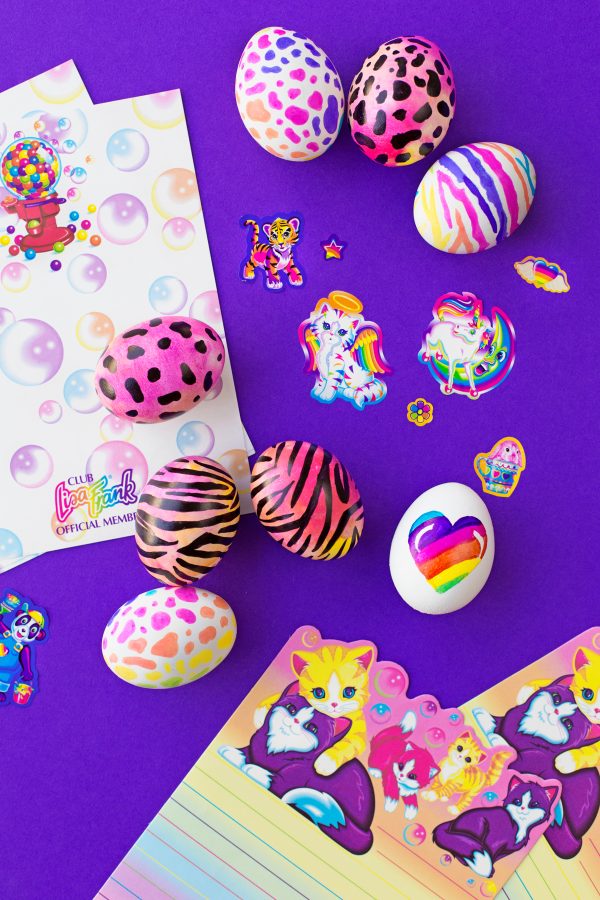
Can. You. BELIEVE. Easter is so early this year!? Gah, it always drives me bananas when it comes along in March. Too many holidays, too little time! Except for, it gave me the excuse to make these Lisa Frank easter eggs a whole month earlier and I am DOWN with that!!! After our Lisa Frank costumes and s’mores, I just couldn’t resist bringing back our 90s fave for some Easter action. These may be my favorite eggs we’ve EVER made!
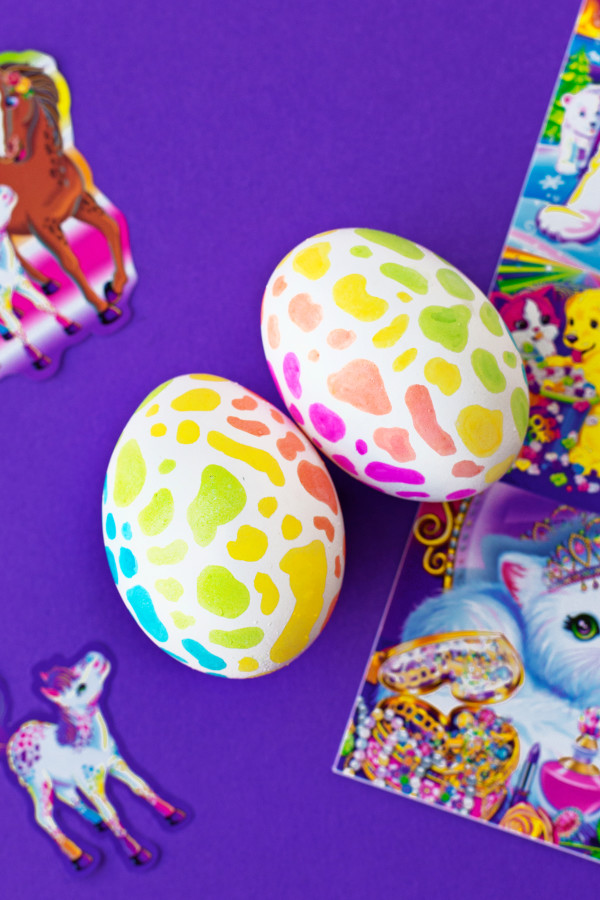
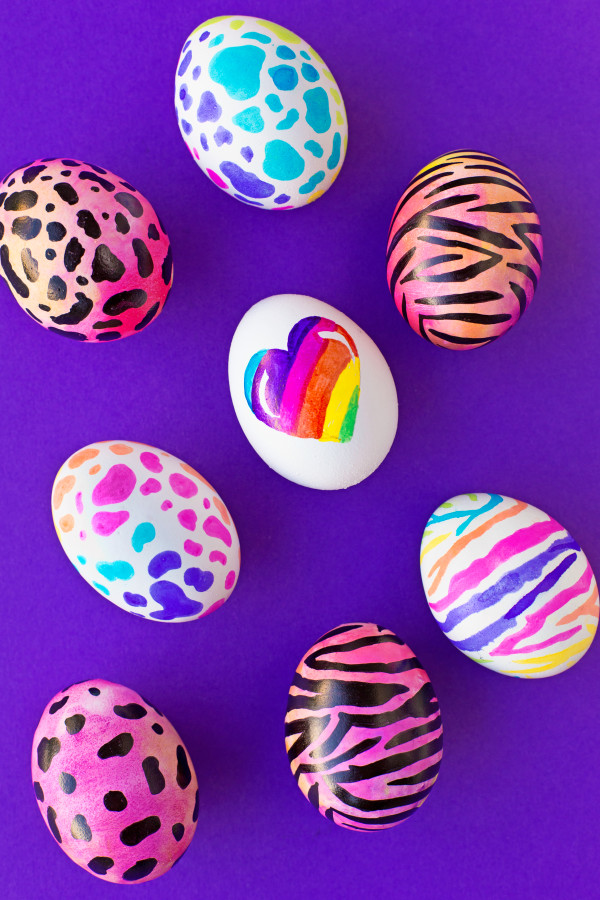
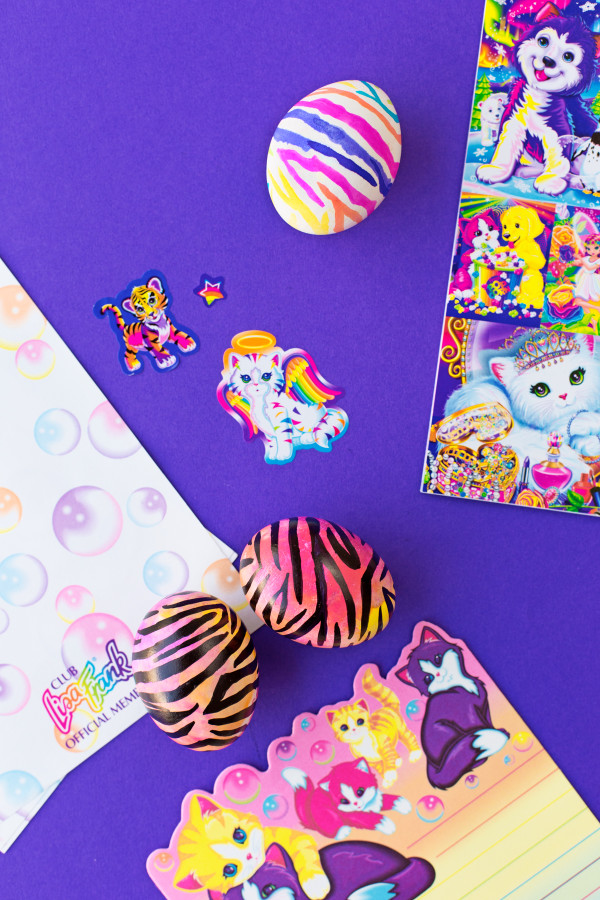
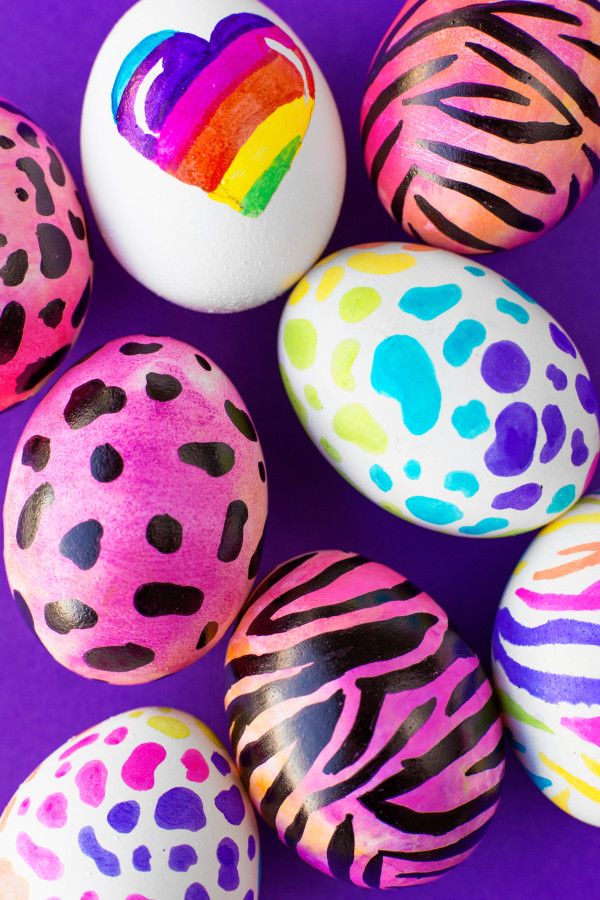
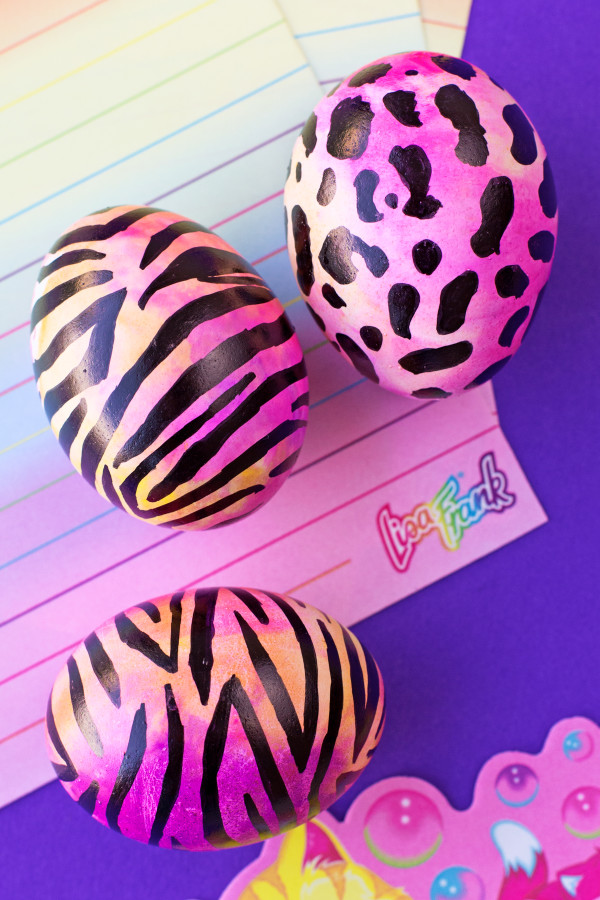
We made a few different versions, Hunter the Leopard, Forrest the Tiger, Spotty and Dotty the Dogs, the neon tiger whose name I am blanking on (Anyone?) and the classic Lisa Frank rainbow heart!


DIY Lisa Frank Easter Eggs
Total Time: About One Hour
Supplies
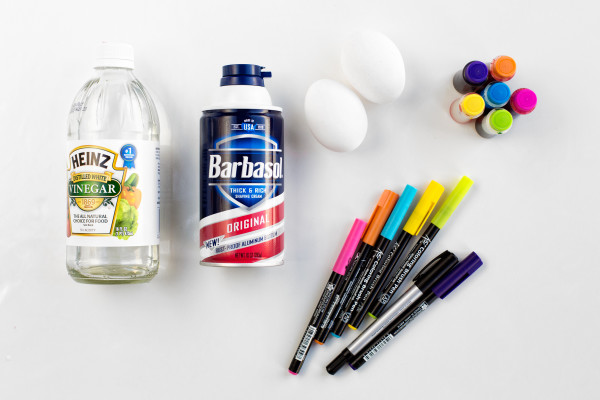
Hardboiled or Hollowed Out Eggs
Vinegar
Shaving Cream or Whipped Cream (We used shaving cream!)
Food Color
Markers (We used these and these!)
Disposable Gloves
Spoon
Tupperware Container
Paper Towels
Pencil (For the heart egg)
Directions
For the purple, pink and orange eggs:
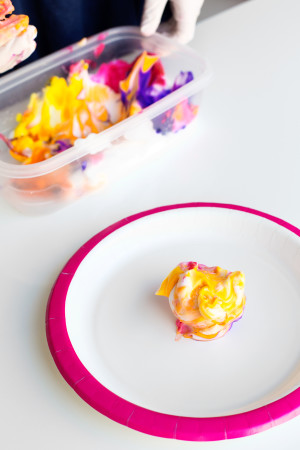
1. Spray a 1-inch layer of shaving or whipped cream in a pan or tupperware container.
2. Add several drops of food color to 4 separate sections of the shaving cream.
3. Use a spoon to blend the color into the shaving cream slightly, making sure that you still have four separate color sections (You don't want to marble them).
4. Soak an egg in vinegar for 2 minutes.
5. Wearing gloves, dip the egg in each color of the shaving cream, rotating it as you go. It will be messy! And that is ok!
6. Let egg sit for 10 minutes.
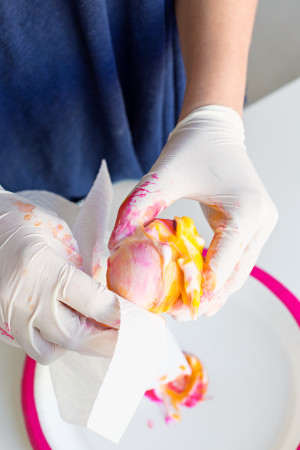
7. Carefully wipe off the excess shaving cream with a paper towel.
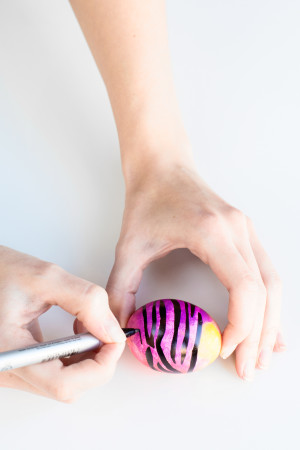
8. Let dry and draw on spot or tiger stripe patterns using black marker.
For the rainbow spotted and striped eggs:
1. Draw on spot or stripe patterns using bright color markers. It's best to go one color at a time, working your way around the eggs. Let it dry in-between colors so you don't smudge it!
*Please note, if you do use shaving cream and have not hollowed out your eggs, we do not advise eating the eggs afterwards. You can either hollow them out before hand, or use whipped cream instead!
For the heart egg:
1. Draw a heart shape with pencil on your egg.
2. Block out the colored stripes by drawing diagonal lines across the heart, leaving a little space for a highlight if you're feeling fancy.
3. Go back and fill in the stripes you've drawn with color.
Photos by Jeff Mindell | Craft Production + Styling by Annie Steward | Creative Direction by Kelly Mindell
Gosh I’m just dead over these. We have them still at the studio and I just stare at them every day being like OMG THEY ARE SO AMAZING. That’s normal, right? You gotta make some!
Also! I wanted to mention that we are going to be changing up how we do holidays around here. In the past, we’ve gone all out with every holiday for several weeks beforehand. But, after some feedback we got from those of you who perhaps didn’t celebrate a lot of the holidays, we have decided to scale back a bit on a lot of holidays, with the exception of Halloween, Christmas and Valentine’s Day. We’ll still be sharing some projects for every holiday, of course, but only a few and they’ll be the best of the best! The rest of the time we’ll be sharing evergreen projects that work for everyone, anywhere, anytime!



Michelle says
Wow, they are absolutely stunning! Really something different from the ones you usually see!
https://www.makeandmess.com/
Gabriella says
These. Are. Incredible. I LOVED Lisa Frank and I’m so happy to have found your DIY eggs inspired by her! #thebest.
Melanie@Toots + Dill says
Omg these look so like so much fun!!! I miss my Lisa Frank stuff!!! =)
Vicky Sullivan says
Love Lisa Frank! Such a great Easter throwback!
xo,
Vicky
http://www.aspiringsocialite.com/