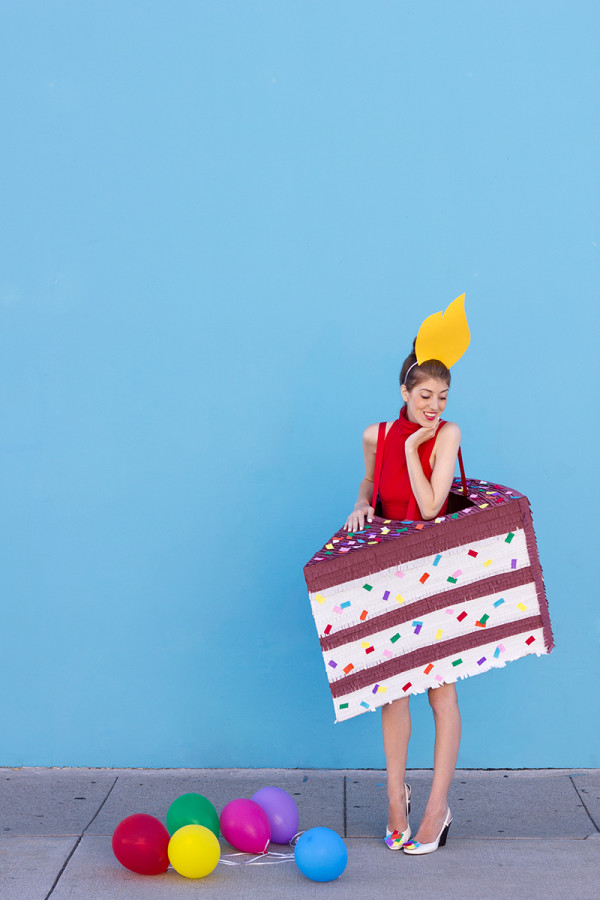
Let the sweet-inspired costumes continue!! Do you guys have a “type” of Halloween costume you always like to be? Jeff always wants to be a person, but I would so much rather be a “thing”. And usually this “thing” comes in the form of food. Remember last year? So this year, my costume just had to be a birthday cake!!!! I got the idea when I crafted up that birthday cake piñata, and this is really just a giant version! (With me standing in as the candle.) Oh I had so much fun making this, and I even got Jeff in on the act… as the birthday boy (keep scrolling!)! Hey, that qualifies as a “person”!! Yay for compromise!
Since I was going to be gluing my brains out for this project, Elmer’s and I decided to partner up! I mean, it’s the glue I really do use for all my piñatas already, so it couldn’t be more perfect! Now, for that tutorial…
Supplies Needed
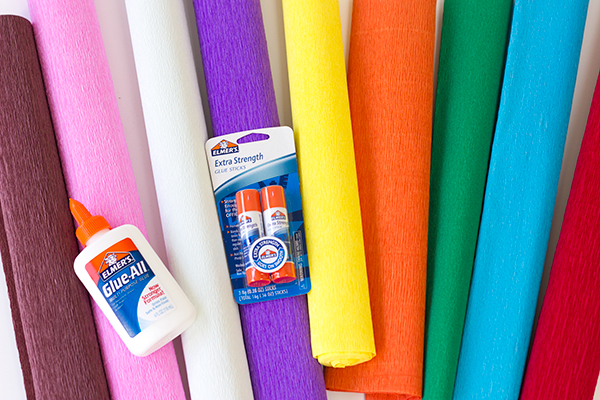
- Large Sheets of Cardboard (I buy mine for cheap at art supply stores! I used two 40×60 sheets.)
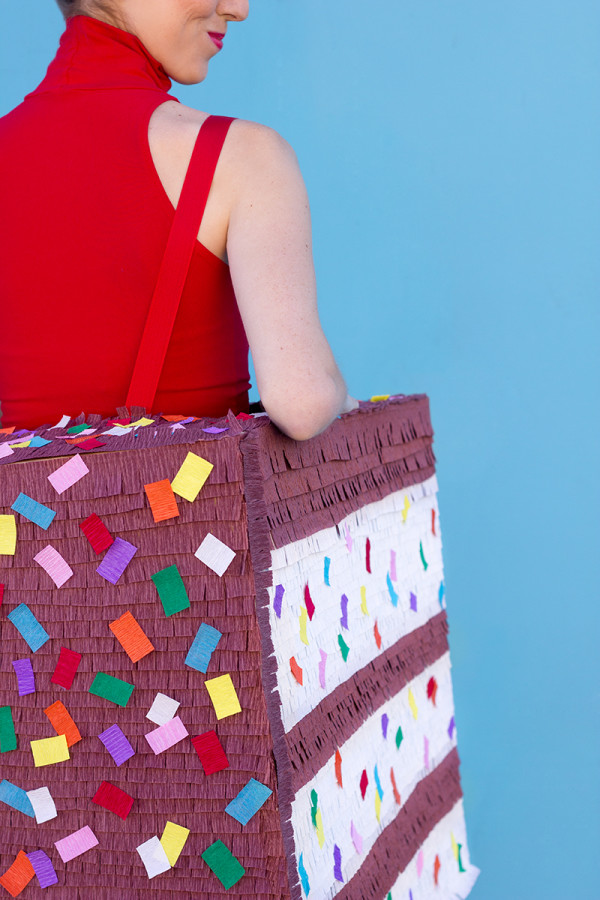
- Crepe Paper (One color for the “cake”, one for the “frosting” and several for the sprinkles!)
- Elmer’s Glue-All
- Elmer’s Extra Strength Glue Sticks
- Yellow Cardstock
- Headband
- Ribbon (For straps)
- Hot Glue and/or Strong Tape (For putting together cake base, and for putting together the flame headband)
- Scissors (A box cutter is also helpful!)
- Stapler
Step-by-Step Birthday Cake Costume Tutorial
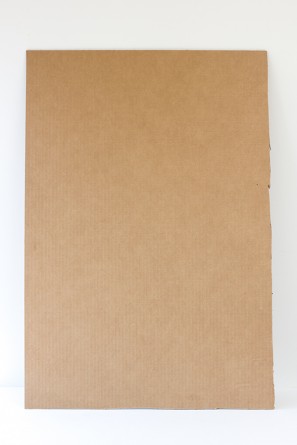
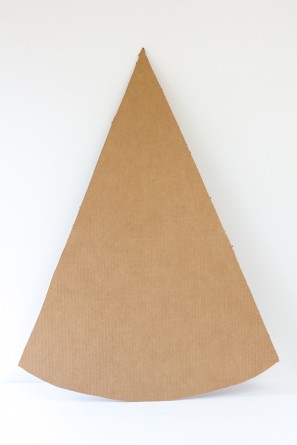
- You’ll need to cut four pieces of cardboard. All sizes will depend on how big you need/want the costume to be, but I will give you my measurements for reference. First, you’ll need two rectangles to form the sides of the cake slice (mine were 32″x”22″).
- Then you’ll need to cut a triangle shape, with a curved bottom. The sides of your pie shape should match the length of your rectangles and it can be as wide as you want. (Mine was 25″ at its widest point.)
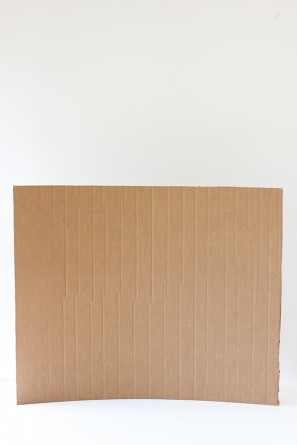
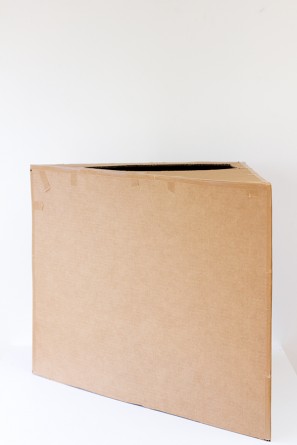
- Last you’ll need to cut another rectangle, to form the back of the slice. This should be the same length as the curved edge of your pie shape, and the same height as your rectangles.
- After cutting this, work your way down the piece bending it so it begins to curve.
- Finally, go back to your triangle shape and cut out an opening (so you can stand it!) towards the wider part of the triangle.
- Now you need to put it all together! You can use strong tape, hot glue or both for this. Start by putting your sides onto your triangle, then close up the front “point”, and finally, attach the back, curving as you go.
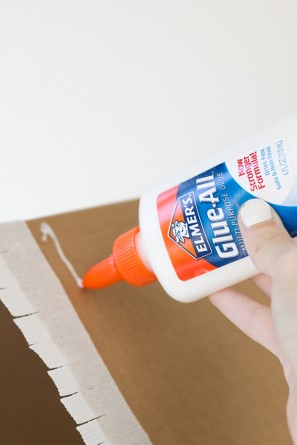
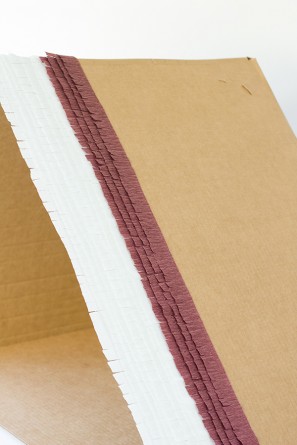
- Now it’s time to fringe the whole thing! To do this efficiently, I cut my rolls of crepe paper into sheets that were the same width as the sides of my cake. Then I folded them up and cut 1 1/2″ strips. And then I fringed those strips, leaving about 1/2″ unfringed at the top. For reference, I used about two full rolls of brown for the frosting, and about one and half rolls of white for the cake.
- After you have your strips pre-fringed, start at the bottom side of the cake and create your first cake “layer.” Run a line of the Elmer’s glue all the way down one side and adhere a strip of fringe.
- Repeat until you have a layer your desired size, spacing each row about 1/2″ above the last.
- After you have your first cake layer, then you can do your first layer of frosting in the same manner. Repeat this until you’ve covered both sides. (For mine, I made three layers each of cake and frosting.)
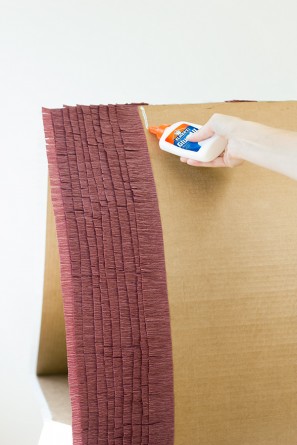
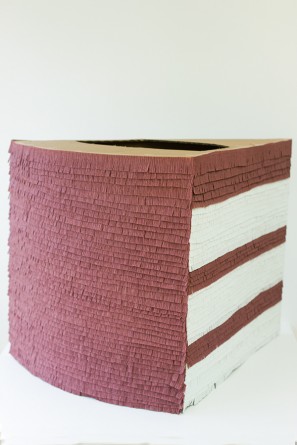
- Now it’s time to fringe up the back. Repeat the same process, but only use your frosting color.
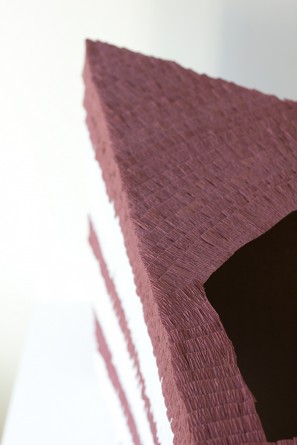
- Finally, fringe the top. I recommend starting at the point and working your way back. I find it easiest to place a solid triangle shape scrap of crepe paper at the tip and then start fringing above that. I curved each row of fringe slightly to mimic the shape of the slice.
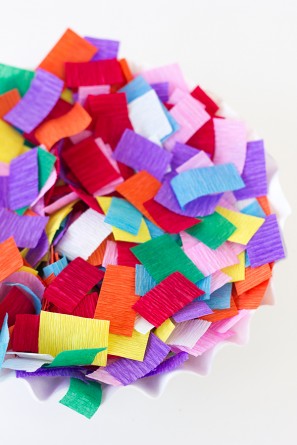
- After your cake is all frosted, cut up your sprinkles. Do this by just cutting a bunch of little rectangles in your sprinkle colors (fold up few layers and cut several at a time).
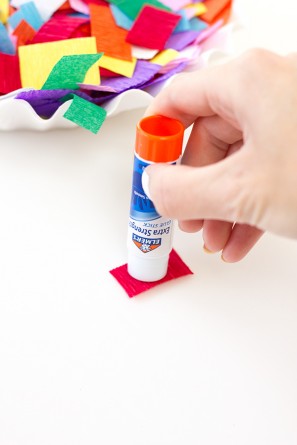
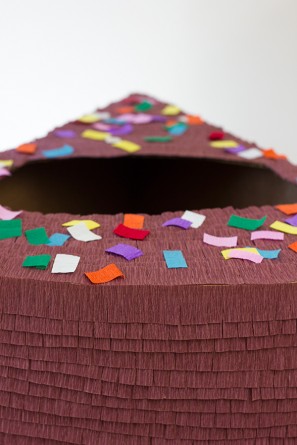
- Use your glue stick to adhere a bazillion sprinkles to your cake! I made mine a funfetti cake with sprinkle covered frosting, so I placed sprinkles virtually all over the cake.
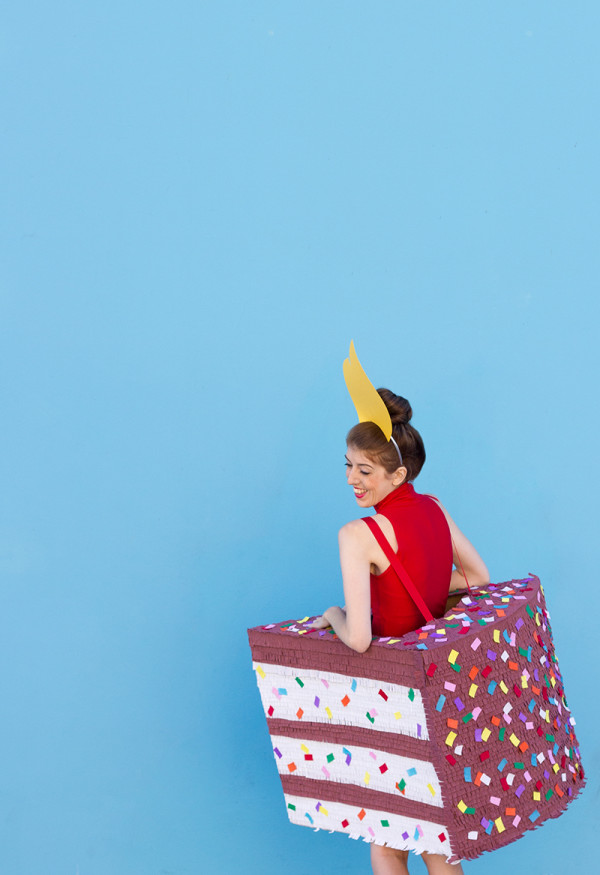
- And finally, you’ll need to attach your straps (Sorry I don’t have a pic of this!). I simply flipped back a few bits of my fringe and stapled two ribbons to the front, cut them to my desired strap length (Try on the costume at this point to get a good idea of how long you want them) and stapled them to the back. Fold the fringe back down to cover up the staples. You could also add some hot glue for extra security.
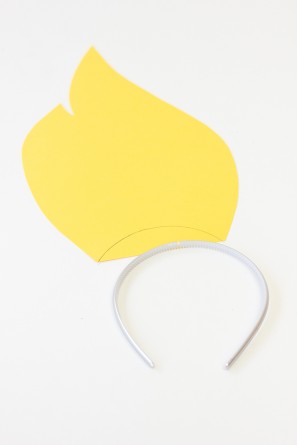
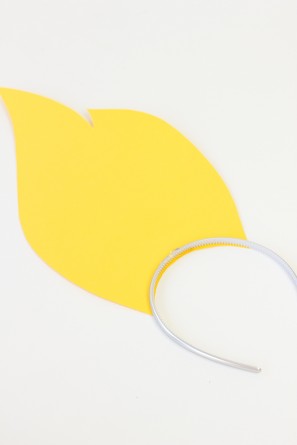
- Cut out a flame shape from your yellow cardstock, leaving the bottom flat.
- Lay your headband on the bottom and trace the shape of it onto your flame. Cut out that piece.
- Now hot glue your flame to the headband. I recommend only gluing in the center of the flame so the headband still has room to “stretch” when you put it on your head.
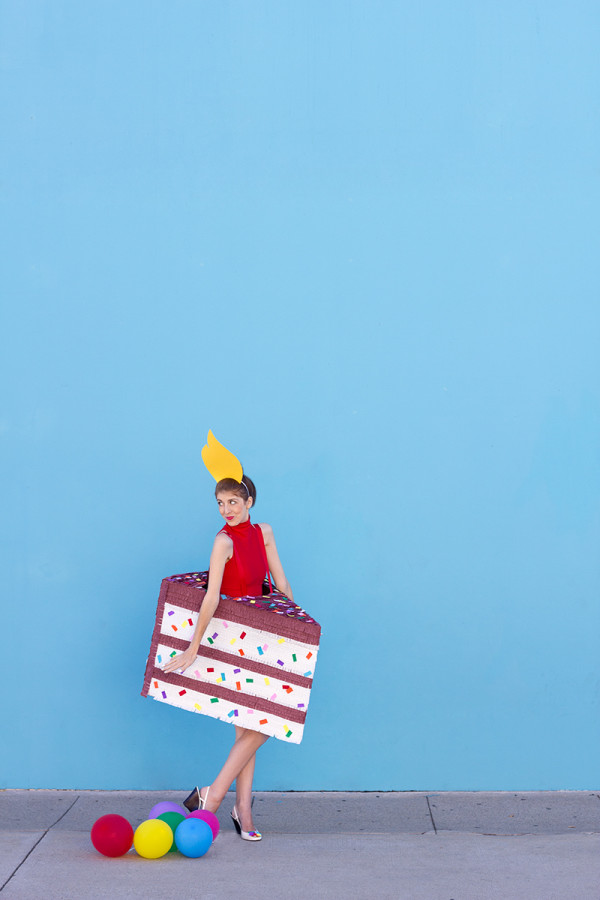
Pair your costume with a solid color or striped outfit and, if you want, add some sprinkles to your shoes (I cut out a circle of cardstock and glued a few extra sprinkles on them, then clipped it to my shoes with a bobby pin.) and BAM! You’re a birthday cake.
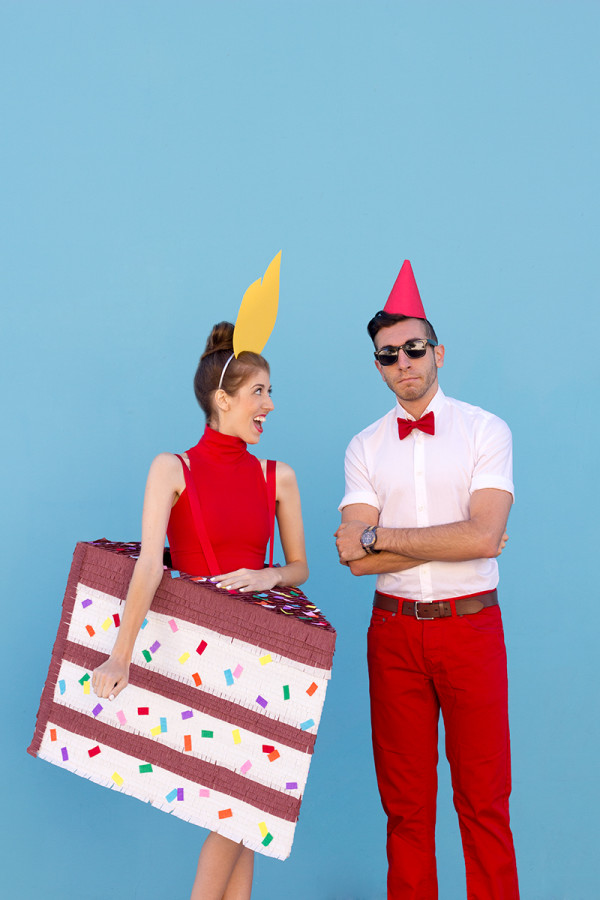
Looking for a couples costume, are ya? Well I thought it would be hilarious if Jeff was “The Birthday Boy” and I was his slice of cake! Oh yes, this was a glorious idea. He may not of thought so, but look how cute he is! Just a bow tie and a party hat, and he’s good to go. I also thought about making Bella a birthday gift (She was already a piñata!)… that may need to happen for our actual Halloween festivities!
All Photos by Studio DIY
I’m pretty sure I would just die to see a whole birthday family! Just think! A cake, a birthday boy or girl, a piñata, a present… oh the possibilities! If any of you guys do this, you will officially be my favorite family in all the land. I also think the cake would be awesome in other “flavors”… how about red velvet!? Ooooh! Aaah! What flavor would you make?
p.s. Once Halloween is over, guess what!? You can turn this costume into a piñata so easily! Just cut out another triangle shape, cover it with fringe and glue to the bottom! Save that piece you cut out in the top and cover that in fringe too. Then fill up your new super-giant piñata, close it up and you’ve got a whole new use for this costume!

This DIY project is sponsored by Elmer’s. All content and opinions are that of my own! Thank you for supporting the sponsors that keep the Studio DIY party going! Read more about my editorial policies here.



Claireabellemakes says
This is SUPER cute! Loving his birthday boy outfit too 🙂
gina says
Love this! And the couple idea? Brilliant!!!
Confeti en los bolsillos says
Es genial!! Impresionante!! Me apasiona
Confeti en los bolsillos
Chelsea C. says
Holy crap, Kell! You’ve outdone yourself.
Brittni says
The costumes just keep getting better and better! I LOVE this!!! You both look so cute.
Lesley says
This is adorable! Such a creative idea!
Sarah says
Kelly, this is amazing! I love every last detail, including the confetti on your shoes!
Audrey - This Little Street says
Kelly you’re just too cute. love this idea, turned out so great! xx
lyndsay // coco cake land says
kelllllllly i’m in LOVE…! omg you also have the best sponsors, you really DO need glue to put this magical thing together!! i’ve NEVER seen glue look so cool. haha!
you are also the cutest model ever, by the way. the little candle flame headband is just so great!!! xo
Kelly says
Thanks Lyndsay! Haha, Who knew glue could be so great!? It’s definitely a major necessity for a project like this!
Lauren @ Every Last Detail says
Oh my goodness, this is GENIUS!!!! You are amazing Kelly!!!
danielle says
Amazing costume! And then you added the candle headband, which knocks it out of the park!
jennifer prod says
you’re the cutest person ever. love love love that your crown is a flame 🙂
Cristin @ Eve of Reduction says
That is fabulous – as a larger than life costume or a cute craft that kids make (much smaller). BTW, sprinkles on the shoes is brilliant.
Kelly says
Thanks Cristin! Yes, I actually made a smaller piñata-version of this too, would be a great craft for kids! Glad you like the sprinkles on the shoes, that was a total spur of the moment addition!
Kelly
Katy @ All Sorts of Pretty says
OH gosh, this is too cute. You never cease to amaze me. I’m curious though – when you pose against these brightly colored painted walls you find around town, do you get crazy looks from strangers?! Especially while wearing a cake? I would be so shy!
Kelly says
Ha, good question Katy!! I’m lucky that I live in Los Angeles and it’s actually quite normal to see photo/film shoots on the street. Weird, I know. Of course, most of those people aren’t dressed as giant cakes! I definitely get some funny looks (Kids think I”m pretty cool though! Ha!) but not many people seem to think twice about it. If I ever move, it will be interested to see what kind of reaction I get!
Kelly
Fiona says
You look gorgeous! Very creative idea! Love this project!
gift maker says
What a great idea! This is the cutest birthday costume I’ve ever seen.
Rebecca says
ADORABLE!!! I found this on pinterest and had to see how you make it. I already have a Halloween costume in mind/made but this might be perfect for another occassion…. Like to wear at a birthday party when bringing the cake out to the birthday boy or girl! I actually may do this for my boyfriend’s birthday… He doesn’t eat cake but I’m making him a beer cake. It would certainly be fun to dress up to surprise him with his cake!
MIrabelle says
Wow! I was wondering what I should be…But now I KNOW what I’m gonna be! Thanks for sharing! Big fan! -Mirabelle
Lisa says
This is an amazing costume! Perfect for an occasion costume party.
LOVE the candle flame head piece!
ale says
ohh dios!
eres geniaaal y adorableee ! me encanta! :3
you are so amazing!! 😀
Jenny says
I made this costume for my 5 year old to wear for Halloween last fall. Her birthday is 10/29 so it was perfect! I just watched Parks and Recreation on NBC and during a party scene, a woman walked by wearing this exact costume!! I loved seeing it on tv.
Kelly says
Yes!! That was the same costume you see in the photos here! The show rented it for that episode. I love that you spotted it, and that your daughter wore it for Halloween! How fun!
Mamta says
Great Idea for Birthday Party!
http://e-spiritualtalks.blogspot.in/
Baby Wear Online says
OMG how cool is this!!!
Baby Wear Online says
Seriously awesome!
Savannah says
Is this costume hard to sit in? I was thinking about doing this for school and I have to sit all day.
Taylor says
I had to leave out the bottom section in the costume so that I could sit, but I don’t know how hard it will be for you.
Kim @ The Celebration Shoppe says
Ha! Super cute!
Connie says
How did you get the top to stay connected? I’m making this for my daughters surprise Halloween 10th birthday party!
jackie says
What a great costume idea! Nicely done:)
Jessica Brown says
It looks soooooo cute and adorable.
creativejewishmom/sara says
Thanks so much for the fabulous inspiration, I used your idea to make something similar for my 13 year old daughter for Purim. She wore the costume to school today and it was a huge hit. On he way home through the ancient cobblestone alleys where we live she ran into a bunch of tourists who were madly trying to take her picture, can’t blame them!
http://www.creativejewishmom.com/2016/03/piece-of-cake-pinata-costume.html
Taylor says
This is amazing!!!!! So cute for Halloween. Plus it’s completely appropriate to wear to church events like trunk or treating!
Parker Arrow says
Hello,
i came here to look for some great birthday present ideas which work for photographers maybe but then i found this article and it made my day 😀
The costume is awesome and the pictures you took of it are just great! I am just having my first coffee in the morning (german time) and my mood is already super good because of this idea. Awesome 🙂 Maybe I should consider crafting a camera -costume for my colleague 😉
Best regards,
PA:)
Leora says
Love the costume!! I want to make this costume and was wondering how much/dimensions of the white and brown crepe paper you used for this costume, and if you needed to buy 1 or more of the brown and white crepe paper.
Thanks so much, love the creativity!!
Meredith says
I love this idea but I were to make this for my sorority sr. bar crawl do you think it would get completely destroyed or did it pretty much hold up?