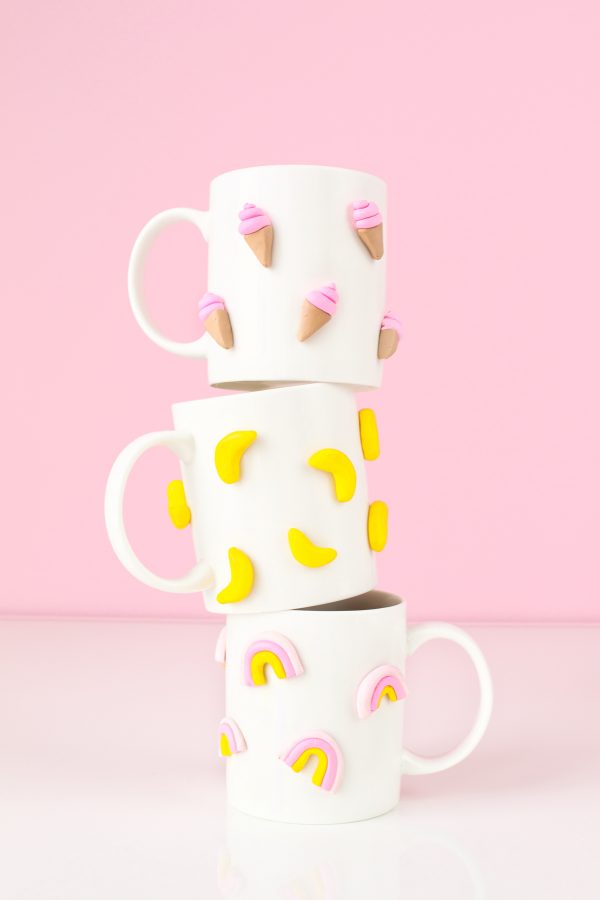
Oh oh oooh! I’m so in love with how these mugs turned out!!
Today we partnered with our pals at Keurig® to add a little fun to your morning cup o’ jo with these 3D graphic clay mugs! I already told you we’ve been enjoying The Original Donut Shop® Coffee on the weekends at home, but we needed some in the studio too, so that’s where these mugs have been living to serve their ultimate purpose! 😉 With all of our commutes seemingly getting longer each day (What gives, LA!?), a mug covered in tiny rainbows and filled with the team’s new fave brew is VERY welcome once we finally arrive! I really love the texture and dimension the 3D aspect gives to these, puts a new spin on a patterned mug and I am into it.
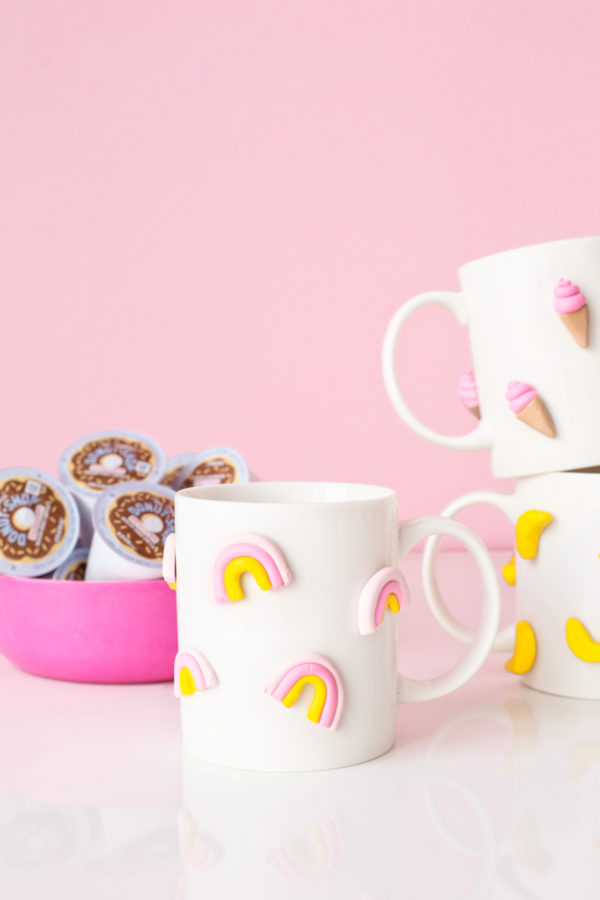
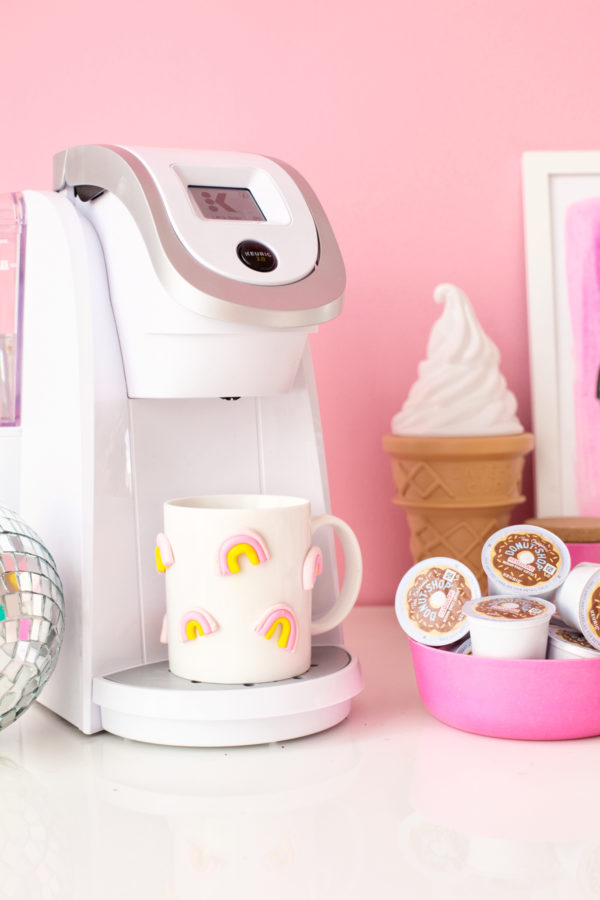
I’ve been joking with Samantha forever that I’m going to buy her a new mug because her travel one is always leaking. She’s happily snagged one of these and jumped on The Donut Shop Coffee® train with the rest of us! (Did you know it’s the #1 selling K-Cup Pods® in the US!?) I bet you could even make a donut version of these mugs if you wanted to go all out… Ok, tutorial time!
DIY 3D Graphic Clay Mugs
Total Time: 1 Hour (+ Dry Time)
Supplies
Mugs
Polymer Clay in Desired Colors
Craft Knife
Ceramic Glue
Directions
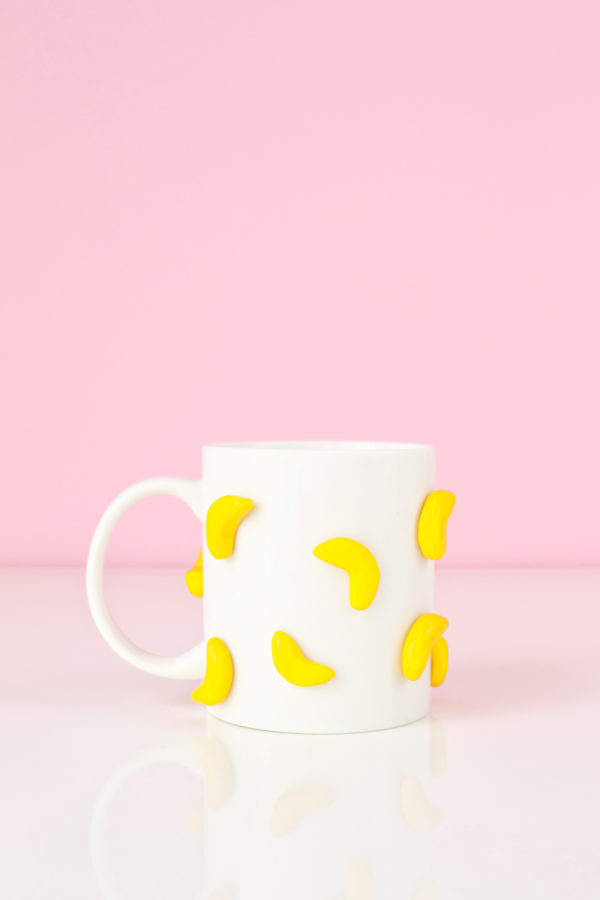
For the bananas:
1. Knead a ball of yellow clay in your hands to make it easier to work with.
2. Use your thumb and pointer finger to roll a small piece of clay into a crescent moon shape.
3. Repeat until you have enough bananas to cover your mug.
For the rainbows:
1. Knead three balls of different colored clay in your hands to make it easier to work with.
2. Pull a small piece off one of the balls of clay and use your hands and a flat surface (like a table or cutting board) to roll it into a snake shape.
3. Repeat with the other two colors.
4. Place the three snakes next to eachother and curve them to form a rainbow shape.
5. Use a craft knife to trim the ends so they are flat.
6. Repeat until you have enough rainbows to cover your mug.
For the ice cream cones:
1. Knead a ball of brown clay and pink (or other ice cream color) clay in your hands to make it easier to work with.
2. Pull a small piece of brown clay off and use your thumb and pointer finger to form it into a triangle cone shape.
3. Pull a small piece of the ice cream color clay off and use your hands and a flat surface to roll it into a snake shape.
4. Curl the snake shape onto itself, forming a "swirl."
5. Stick it on top of the cone you made previously.
6. Repeat until you have enough ice cream cones to cover your mug.
For all mugs:
1. Lightly press the clay pieces you made onto the mug as desired. Be sure to leave about one inch at the top clear for sipping!
2. Bake the mugs, with the polymer clay on it, at 275 for approximately 10 minutes. Time will vary depending on the thickness of the clay and your oven. Follow the instructions that come with your clay!
3. Let cool completely.
4. Pop the pieces off of your mug, one at a time, and glue them back on with a tiny bit of ceramic glue.
These mugs are hand wash only!
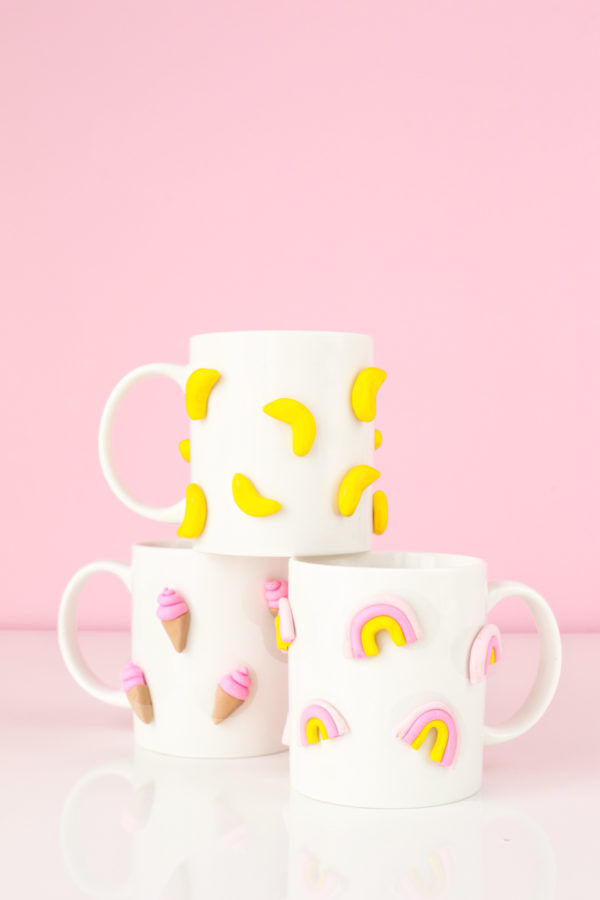


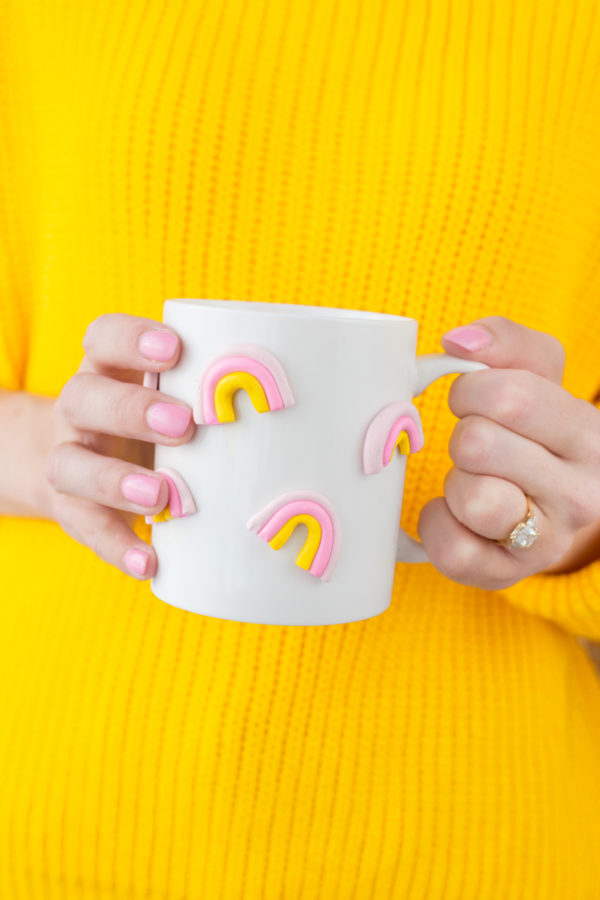
Photos by Jeff Mindell
Now ya know! If you need an extra bit of pick-me-up on your work mornings, you’re gonna need one of these mugs! Which one is your fave!?
This post is sponsored by Keurig®. All content and opinions are that of my own! Thank you for supporting the sponsors that keep the Studio DIY party going! Read more about my editorial policies here.




Karlijn says
One word: GENIUS
Love them!
Michelle says
They look super cool, I love that 3D effect!
https://www.makeandmess.com/
Kathleen Ballos says
THESE ARE SO CUTE
brittni says
So clever. Love this idea.
Jamie says
Neat idea
Kristina B says
The rainbow obv but the bananas are also hilarious!
Cinzia says
I love this idea and the colors. I love the one with bananas. It reminds me the banana candies, haha.
Indya | TheSmallAdventurer says
These are the best things ever!!!! I love mugs AND making clay into cute items, and this has both! I’ve got some pink clay laying around that definitely needs to be formed into some hearts and put on one of my many, many mugs! Thank you for the constant inspiration 💖
Indya || tinyurl.com/thesmalladventurer
MADS says
HEY I LOVE THESE! WHERE DID YOU FIND THE MUGS SUCH A PERFECT SIZE!!
Inlay work says
Great idea! These Mugs are looking so cute I Loved this tutorial easy to follow.
Leslie George says
Hello Kelly, These are cute. I have seen mugs from the very simple to complicated in design. My question which I can’t seem to find an answer to is can the mug be heated in the microwave after with water or coffee in it without hurting the polyclay? Thought I would ask before I tried it.
Thank you for taking the time to answer.
nisha says
Hello everyone!
I just came across this clay molds video. I thought you might like it so I’m sharing this.hope you all also find it useful
#kidscraft #HowTomakeClayMolds #DIY #DIYClayMolds #DIYForBeginners #kidslearning
https://www.youtube.com/watch?v=vtkbibWrbm8