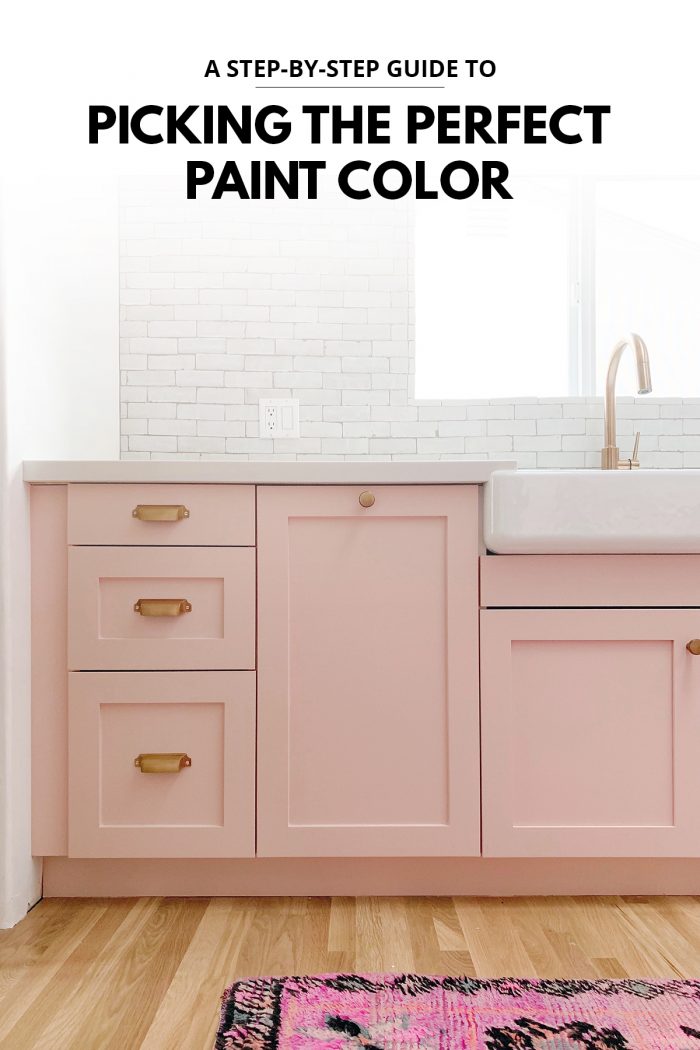
Well after the great kitchen journey of 2019 and the final reveal, we all known that I’ve learned a few lessons about picking a paint color. So today, I’m sharing them! =) Picking the right paint color is SO much more than just grabbing a two inch paint chip and ordering a few gallons of paint.
No paint color will look the same in two different rooms, even within your own house! There’s so many factors at hand. But luckily, I’ve found a few great ways to help you be as sure as possible that the color you choose will look amazing in your room. Here we go!
Table of contents
- Step 1: Research What Color You Want
- Step 2: Consider the Unchangeable Elements In Your Room
- Step 3: Learn Your Way Around A Paint Chip Wall
- Step 4: Head to the Paint Store
- Step 5: Test The Paint Chips In Your Space
- Step 6: Paint Large Samples (+ How To Make Them Cheaply, and Not Permanent!)
- Step 7: Observe Over 24-48 Hours
- Step 8: Pick A Paint Color + Go For It!
- Paint Projects To Try
Step 1: Research What Color You Want
You may have already checked this step off by the time you find this post or you may just *know* the color you want without having to find inspiration. But for most people, you’re going to want to head to a design source to get some inspo!
Looking through Pinterest, Instagram, design books, furniture catalogs or interior magazines are great places to get an idea of what color you want for your project. Think outside the box too, if you want a pink kitchen, you don’t just have to look for inspiration in other pink kitchens.
You’re just looking for style, mood and shade ideas, which could be in a bedroom, a piece of furniture or even a restaurant! I always recommend finding not just one but a FEW inspiration photos, so you can see a similar color in a few different styles, rooms and lighting situations.
Step 2: Consider the Unchangeable Elements In Your Room
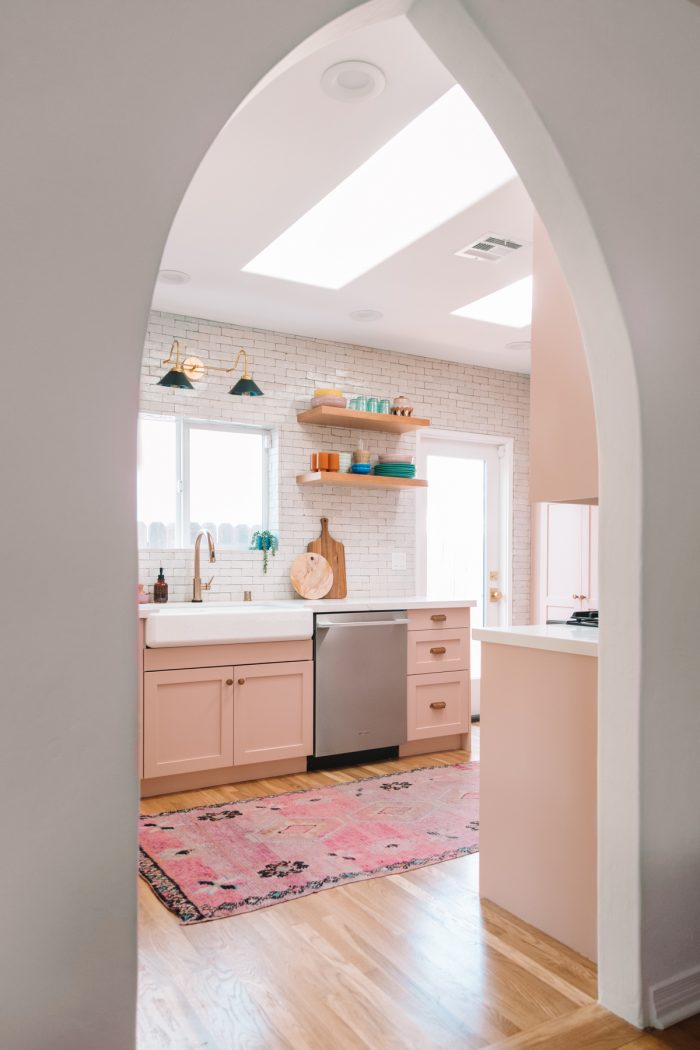
There are a few things in your room that you probably can’t change, unless you’re doing a huge renovation, and these should be factored in to your paint choices. Two such major elements are the floors and the natural light.
Will your floors clash or nicely contrast with the paint color? Will they blend in? Is your room too dark for a dark color, or too bright for a bright one? This is all very subjective and also should be revisited once you pick up some samples. But it’s worth looking at beforehand too, so you don’t get attached to a color that just won’t work with the house you have!
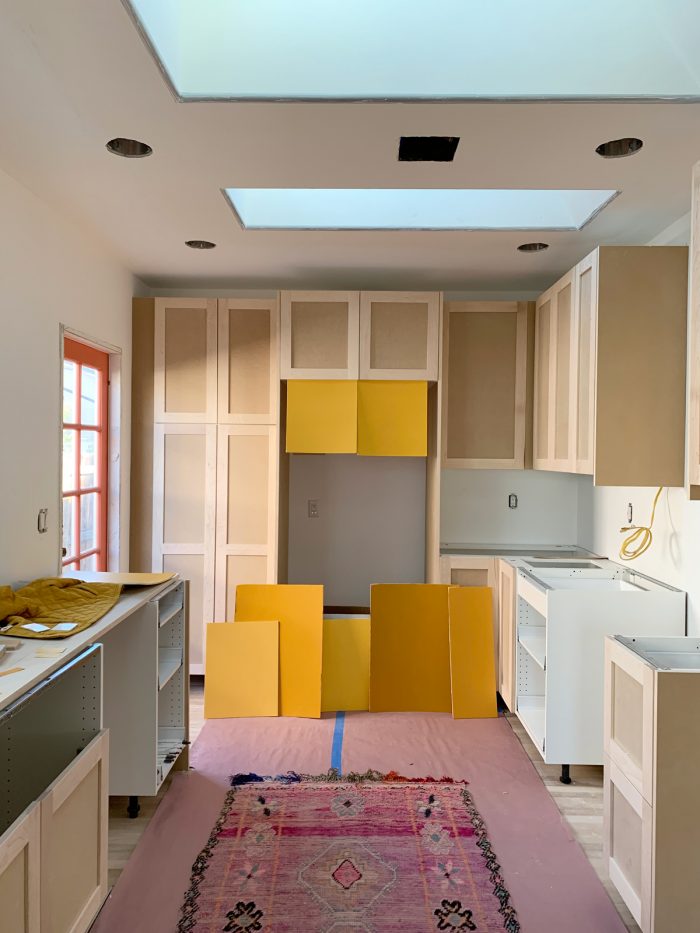
Looking back, I made both of these mistakes with our kitchen when I attempted to paint the cabinets mustard. All the photos I had pulled of mustard kitchens had darker (or completely white-washed) floors and less natural light, which resulted in a beautiful, dull mustard hue for the cabinets. But our house has very warm oak floors that ended up clashing with the yellow and SO MUCH light that the final color looked so much brighter than expected when it was on all the cabinets, reflecting against itself.
If you’re just doing a small refresh of your room, your current furniture and decor is something to consider too.
Step 3: Learn Your Way Around A Paint Chip Wall
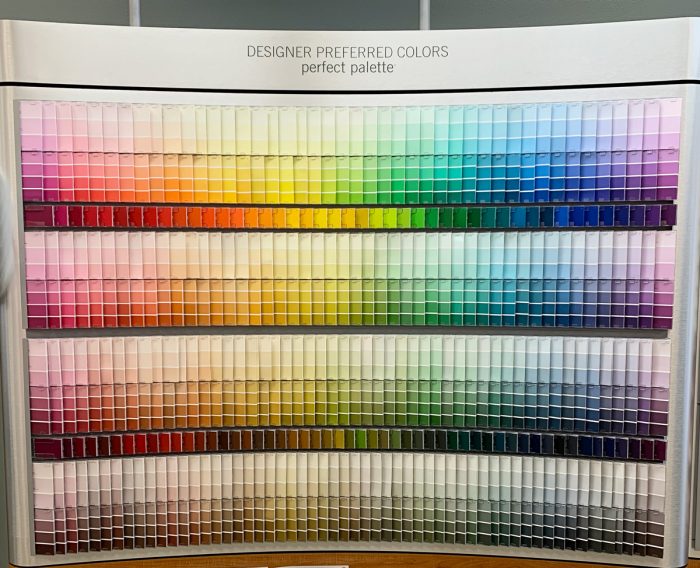
There are a lot of various numbers and color systems used to define and categorize a paint color. There’s something called LRV (light reflectance value), there’s the munsell color system (that breaks colors down by hue, lightness/darkness and saturation) but I’m gonna assume you are all like me and the technical stuff is overwhelming, right?
So I’m going to break down how a paint chip wall works by how it works when you’re looking at it, no fancy numbers or codes. (But if you want to google those two systems, it’s pretty interesting.)
At MOST paint stores I’ve seen, their paint chips follow the same two patterns: First, usually paint chips come with 3-4 colors on one card. Each color on that card is step down in darkness from the one at the top. Then second is, if you look at the paint wall overall, you’ll notice that in addition to paint chips being organized by light to dark themselves, they’re organized frequently from most saturated (the row at the top) to least saturated (the row at the bottom).
These are both MAJOR factors to consider when picking out your swatches, especially the saturated vs less saturated factor.
Step 4: Head to the Paint Store
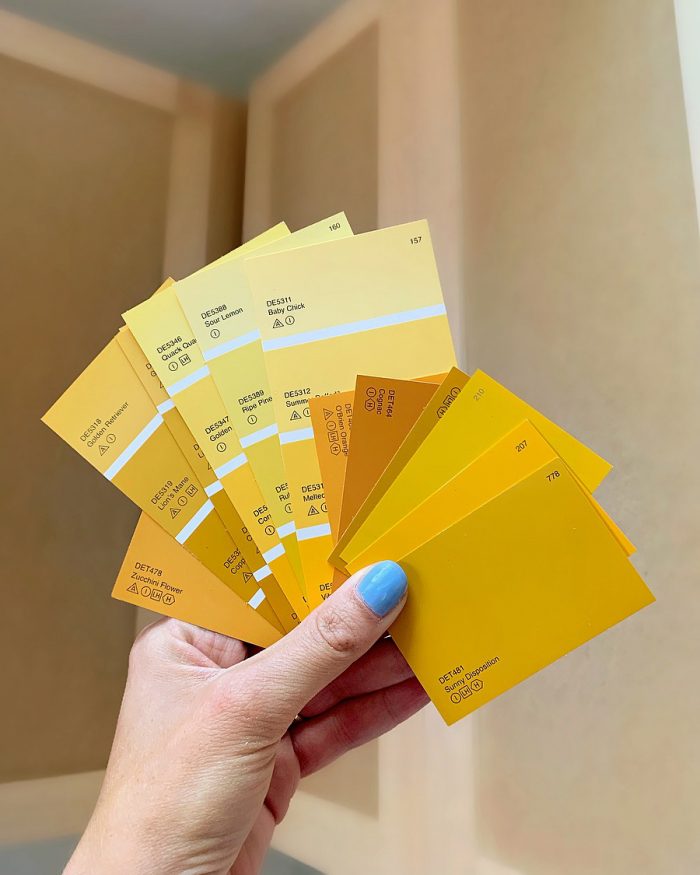
Now it’s time to head to the paint store to pick out your paint chips. First thing you should do is scan the wall and let your eye land on the exact color you have in mind based on the pictures you’ve sourced from the internet. We’re going to use yellow for this example. So grab Grab the swatch card for that color, as it’s going to be your starting point.
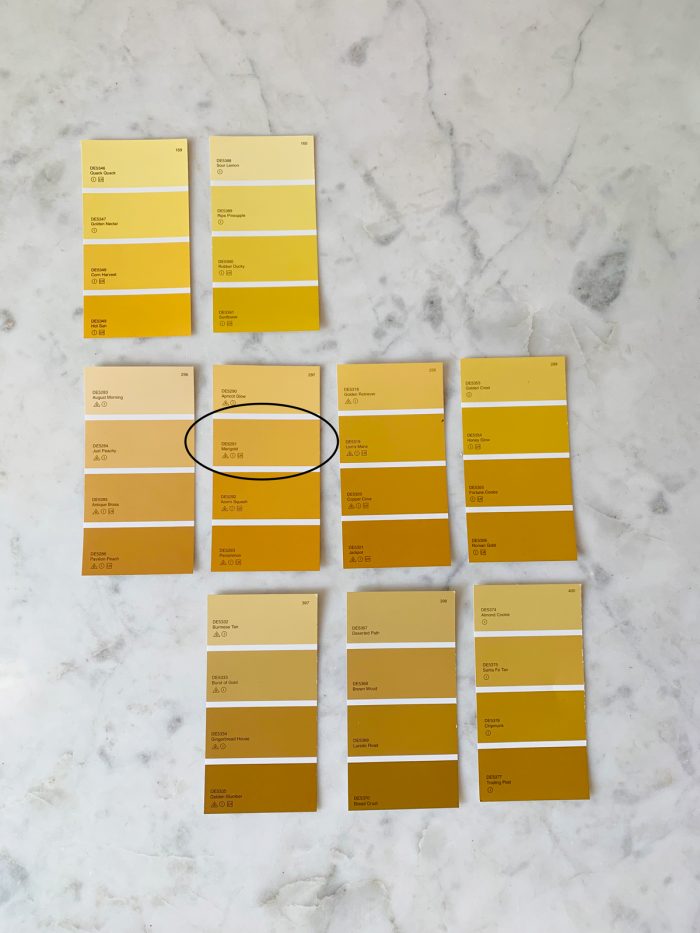
Next, you’ll want to grab a few options that are below, above, to the left and to the right of the original one that caught your eye. I included some pictures of the ones I selected for each color choice to show how they were laid out on the paint chip wall, with the original one I picked circled. It’s not a perfect science, as you can see, and they aren’t perfectly lined up in one vertical line. But in general, above you can see from top to bottom the colors have more pigmentation and from left to right they go from cooler to warmer tones.
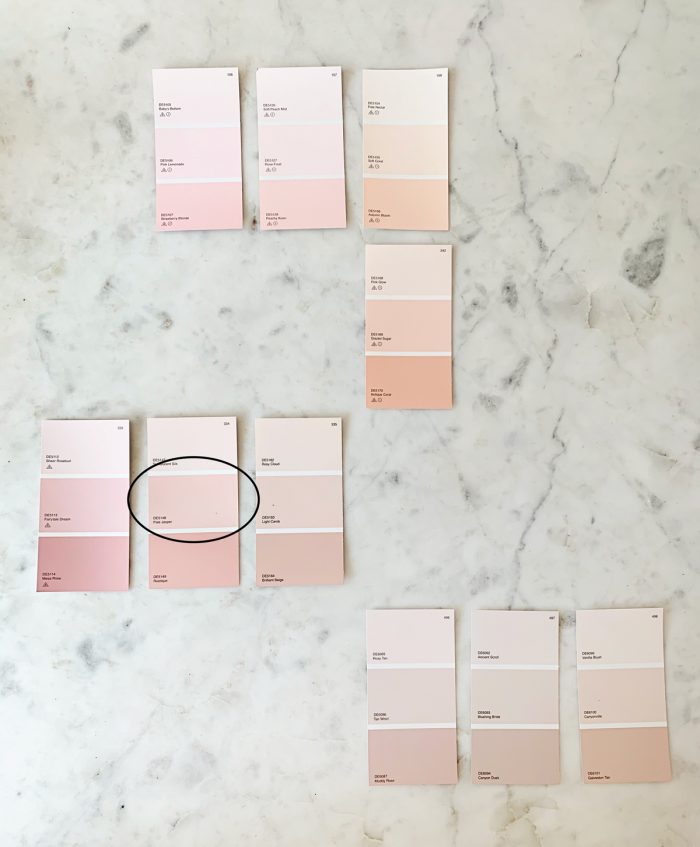
You want all the options to test in the light in your specific room, EVEN IF you hate them in the store. I hated the pink color that we picked for our kitchen in the store. See below for what it looked like under the store lights, versus what it looks like in our kitchen.
Step 5: Test The Paint Chips In Your Space
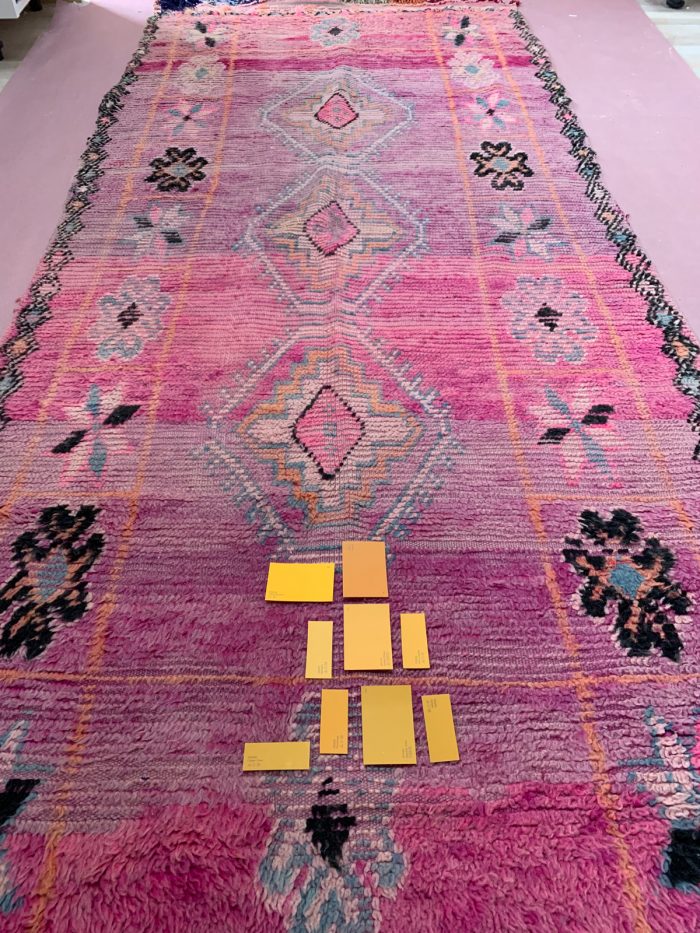
Bring home your paint chips and take a look at them in your space. You’ll want to look at them in the morning, afternoon and night as the light changes throughout the day. You’ll also want to look at them in the brightest spot of the room and the darkest spot of the room.
There will probably be a few that you can easily eliminate and you’ll slowly start to narrow in on your favorites. I have found that no matter the room (dark or light), paint ALWAYS looks more saturated and vibrant when it’s painted on the wall/door/cabinet. So I encourage you to select at least one shade that is duller than you think you want.
The goal is to end up with anywhere from 3-6 (or more, if you’re crazy like me!) options to then turn in to large paint samples.
Step 6: Paint Large Samples (+ How To Make Them Cheaply, and Not Permanent!)
If you get nothing else from this post, let it be this: PAINT LARGE PAINT SAMPLES BEFORE PAINTING YOUR WALLS! This is the closest you’ll get to seeing what the actual color will look like in your space on a larger scale!
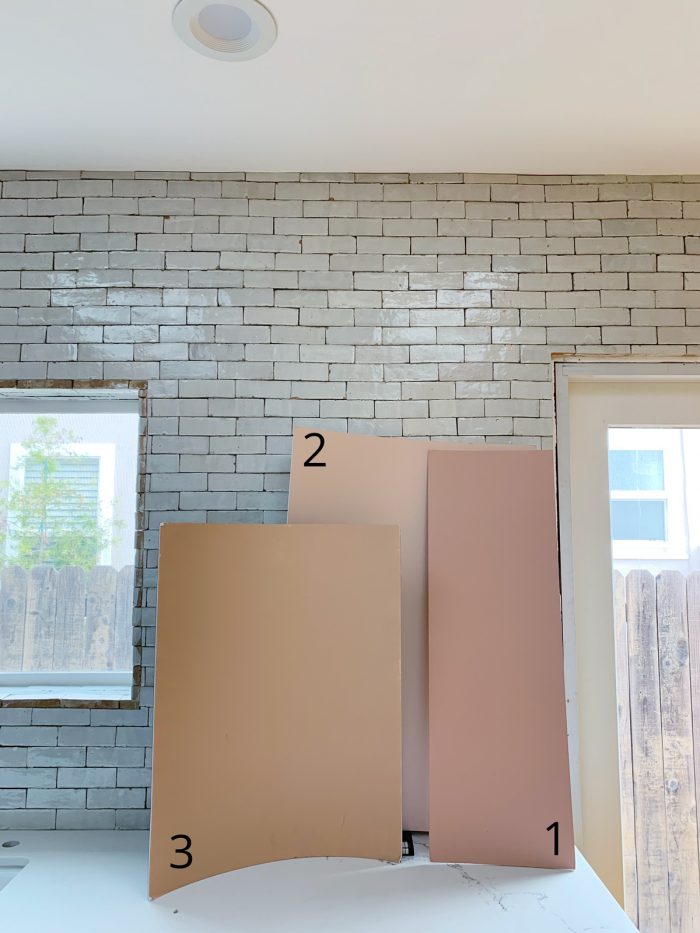
Most paint companies these days will allow you to be a sample size of paint, usually just enough to paint a few feet of space on your wall. However, a much better option than painting it on your wall is to paint it on a piece of foam board. Yes, like the boards you used in school for presentations and displays. You can usually buy a multipack of flat boards or alternatively, buy a three-sided display board and tear off the sides so you have three separate boards to work with.
From there, paint them just like you would your wall. I recommend using a smaller roller, versus a paint brush, as you’ll get a more even coat. Label the back of each with the color name so you don’t forget. Let them dry COMPLETELY before starting to look at them in your space.
Step 7: Observe Over 24-48 Hours
The pictures here are going to switch from yellow examples to pink. Why? Because I didn’t do all these steps with the yellow and that is why I ended up with the WRONG color. See, learn from my mistakes, folks!!
You’ll want to do the same steps you took with the smaller swatches to narrow them down, but this time a little more thoroughly over 24 or ideally 48 hours.. This is a great weekend project. Ideally, prop up the large swatches in the brightest part of the room first. Then make it a point to take a look at the swatches in the early morning (breakfast time), around noon (lunch time) and in the evening, about 1-2 hours before sunset.
Observe how bright they look in the various lights and what you like or dislike. For example, is there one that feels TOO bright in the morning when the sun is shining in? Make note of that. Is there one that feels TOO warm during golden hour? Essentially, you’re looking to see which you like best during each time of day, and if that happens to be the same one each time.
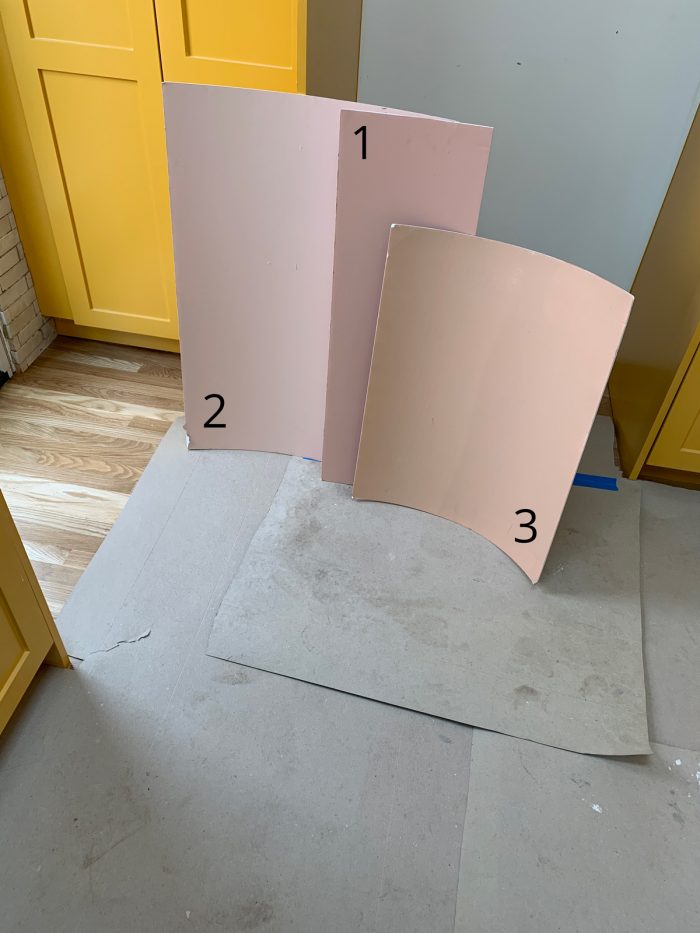
Next, move the swatches to the darkest spot of the room and observe them at the same times. Ask yourself a similar set of questions, but this time keeping in mind that this is the darkest it will get. So, is there any that feel TOO dark, especially when there’s the least amount of natural light in the room? Etc. etc.
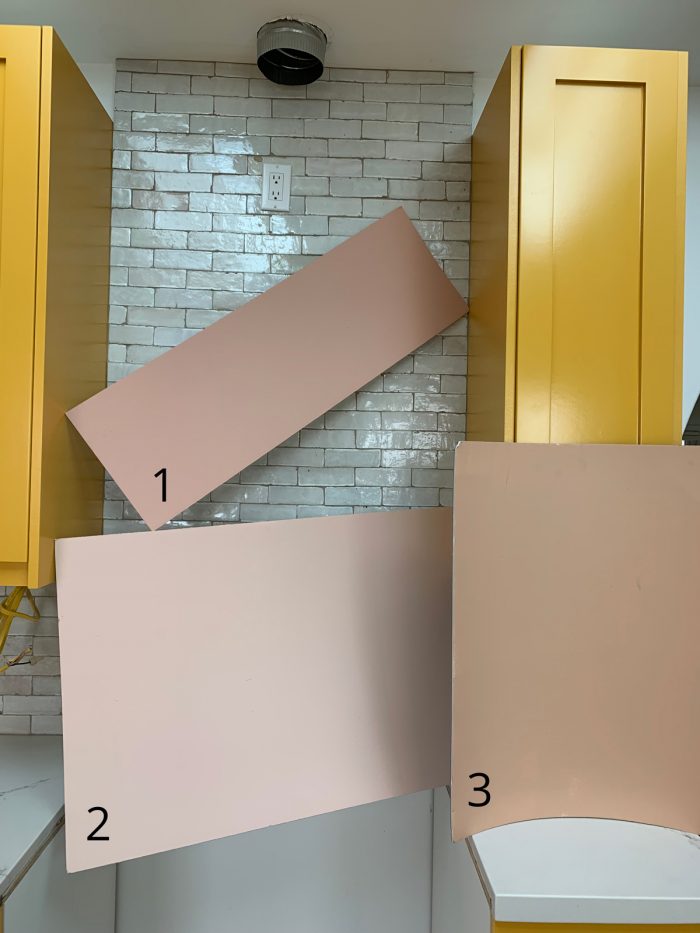
You can take pictures too, but remember when referencing them that photos don’t always show paint super accurately. I included mine here to show what a difference lighting makes in a color and why this step is so important. If you can’t do this over 48 hours, then you can just move the swatches to each spot when you check it and knock the whole process out in 24 hours!
Step 8: Pick A Paint Color + Go For It!
Evaluate: Was there a “stand out” shade that came up again and again as your favorite? Great, that makes things easy. Maybe there were two, in which case I will always recommend going with the shade that is the “duller” or “less-saturated” of the two. And that’s coming from someone who loves color. But you’re much less likely to regret painting something that’s slightly duller than you wanted, than slightly brighter.
Also keep in mind that in general, if you are painting multiple walls or cabinets that are on multiple walls in a room, the color will look MORE saturated than it doesn’t on the sample because it will be reflecting off of itself.
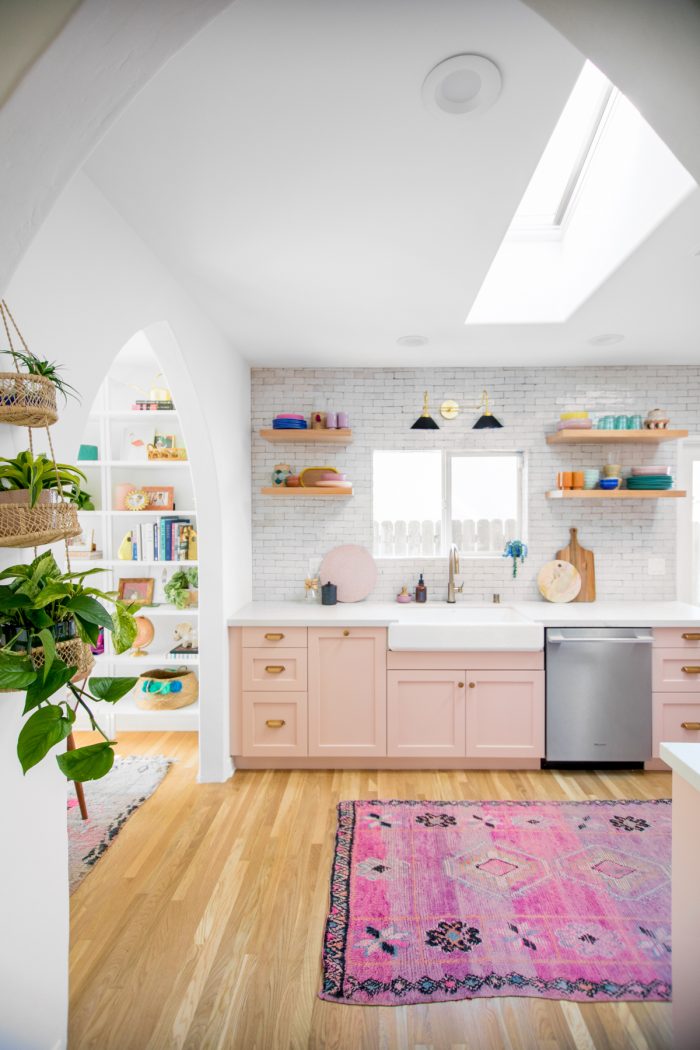
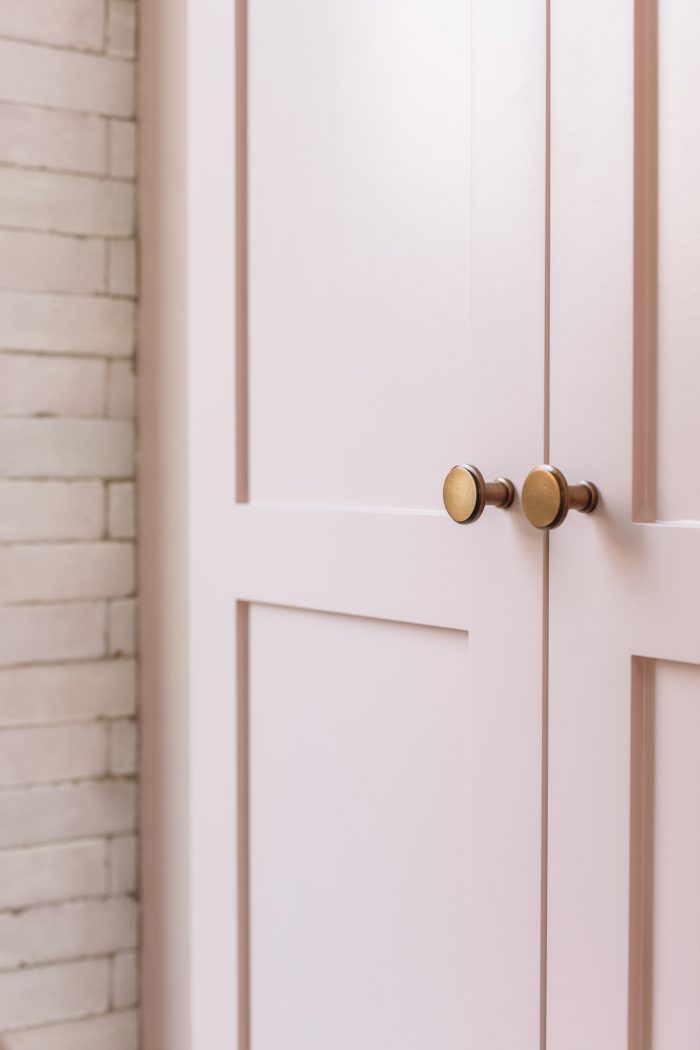
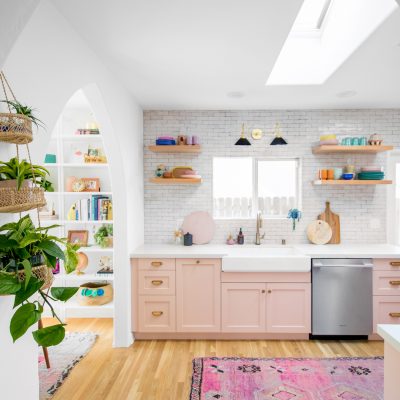
Our pink kitchen cabinets are the ONLY thing I’ve painted where I haven’t thought “I should have gone duller” and that is because I went through ALL of these steps, and when I narrowed it down to two colors I liked, for the first time ever I went with the duller option. So there’s my two cents. =)
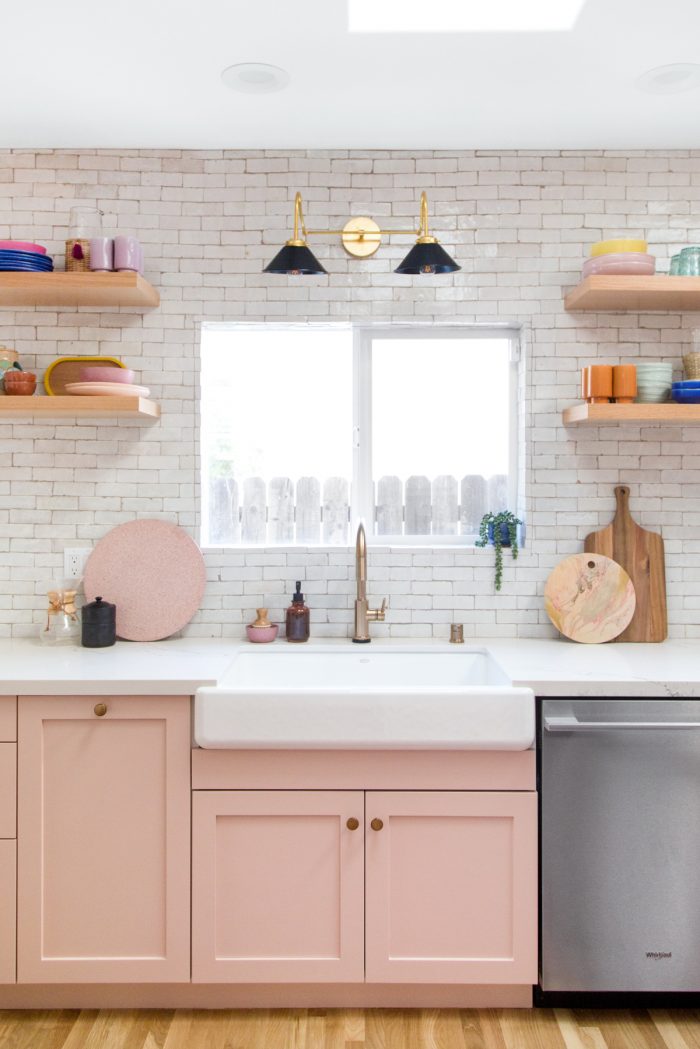
Photos by Jeff Mindell
Paint Projects To Try
- How To Paint A Piano
- How To Paint A Rainbow Stripe Wall
- DIY Colorful Ombre Wall
- How To Make Sunburst Closet Doors (Bifold Closet Door Ideas)
May this post help you avoid the costly mistake of having to repaint a room’s worth of walls… or worse, cabinets! As always, leave any other questions you have below!!



Dani says
I like your thought process, and love your kitchen even more. I’d be interested in your thoughts to see what you think about my projects. I love dark colors, but don’t have much light in my house. Always looking for new ideas.
Thanks!
Kelly says
I actually think dark colors look GREAT in dark rooms, they actually lend themselves better to a dark space than a bright white would, which is a common misconception. It would be so moody and gorgeous!! I say go for it!!
Meredith says
These are great tips! I’m thinking about painting my living room so this is perfect timing for me, though it likely won’t happen for a couple more months anyway. That gives me plenty of time to do all these steps though! I’m thinking of a nice sherbet-y peach or apricot which is totally out of my comfort zone since I tend towards neutrals and cool tones. Wish me luck!
Kelly says
Oooh that sounds amazing!!! Please share a pic once you paint it!!
Vanessa says
Another tip – if you want to know the undertones of your selected shade look to the bottom (most saturated) color on your paint strip. If the bottom/darkest yellow on your strip, for example, looks browner, or more orange, those are the undertones in each shade on the same strip. It may not be as noticeable on the lighter shades on the strip when you are viewing them in the store, but when you put them on your wall it will be more obvious. So if you know you want a yellowy-pink or a an acidic yellow, you can save yourself some time by checking the undertones on the strip instead of getting home and wondering why your pink suddenly looks lilac.
Kelly says
SUCH a good tip!!!!
Caryn says
I’m amazed how great the pink looks! Always a fear of pink leaning far too feminine but it almost works as a neutral in your space/that shade. Gorgeous. Out of curiosity, which is the paint chip you went with, 1,2, or 3?
Kelly says
Realized I totally left that part out of the post! So the color we used (Galveston Tan) is the very bottom right color in the picture with all the pink swatches and number 2 in the photos comparing the three options!
Sonja says
Hi from Lisbon. I LOVE the idea of giant paint samples. Never thought of that. I am so doing this for my new kitchen. (Confession- I totally painted my entire living room once because I am impulsive and immediately hated the color that suddenly looked hideous and had to redo the whole thing). I have an unrelated question. I live outside of the USA and would love to attend a blogging conference for creatives in the USA. Can you recommend a totally fun and inspiring conference? I checked your FAQs but I guess it is not an FAQ.
Pooja jain says
Its very nice information for me………….thank you for sharing
Mariah says
It is really a true fact that colors in the store does not match when they are used at home walls. I always struggle with this problem, I guess using chips would be better from now on. Too bad I already colored my walls recently. Thanks for the tips though.
Pramod Yadav says
Its very usefull information for me…………thanku for sharing
Laura says
Great read and tips. Thanks for sharing!
Judy Bowles says
What color is that??
Kelly says
The pink color is Dunn Edwards “Galveston Tan”!