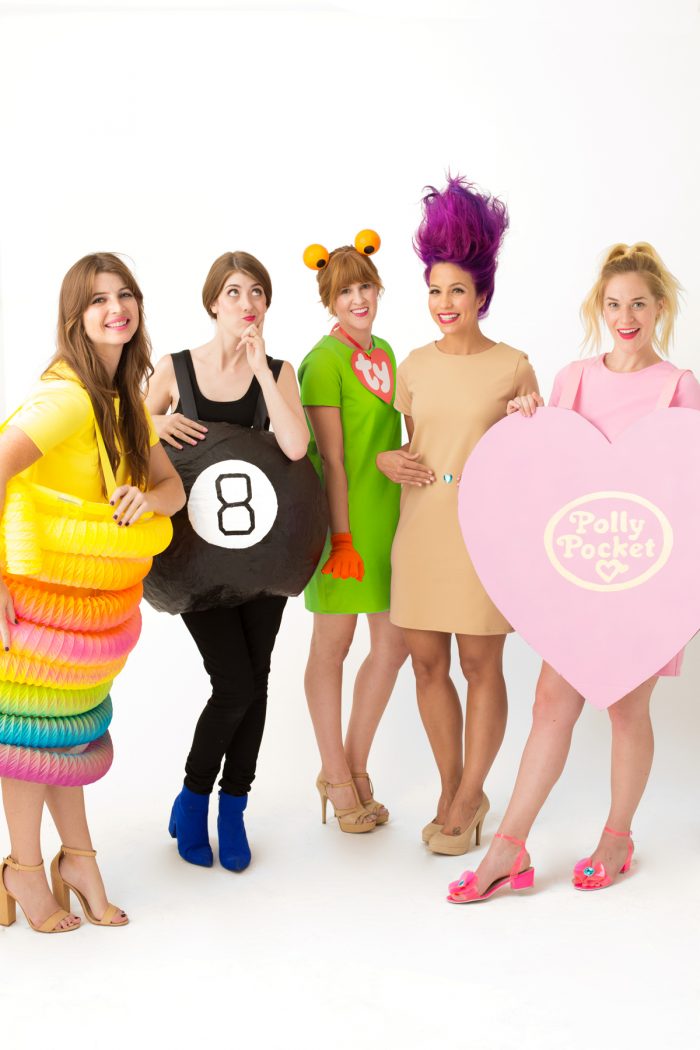
It’s no secret us millennials often find ourselves living for the 90s, so take that as inspiration for your Halloween costume this year! Turn some of our fave toys of yesteryear into 90s toys costumes!! We’ve got Polly Pocket and a beanie baby! We’ve got a Magic 8 Ball and a TROLL! We’ve even got a slinky! A SLINKY!
These aren’t the only throwback costumes we’ve got but they are some of my FAVES! Check out the tutorials below!
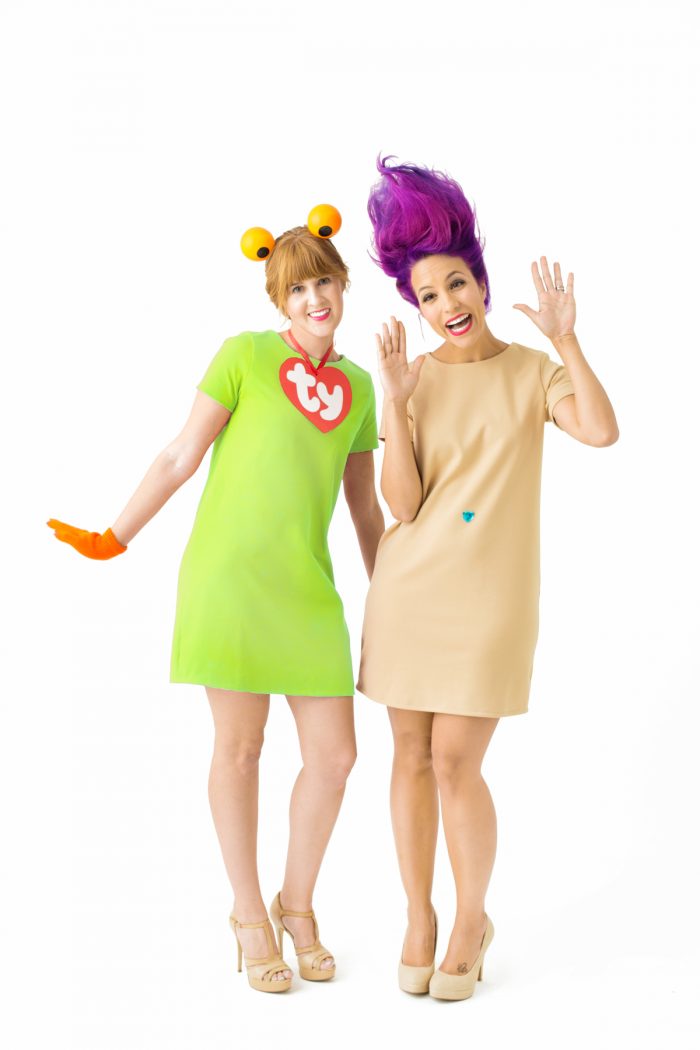
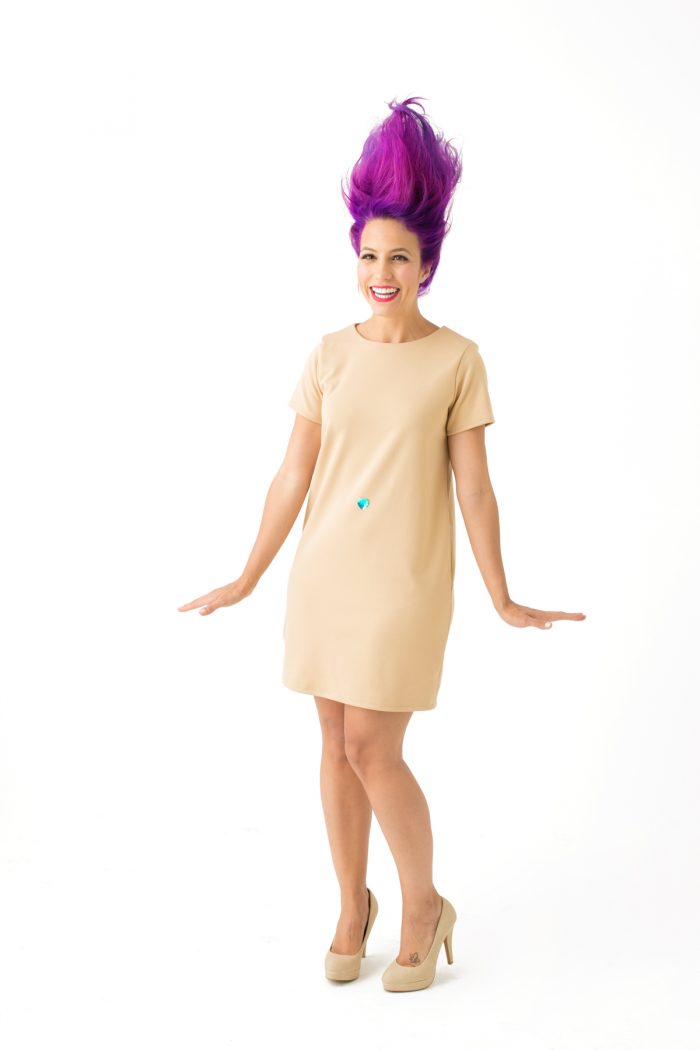
DIY Troll Costume
Supplies Needed
Step-by-Step Tutorial
- Tease and spray hair on top of your head so it stands up. Spray with temporary color hair spray of choice!
- Use temporary hem tape to attach a large gem stone to the tan dress, over your belly button.
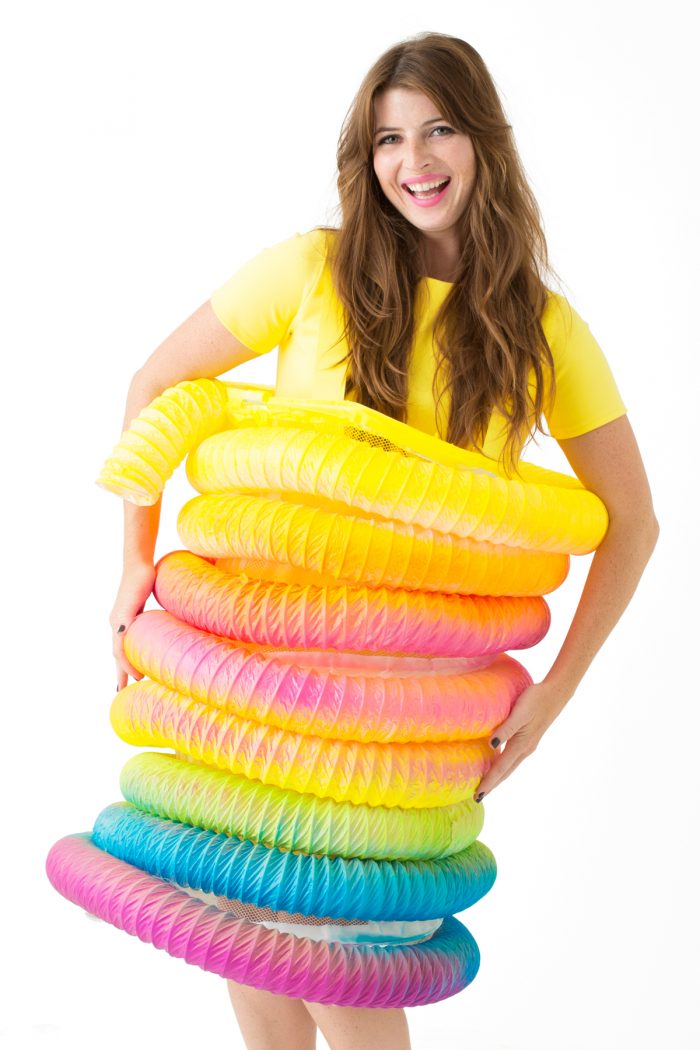
DIY Slinky Costume
Supplies Needed
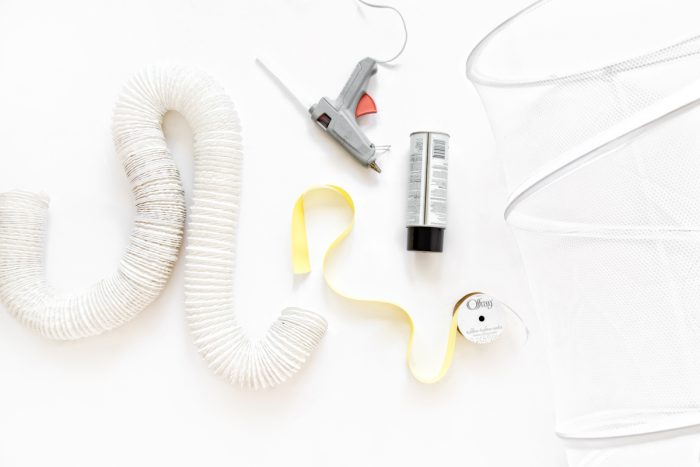
- Pop Up Hamper
- Flexible Vinyl Hose We used three of these
- Spray Paint in Rainbow Colors
- Ribbon for Straps
- Hot Glue Gun
- Scissors
- Yellow Dress
Step-by-Step Tutorial
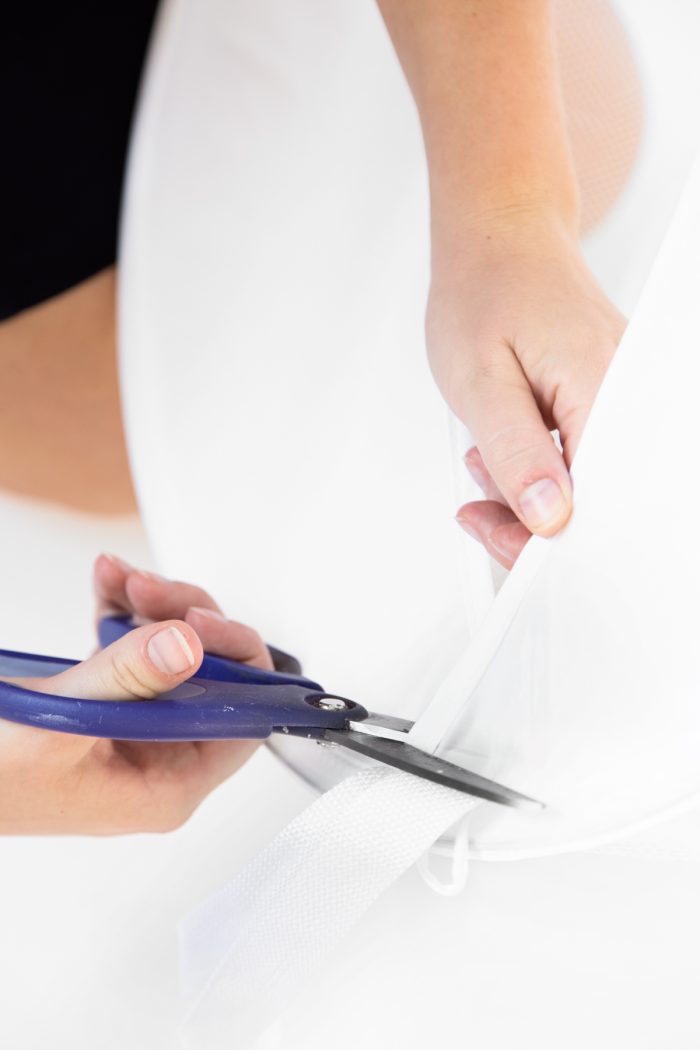
- Cut the bottom out of the hamper.
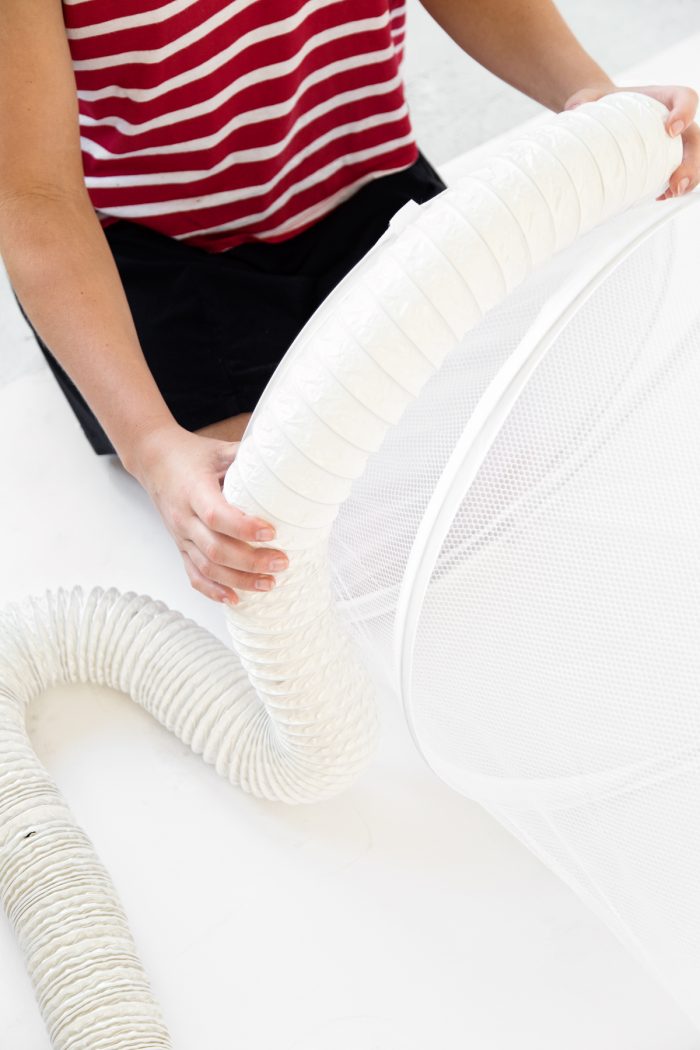
- Stretch out the flexible hose as much as possible. Starting at the top or bottom of the hamper, begin hot gluing the hose to it. The best way to do this is to run a line of hot glue along small sections of the hose and press it on to the hamper. (Since the hamper is mesh, do not use your hand to press it on the backside. I found it easiest to lay the hamper on top of the hot glue instead.
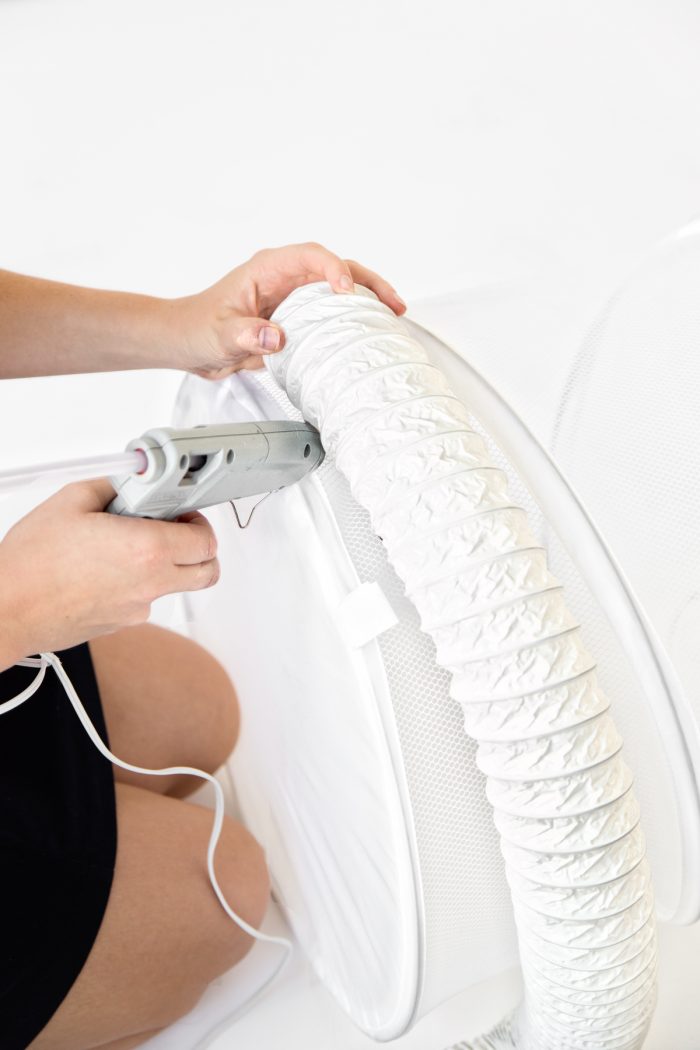
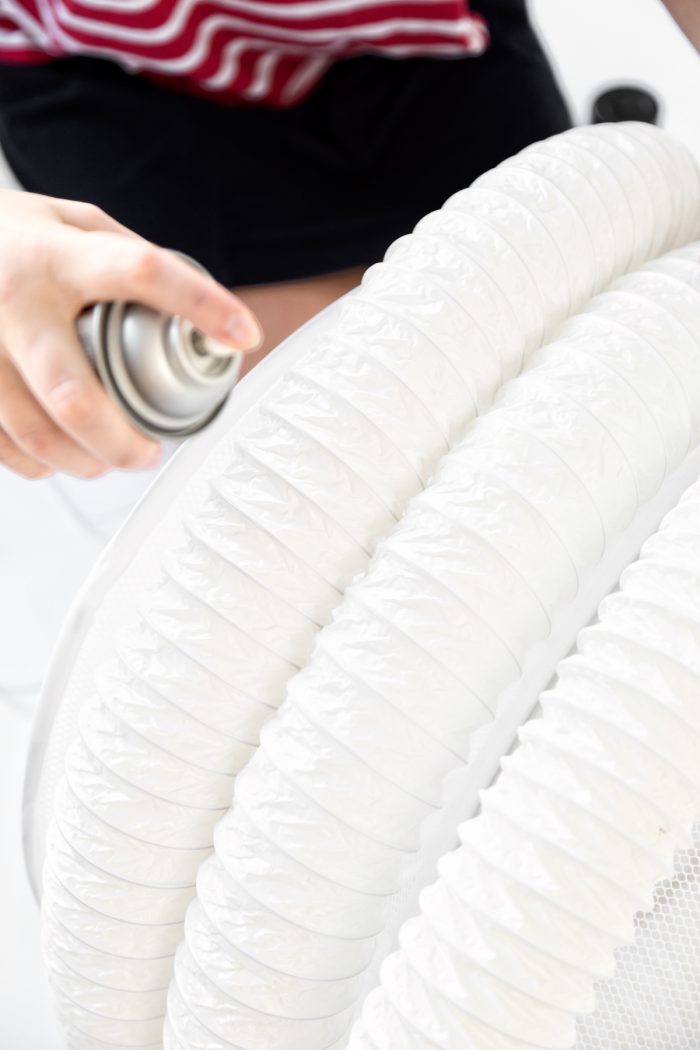
- Continue wrapping the hose all the way around until the entire hamper is covered. It does not have to be perfect and, in fact, shouldn’t be for a more realistic look.
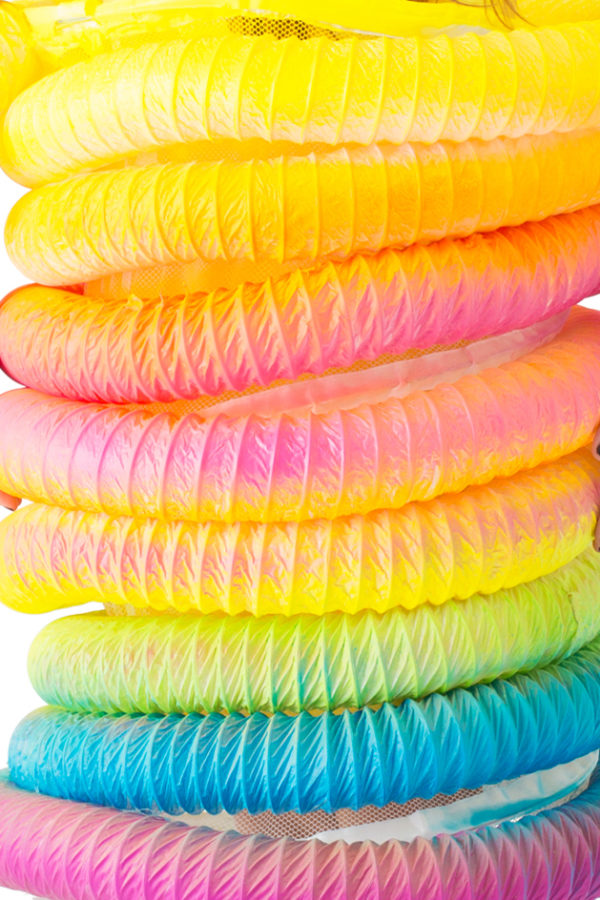
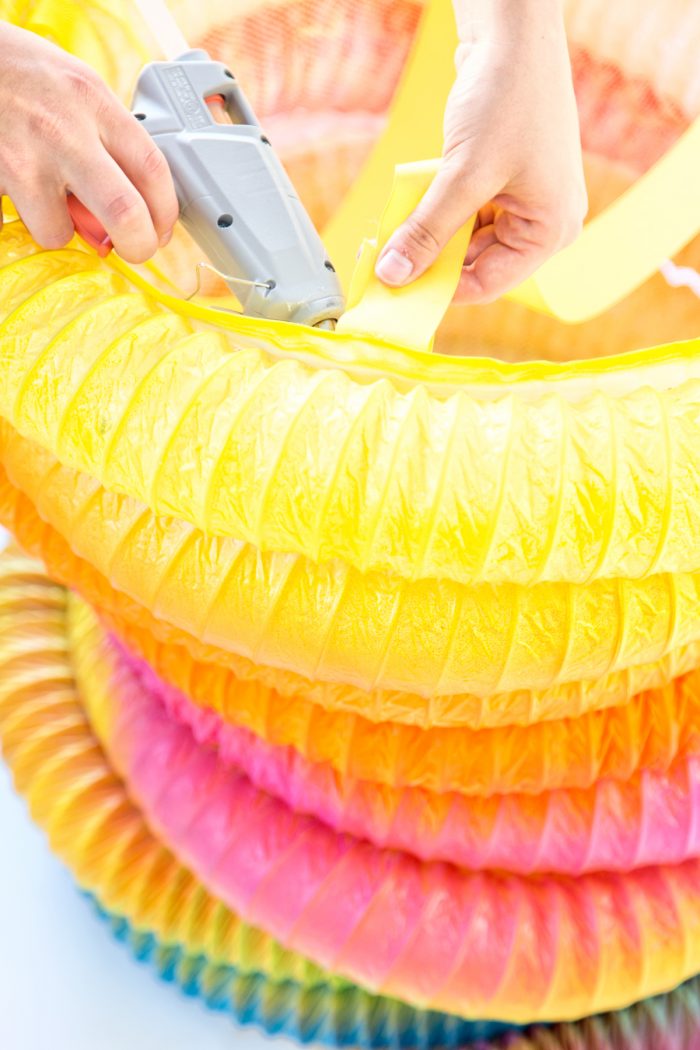
- Sit the wrapped hamper upright and start spray painting. Start with one color and continue with different colors all the way up, allowing each to overlap slightly and making sure that the colors are spread throughout the layers of hose, and don’t just look like stripes of color. Let dry completely.
- Hot glue two ribbon straps in place, to go over your shoulders.
DIY Polly Pocket Costume
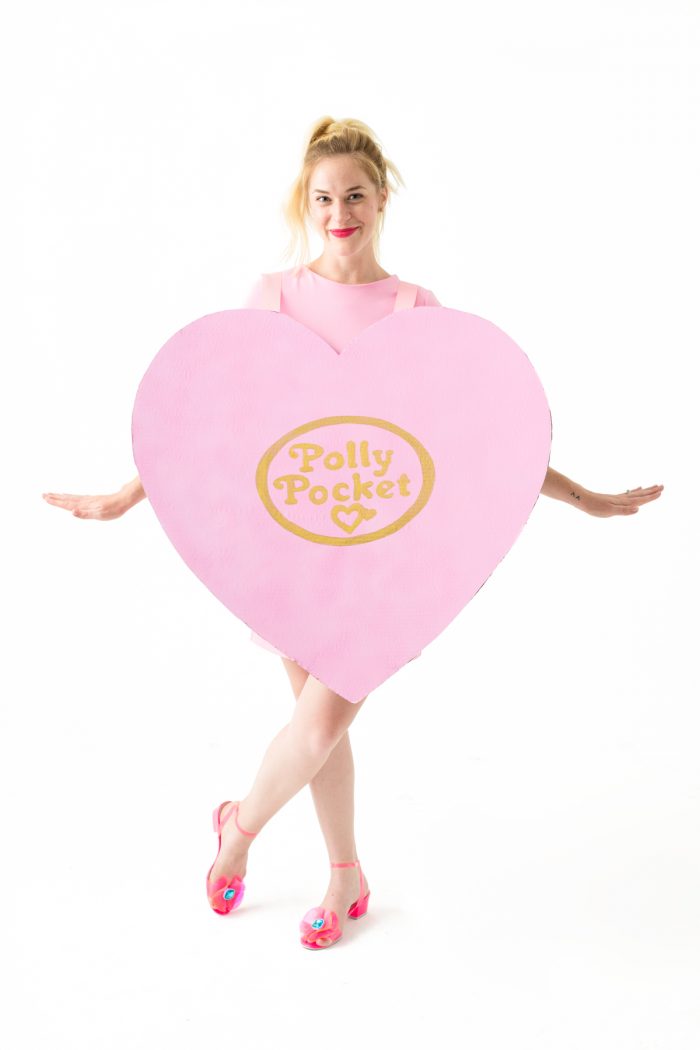
Supplies Needed
- Two Large Cardboard Sheets I buy mine at an art supply store, like Blick
- Pink White and Gold Paint
- Small and Large Paint Brushes
- Pink Ribbon
- Hot Glue Gun
- Scissors and/or Box Cutter
- Pink Dress
Step-by-Step Tutorial
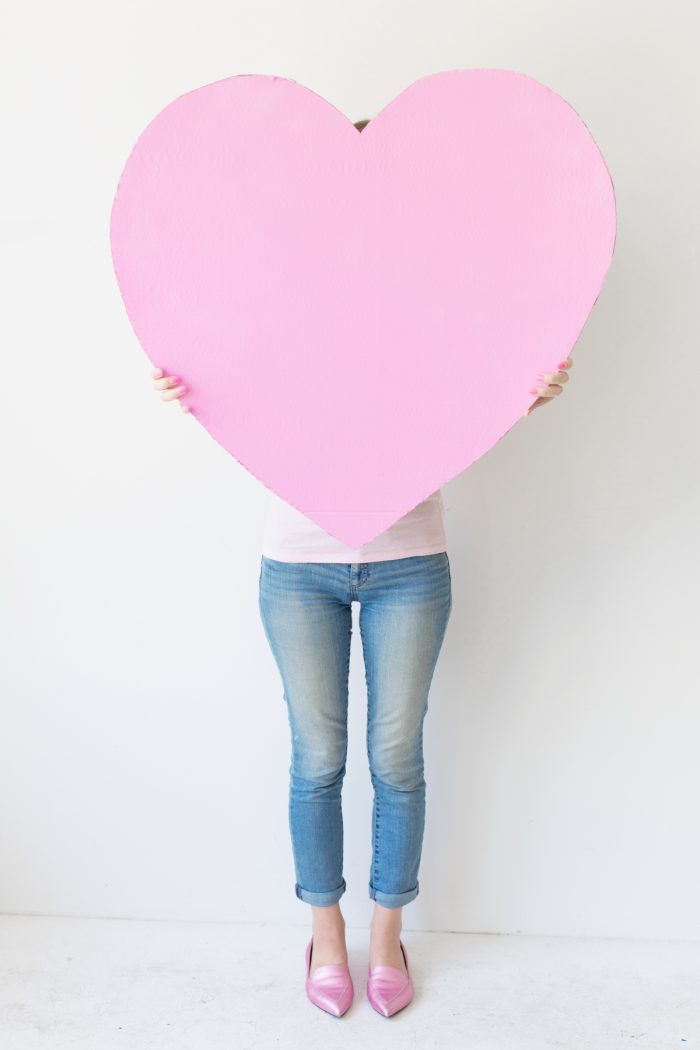
- Cut out a large heart shape from cardboard. The exact size will depend on who is wearing the costume.
- Trace the heart onto the other sheet of cardboard and cut that out too.
- Paint both hearts pink.
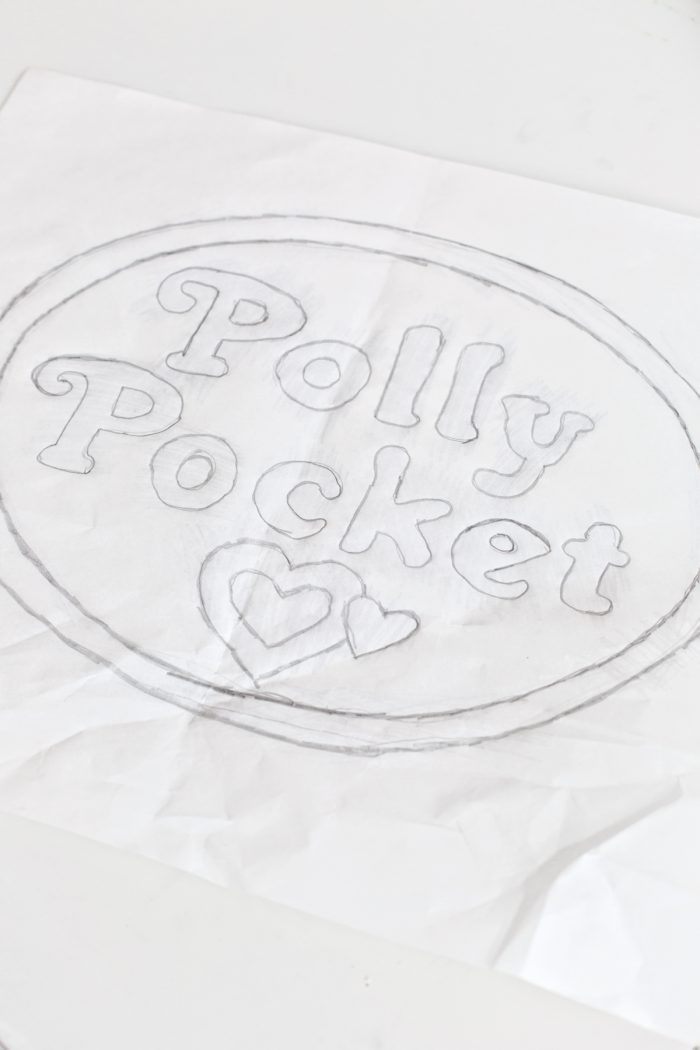
- Print/trace an image of the logo onto a piece of computer or tracing paper.
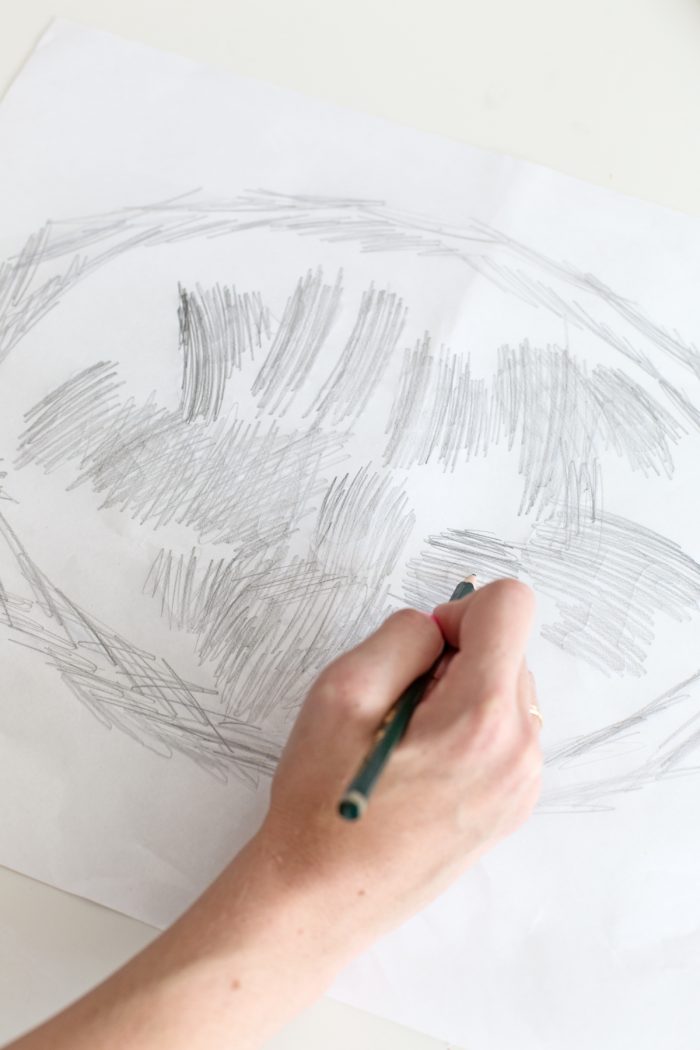
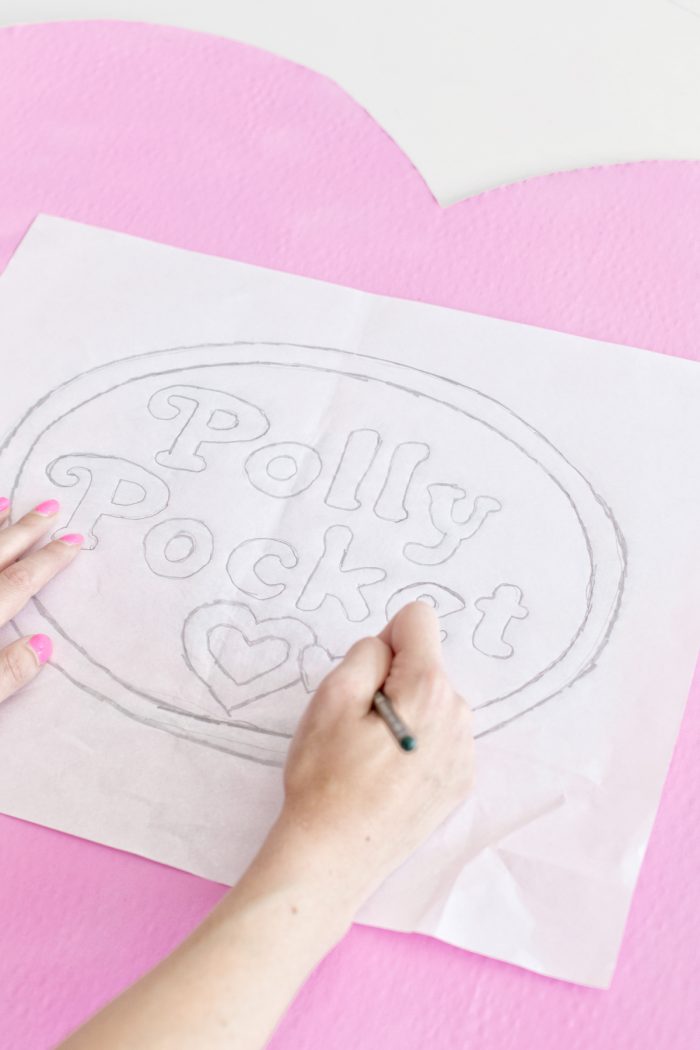
- Flip the paper over and color all over the backside of the paper with a pencil.
- Flip the paper right side up again and place it where you want it to be on the heart. Re-trace over your original lines and this will leave an outline on the pink heart!
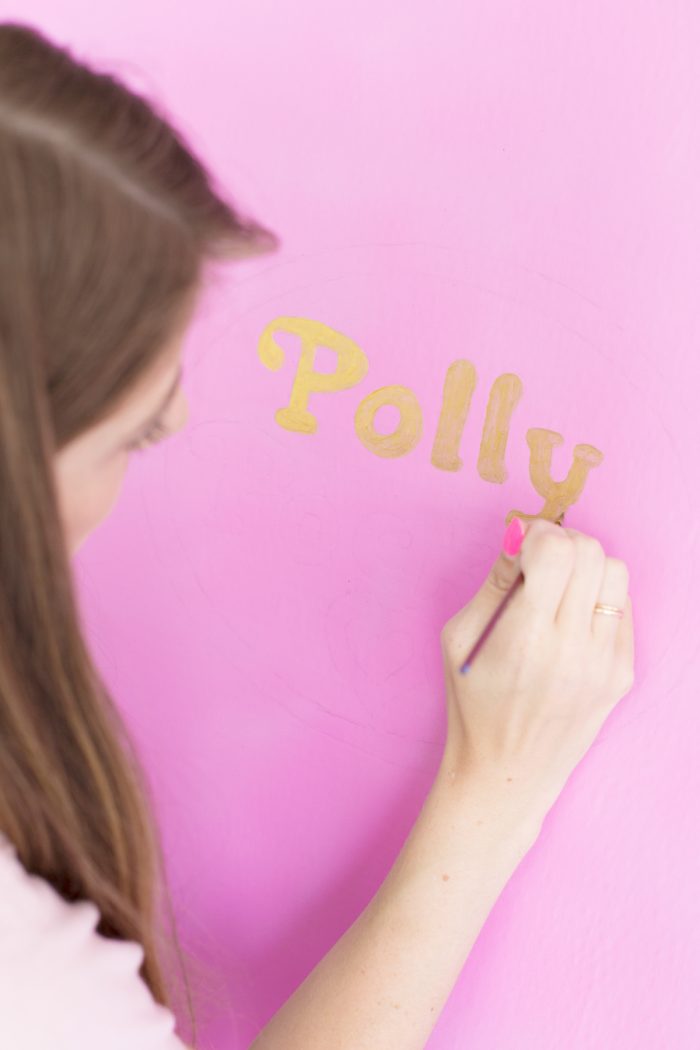
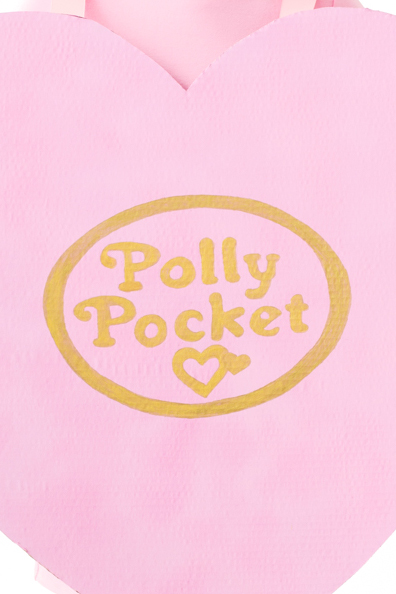
- Paint gold.
- Attach pink ribbon straps to each side of the heart using hot glue!
DIY Beanie Baby Costume
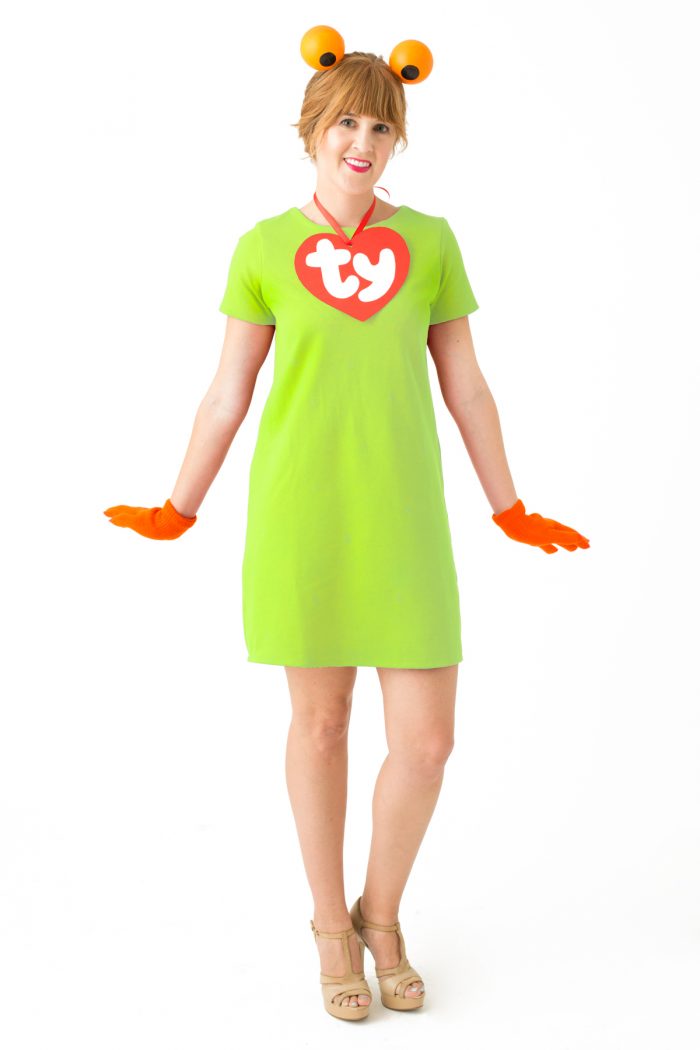
For this beanie baby costume, you could really be any animal you want! We went with the classic tree frog!
Supplies Needed
- Green Dress
- Two Smoothfoam Balls
- Orange and Black Paint
- Headband
- Red Poster Board
- White Computer Paper
- Red Ribbon
- Scissors
- Hot Glue Gun
- Glue Stick
- Orange Gloves
Step-by-Step Tutorial
- Paint both styrofoam balls orange and let dry. Then paint a small black circle on each. Glue to headband.
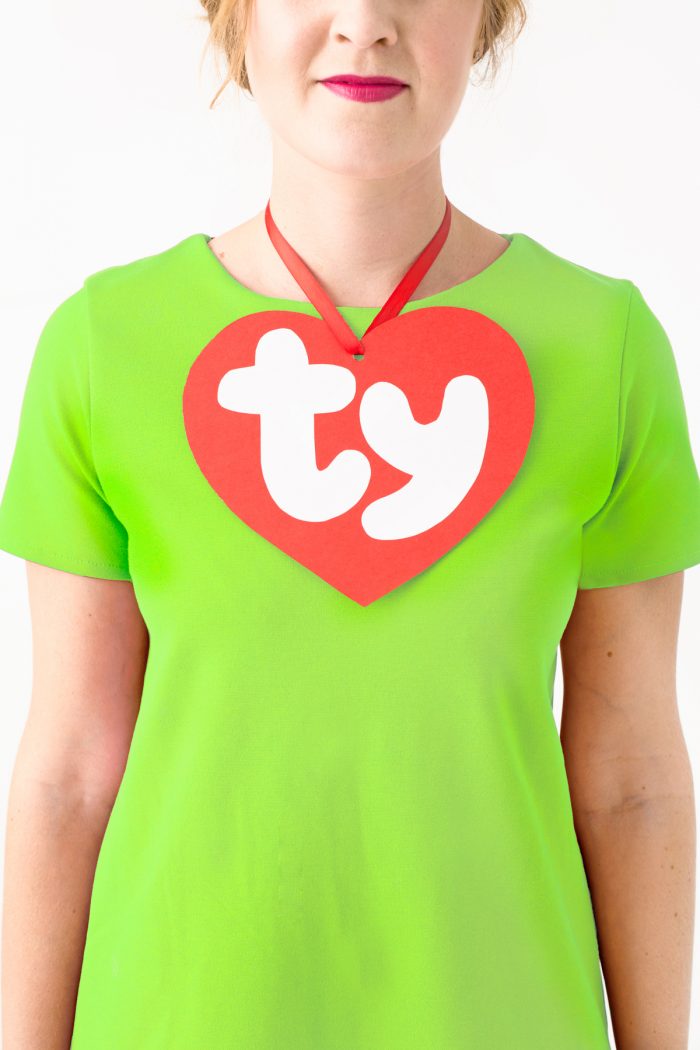
- Cut out a heart shape from red poster board. Trace or draw “ty” letters onto computer paper and cut out.
- Glue “ty” letters onto red heart.
- Cut a hole in the top of the heart and slip a red ribbon through.
- Pair eyes, TY heart and orange gloves with a green dress!
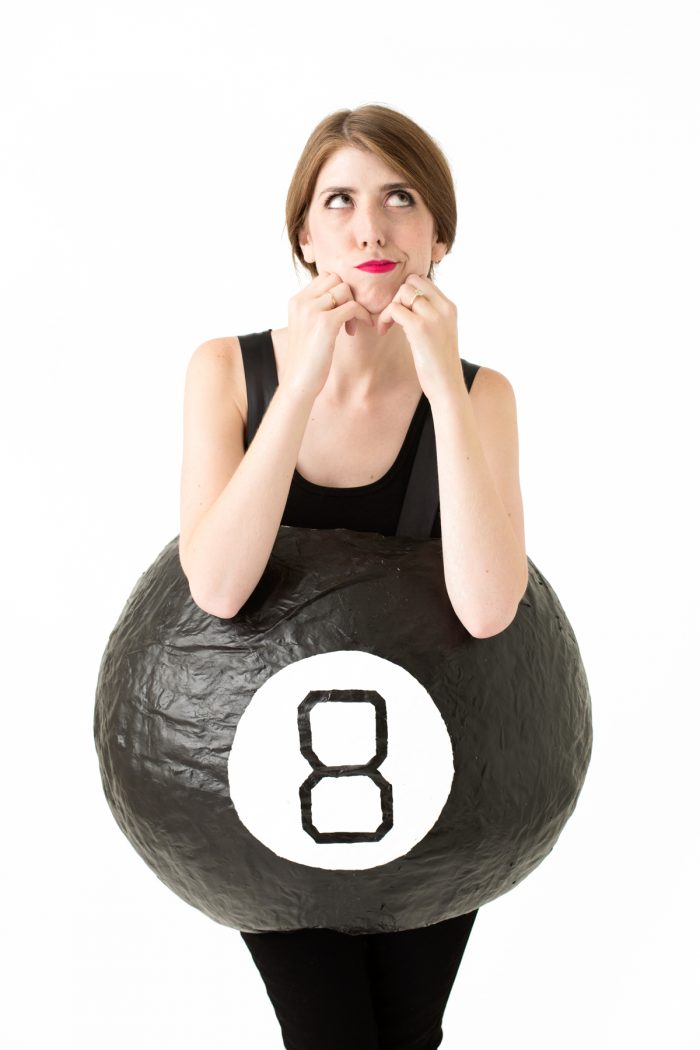
DIY Magic 8 Ball Costume
Supplies Needed
- 36” Balloon
- Newspaper lots of newspaper!
- Flour and Water To make paper mache paste
- Black White and Blue Paint
- Black Ribbon
- Hot Glue Gun
- Scissors
- Black Outfit
- Blue Shoes Optional, but AMAZING!
Step-by-Step Tutorial
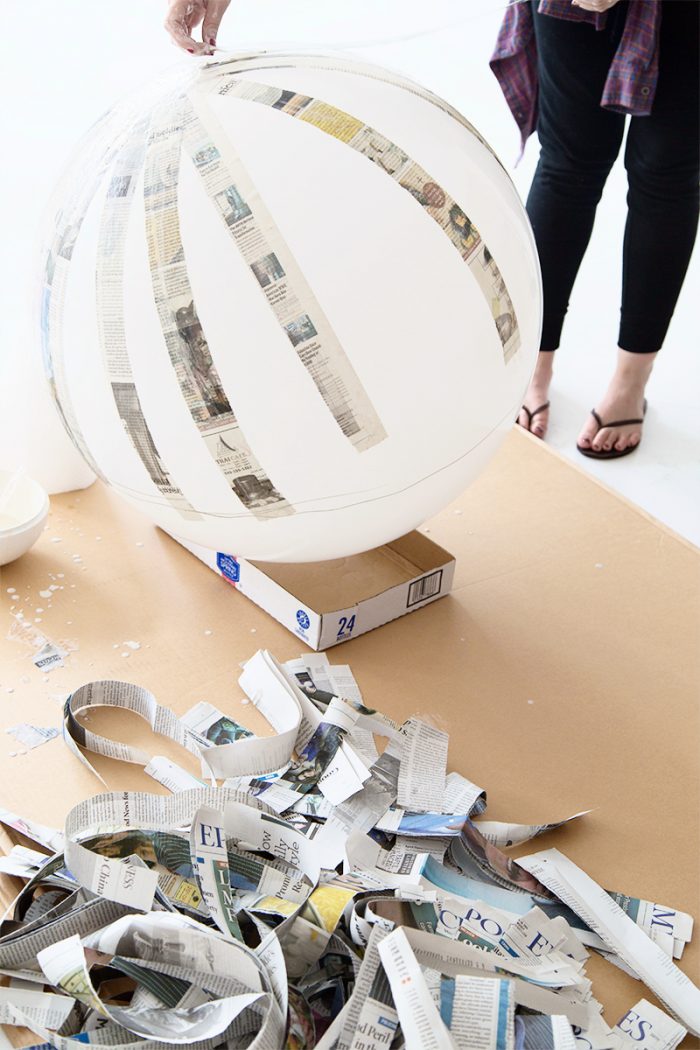
- Make your paper mache paste, using a one to one ratio of water and flour. The paste should be a thick glue like texture. If it’s too thick, add a bit more water. Tear the newspaper into long thin strips. Fully inflate a 36″ balloon with air and set it on something like a box to keep it from rolling around.
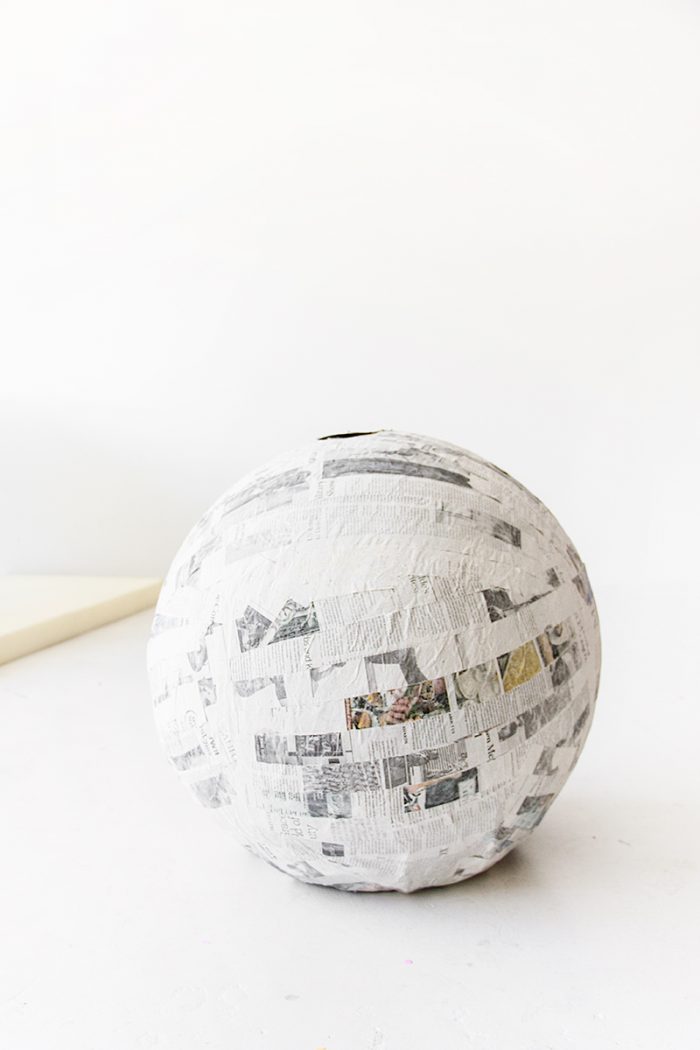
- Begin your first layer of paper mache. Dip each strip of newspaper into the paper mache and squeeze off the excess with your fingers, then place on the balloon. Cover the entire balloon in one layer and let dry completely.
- Repeat three more times so you have four layers total. This is really important so the ball is nice and sturdy for the costume. Once the fourth layer is completely dry, deflate the balloon and you’ll be left with the base of your magic 8 ball costume!
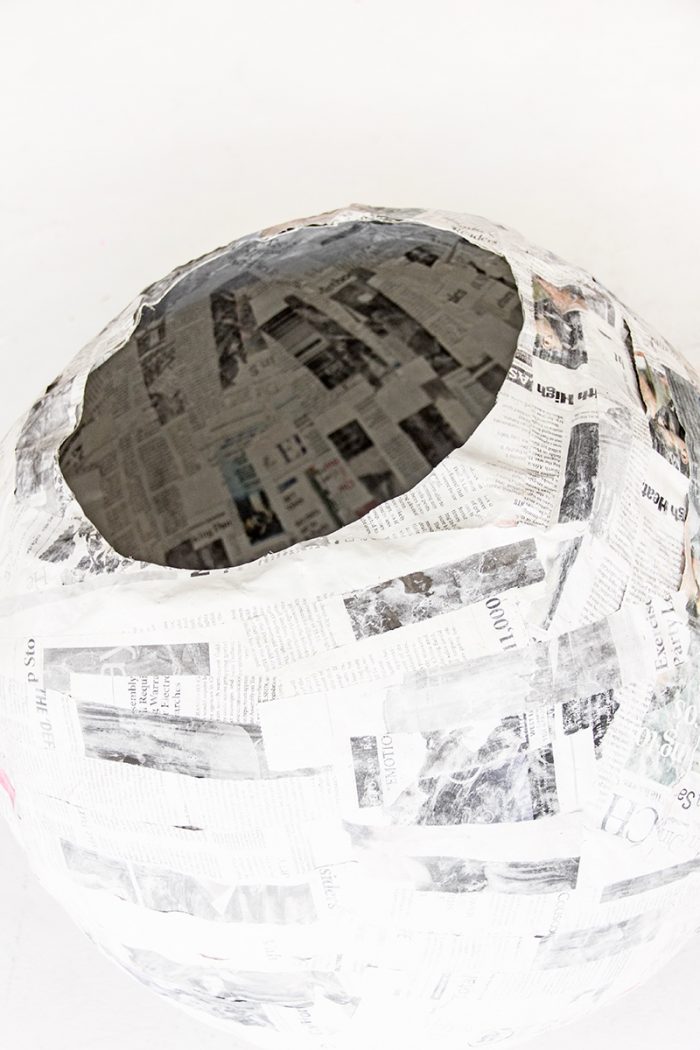
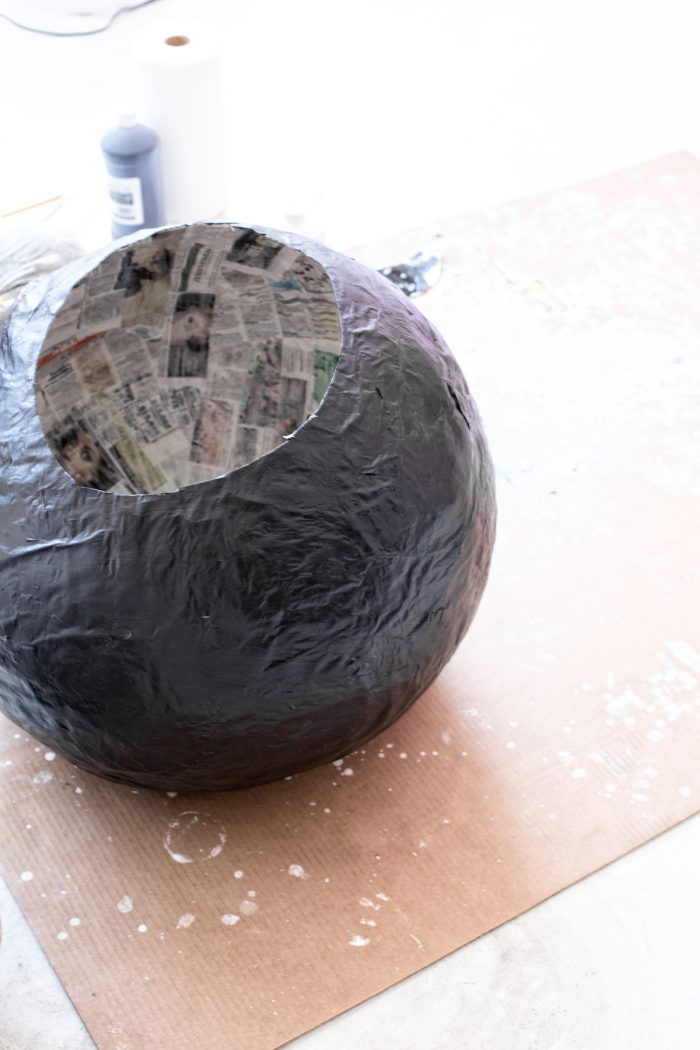
- You’ll need to cut a hole in the top and bottom of the magic 8 ball that is big enough for you to fit through. The bottom hole should be a bit wider since you’ll need to be able to move your legs so you can walk.
- Paint the entire ball black and let dry.
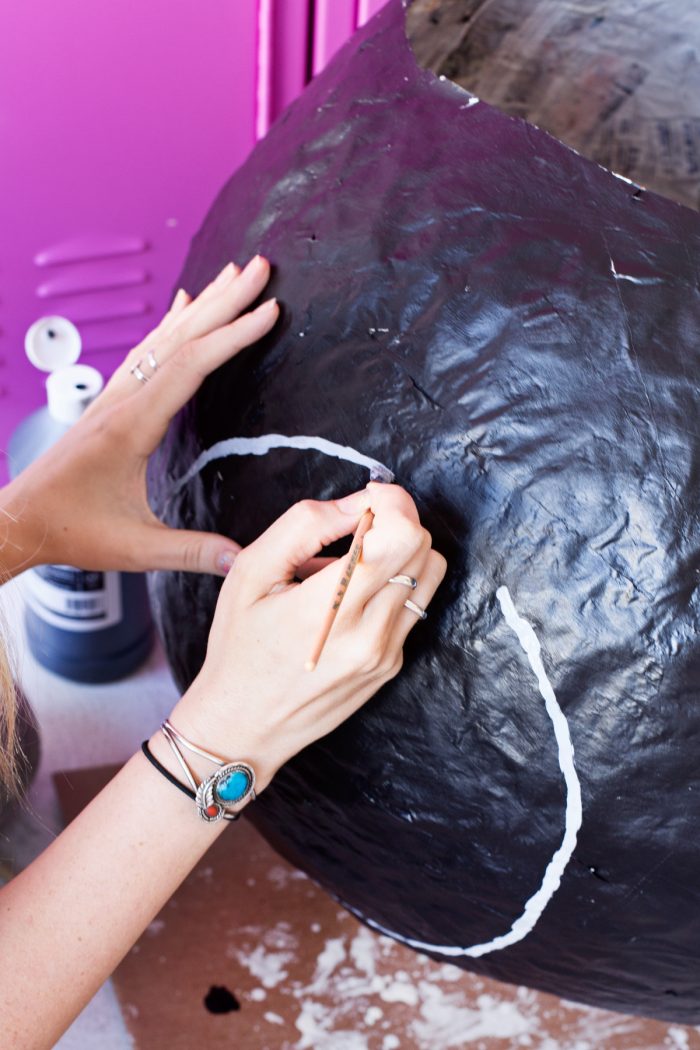
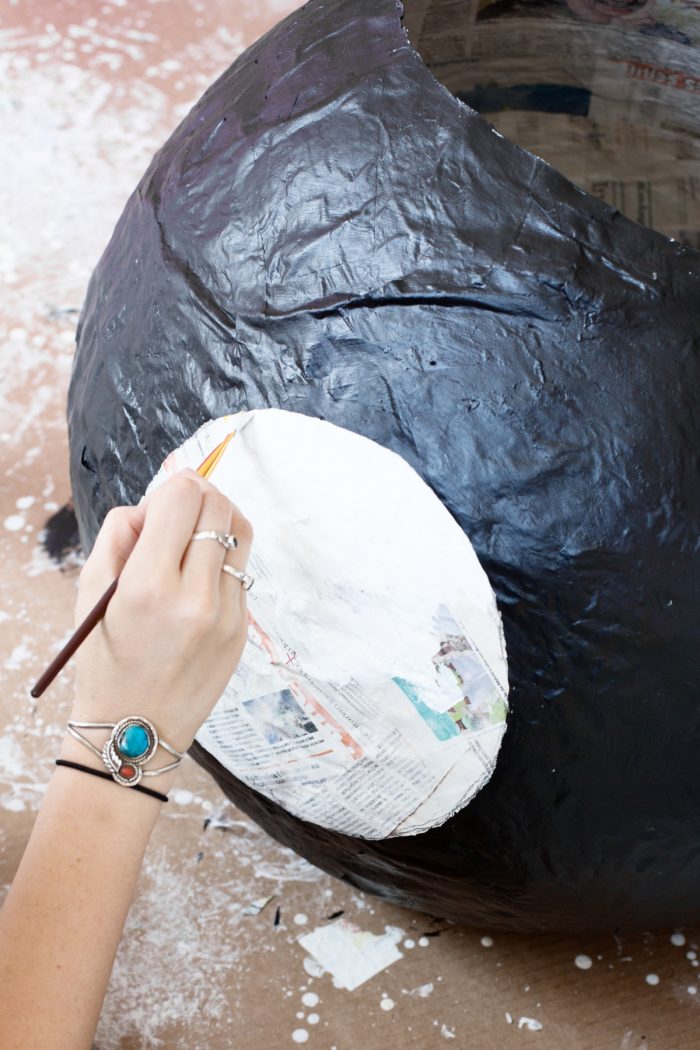
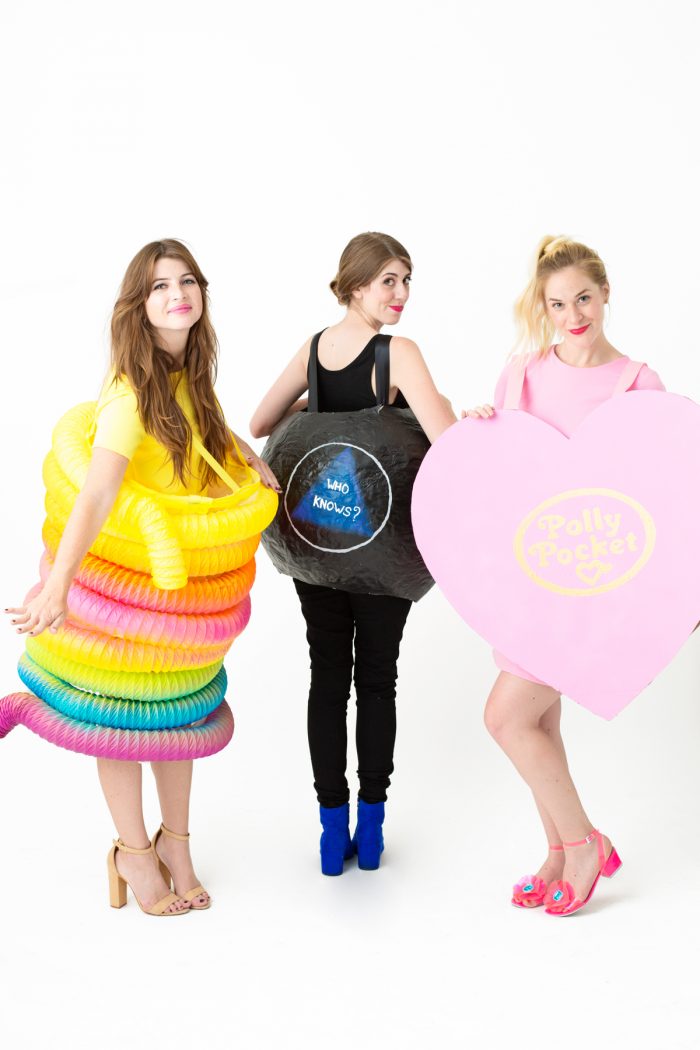
- Paint a white circle on one side of the ball. Let dry, and then paint a black 8 over top of it.
- On the other side, paint a gray outline of a circle and let dry. Then paint a blue triangle inside the circle. Let dry again. Finally, paint any magic 8 ball phrase you want on the back!
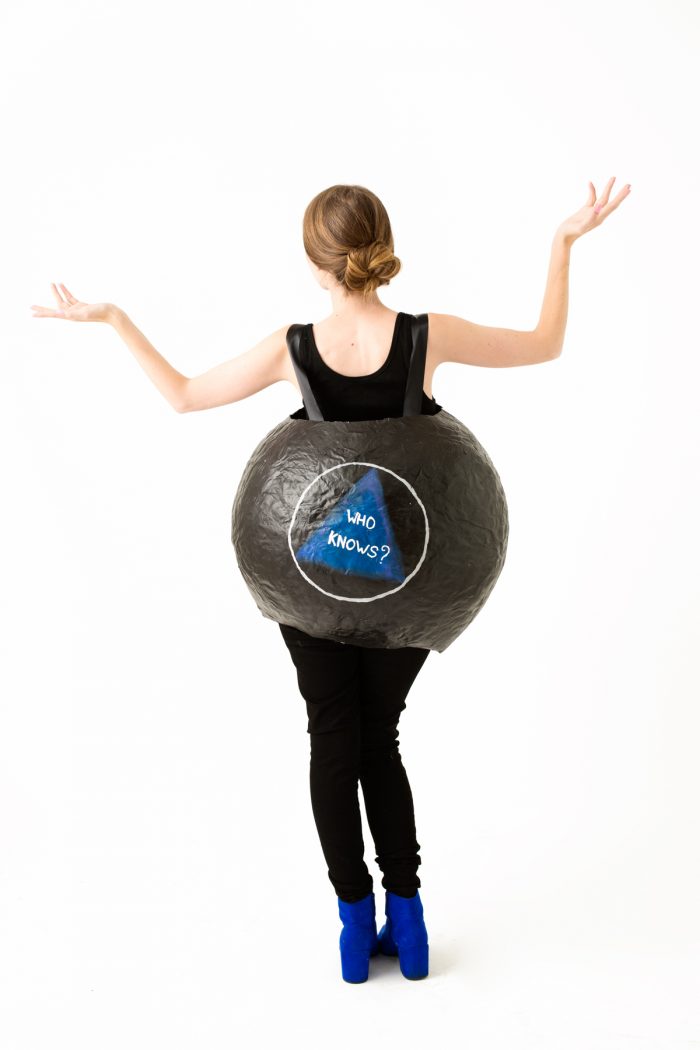
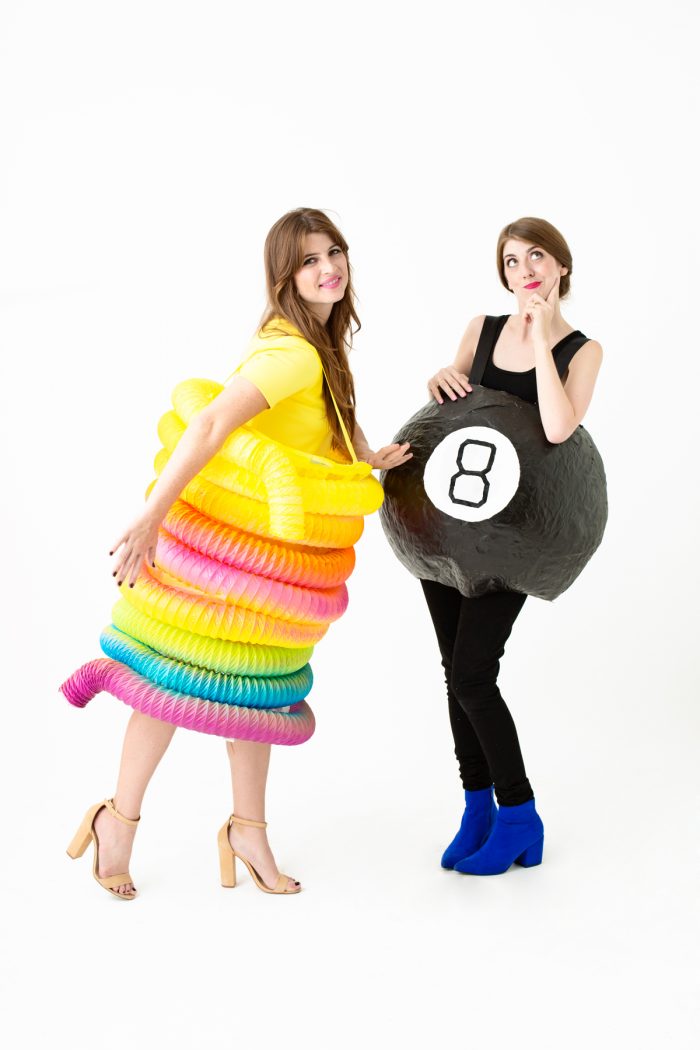
Photos by Jeff Mindell
Looking for more throwback costumes?
- DIY Lite Brite Costume
- DIY Troop Beverly Hills Costume
- DIY Lisa Frank Costumes
- DIY Lisa Frank Costumes (Round 2!)
And if you remember correctly… I was also a Furby back in the day. Ha! Little has changed. 😉 Which one is your fave!??!?!?!
Remember, if you make a Studio DIY costume, be sure to share it on Instagram with #studiodiyincostume so we can feature it on the blog!!




Michelle says
They are SO cool, I love the troll costume!
https://www.makeandmess.com/
Candy says
YES!!!! I love ALL of these so much! What fun throwback costume ideas! Now… to choose my favorite… haha
LirioNohemy says
I was showing my Mama your costumes and at first glance she thought the Polly Pocket was a Whoopie Cushion! I guess that’s sort of a 90s toy too! ??
Isabelle says
So gorgeous! I love your work!
Rebecca says
You guys always come up with such fun and creative costumes! Your blog is full of endless inspiration for me!
Rebeccaetc.blogspot.com
Rachel @ Diamonds & Bacon says
LOVE the Troll costume! How difficult was it to get the hair to stand up like that? Any tips?