
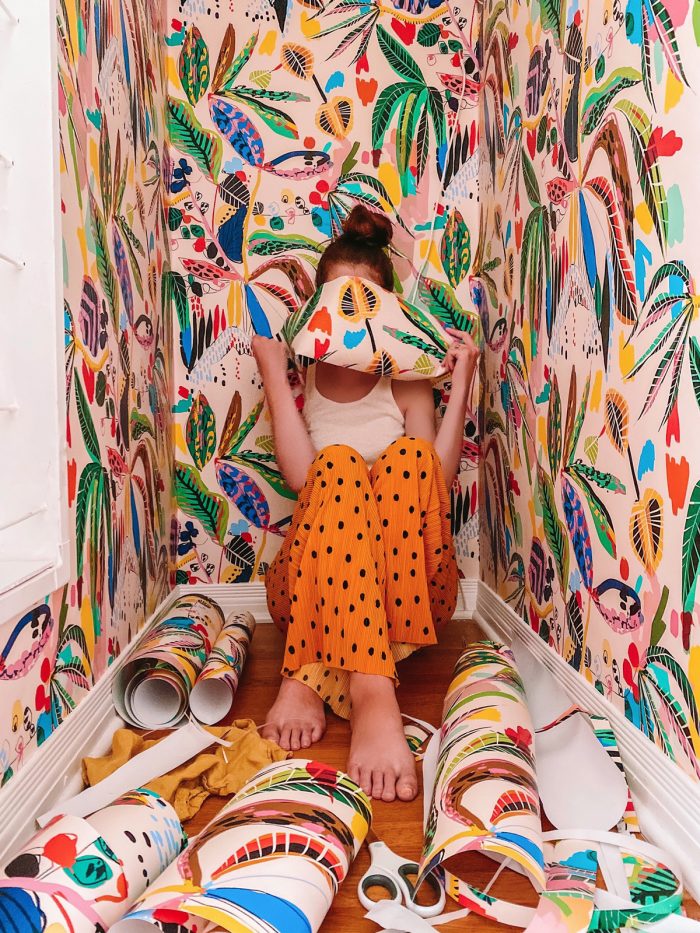
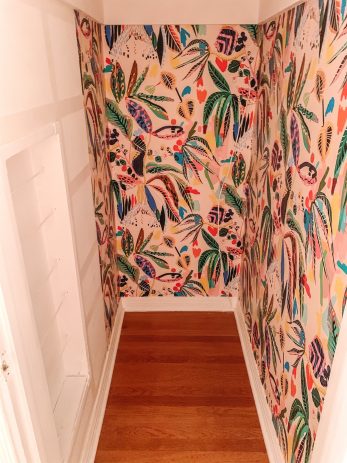
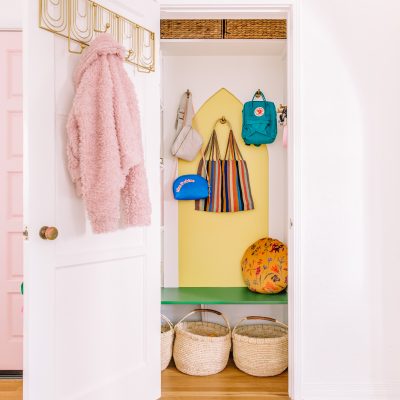
Upon deciding to give our son’s closet a little colorful upgrade, I knew I wanted to add a bold wallpaper. But I also knew that this space wouldn’t last forever, and we wouldn’t be in this home forever, so I wanted to go with something removable. After searching and searching, I couldn’t find a removable wallpaper I loved for the space. But I did find a traditional wallpaper I loved. Today, I’m going to share how to make regular wallpaper removable, which is exactly what I did for this project!
I had posed the question on Instagram, and so many shared they had turned traditional wallpaper into removable wallpaper by doing a painter’s tape grid. The wallpaper is then adhered to that grid and boom! You can remove it just like that. The method turned out to be FAR simpler than I expected, and easier than installing removable wallpaper itself!
This is a great option for renters wanting to use wallpaper in their space, or for kid spaces that you know will need to change and grow with your child. Keep reading for the how-to!
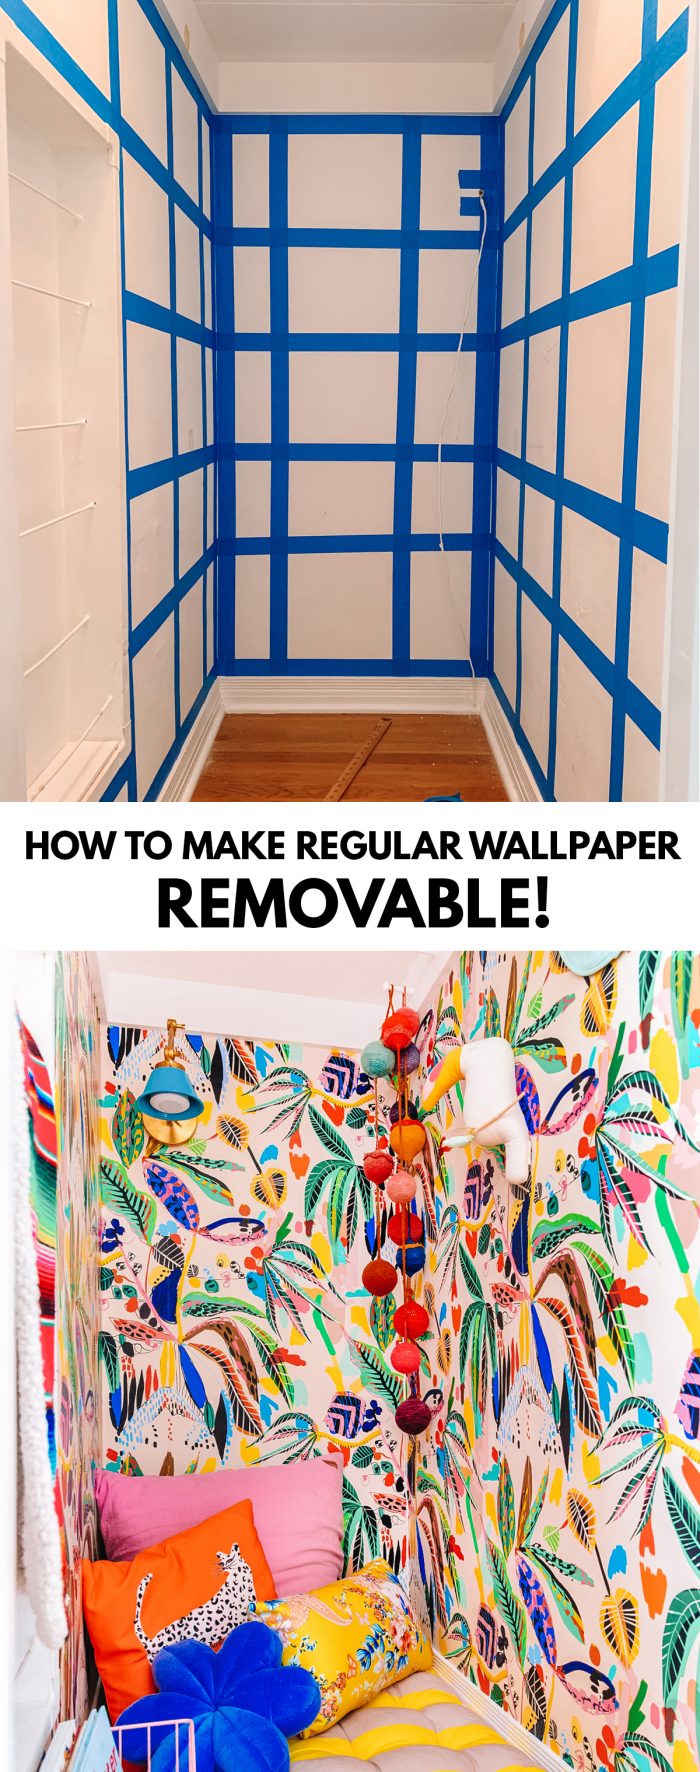
To Long, Didn’t Read: An Overview of the Method
In this method of making regular wallpaper removable, you’ll create a grid out of painter’s tape (or other removable tape) on your wall. This will become where you adhere your wallpaper to, and you will do so using double stick tape!
By utilizing double stick tape right where each sheet of wallpaper meets the next, you create a completely seamless and durable final product!
Working with Wallpaper with Light Backgrounds
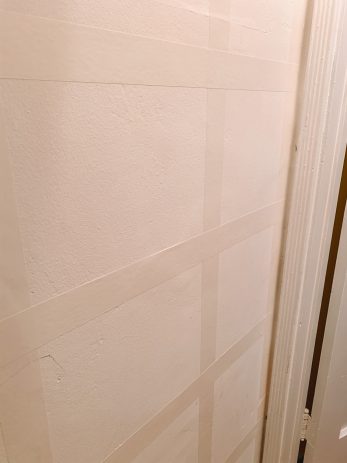
I learned this the hard way: Do a test of your tape before you make your grid to ensure you cannot see the tape through it.
If you have a wallpaper with a light background like white, ivory or blush, it is likely that blue painters tape will show through.
Supplies You’ll Need
Please note: I did not include quantities because this will depend on
- Wallpaper
- Removable Tape
- Painter’s Tape (if you have a wallpaper with a dark background)
- White Paper Tape (if you have a wallpaper with a light background)
- Double Stick Tape
- Yardstick (Or measuring tape, but a yardstick makes things easier!)
- Pencil
- X-acto knife
How To Make Regular Wallpaper Removable
Follow the below steps to hang regular wallpaper so that it is easily removable!
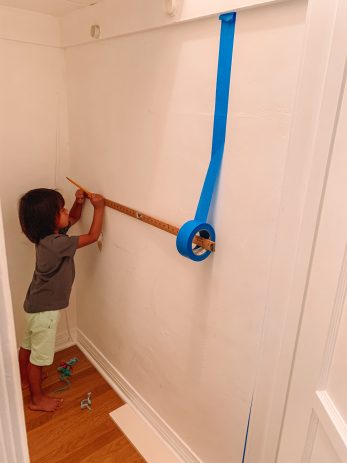
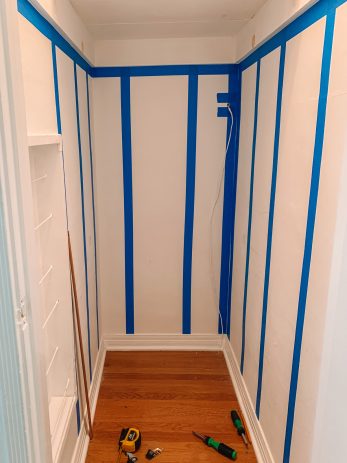
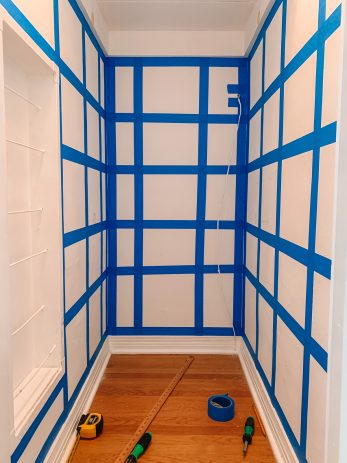
1. Make your painter’s tape (or paper tape) grid. Here are a few important notes when making your grid:
- You will want to have a piece of tape along the top of your wall and the bottom of your wall and in any/all corners.
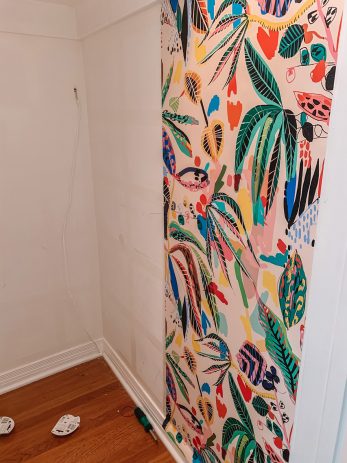
- You will want to have a vertical piece of tape behind every seam of your wallpaper, so this will affect how you space your grid. My wallpaper was 24″ wide, so I decided to a do a grid with tape spaced about 12″ apart.
- If there are any pieces you need to work around (like a window or cut-out) you’ll want to line the edges of that with tape as well.
- The grid does NOT have to be perfectly spaced, as you can see with mine above. The most important part is that there is a piece of tape wherever a seam or end of a wallpaper sheet hits.
With those tips in mind, use a pencil and yardstick to make light marks for where you want your tape grid to go. Then put up your tape accordingly. Again, it doesn’t have to be perfect, and you may end up adjusting it slightly once you start putting wallpaper up.
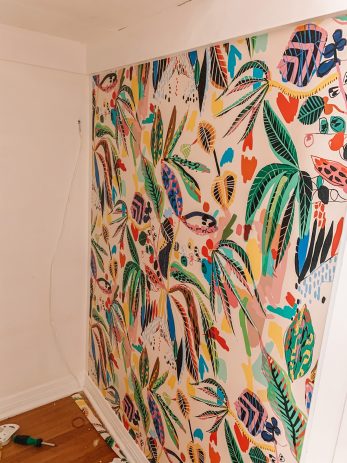
Note: As you can see above and as I noted in the previous section, after creating this first grid, I realized that you could see the blue tape through my light-background wallpapers which is why you see a switch to a white grid in that last photo.
2. Cut your wallpaper to size. Depending on what repeat your wallpaper has, this wall affect how you need to cut your sheets so they match up. Each sheet should be cut to about 3-4″ longer than your wall.
3. Begin hanging your wallpaper. You’ll want to start at a corner/edge of the wall. I worked from top to bottom, right to left so that is how my instructions will proceed!
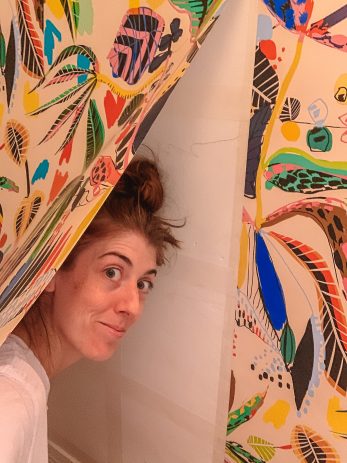
Place long strips of double stick tape along the top edge of your wall on top of the painter’s tape, and adhere your sheet of wallpaper to it. Now you’ll basically end up going underneath the wallpaper to do the rest. Gradually work your way down the grid, adding strips of double stick tape on top of the painter’s tape and carefully pressing the wallpaper down to adhere to it so there are no bubbles.
NOTE: You’ll want the vertical pieces of double stick tape on the left to land where the current sheet and the next sheet will meet to ensure both edges stay flush to the wall. See photo above for guidance!
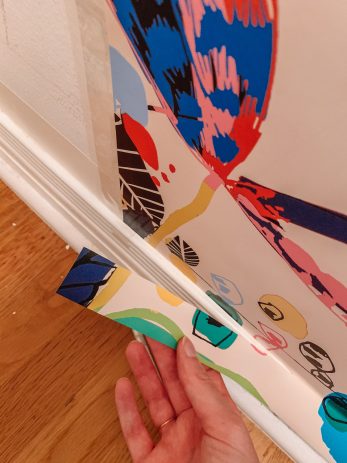
4. Continue all the way down the wall until you get to the bottom edge. Add pieces of double stick tape along the painter’s tape on the very bottom of the wall and adhere your wallpaper.
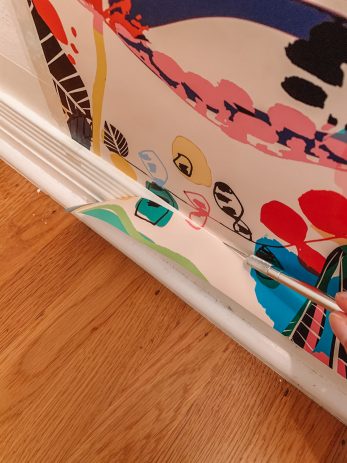
5. Use an x-acto knife to trim off the excess wallpaper.
6. Repeat with all other sheets.
Tips for Working Around Windows, Doors and Inside Corners
As with any wallpaper, working on a plain, flat wall is easiest when installing wallpaper. But that’s not always the case if you’re doing an entire room, or a wall that has a window. Here are a few tips for working around windows, doors and inside corners.
Overlap method for inside corners
- Trim down your sheet of wallpaper so that it overlays over the corner and onto the next wall by about 1/2″.
- Then, lay your next sheet directly along the corner so it overlaps slightly. Be sure there is double stick tape along the edge so it remains adhered to the wall.
- NOTE: I didn’t do this, I tried to just “push” the wallpaper into the corner and it did NOT work. It’s very rare that corners on a wall are perfect and will almost always result in the wallpaper bubbling or pulling away from the wall. I ended up having to cut my corners with an x-acto knife and they are far from perfect. Learn from my mistakes and do the overlap method above instead!
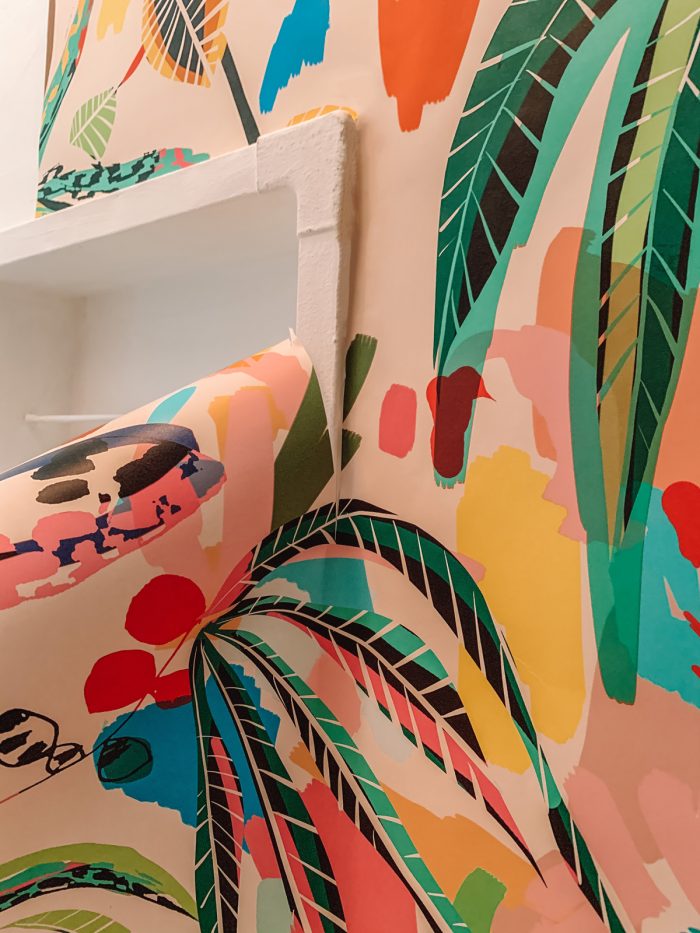
Working around windows, doors or cut outs:
- Place the sheet of wallpaper as you typically would and adhere it to the wall vertically, up until your window or door.
- Then, cut diagonally from about six inches below the upper corner of your window right up to the corner point of your window. This is called a “relief cut” and will allow you to continue adhering the the wallpaper across the top of the window.
- Trim excess accordingly as you normally would. Repeat with the bottom corner.
- Remember to ensure there is a piece of double stick tape along ALL edges of the window or door where you cut the wallpaper.
- I found this video super helpful if you prefer to learn in video form!
Is the tape grid method durable?
Yes. I have had our wallpaper up for nearly five months now and I haven’t noticed a single piece peeling away from the wall. The key to making it last long is what I mentioned previously: Ensuring every edge of wallpaper is secured with double stick tape to the wall. If it’s not, you’ll likely have a different outcome!
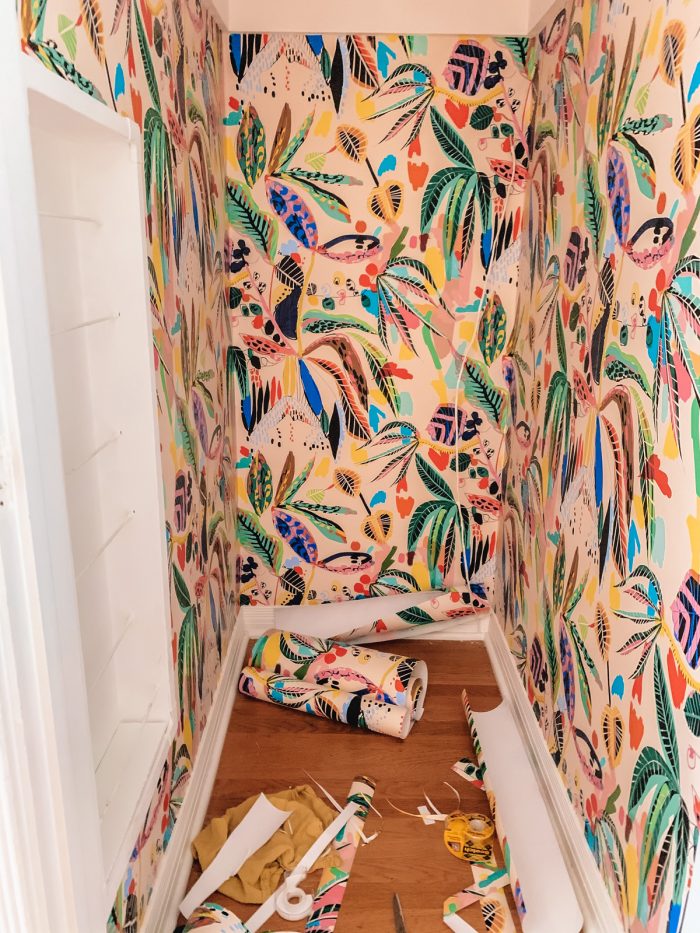
Is this easier to do than installing removable wallpaper?
I haven’t personally installed removable wallpaper but from watching someone doing so elsewhere in our home I would say a resounding YES! The fact that the wallpaper itself is not adhesive makes it much easier to work with, and much more forgiving when you make mistakes. You can easily work in small sections by adding just a little tape at a time as you work your way down and across the wall.
How do you remove the wallpaper?
When you’re ready to remove the wallpaper, simply peel off the wallpaper. Depending on the type of paper or the length of time it was up, there’s a chance you’ll be able to salvage the wallpaper but those results will vary.
Then, carefully and slowly remove the painter’s tape grid from the wall. Tada!
Photos by Jeff Mindell
I am so thrilled with how this turned out and how it has held up since. Hope it helps those of you looking for removable wallpaper options after falling in love with a traditional one!
Not a fan of tape? Try this alternative method using Elmer’s glue instead!


JapanMotors says
In this stage, while communicating with the retailer, ask the laser cutter. Inquire about the available features, specific functions, laser power strength,
Olivia says
I love this idea! Where did you find your wallpaper at? I love it!
Zoe says
I neeeeeeed to know where you got this wallpaper from
Cristina Sinofsky says
Can you please add links for which tapes you purchased/used for this project?
April says
You are so smart! I can’t wait to hang wallpaper in my grandson’s room!
Catherine Vaughan says
A medium yellow painter’s tape is also available. I wonder if that is light enough to be used under light wall paper.
Caroline Welti says
HELP!!
Hi! I’m a renter and want to use this method but first I need your opinion on how to use *fabric* instead of wallpaper. Plain velvet wallpaper is impossible to find so I found a velvet fabric I would like to use instead. Do you have any recommendations for installing fabric on a wall? (or like some starch or something to make the fabric more like actual wallpaper)
Cayse says
Use liquid starch! I used liquid starch and a paint roller. Rolled it onto the wall, then applied the fabric and then also rolled over the fabric. Make sure it’s nice and wet. After it dries it looks like wallpaper and just peels off with no damage. Quick wipe down with some water and it’s back to the original state! I’ve had mine up for two years without a bit of peeling!
TroppoBella On Etsy says
I read about a method using Mod Podge, but starch also works, and, because you are working with a heavy fabric, you should also use tacks at the top.
Kelly says
Hi there! I’m glad you like this method of decorating your walls with fabric. It’s a great way to add some texture and color to your space without damaging the walls or the fabric. There are a few ways you can use fabric instead of wallpaper, depending on how permanent or removable you want it to be. You can try: ahesive velcro strips, clothespins and velcro strips or liquid starch. I hope this helps you find the best way to hang your fabric on your wall. Let me know how it goes!
Melissa says
I wouldn’t use starch on velvet. It will smoosh the pile in all sorts of directions. Also, if I were a renter, I wouldn’t use starch because it might attract bugs.
Mack says
Would this method work in a bathroom, or would the moisture pull the painter’s tape from the walls?
Kelly says
Hi Mack, regular wallpaper removable might not work well in a bathroom, because the moisture and humidity can damage the paper and the adhesive. To avoid this, select solid vinyl, fabric-backed vinyl, or paper-backed vinyl wallpaper. These types of wallpaper are also easy to clean and remove, which is great for bathrooms.
Haley says
How might you suggest altering this for a bathroom? I found a regular wallpaper that I absolutely love and am very interested in trying this but I worry the painters tape may react differently with humity or mold might find a way to grow between the paper and the wall if it’s not fully pasted down – what are your thoughts? Thank you so much!
Kelly says
Hi Haley, I have never tried this method myself in a bathroom but I don’t think I’d recommend ti for exactly the reasons you mentioned. The tape likely wouldn’t hold up in a humid environment! I’d look into already removable wallpapers instead, like Chasing Paper which has tons of great options!
Alyssa says
Hi! I was curious how long this lasted? I see the first comments were in 2021, so I assume that is when you did this project? Has it lasted since? If you removed it, did you run into issues with longevity (or just removed it bc you wanted a change)? Thanks!
Kelly says
It has held up without any issues two years later!