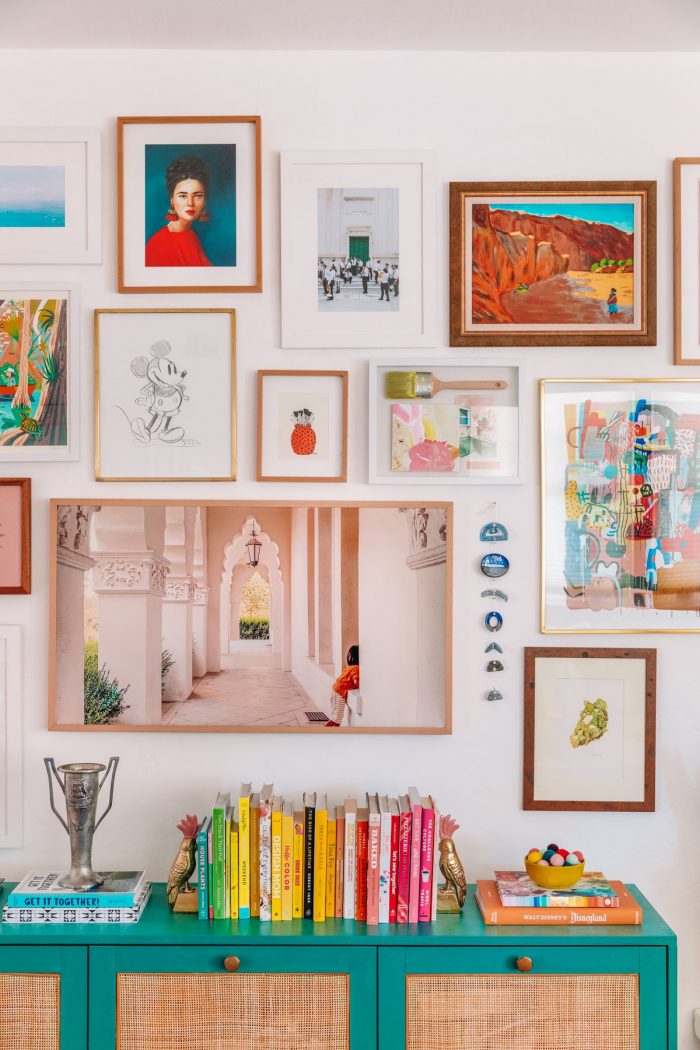
I will always love a gallery wall. It is the perfect place to display art you’ve collected, right alongside family photos and momentos. It adds warmth, character and personality to any wall in any home. And, it quickly becomes a conversation piece too. Here I’ll give you ideas for how to select and arrange art, gallery wall layout options and more.
However, when you want to create one, your first thought often is “But where do I start?” Well, that’s because gallery walls are a bit of a “chicken before the egg” situation! Do you all have a ton of art and need to figure out what fits on your wall? Or do you have a blank wall that needs art? Perhaps you’re somewhere in the middle?
As a result, there is no “exact” science to designing a gallery wall, and no two will be the same. You may find you’ve already checked one or more of these gallery wall steps off your list, or you’re doing it “out of order” from how I wrote it. But there is no order, in reality, and you’re doing it perfectly!
Gallery walls are meant to be personal and I hope this post gives you the guidelines and confidence to finally hang that art up in whatever way makes your heart happy!
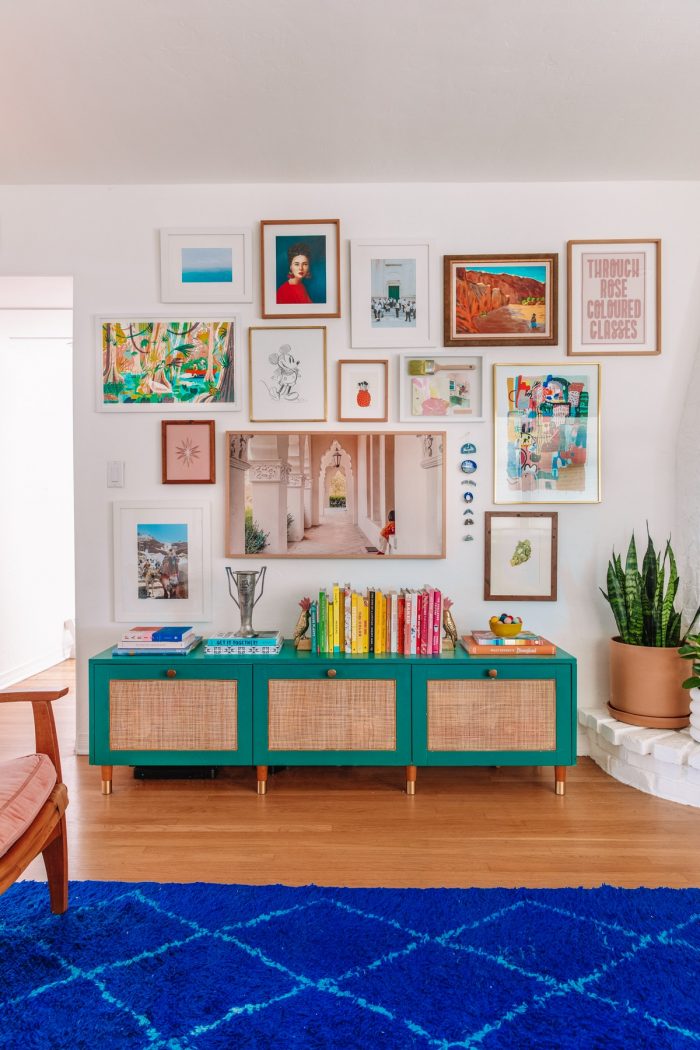
Photo by Jeff Mindell
Table of contents
- First Thing’s First, There’s Always An Exception
- Selecting + Pairing Your Art
- How To Include Family Photos
- How Should I Frame My Gallery Wall Art?
- 3D Objects as Gallery Wall Art
- 3 Methods for Planning Out Your Gallery Wall
- How To Lay Out Your Art
- How To Hang A Gallery Wall
- Renting? Hang A Gallery Wall with NO Nails!
First Thing’s First, There’s Always An Exception
I have seen every size, shape and style of gallery wall and loved them ALL! Some feature symmetrical grids, some are minimal with art spaced widely apart. Some cram every piece of art you could every imagine into one wall! And they are all GREAT!
For every time I say “do this”, know there’s always an exception when it comes to gallery walls. I’ll repeat: they are incredibly personal.
For this post, I’ll be focusing on my favorite tips for non-symmetrical gallery walls. That means, walls that feature different types of art and different sizes and orientations of frames. They are easier to create, especially if you’ve been collecting art over the years. So it’s a great place to start!
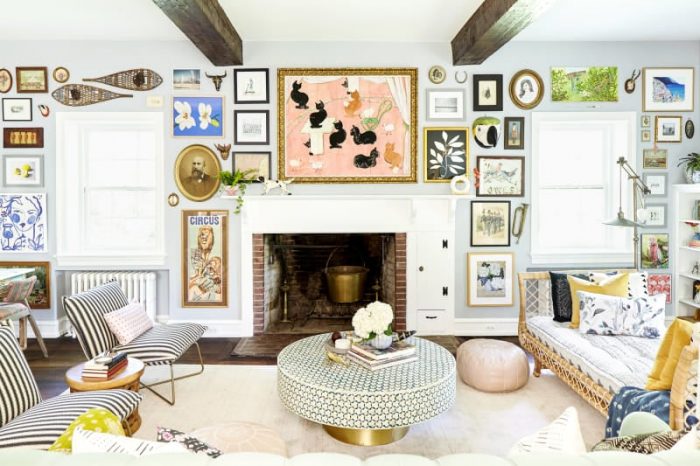
Photo by Kyle Smith Born, Designed by Michelle Gage via Domino
Selecting + Pairing Your Art
Whether you’re pulling art from your collection or shopping mostly for new pieces, there’s a few helpful guidelines to follow to ensure your gallery wall feels cohesive, in both color palette and art styles.
Once you’ve read through my tips about choosing art, if you’re still looking for pieces, you can find some sources for affordable art right here!
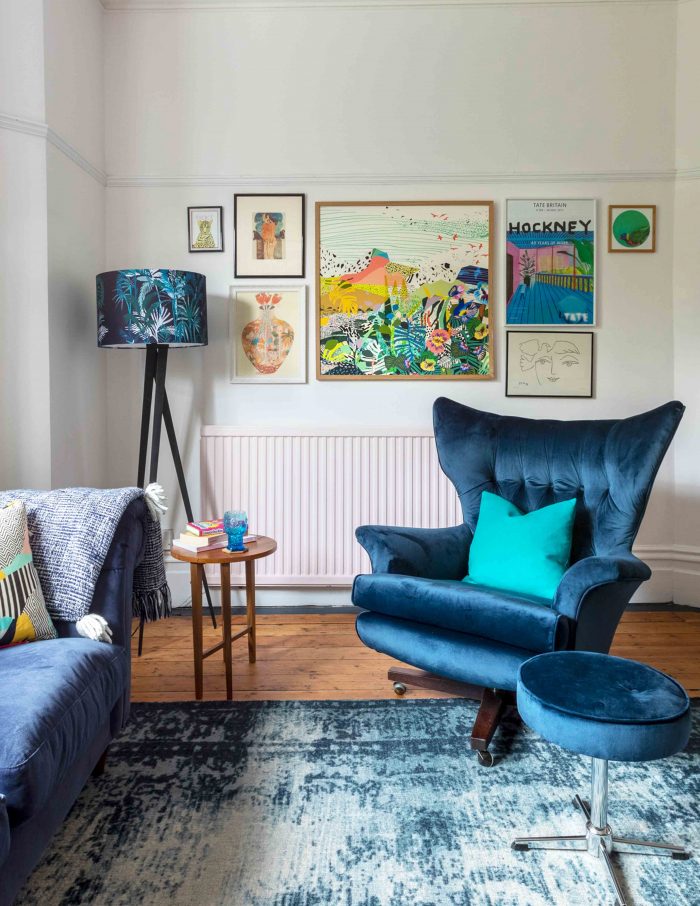
Photos by Fiona Murray, Designed by Kitty McCall viaDesign Sponge
Repeat Colors at Least 2-3 Times. If you’re shopping for mostly new art for your gallery wall, it is easiest to pick a color palette and stick to it. But if you’re pairing art you already have, try to repeat colors across your pieces 2-3 times to tie everything together. That is to say, not every piece needs to have the same color(s) as the next, but every piece should have 1-2 other pieces that share a similar color or tone to it.
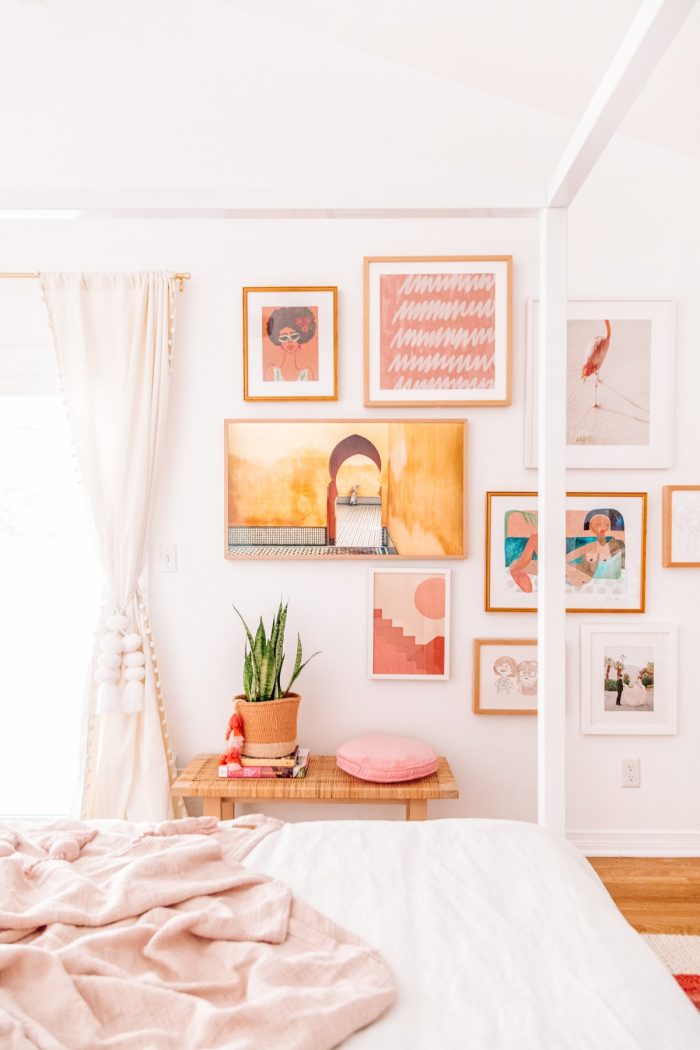
Photo by Jeff Mindell for Studio DIY
Vary Your Art Styles. For a truly dynamic gallery wall, mix multiple styles of art and photography. It gives the wall depth and ensures each piece can shine and not detract from one another.
Similar to the color rule I mentioned above, I generally like to make sure each style of art is represented 2-3 times. Think: three photographs, two abstract pieces, two portraits and two line drawings.
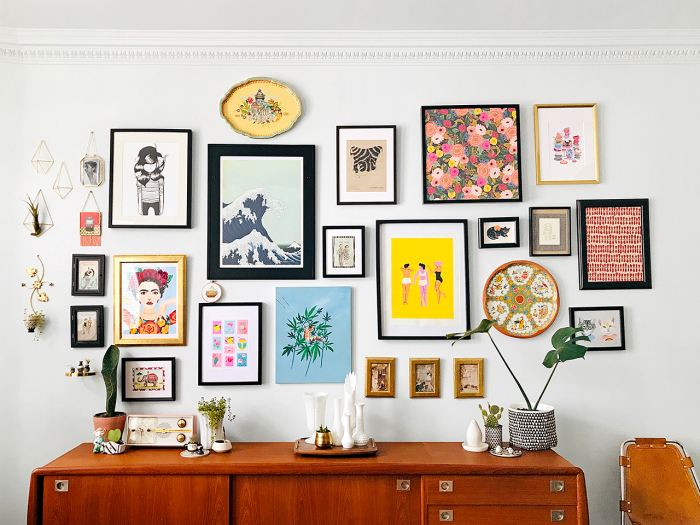
Photo via Chatelaine/Sun Ngo
Mix Up Sizes and Orientations. Gallery walls generally look best when they feature pieces of all different sizes. Pick 1-3 larger pieces and fill the rest in with small and medium sized art. Similarly, avoid picking all vertical or all horizontal pieces. Mix it up!
Get Personal! I’ll talk about family photos below, but don’t be afraid to include other family momentos too. Kid art, letters from a loved one, class pictures from a great grandparent.
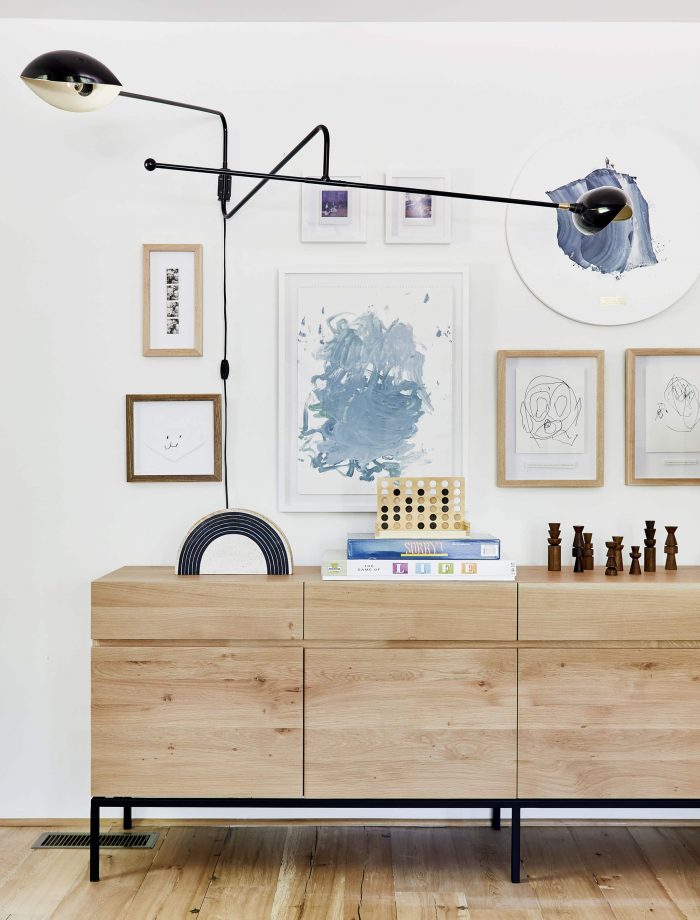
Photo via Emily Henderson
How To Include Family Photos
The biggest question I’ve heard is “How do I include family photos in my gallery wall?” Understandable, as family photos often have a very different feeling and style than artwork you would purchase. Here are my top tips for making it work:
Try going black & white. If you have any art work that has black and white throughout, going black and white with your family photos can bring everything together.
Choose photos that match the palette of your art, if you can’t or don’t want to go black and white. This can be broader, like picking a warm toned photo if your art has warmer tones, or more specific, like choosing a photo where a family member is wearing a certain color that you have incorporated elsewhere in your art.
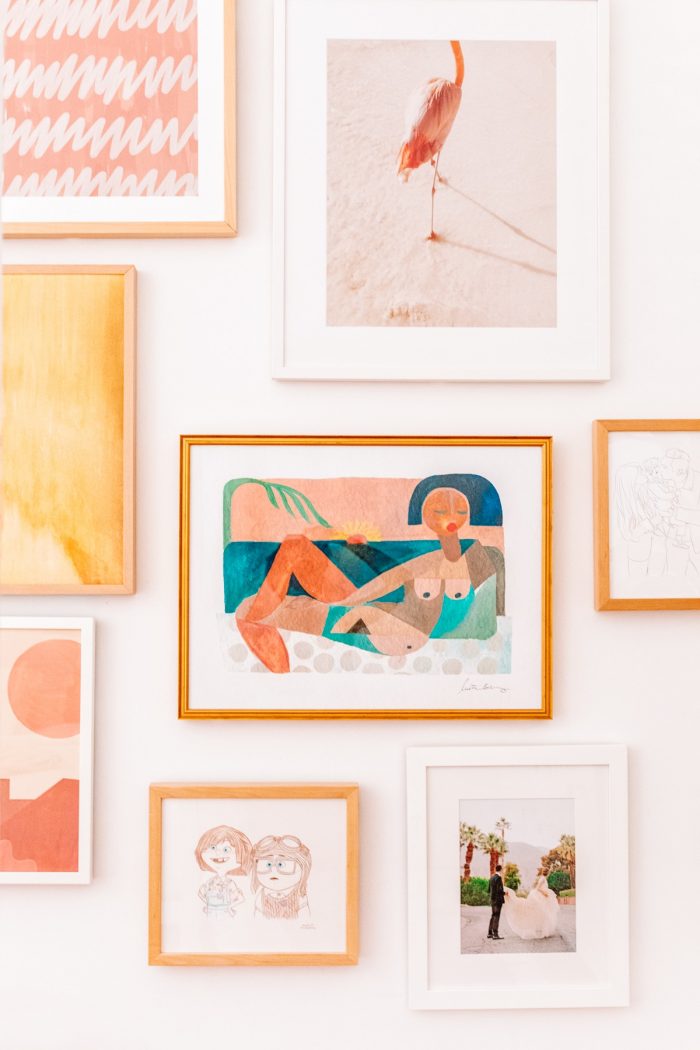
Photo by Jeff Mindell for Studio DIY
Go for candids! Candid family photos look great in a setting like this, since your other art is more free flowing and not “posed.” But posed photos can work too, just keep the color points above in mind either way!
Frame them with a wide mat. Having a wider mat around family photos makes them feel more modern, and like they belong on a wall instead of a shelf. If you have a 5×7 photo, choose a 11×14 frame or larger to get that significant mat space.
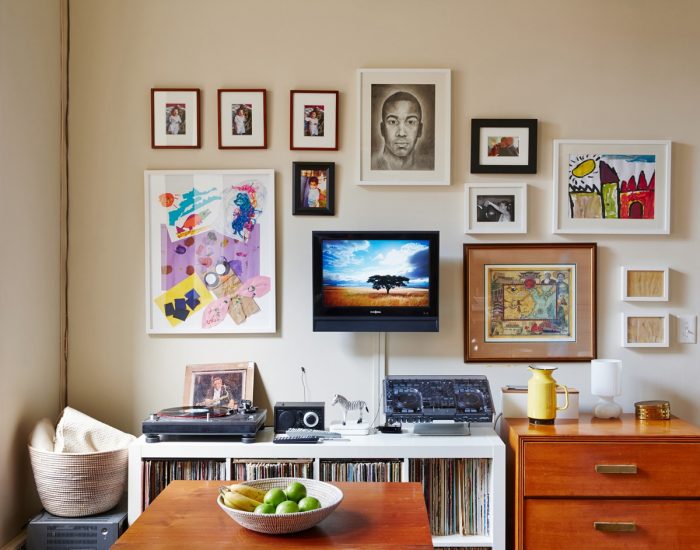
Photo via D. Bryant Archie/Corner Compass
Frame multiple photos in one frame or hang several next to each other. Create your own art piece by creatively framing multiple family photos in one frame. Frame several family photo strips next to each other, make a grid of iPhone photos or polaroids or frame 2-3 photos side by side.
How Should I Frame My Gallery Wall Art?
Framing and mating art deserves it’s own post, and I’ll make sure to give it one in the future!
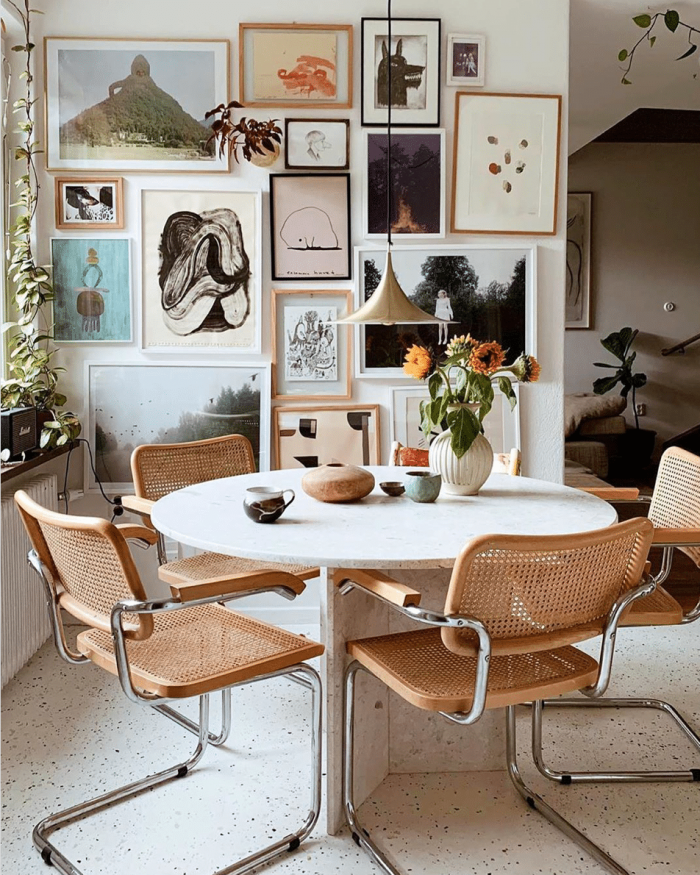
Photo via @ettrumtill
But most importantly: don’t be afraid to mix your frame finishes or styles. Three finishes is a good rule of thumb. I typically choose: a wood (birch or walnut), a metal (brass or silver) and a neutral (white or black). I’ve also done more, again ensuring that at least 2-3 pieces are framed with each frame type to keep things balanced.
If you want to go with all one finish, try mixing the styles or widths of the frames. It will be a lot easier to find black frames to fit all of your photos if you’re not trying to find the same exact narrow black frame in every size you need.
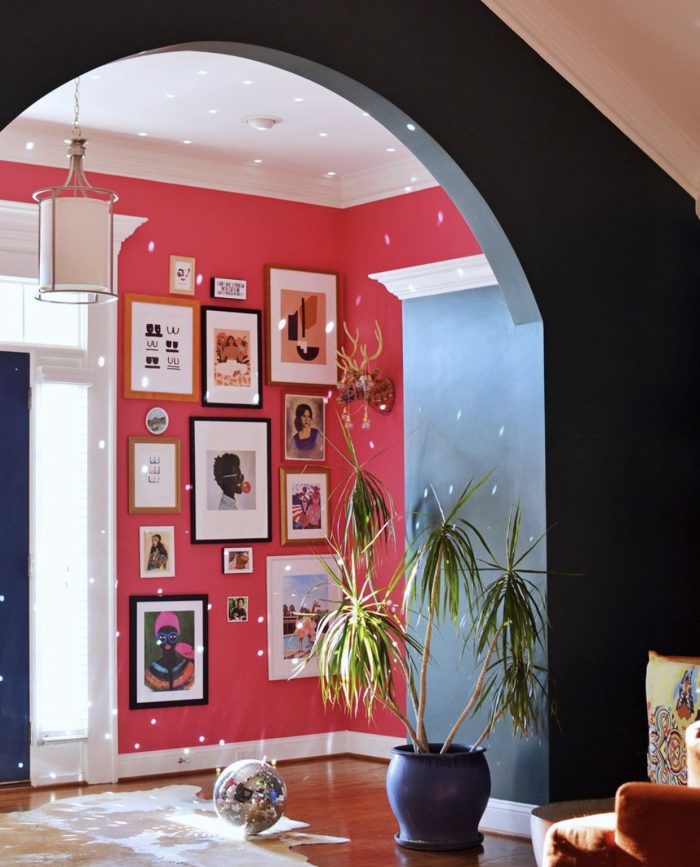
Photo by @designaddictmom
Store-bought frames and custom mats are your budget saving friend. If you can’t find frames that have mats the size you need, you can have custom mats made to go in them! Seek out your local framing or craft store that has a framing department and they’ll be able to create a custom mat for you per your exact measurements. The cost varies based on size, but most of mine have cost between $10-$30, which is far more affordable than custom framing.
Need a large frame on a budget? Try buying an already existing framed art piece at a budget-friendly store (like Target) and removing the art. Now, the backing on these is often glued or stapled on, but with some patience you can remove it and swap in your own art instead!
Have more fun with colorful frames in kids rooms and even try poster hanging-style frames to really vary it up!
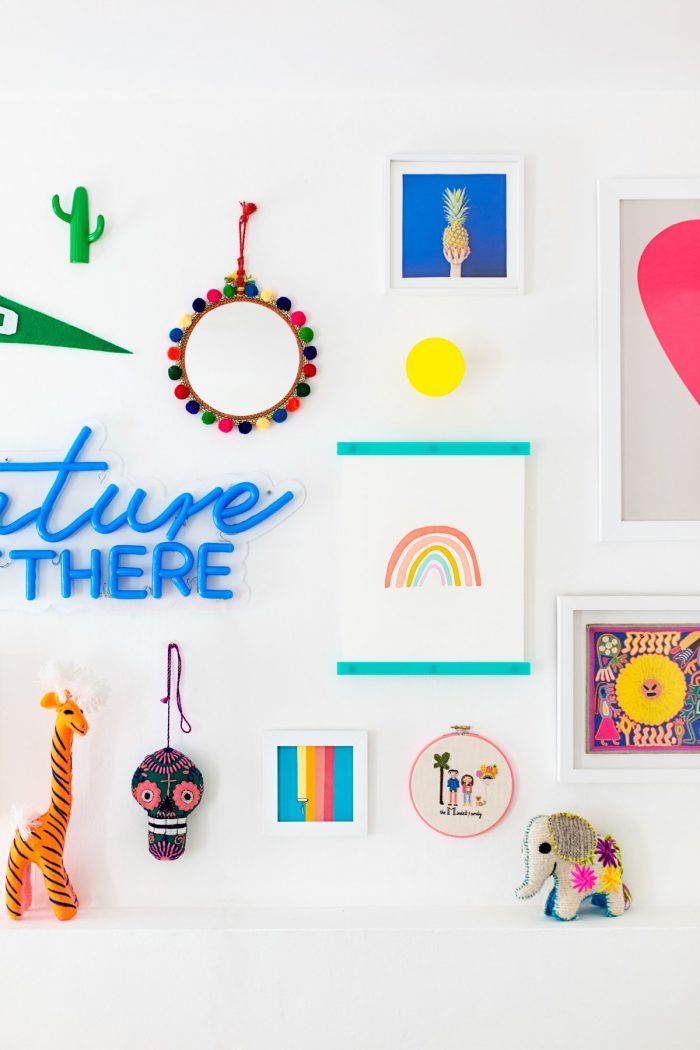
Photo by Jeff Mindell for Studio DIY
You can also check out my guide for how to frame art at any budget for even more tips and sources for frames!
3D Objects as Gallery Wall Art
I love pulling in non-framed art or objects to add dimension to a wall, and sometimes to fill in that awkward space between two pieces. You may go into your gallery wall, already having a dimensional piece you know you want to incorporate or you may get your wall laid out and decide you need something else to break it up or fill it in.
A few dimensional pieces that work great in a gallery wall:
- Ceramic Wall Hangings
- Plush Wall Charms
- Embroidery Hoops
- Woven Baskets/Bowls
- Mirrors
- Sconces
- Neon Lights
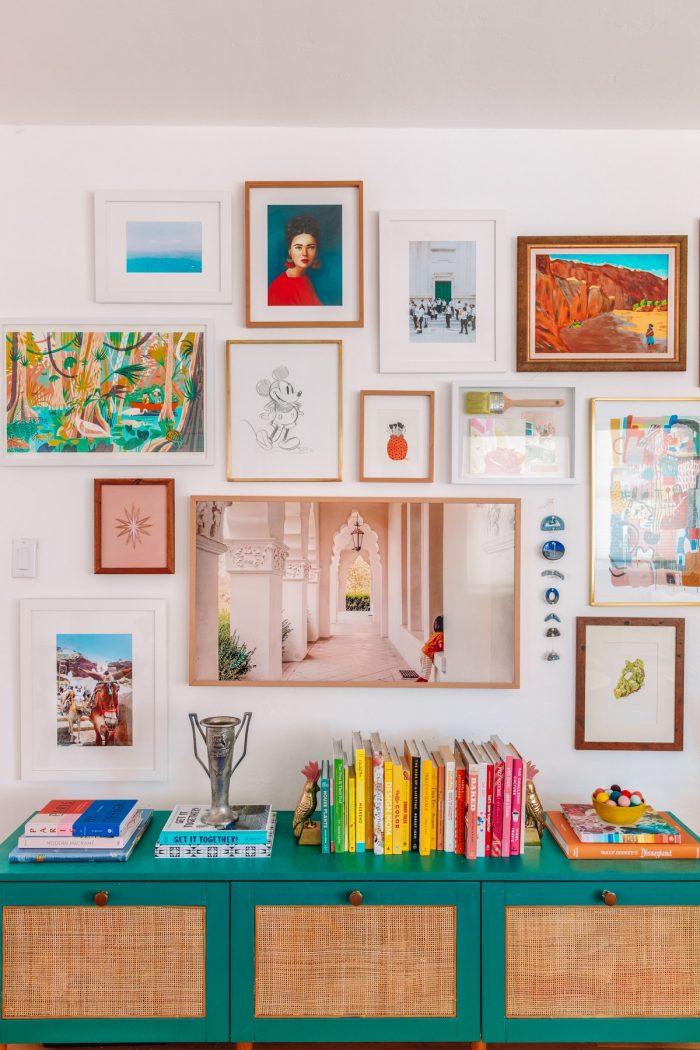
A reminder: While your framed art will cover the nail used to hang it, many dimensional pieces will require a hook or nail that you’ll see. Be sure to consider this and have something on hand that you’re ok with being visible on your wall before you get to the hanging part and realize you don’t!
I love to use statement wall hook (Check out coat hook or towel hooks!) or if the item is small, sometimes I’ll simply use a brass nail.
3 Methods for Planning Out Your Gallery Wall
You don’t want to start nailing holes in the wall until you have a plan. There’s a few ways to plan out the layout of your gallery wall. You may end up doing just one, or a combination or two or all three I list below.
You can lay things out digitally, if you prefer to work in that format, or in person. Or both! In this section, I’ll talk about how to plan your gallery wall, and in the next section I’ll talk about how to actually lay out your art pieces so the wall looks cohesive and balanced!
You’ll want to read the layout section below this one before executing any of these methods!
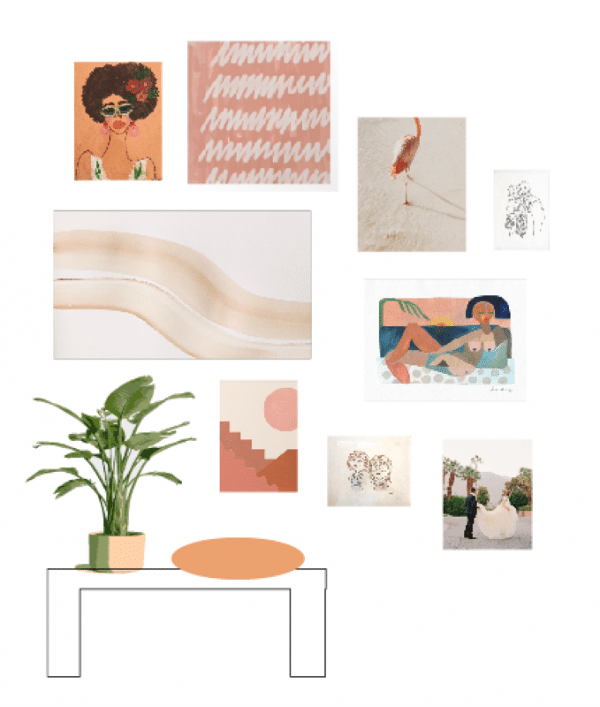
Digitally
Digitally laying out your gallery wall can be really helpful if you are planning to purchase new pieces for the wall and want to see how they will work and/or fit in your space before you buy them. It is a bit more technical since you’ll have to measure and scale down
I use Illustrator to lay out my gallery walls digitally because it’s a program I have and use for already for work. If you don’t, you could easily do this in a program like Powerpoint, Keynote or Google.
If you just want a rough guesstimate, or to see how things look, you can simply drag and drop images of the pieces into a document and eyeball the various sizes and layouts. If you want to get more technical, you can do a mock-up to scale and re-size each photo proportionately.
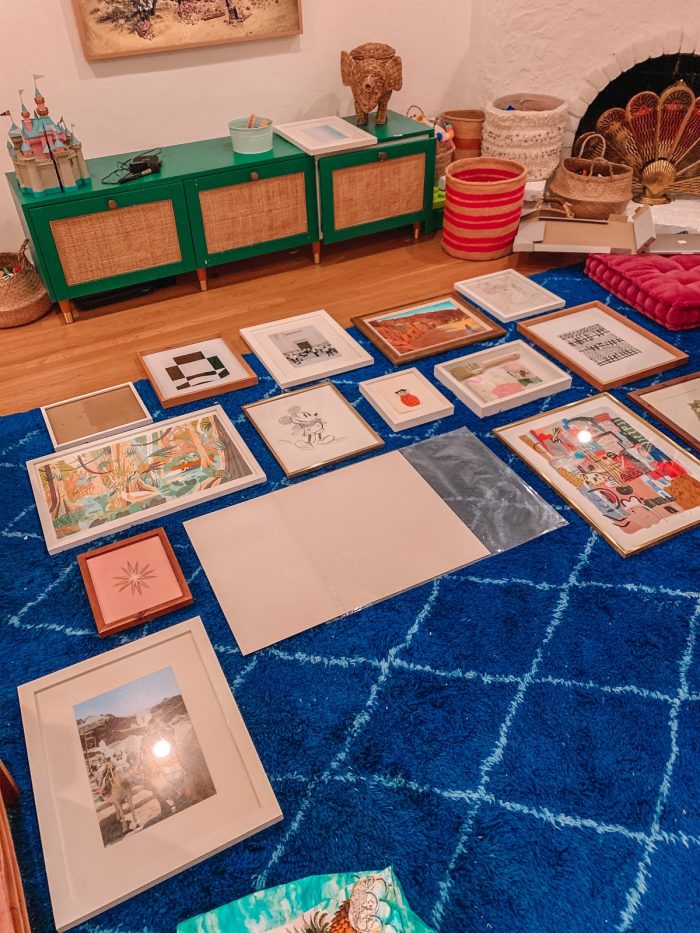
On The Floor
This is the easiest way to lay out your gallery wall with no cost and no technical skills involved!
Grab a measuring tape and measure your wall space (height and width), then clear and mark off a space on the floor in your home that is the same size. I usually just lay one measuring tape along the bottom of the floor space and one along the side, but you could use books or pillows to mark off the four corners of the space too!
If you are centering your art around something on your wall that you can’t lay on the floor (like a TV already installed or a doorway, you can use painter’s tape to mark off the space for that on the floor. Alternatively, you can use scrap cardboard cut to the same size to do so.
You can see I did that above in the image with a white piece of foam core for where our TV would lay in the gallery wall.
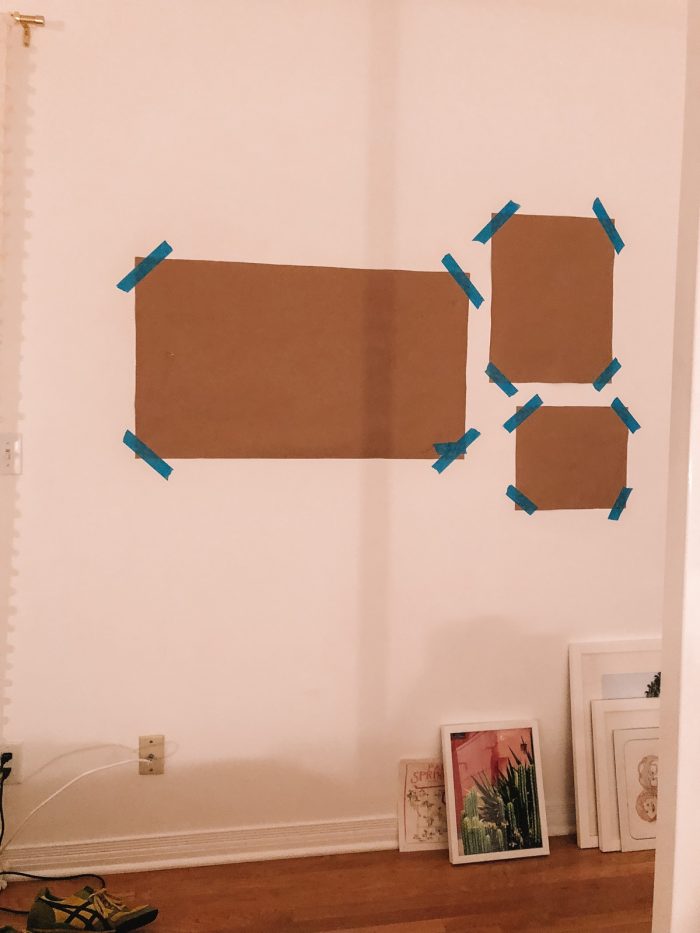
On The Wall
While not my preferred method as it’s labor intensive, I know everyone works differently and laying things out on the wall may be a great or necessary visual option for you! You’ll want to do this after all of your art pieces that need to be framed are framed.
Measure and cut a piece of Kraft paper (paper grocery bags are great for this) that is the same size as each of your art pieces. Grab a roll of painters tape and begin determining your layout.
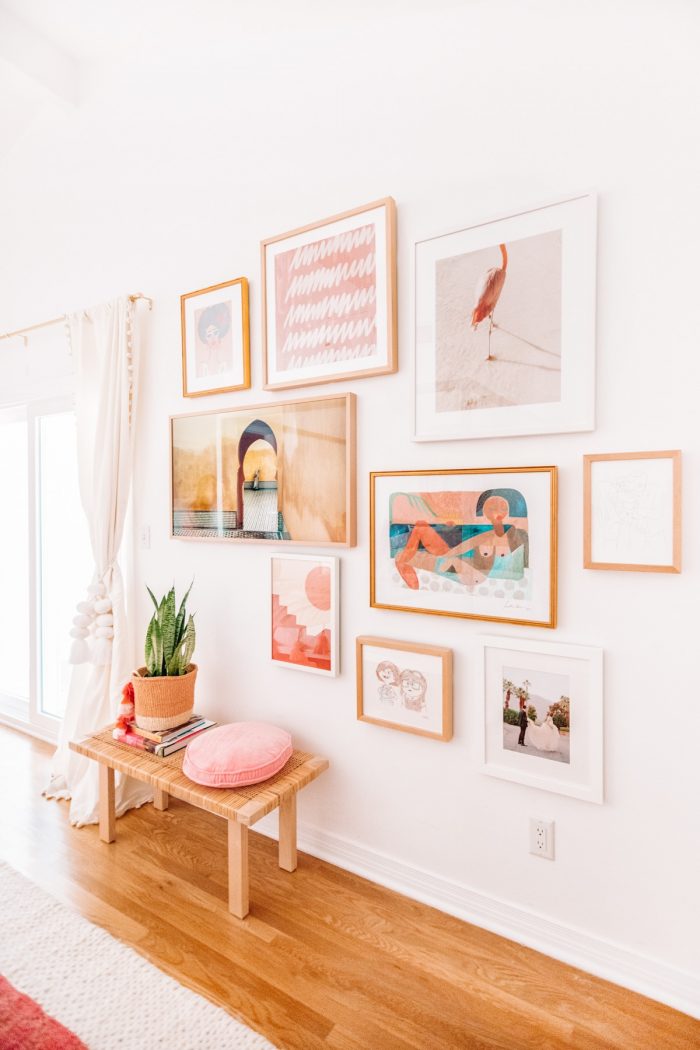
Photo by Jeff Mindell for Studio DIY
How To Lay Out Your Art
Keep these tips in mind when using any of the above methods for planning out your layout. Remember, you want to do this before you start hammering nails into your wall. You’ll get the best results if you go in with a plan!
Place your largest piece (or pieces) of art first. Typically, you’ll want to place these anchor pieces off-center instead of directly in the middle. Then you can begin to fill in around the large pieces with the smaller art and photos you have.
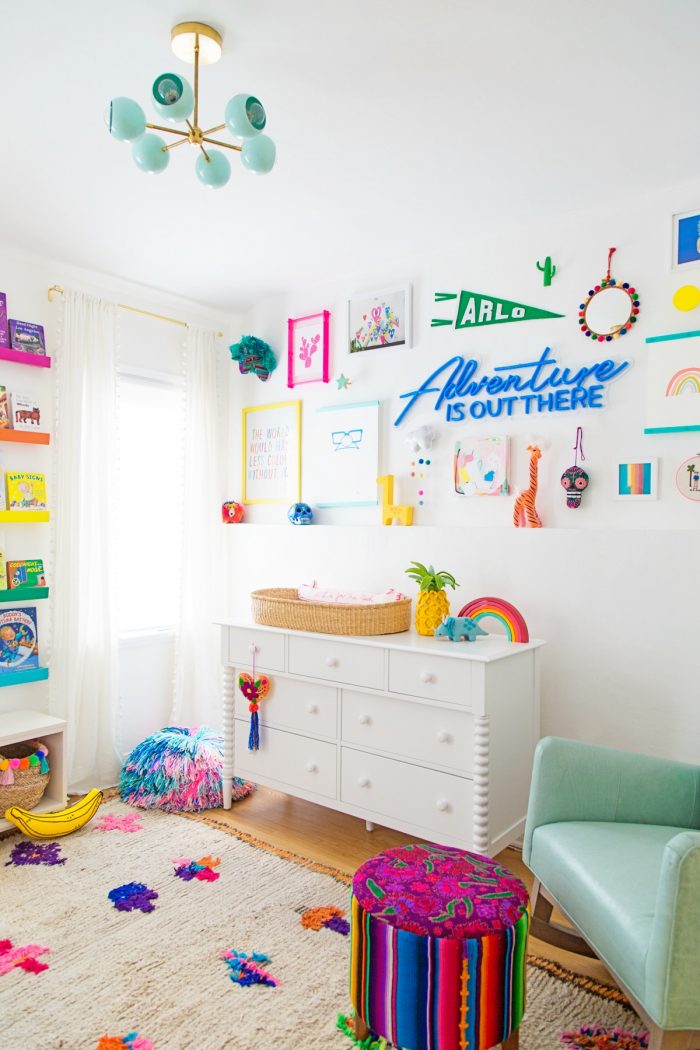
Photo by Jeff Mindell for Studio DIY
The exception to the off-center rule: If you have an unframed piece, like the neon light pictured above, as well as a lot of varied shapes and objects as art, you can often make a centered statement piece work!
Mix horizontal and vertical pieces. Unless you are doing a perfectly symmetrical grid for your gallery wall, you want to ensure you have spaced out and varied your art’s orientations. Avoid having too many pieces of one orientation next to each other.
Spread out pieces of similar sizes, colors or art styles. To keep your eye moving throughout the wall, ensure both art styles and art pieces with similar color palettes are not clustered together. Space them out throughout the wall. If you have a few pieces that are the exact same size and look good next to each other, you can frame those next to each other and create a mini triptych or grid within your gallery wall.
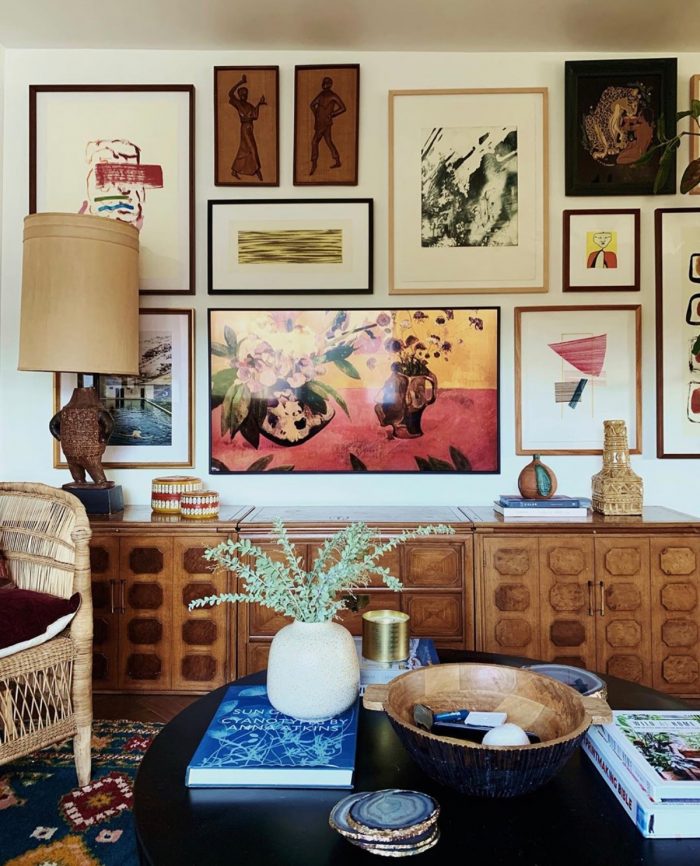
Photo by @dabito
Vary your frames throughout. Just like you’ve done with your art pieces, make sure your frame styles (that can mean finish or design) are varied throughout the wall. You don’t want all your wood frames to be clustered together, for example. Try to keep no more than two of the same frame color/finish next to each other.
Don’t worry about even spacing. I prefer when art is not spaced equally from one another. The variation in spaces also makes it MUCH easier to put together a wall. If you end up with an unintended awkward gap, try adding a dimensional object, like a ceramic wall charm or embroidery hoop! Conversely, don’t be afraid of having some negative space within the wall.
How To Hang A Gallery Wall
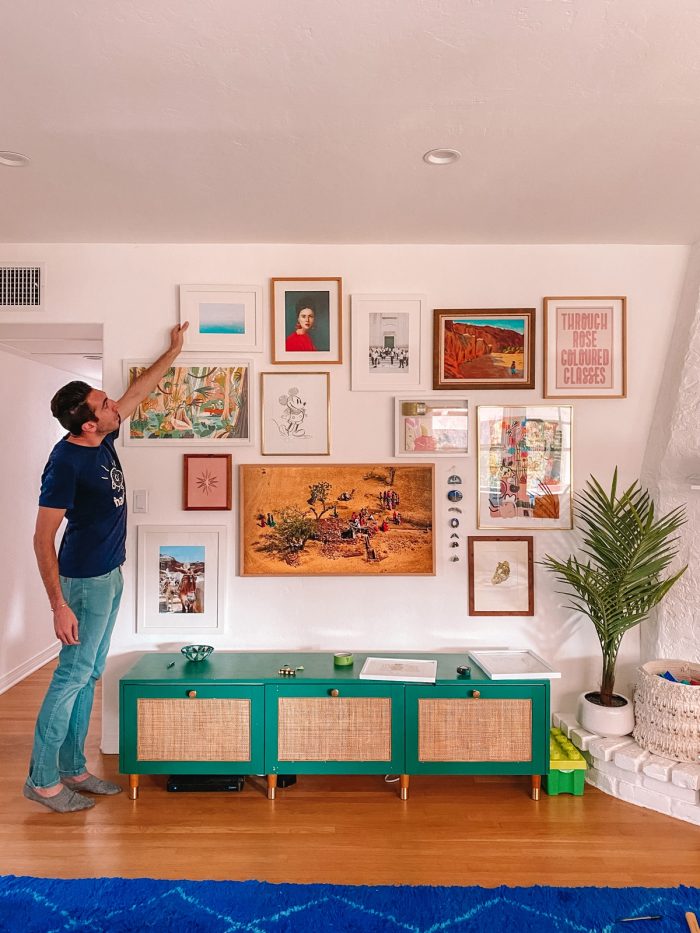
I’ll say it again: the reason I’ve preached not making a symmetrical gallery wall is because it makes hanging so much easier. Give yourself some room for mistakes!
Grab someone to help hang things if you can. It makes everything go much quicker.
If you haven’t already, lay out your art on the floor, the same way you intend to hang it.
There are two ways to start hanging the art: Start with the largest piece or the piece that is going to anchor your wall. Ideally that means you’ll starting somewhere in the middle (not center) of the area you are working with. However, if you have a hard line somewhere (like the floor, or the top of a dresser) consider starting there to avoid running out of space later!
There are a ton of hacks out there for hanging art, but I typically just keep things simple and use a pencil to help me mark things. Have one person hold up the piece, while the other approves the placement from afar. Take an iPhone pic if you need to, I find it REALLY helpful to see it visually in 2D when decision making.
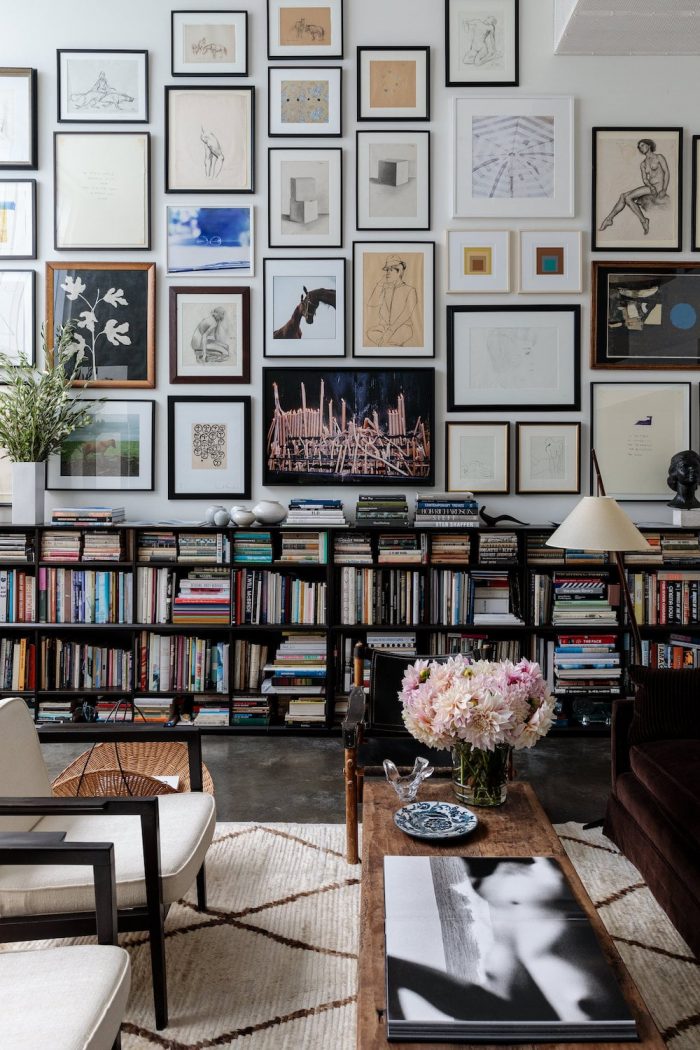
Photo by The Ingalls for Cup of Jo
Then, that person can walk over and mark where the nail or hook should be placed (based on where the hardware is on your frame) while the other is still holding it up.
Work off of your anchor piece to hang the rest of the art. Each piece of art should be hung next to one that already is. Do NOT hang one piece on the left and then move to the other side of the wall and hang another piece. You could run into trouble if your measurements aren’t perfect and you don’t have enough space for the ones in the middle!
Pick a “standard” spacing that feels good to you and use that as a starting point, but don’t live and die by it! Some art can and will be spaced farther apart and some will be closer. It doesn’t need to be (and in my opinion, shouldn’t be) perfect!
What should my standard space be? That’s up to you. If you like a clean and minimal gallery wall, space them further. If you like a full gallery wall, space them closer together.
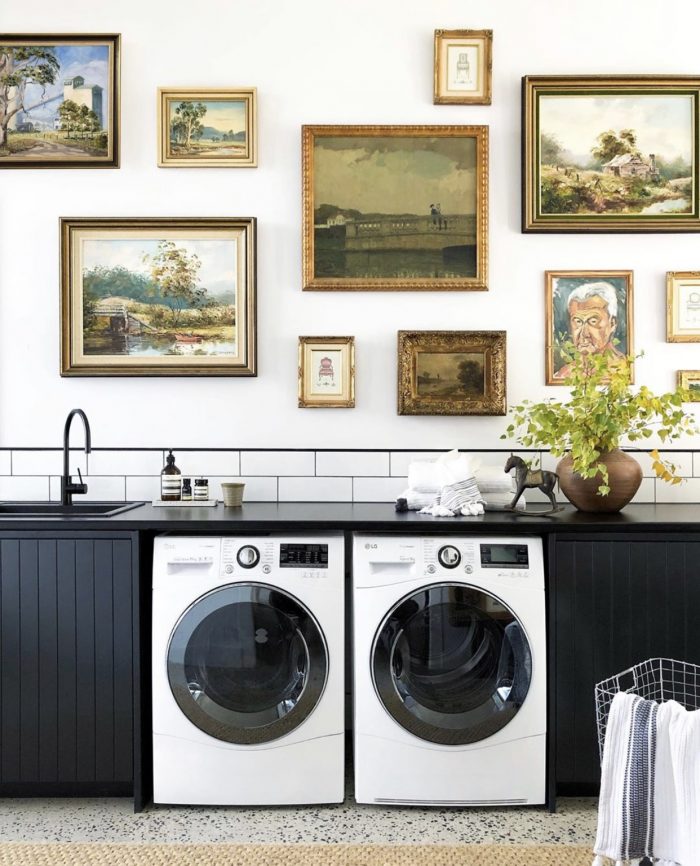
Photo via @jono.fleming
Don’t be afraid of negative space! It is OK to have a “gap” or “hole” in the wall. Fight the need to fill in every nook and cranny.
As far as what to use to hang your art, that will vary depending on the frame, the size and the weight. Be sure to check the weight the nails or hooks you buy can hold and adjust accordingly.
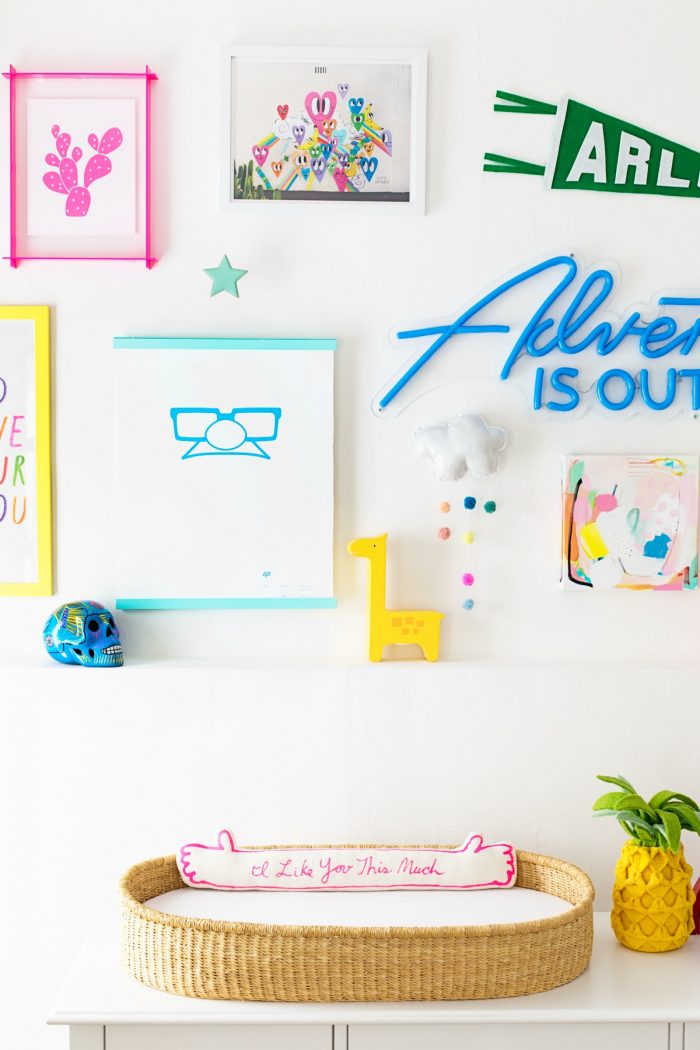
Photo by Jeff Mindell for Studio DIY
Renting? Hang A Gallery Wall with NO Nails!
The downside of gallery walls is how many holes you have to put in the wall. If you’re renting, you can still proceed with using nails to hang your art, but will likely have to patch them all before you leave.
Alternatively, I’m a huge fan of Command art hanging strips. They hold a good amount of weight, are really easy to hang (much easier than nails, in my opinion!) and come right off!
I hope these tips help give you the confidence to get some of that art (and those family momentos!) you’ve been collecting up on the walls! If there’s another topic about gallery walls that you’d like me to write about, let me know in the comments below!
For art sources for our living room gallery wall, click here!
For art sources for our nursery gallery wall, click here!
For art sources for our main bedroom gallery wall, click here!


Ren says
Thank you for creating this post, Kelly! I LOVE gallery walls, too and the ones you have designed in your home are some my favorites! I’ve been obsessed with Arlo’s bright, colorful & cheery wall (and bookshelf!) since you revealed it a few years ago! With WFH, I’ve been itching to create a mini gallery wall above my desk. Your post has provided lots of inspiration and motivation to finally get it done! I’m definitely going to use your tips on repetition of colors and art styles to create balance & incorporate a few dimensional pieces. I’ll probably opt to create faux frames out of washi tape/kraft paper though since we’re renting and I need to work on using supplies I already have on hand. Thank you again, Kelly! 🙂
Élodie says
I have been thinking about assembling a gallery wall, but I think I needed a little something to push me and do it – and here it is! Thank you for this post, the advice and examples it features, this is all very helpful. I will definitely add some Janet Hill pictures as well as I love her work 😉
LAURA HOON says
i found this article to be very informative. Thank you so much for sharing this!
Alice says
How do i hang small pieces that are alike in my gallery? All together or seperate?
Mardi says
I am so glad I found your post. It is a wealth of information. I have been considering how I will create a gallery wall of abstract 3-D collage art using 8″ canvases. This will combine about 6-8 above my sofa. I like so many rustic, organic, and also more refined metallic styles and have been frustrated on how I will how it all together. Your excellent guidance has helped enormously! Thank you!!!!
Carmen warner says
From UK …Im so glad i came across ur gallery tips.im just about to embark on one.ive been thru lots of how to create but i find yours refreshingly au naturele. Other guide to doung it says 2to6inches spacing all around! I dont hv the patience to do that this iis why i preferred your way.id like to finish my wall before the momentum of my enthusism burns out otherwise i will.just not do it anymore. I have bought sizeA3 white frames from.poundland equiv to your dollar or 99cents store and have painted each in difft bold colours to brighten up the wall .is it ok if i mix matched them wirh orher silver or gold or other colour frames? Pls advise and much obliged for your ever so easy guide…the others scared me so…. art should be a relaxing joy to behold and its not as if an art gallery professional is ever likely to visit my place but even so so what if my gallery wall is ever so natural to view…thanku fir your guidance. Pls advise on my bold colours mixmatch intention. Its sunday here 10am im off to hobbycraft buy couple of art paints esp.gold. take care stay safe. Look 4ward to hearing from u soon.
Traci says
Thank you! I’m just starting a gallery wall in my foyer to den (open floor plan) The walls are 12′ tall, and I’m overwhelmed. I’ve purchased many pieces, but didn’t know how to even begin. This article gives me some great starting points. I’m still nervous I’ll screw it up with all my different styles, but you’ve made it easier on how to integrate them. Great info!
Kelly says
So happy to hear that, Traci! You’ve got this!!
Dori says
I’m so excited to find this link. Your tips make so much sense. I finally have a little home of my own with lots of wall spaces and I want to fill it with all my meaningful (to me) art, posters, my paintings I’ve collected over the years. Your tips have given me the confidence to.bring my treasured pieces out of storage and make my walls a source of happiness for me. Thankyou!
Kelly says
I’m so happy to hear this, Dori!! And congrats on the new home!
Radhika M says
Love this guide so much. Thank you.