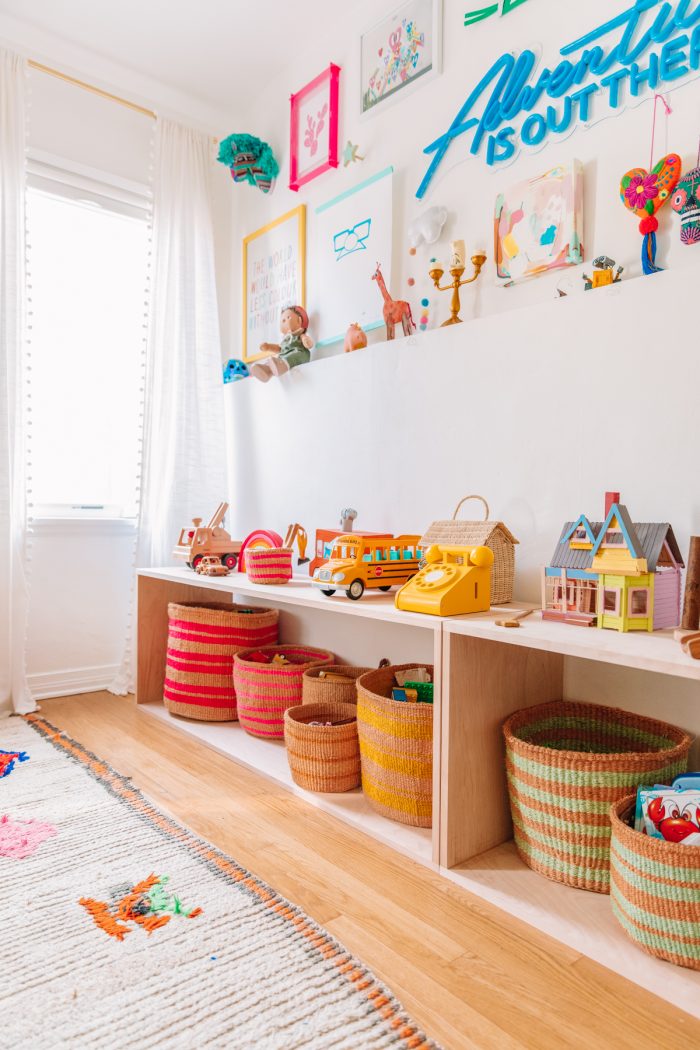
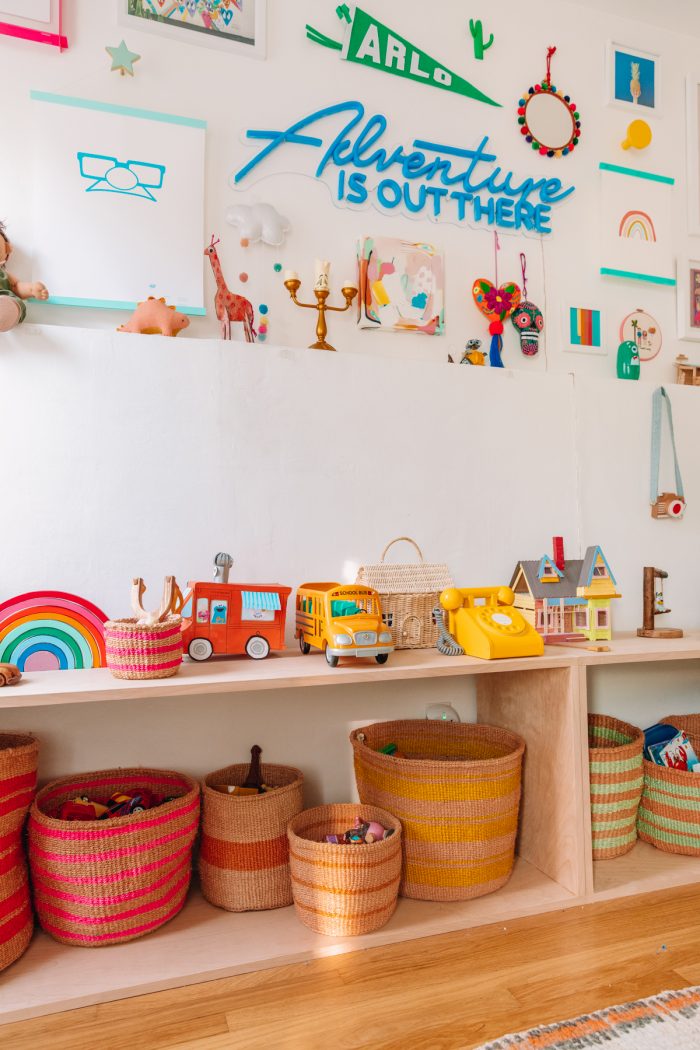
First, I want to make a disclaimer that, as evidenced by our toy selections (both the quantity and the materials), we don’t follow a strictly Montessori method in our house. However, I modeled these toy shelves after the low, open and simple style often found in Montessori environments to allow for accessibility and independence in kids when they’re choosing and putting away toys, hence the name of this post!
So today, I’ll be sharing how we made our version of a DIY Montessori toy shelf, and you can choose how to actually use it that works for you! I had been wanting to find a better and more accessible toy storage solution, but couldn’t find anything that would fit our wall space. So when my dad visited, I recruited him to help us make our own!
These shelves have worked out so well for us. We recently started instating a “quiet time” period for our preschooler in his room, and he can access and put back all of his toys easily. Seeing everything all at once, allows him to mix and match toys to invent new games and imaginary play ideas, too.
Here’s how we made them!
What are the benefits of this style shelf?
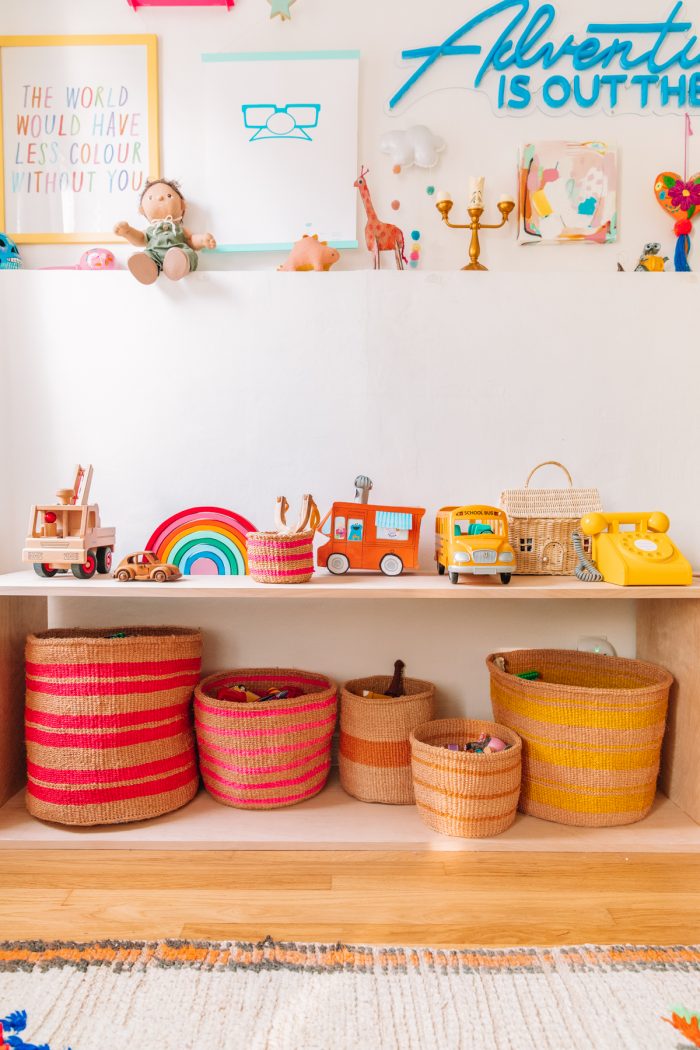
Here are the key aspects of an open or Montessori style of toy storage that we love:
- The shelves are open, so toys are accessible and on display
- Everything is within reach, height-wise
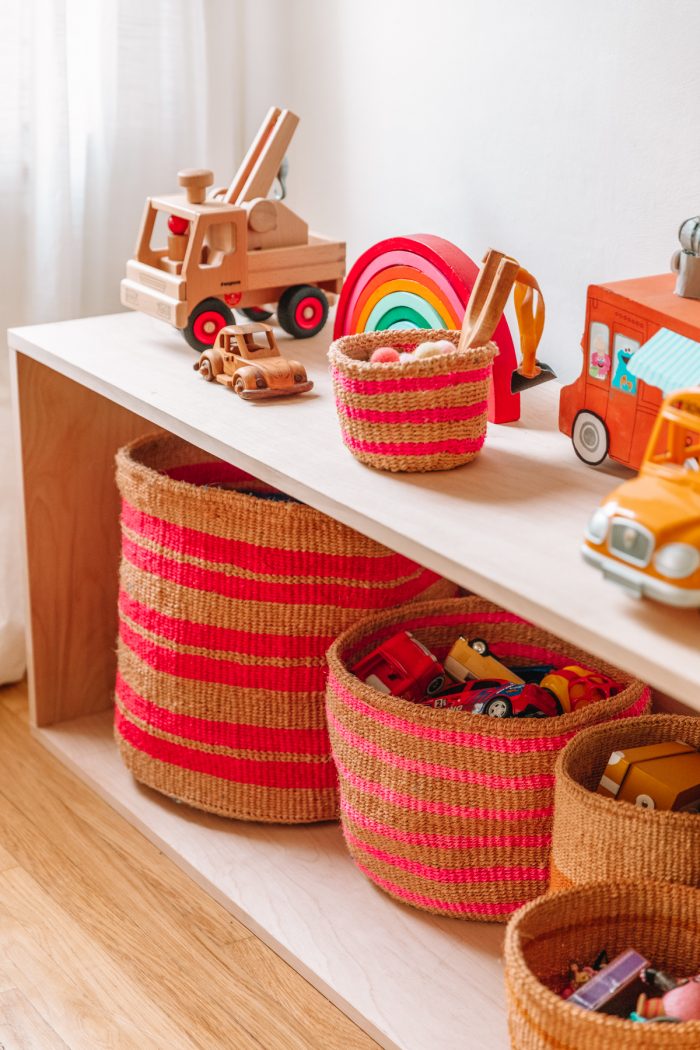
- Items are self contained or in moveable baskets, so they can easily be moved to a play area (admittedly, smaller baskets with handles would be better for this!)
- Unfinished or open-ended toys (i.e. toys with don’t have a singular end goal and that are displayed in pieces versus put together
In our living room, we built drawers so that we could hide toys away. What did we find? None of them got played with. We’ve found kids, or at least our little dude, are much more likely to play with things they can instantly see! That’s how toys are displayed at preschool, and there’s a reason!
A Quick Disclaimer!
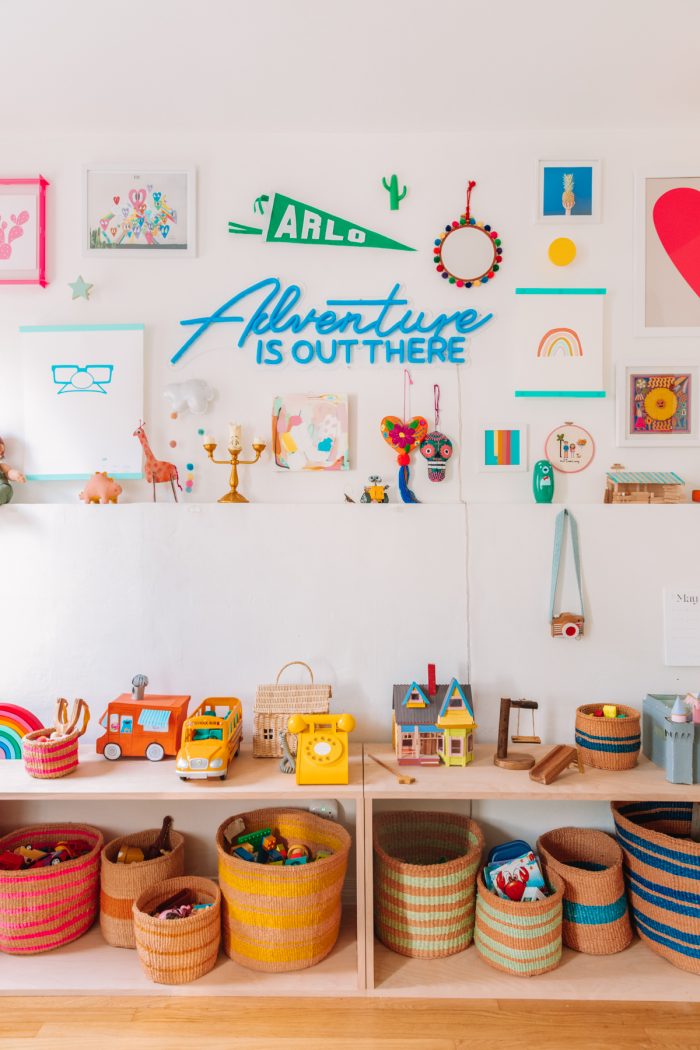
I wanted these to span the full wall and maximize our storage space, therefore we made them each five feet long. Most standard shelves this style are closer to four feet long. Because of the length and wood used, they are not sturdy enough to be stood on by little ones. If you’re looking to make a shelf that is more durable or could double as a bench, I’d encourage you to add braces, use thicker wood and/or make the shelves a shorter length.
We’re simply using them for toy storage and so this has worked out great for us, but I wanted to be sure to note this before diving into the tutorial!
Supplies You’ll Need
Here’s what you’ll need to make one shelf:
- One 3/4″ 4×8 birch plywood sheet cut to the following pieces:
- Two 18″ x 60″ (or whatever length you want your shelf to be) pieces
- Two 18″ x 19″ pieces
- 3/4″ birch veneer edge-banding
- Wood glue
- Twelve 1 1/2″ countersink screws
- Drill + countersink drill bit
- Pencil
- Screwdriver
- Wood filler
- Sandpaper
- Iron
- Scissors
Note: If you have a nail gun, you could easily (much more easily, in fact) but this together that way, too!
And if you’re working without clamps and equipment that woodworkers might have, you’ll need an extra set of hands like we did!
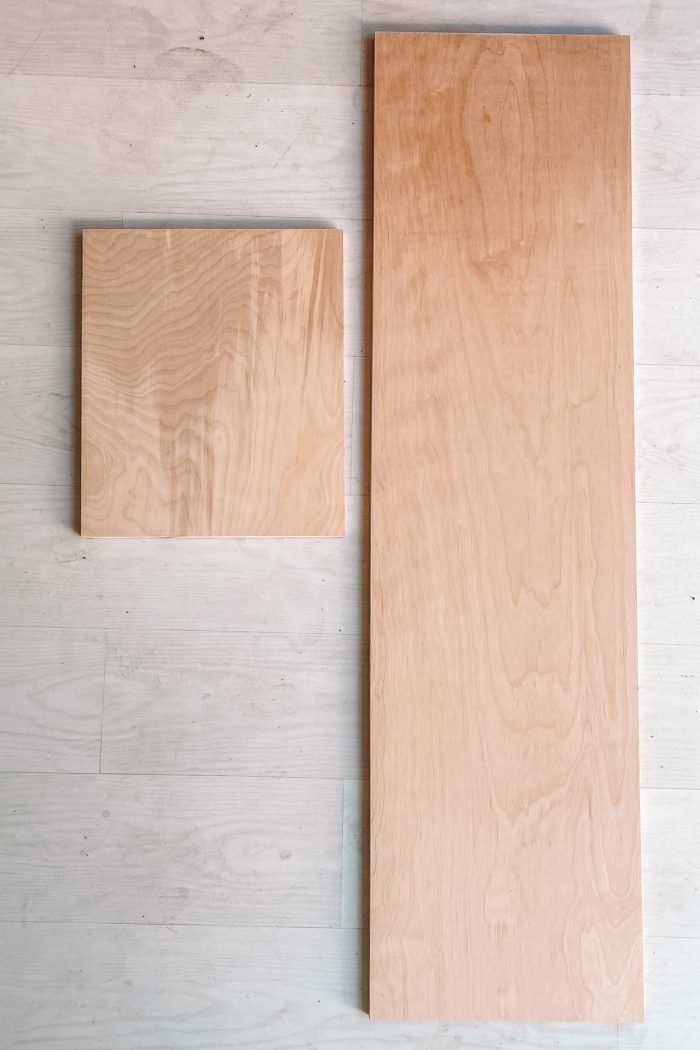
How To Make a Simple Wood Toy Shelf
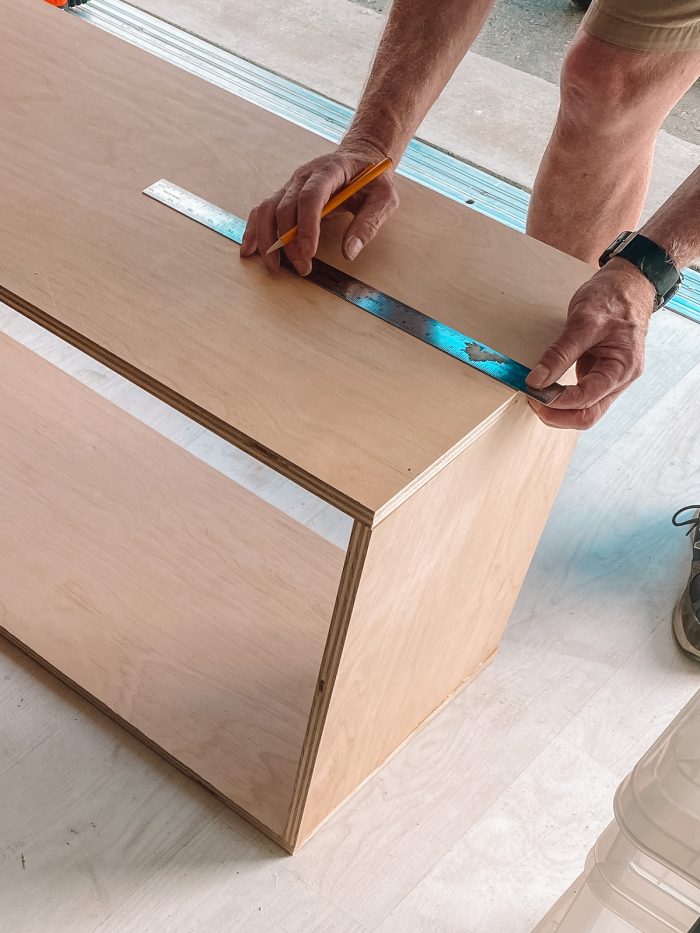
1. On the short ends of each 5′ board, lightly mark where you’ll drill the three holes for your screws. This should be 3/8″ from the edge and evenly spaced.
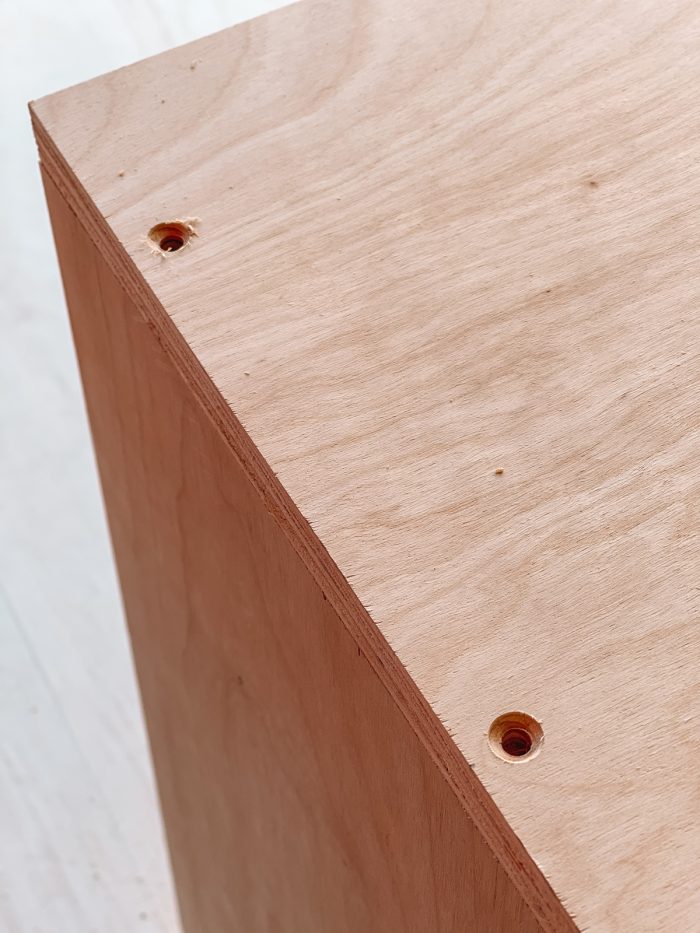
2. Align the 5′ board onto of one of the side pieces you cut, they should be flush against one another. Using your countersink drill bit, drill holes as marked, through both boards. Repeat with your second board.
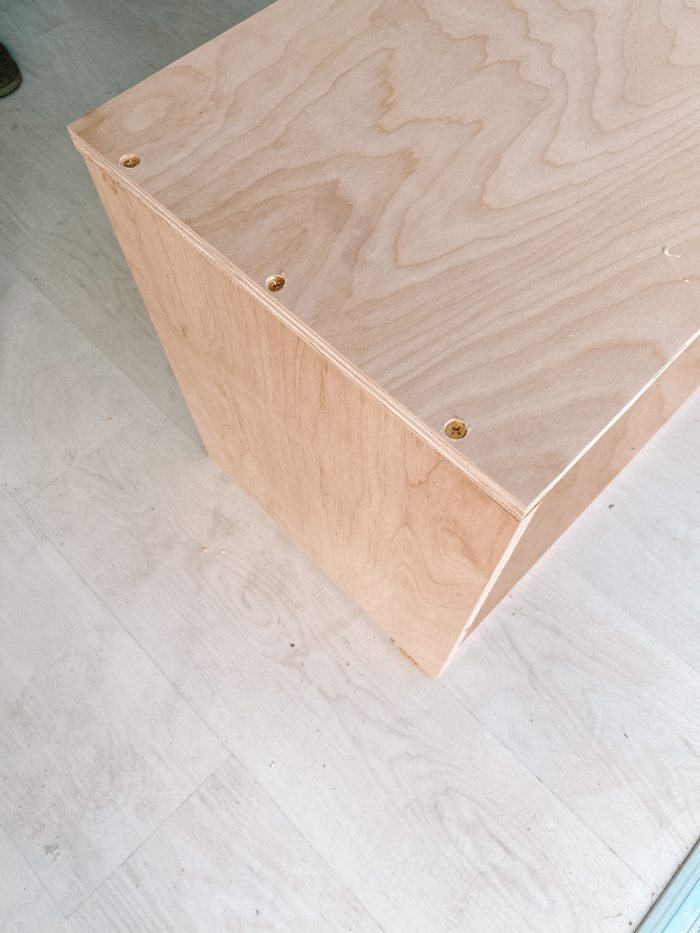
3. Then, remove the 5′ board you just drilled and run a line of wood glue on the top edge of your side piece. Set the 5′ board back on top to glue together, aligning it exactly as it was aligned when you drilled the holes. Immediately screw together the two pieces using the holes you previously drilled. Wipe off any excess glue.
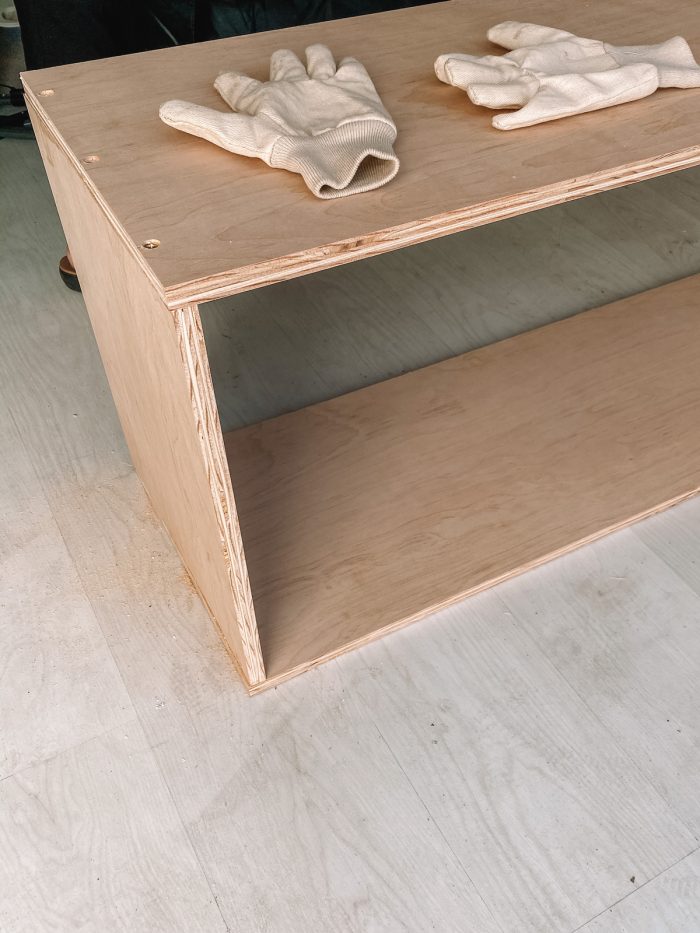
6. Repeat with all other sides.
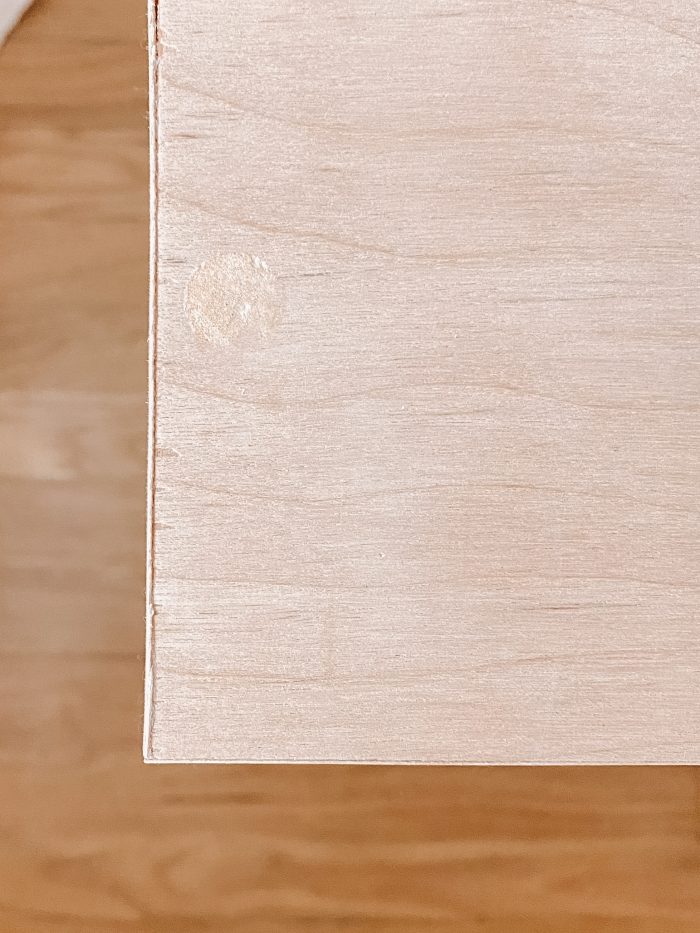
7. Fill the holes with wood filler and let dry/set per package instructions.
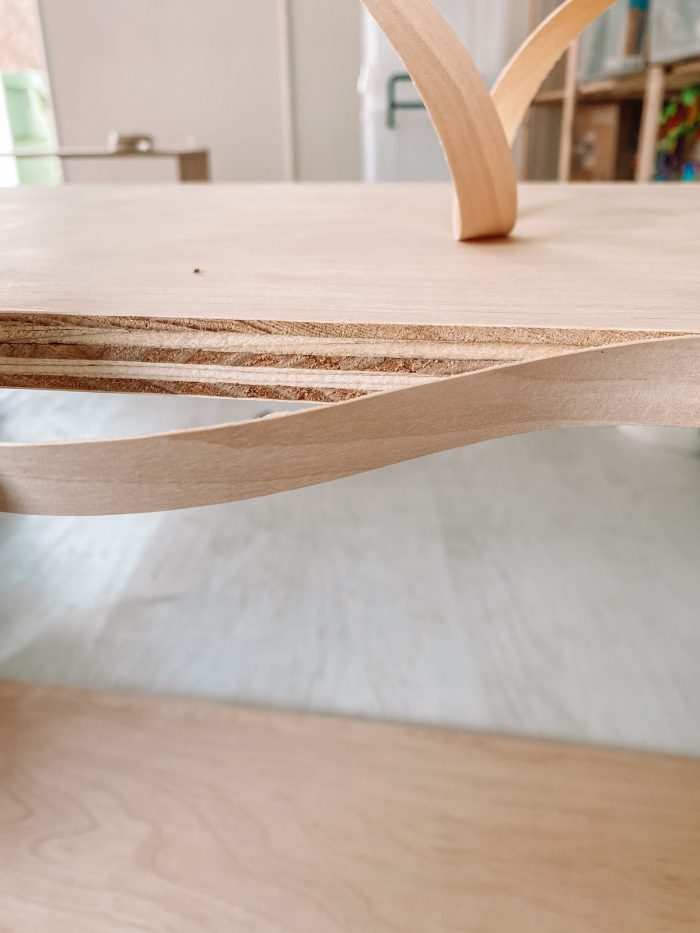
8. Sand edges as needed. Using an iron, and following package instructions, iron a piece veneer edging along all exposed edges of your wood. I found it easiest to do the top and bottom, followed by the sides.
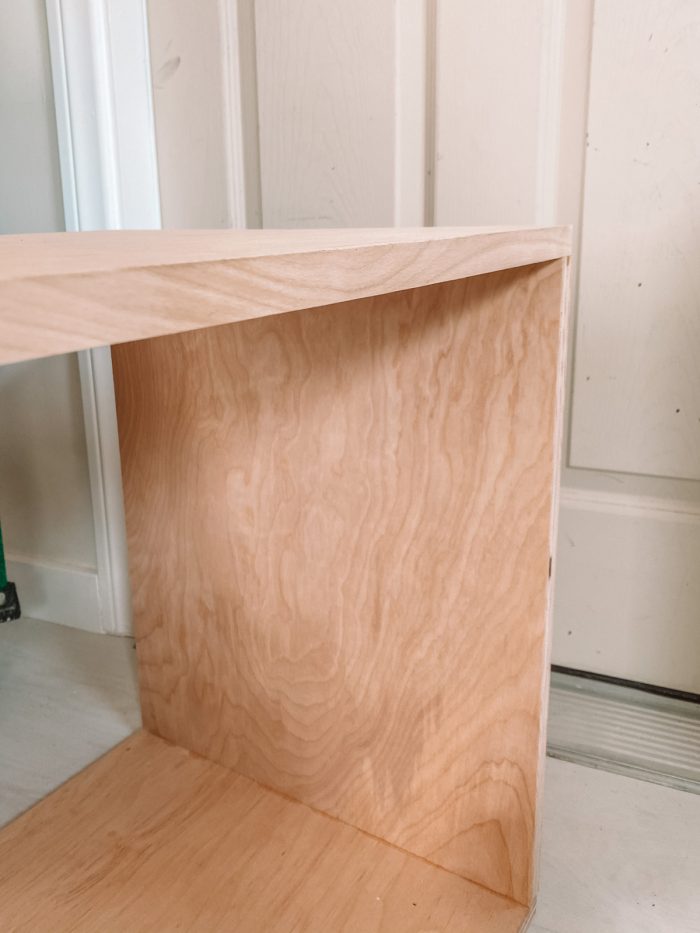
9. Sand off any edges of the veneer that stick off the shelving unit so it is completely flush. This is VERY important as toys are going to be slid in and out of the shelf and the veneer will catch if it’s not sanded to be flush.
How much did this project cost?
Assuming you have the tools needed to complete this project, here’s what it cost us to make one shelf:
- 3/4″ Birch Plywood (4×8 Sheet): $70
- Cuts (we didn’t have the saw needed, so we had them cut at the store @ $2 per cut, 6 cuts total): $12
- 3/4″ Birch Veneer (2 rolls): $12
- Countersink Screws (12 per shelf): $3
- Wood Glue: $4
- Wood Filler: $7
For a grand total of: $108
I’ve seen Montessori shelves run anywhere from $120-$200 and more for more intricate shelves or ones with more shelf space. But I loved making our own so we could make it the exact size we needed.
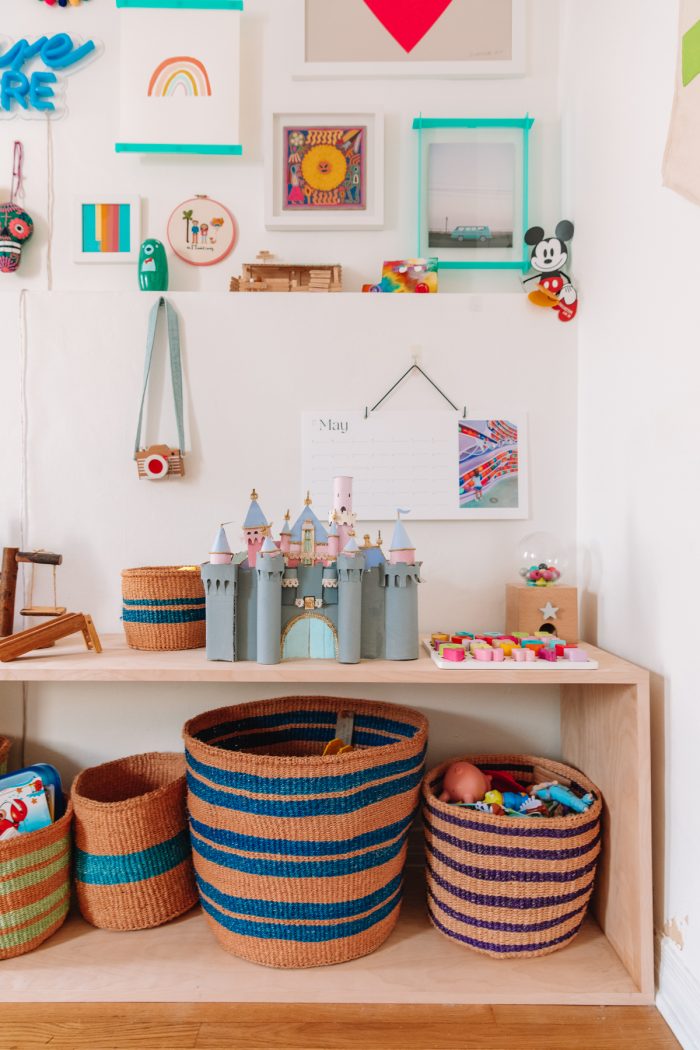
Our Favorite Toys
You can find all the sources for the toys pictured on our shelves at the end of this post!
If you’d like to learn more about our philosophy on toys (and how we’ve worked to get our family on board), you can head to this post where I talk about it in depth!
I’ve also done a few round-ups of favorite toys, and am always working on more! Here’s a few of our favorites from past and present:
Our Favorite Toys for Two Year Olds
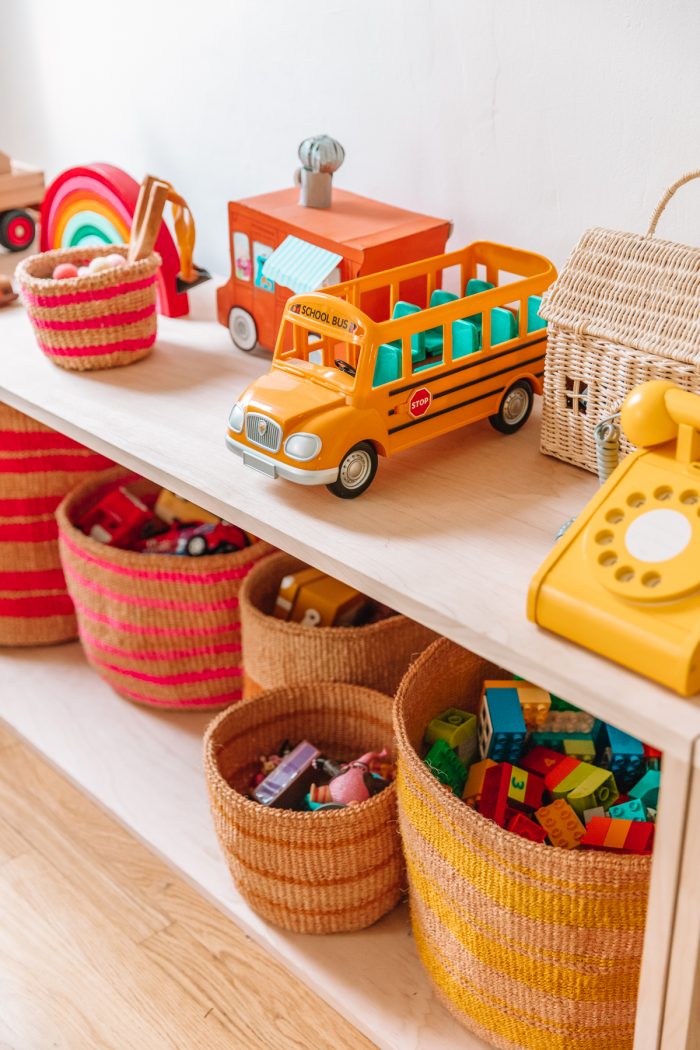
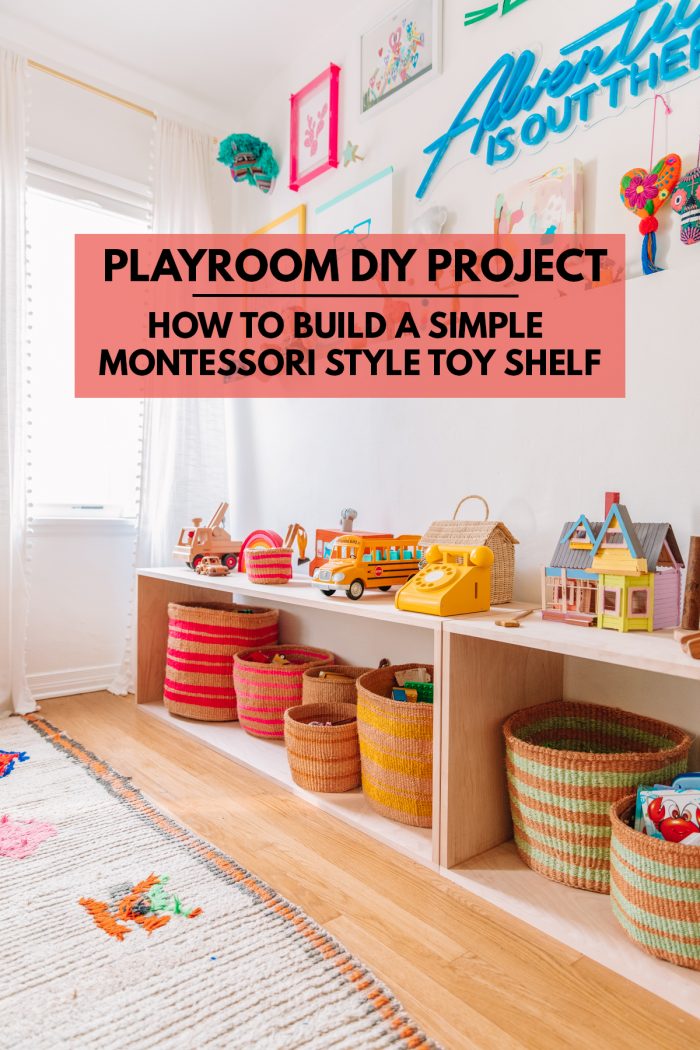
The amount of space this shelf has freed up in our living room, allowing us to store all our son’s toys in his room and in a very accessible way is life changing. One of the best decisions we’ve made! And I love that we can easily repurpose these DIY Montessori toy shelves in the future in a playroom or other space.
Toy & Storage Sources
Toys
Fagus Wood Truck | Wood Car
Wooden Rainbow | Slingshot & Felt Balls
DIY Cookie Monster Foodie Truck | Calico Critters School Bus
Rattan House | Yellow Phone
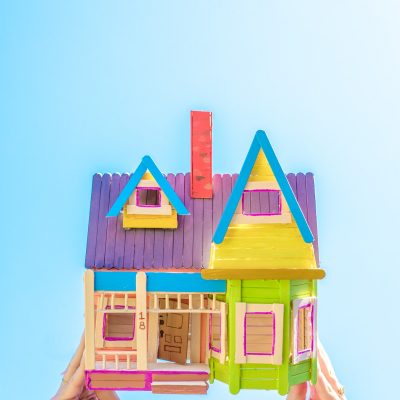
DIY Up House | Wooden Playground Set
Wooden Camera | DIY Disneyland Castle
Wooden Letter Puzzle by Janod (Similar) | Wood Gumball Machine
Decor Items
Striped Baskets from The Little Market
(They are no longer sold, but you can find similar here)
Custom Photo Calendar
(The photos turn into art prints after you’re done with the month!)
Art sources can be found here!


Nell says
I think open storage is great advice for any age! There is something about that extra step of removing lids (or opening doors) that people seem to resist, whether it’s for putting away toys or putting away papers. It’s just human nature! But using your method of the baskets solves the problem by making it easy to store stuff while keeping the visual clutter down. They look so beautiful! We used a similar (but far less beautiful) system when my kids were younger, and it saved our sanity and, I think, taught them some good habits. And yes, it encouraged them to actually use their toys.
Erika says
But the baskets… where did you find these beautiful colorful baskets??
Kelly says
Hi Erika! I got them at a company called The Little Market that is sadly no longer in business, but this Etsy shop has some similar ones: https://shopstyle.it/l/clbRi
Zinzi Blackbeard says
Love this! Where did you buy the baskets?
Mary Person says
LOVE LOVE! Will be attempting this weekend! Where are the baskets from? I have been trying to find them but to no avail 😩
Kelly says
Hi Mary! Unfortunately they were from The Little Market which is no longer selling them. You can find some similar, though not exactly the same, ones on Etsy, here’s a few shops:
– https://shopstyle.it/l/caTLH
– https://shopstyle.it/l/caTLP