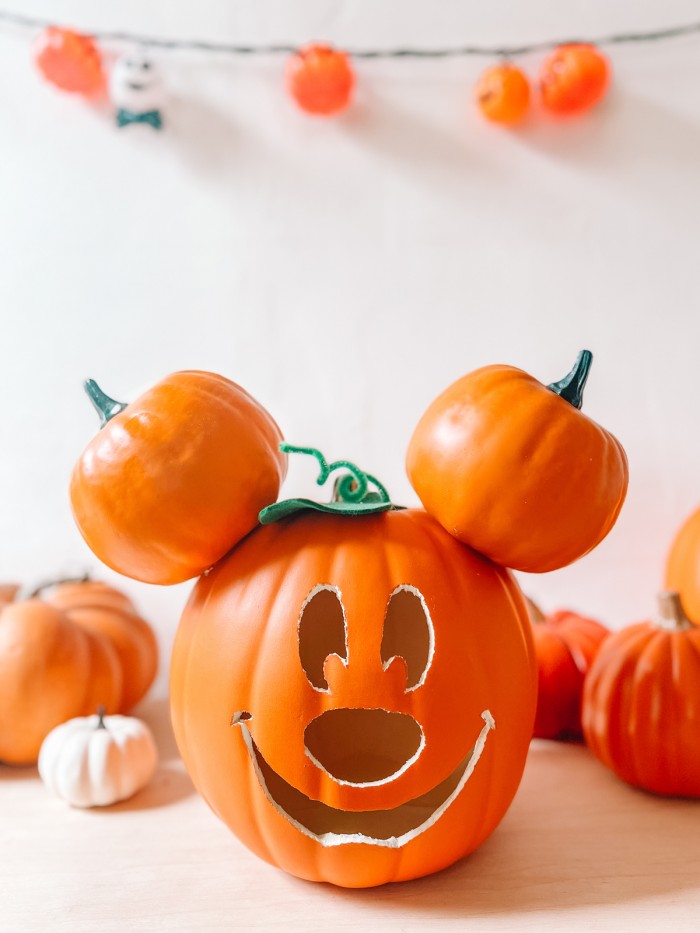
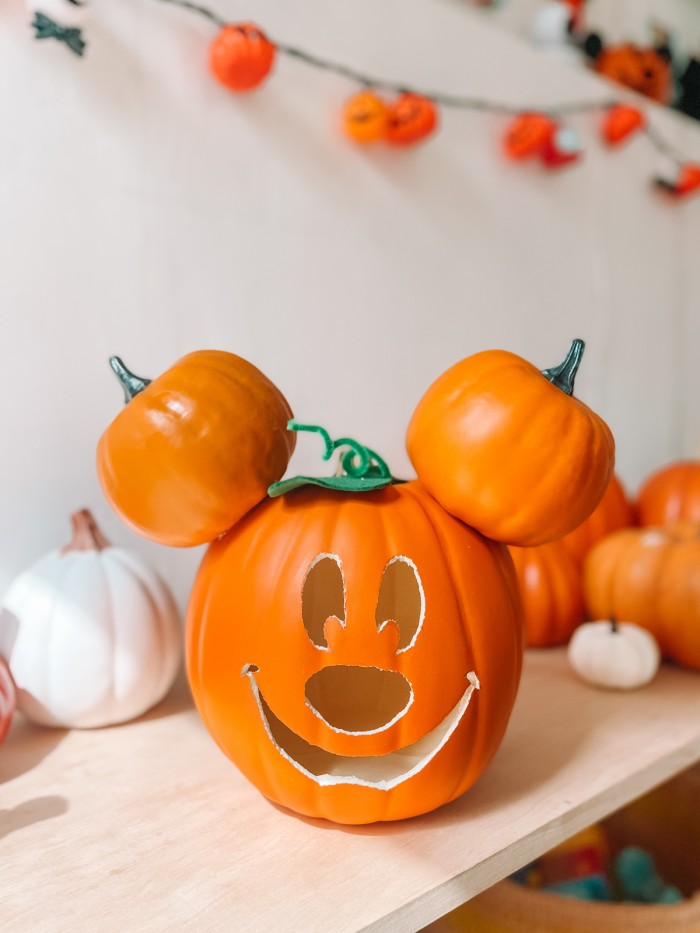
There’s nothing more iconic from Halloween Time at Disneyland than the Mickey Mouse pumpkin that greets you on Main Street! It instantly brings a smile and signals that fall has arrived!
We make an annual trip to Disneyland to see it decked out for spooky season, but I wanted to bring a little bit of that magic into our home, too, so I made a Mickey Mouse pumpkin to add to our Halloween decor collection!!
Learn how to create this Mickey pumpkin carving (out of foam pumpkins!) so you can use it for years and years to come!
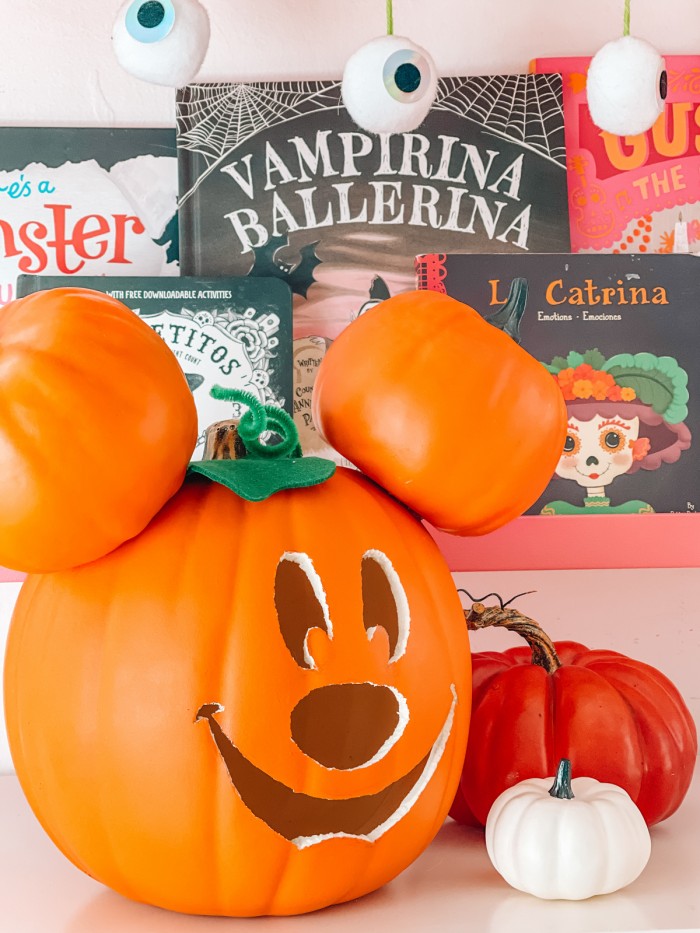
Supplies Needed
- Large Carvable Foam Pumpkin
- 2 Small Faux Pumpkins
- Printable Mickey Mouse Pumpkin Stencil
- Tape
- Carving Tools
- Green felt
- Green pipe cleaner
- Hot glue gun
- Faux Tea Light
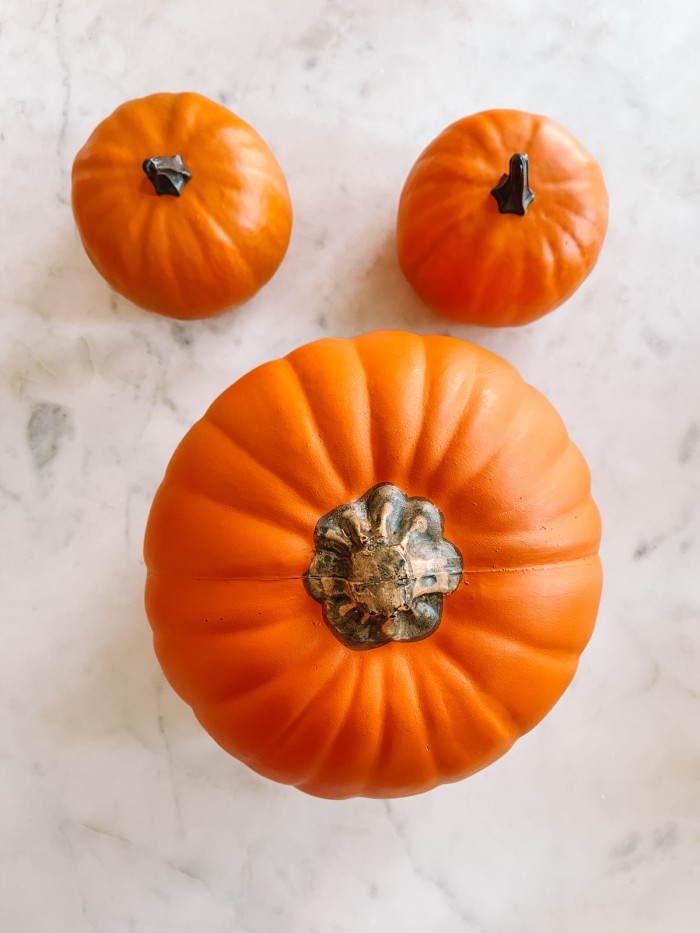
How To Make A Mickey Pumpkin
Make this pumpkin in just a few easy steps! You can use the template I provided above, or hand-sketch the face yourself.
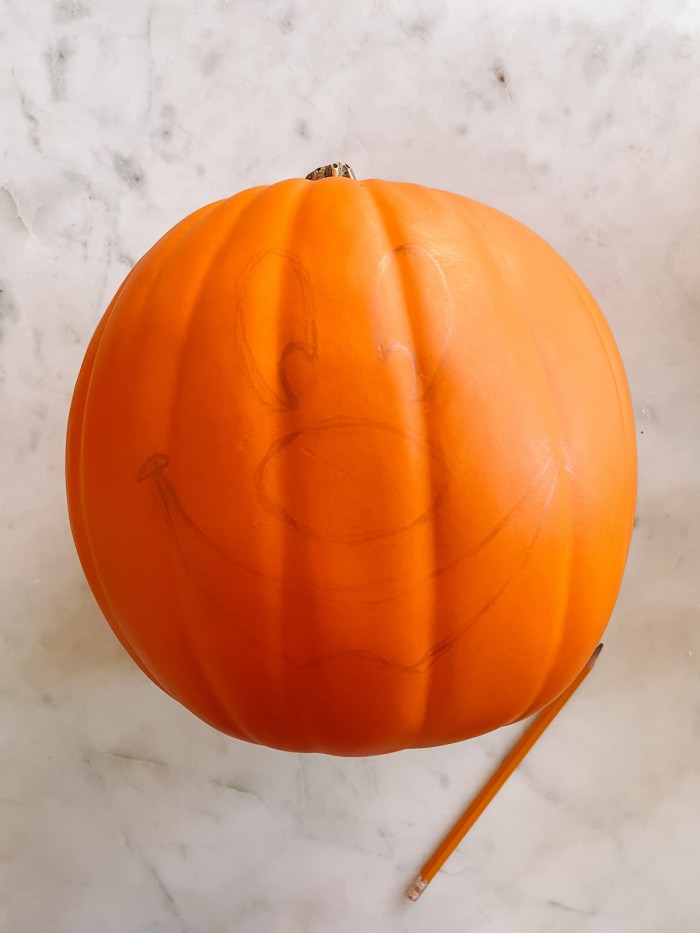
- Tape the Mickey Mouse pumpkin stencil to the large pumpkin where desired.
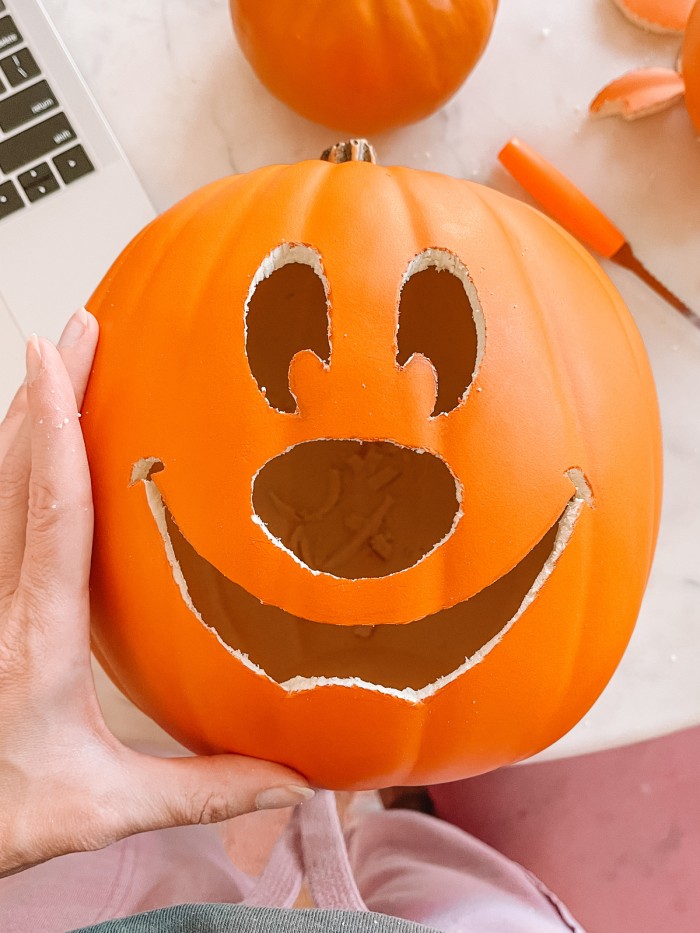
- Using the poker tool from a carving kit or an awl, poke holes around the outline of each face shape. This will create a guide for you to carve. Remove the pattern.
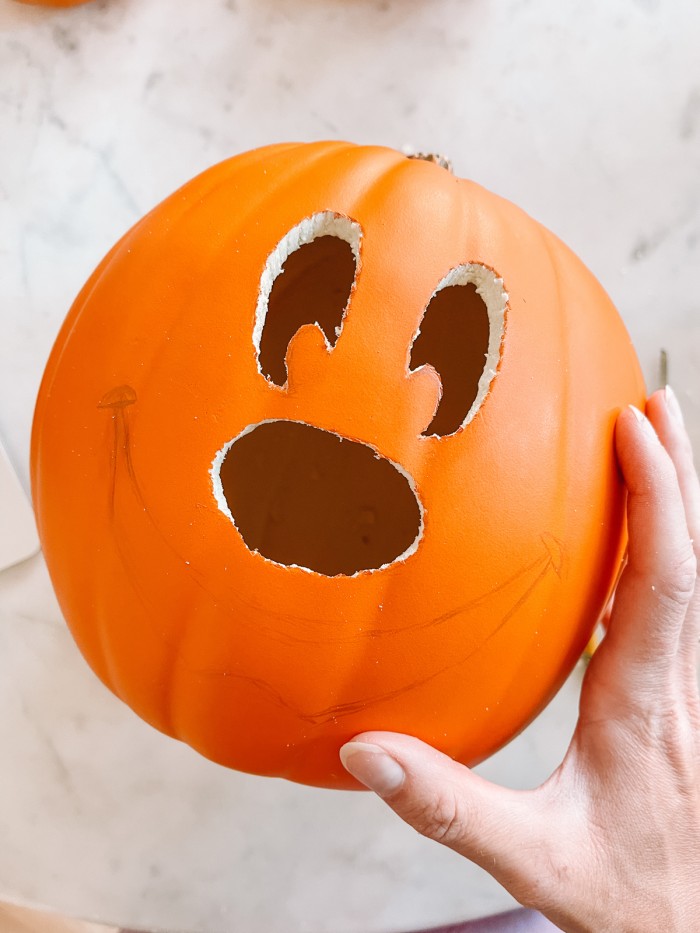
- Use your carving knife to carve the face shapes using the holes you made as a guide.
- Cut around the stem with your carving knife. This is how you’ll remove the stem to put the tea light in and out.
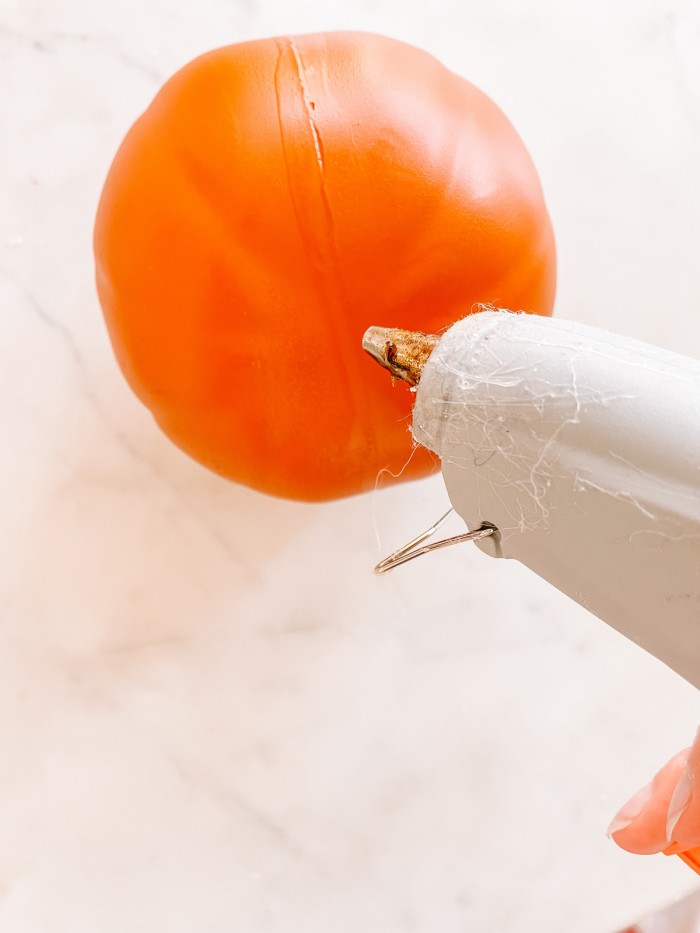
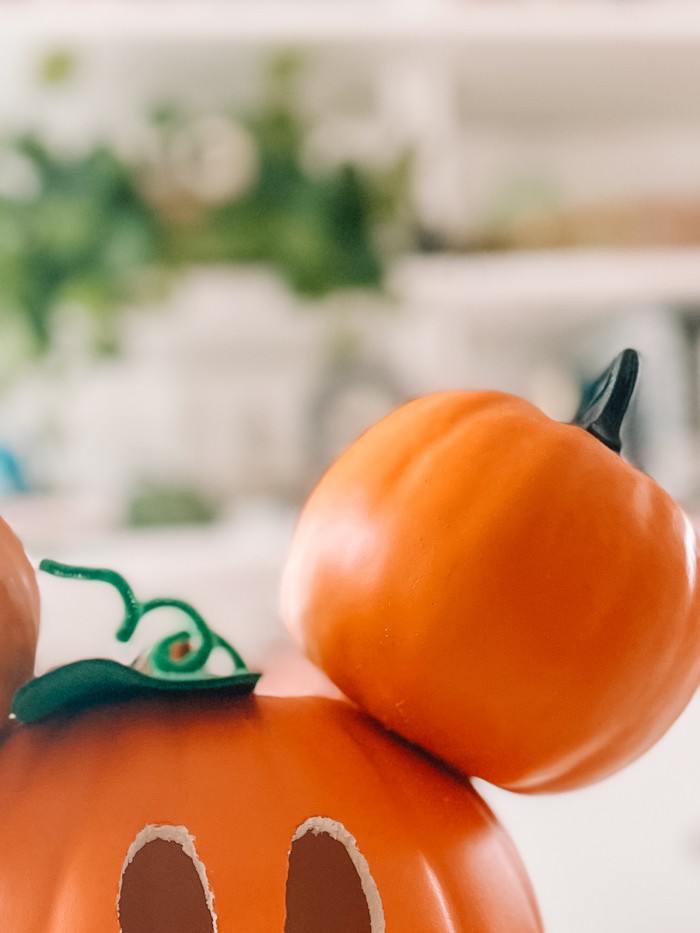
- Use a hot glue gun to glue the small pumpkins to each side of the larger pumpkin, creating Mickey’s ears.
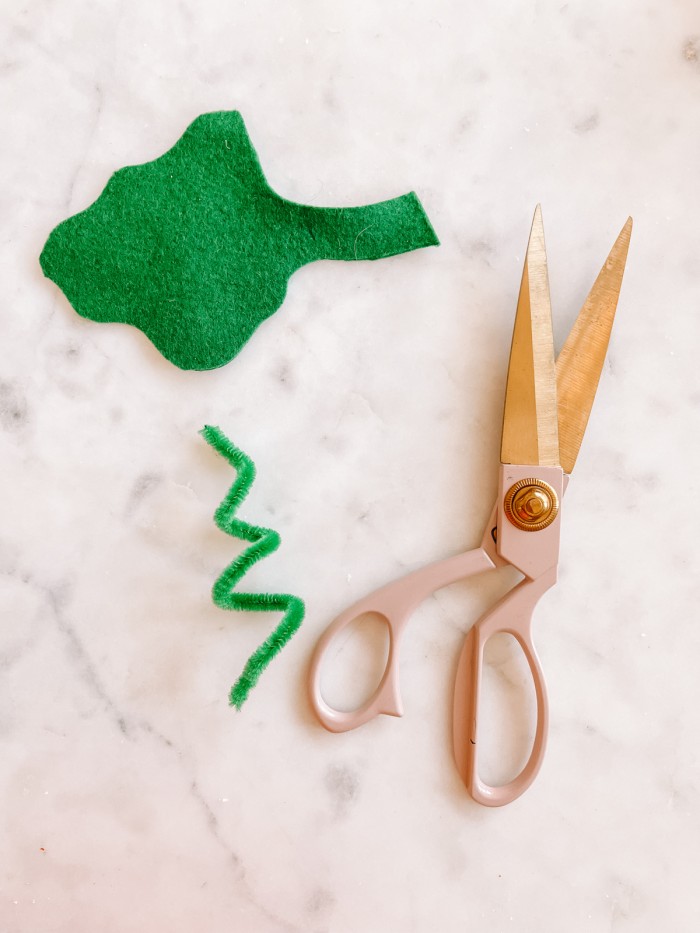
- Cut out a leaf shape from green felt.
- Curl a pipe cleaner around your finger, trim to desired length.
- Glue leaf on top of pumpkin, and pipe cleaner on top of that!
- Add tea light inside your pumpkin carving. You can do this through the nose or by cutting a circle around the stem of the pumpkin.
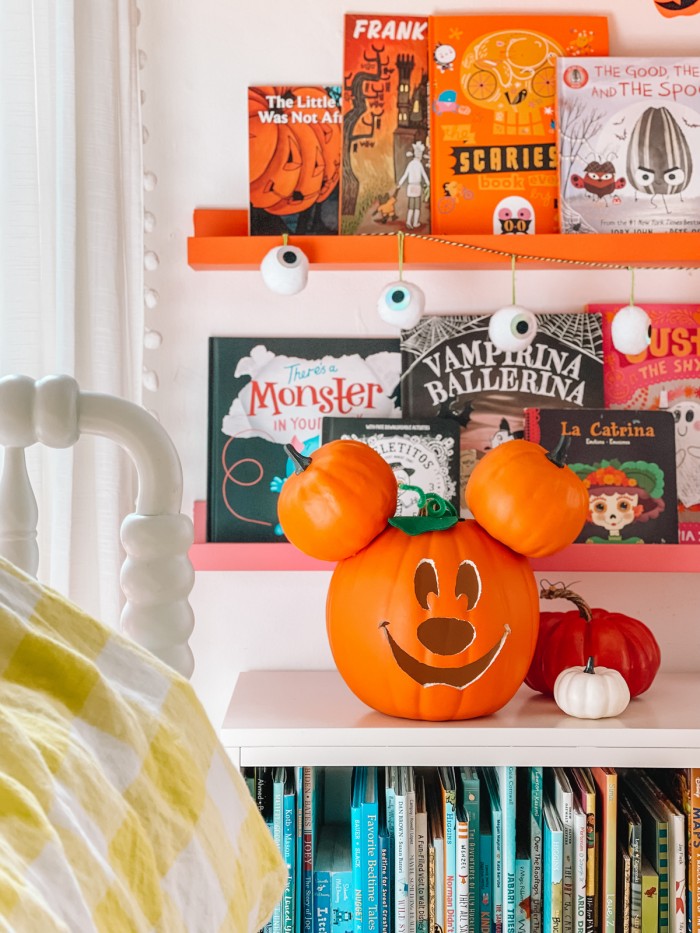
How To Display Your Pumpkin Carving
Your Mickey Mouse pumpkin carving is adorable Halloween decor for a kids room. Set it on a nightstand, dresser or shelf to add a little Halloween spirit to your little one’s room. Don’t forget to swap in some Halloween books, too!
It would also look great on a bookshelf, media or entry console or outside on a (covered) porch for for all the trick-or-treaters to enjoy!
More Pumpkin Projects To Try
And More Disney DIYs To Try, Too!
- How To: Nightmare Before Christmas Holiday Door (to Halloween Town!)
- How To Make A Popsicle Stick Ferris Wheel (+ Pixar Pal-A-Round!)
- How To Make A Cardboard Dumbo Ride
- How To Make A Popsicle Stick “Up” House
- Monster’s Inc Birthday Party Ideas
- How To Make Gus Gus Cupcakes
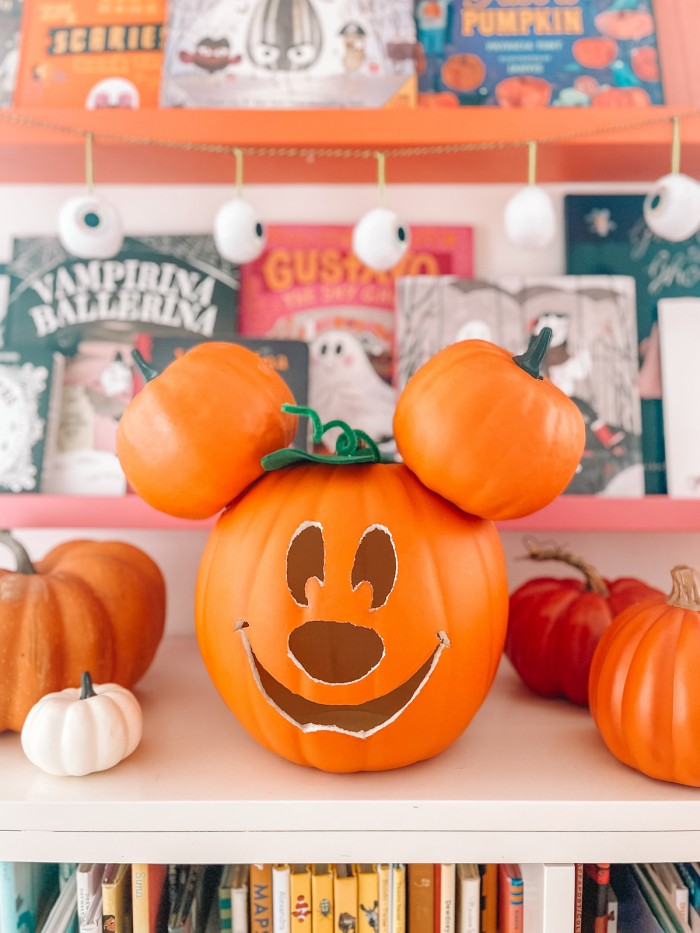
Have you ever visited Disneyland at Halloween Time? It’s one of the most magical Disneyland moments to see. Don’t forget to grab a picture with that cute life-size pumpkin if you do!
DIY Mickey Mouse Pumpkin
Equipment
- Tape
- Hot Glue Gun
Materials
- 1 Large Carvable Pumpkin
- 2 Small Foam Pumpkins
- Printable Mickey Mouse Pumpkin Stencil
- Pumpkin Carving Tool Set
- 1 Faxu Tea Light
- 1 Sheet Green Felt
- 1 Green Pipe Cleaner
Instructions
- Tape the Mickey Mouse pumpkin stencil to the large pumpkin where desired.
- Using the poker tool from a carving kit or an awl, poke holes around the outline of each face shape. This will create a guide for you to carve. Remove the pattern.
- Use your carving knife to carve the face shapes using the holes you made as a guide.
- Cut around the stem with your carving knife. This is how you’ll remove the stem to put the tea light in and out.
- Use a hot glue gun to glue the small pumpkins to each side of the larger pumpkin, creating Mickey’s ears.
- Cut out a leaf shape from green felt.
- Curl pipe cleaner around your finger, trim to length desired.
- Hot glue leaf to the top of the pumpkin, hot glue pipe cleaner on top.
- Add tea light inside your pumpkin carving. You can do this either through the nose, or before adding the leaf above, you can cut around the stem like you would a regular pumpkin and have that be the opening. Enjoy!




Karina says
Do you have the rest of the characters? Would love to make all 5.
Kelly says
I don’t unfortunately, but I love that idea!! Hope you can make it happen!